How to fix a vacuum cleaner with no suction
Here’s how to keep your vacuum performing like new

It’s easy to take your vacuum cleaner for granted, until it stops working. But even the best vacuum cleaners need a bit of regular maintenance to ensure that their suction remains powerful. Let’s face it though, vacuum cleaner maintenance is a boring job that most of us put off, or forget about until the vacuum develops a problem.
A drop in suction, or complete loss of suction, is an issue that demands your attention. But don’t fret; it’s often easy to bring your vacuum back to life without having to invest in spare parts – or even worse a replacement vacuum – or spend money on an expensive repair call-out.
If the problem isn’t immediately obvious, it’s worth setting aside an hour or so to give your vacuum a bit of an overhaul; a good clean and some easy maintenance is often all that’s needed to get it back to tip-top condition. Try these steps on the best cordless vacuums and the best car vacuums as well.
Steps for how to fix a vacuum with no suction
- Remove and empty dust canister
- Clean or replace filters
- Check for and remove any blockages in flexible pipes, tubes and floorhead
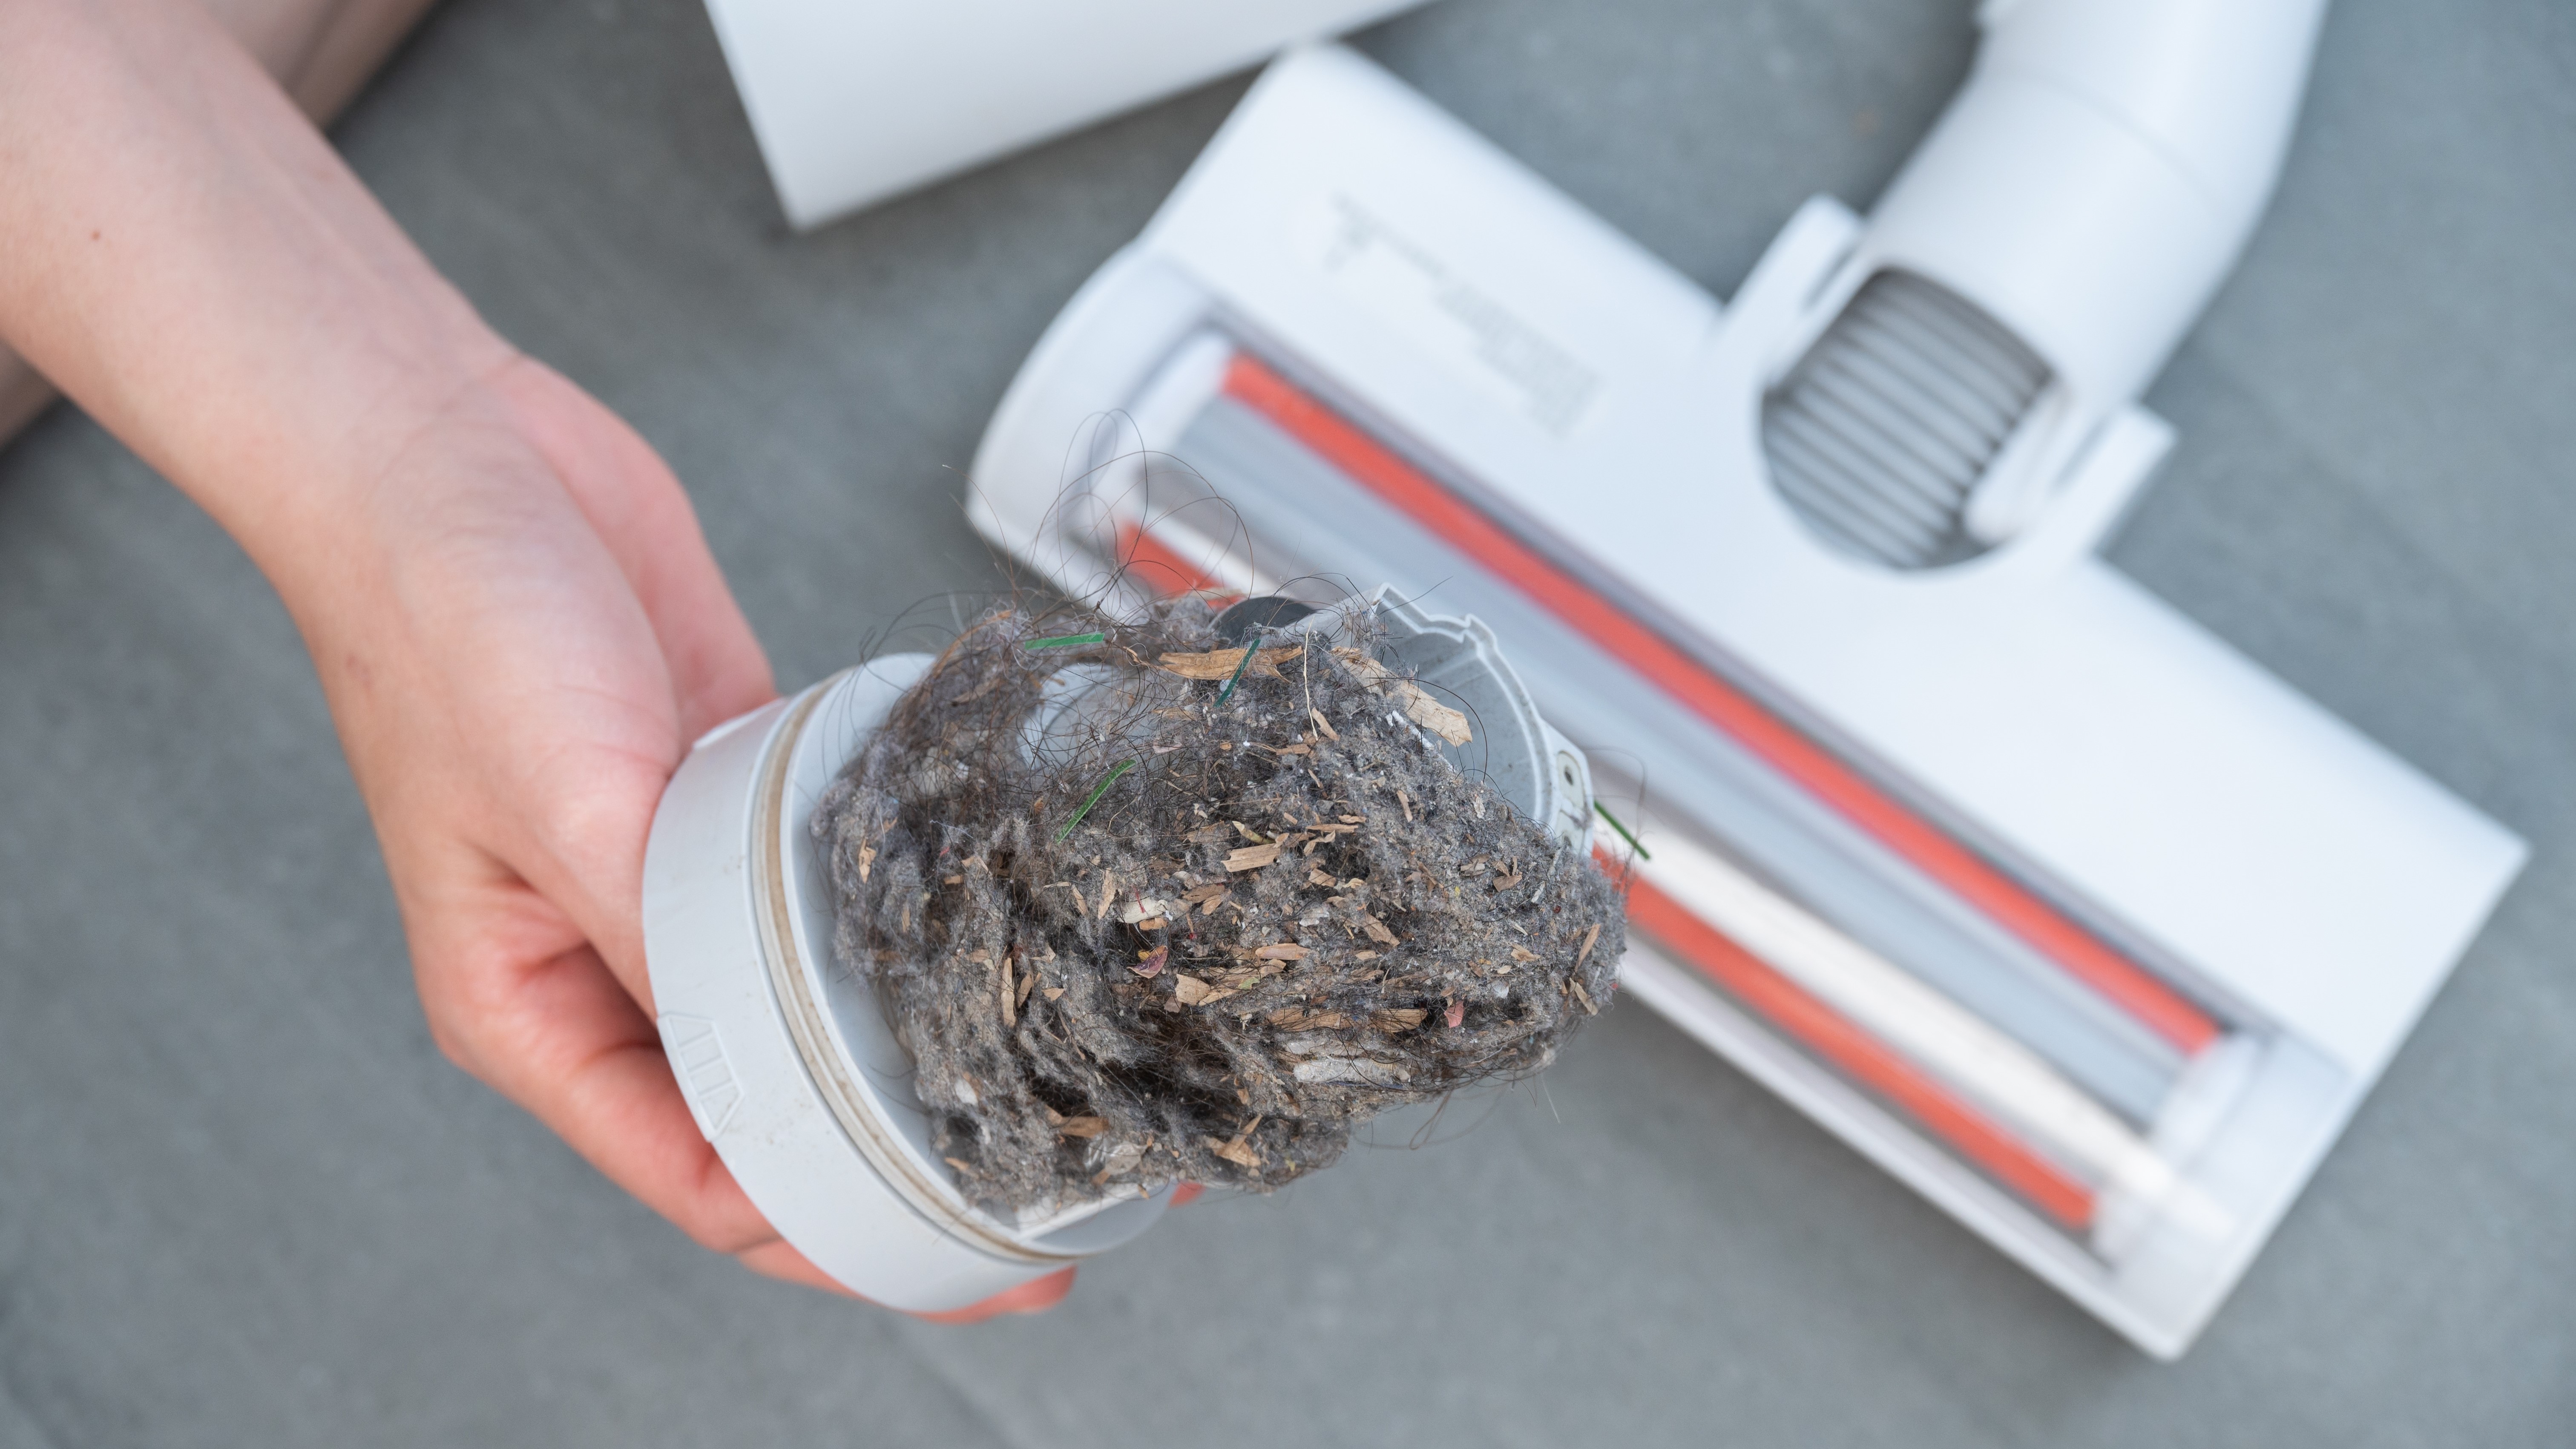
- Clean roller brush and cut away any hair or debris
Tools and requirements
- User manual for your vacuum (if you have it)
- Replacement filters (unless the filters are washable)
- A long rod or broomstick
- Scissors
- Old rag or lint-free cloth for cleaning
Step by step for how to fix a vacuum with no suction
1. Clean the dust canister

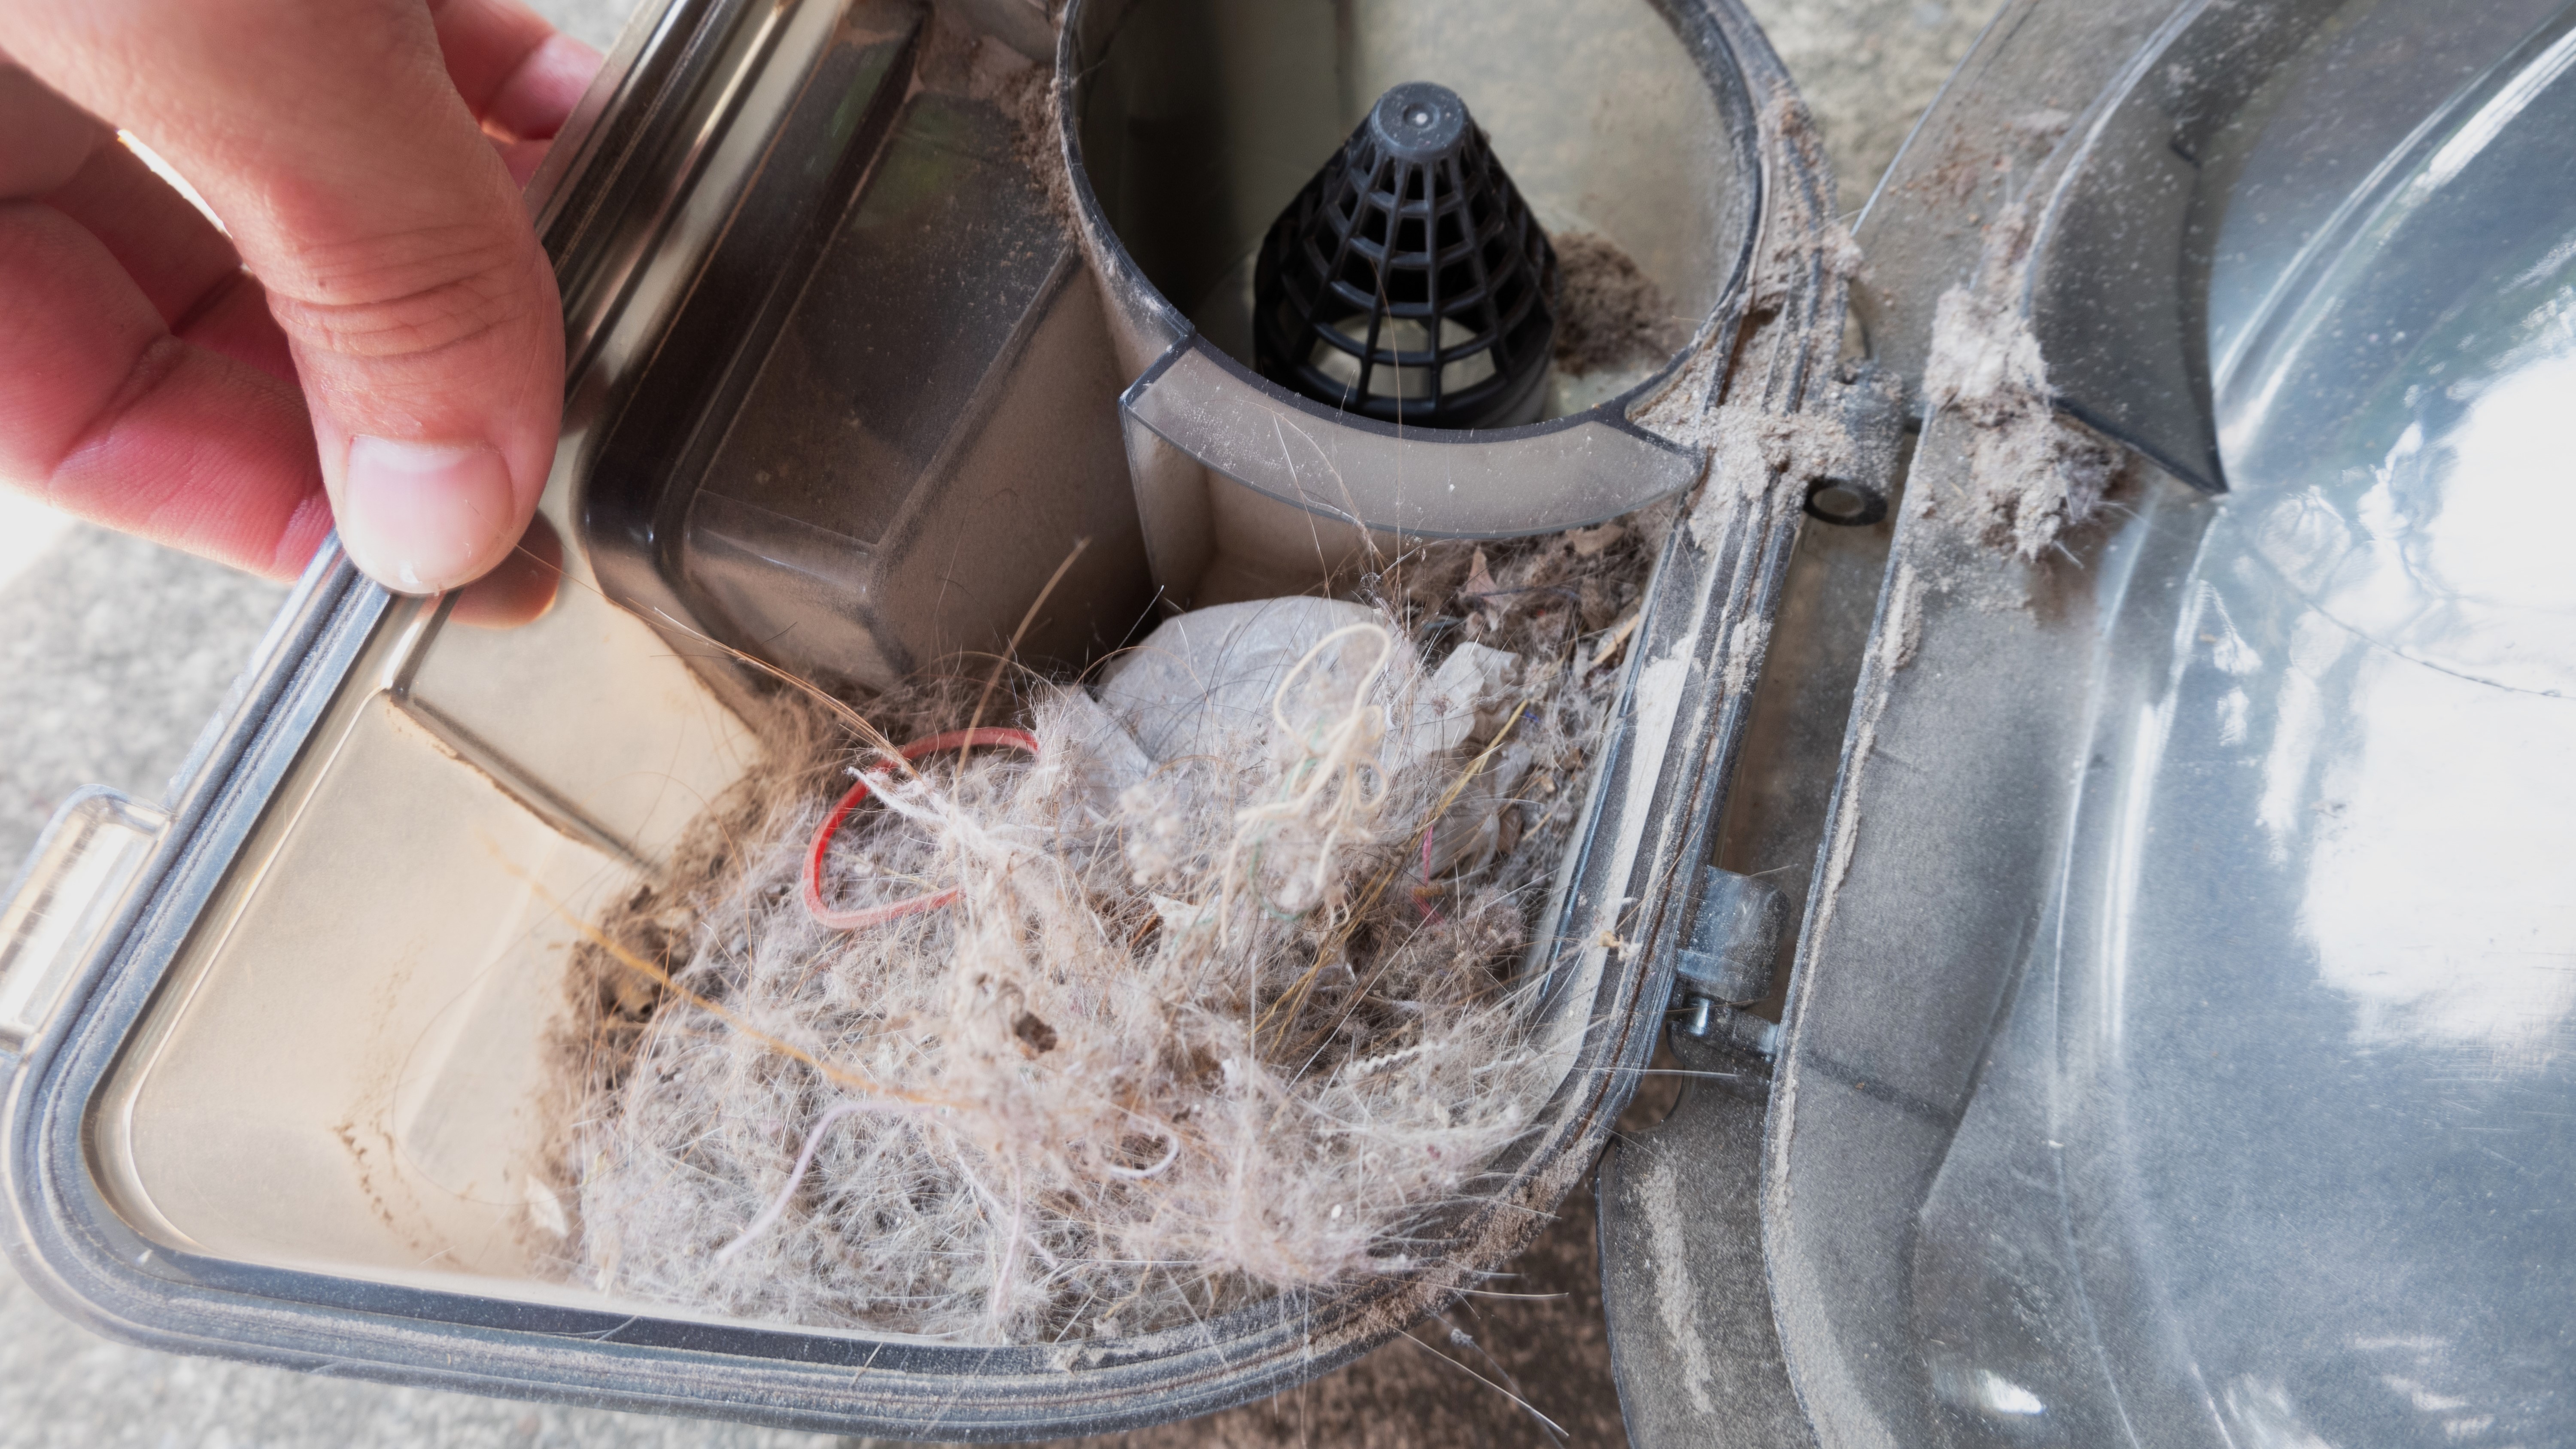
First things first: empty the dust canister. Air flows through the canister as part of the cleaning process, so if it’s full up with compacted dust and dirt, that won’t help matters.
If the canister comes apart or has a top that can be unscrewed, take it apart so that you can give it a thorough empty and remove any trapped or compacted dirt that’s been sitting in there a while. If you have time, give it a thorough wipe with a damp rag, and allow it to dry fully before putting it back together.
2. Clean or replace filters

This is one of those jobs that often gets forgotten about. Without clean filters, your vacuum will not have sufficient airflow, and this can have a dramatic effect on the suction. Check your vacuum cleaner manual – it’ll advise on how often filters should be washed and/or replaced.
If your vacuum has washable filters, give them a thorough rinse under running water, and leave them to dry for a minimum of 24 hours before putting them back into the vacuum. Replace any filters that are past their best.
Don’t overlook any filters – depending on the model and brand, your vacuum may have various filters in different locations that will all need to be checked and cleaned.
3. Check all hoses and tubes for blockages

A blockage is a common cause of loss of suction, so check all hoses and tubes for blockages. The easiest way to do this is to remove the tube or hose from the vacuum, and check visually to make sure you can see light coming through from the other end.
If you can’t see into the hose or tube, you can use a long broom handle or rod. Gently push it into the tube, and if there is a blockage the offending debris should be pushed out of the other end. Be gentle to avoid damaging the part or making the problem worse.
4. Clean the floorhead

Using a pair of scissors, cut away any hair or threads that have become tangled around the roller brush, and make sure it’s able to move freely. Also check the pipe that connects the floorhead to the rest of the vacuum – this is often angled, and it’s a place where larger items can get stuck.
5. Put it all back together
After checking for and removing all blockages, and cleaning the dust canister and filters, your vacuum should be back to full suction.
Don’t reassemble your vacuum until all parts that were washed are completely dry, as using a vacuum with damp filters or a damp dust canister will cause further issues and potential clogs.
FAQs
How often should the filters be replaced?
Check your vacuum cleaner manual, as this varies by brand and there’s no one-size-fits-all answer. Some filters need replacing every six months, while others will need frequent monthly rinses to stay fully operational. The important thing is not to ignore the filters – put a note in your diary to remind you to clean or replace filters as recommended in the manual.
What if I’ve done all of the above and the suction is still poor?
Check your warranty, if it’s still covered you can contact the manufacturer. For older vacuums, depending on the age of your vacuum and the amount of use it gets, you may be able to take it to a repair center. Or, it might just be time to invest in an upgrade, like one of the best cordless vacuums.
Final thoughts
Try not to wait until your vacuum completely loses suction. Regular checks and maintenance will help to keep your vacuum operating at full suction, apart from those times when you accidentally suck up something you shouldn’t of course.
With some cordless vacuums, filters can become clogged frequently, so even if they’re washable, it’s helpful to have some spares, so that you can swap in a clean one and keep vacuuming. Otherwise, you may have to wait in excess of 24 hours before the newly washed filters dry and you’re able to keep vacuuming.
Sign up for breaking news, reviews, opinion, top tech deals, and more.

Helen is a freelance writer who specializes in kitchen and home appliances, and has written for some of the biggest home-related titles around. She has been reviewing small appliances, including blenders, air fryers, and vacuums for more than 15 years. When she's not busy testing the latest food and home gadgets, she enjoys DIY and gardening.