Why you can trust TechRadar
There was talk in the lead-up to the official Photos release that it would incorporate some Aperture-style editing tools. That's probably going a little too far, but Photos is certain a major step forward compared to the rather crude and clunky options in iPhoto.
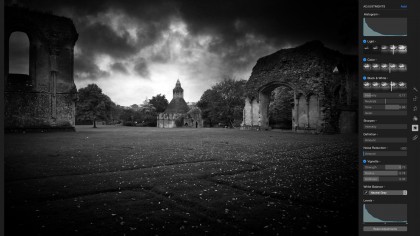
Images open in a clean black window (this works even better in full-screen mode) with a set of discreet icons down the right hand side: Enhance, Rotate, Crop, Filters, Adjust and Retouch. They look simple, but some of these options have hidden depths.
Simple fixes
The Enhance button is the simplest. You just click it to automatically fix the picture's contrast and color, and if you don't like the result, hit Command-Z or the 'Revert to Original' button in the top right corner.
The Rotate button is equally straightforward. One click rotates your picture 90 degrees anti-clockwise, so you just keep clicking until your picture is the right way round. This is useful if your vertical-format photos are being displayed on their side. It's not designed for straightening up skewed buildings or horizons, though, and for this you need the Crop tool directly below.
Hidden depths
This is where you start to see some of those hidden depths. The Crop tool gives you a rectangular marquee for cropping in on the areas of the picture you want to keep, but there's also a big dial at the side, calibrated in degrees, which you use to straighten pictures taken on a slant.
If you're printing photos or you want them to display full-screen on specific monitor sizes, you'll need to click the Aspect button – this pops up a list of common aspect ratios such as Square, 16:9 or 3:2 (for a standard 6 x 4-inch print, say). When you select one of these ratios, the crop marquee is constrained to those proportions.


The next button down, 'Effects' doesn't offer any hidden depths as such, but it does show some of the neat thinking behind the integration of Photos across devices. Each effect is a single-click fix with no parameters, but they're the same Effects you get in the iOS version and the same ones you can choose when you take pictures with your iOS device.
Sign up for breaking news, reviews, opinion, top tech deals, and more.
Adjustments: now we're getting serious
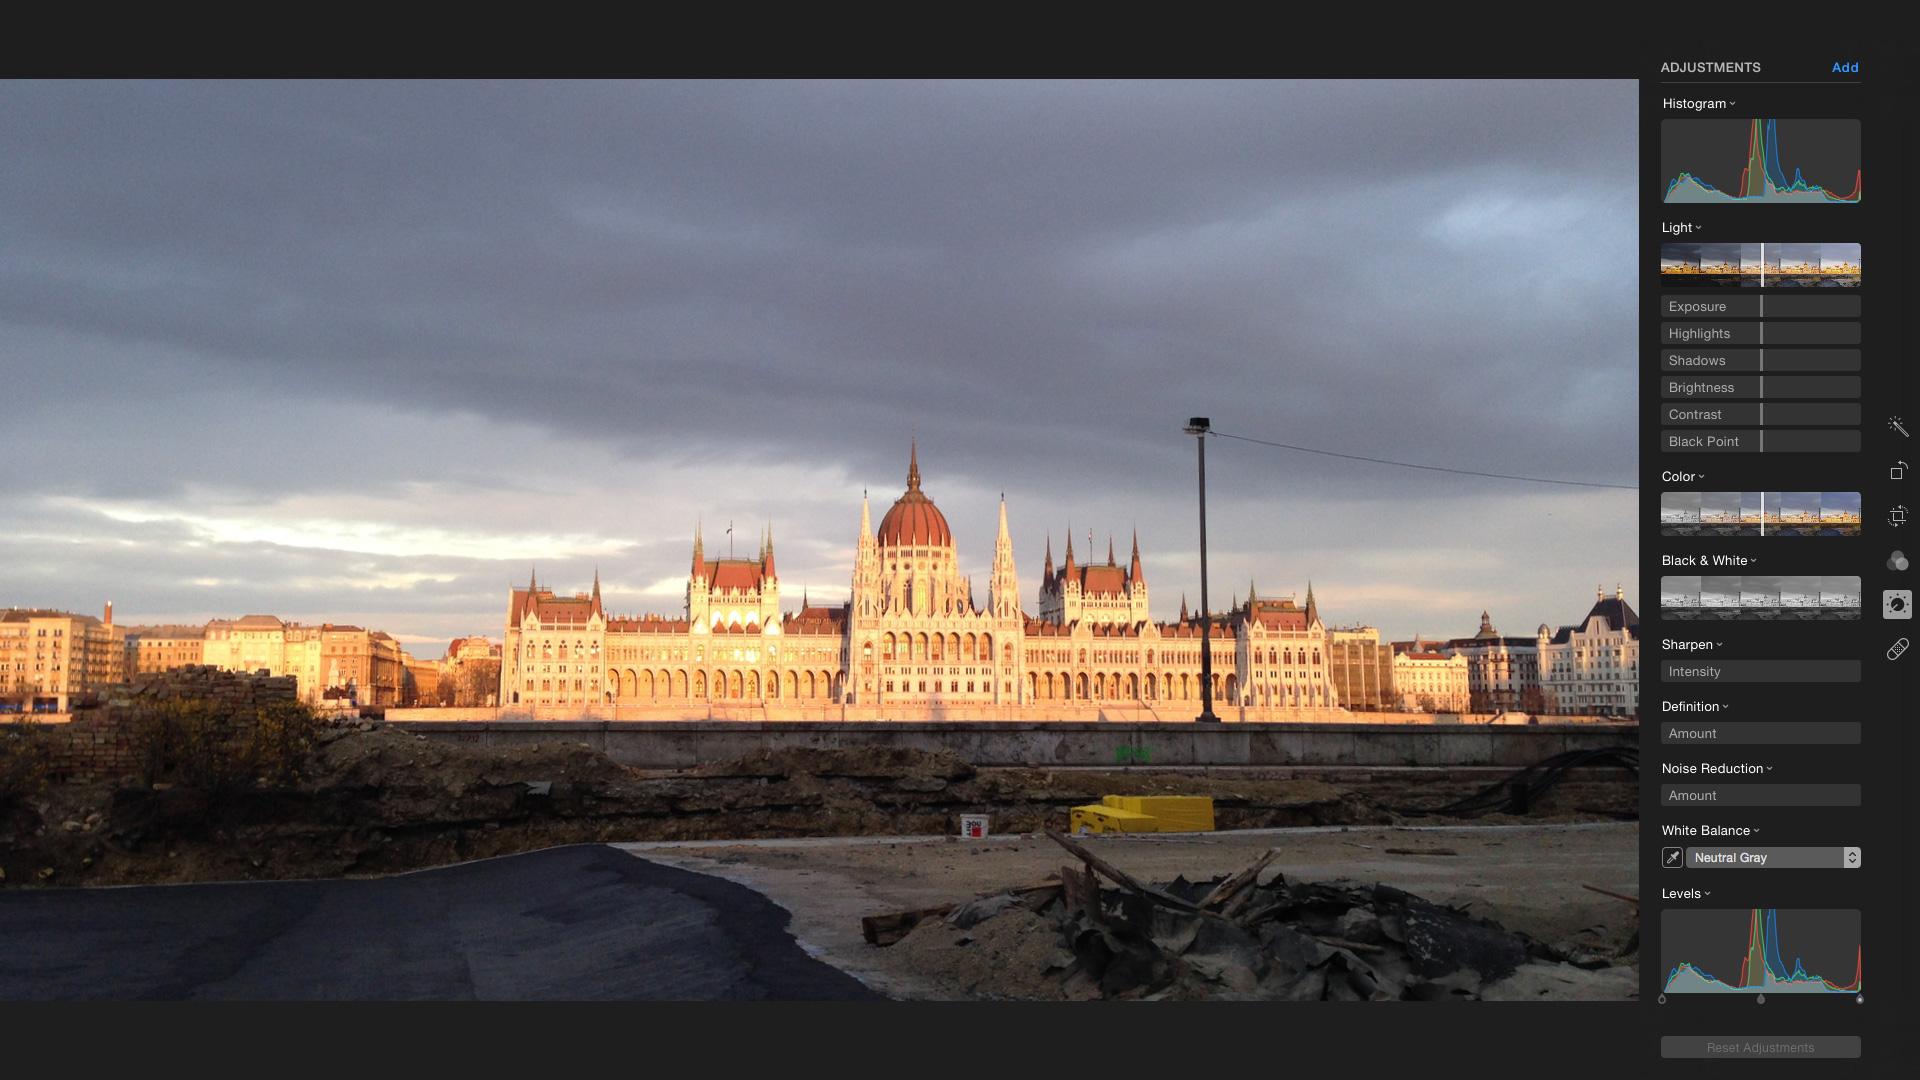
The first time you open the Adjustments panel you might think there's not much to see, which just a handful of basic-looking controls for 'Light', 'Color', 'Sharpen', say. But there are two things you need to do…
First, look for the 'Add' button at the top of the Adjustments panel. This displays a list of all the adjustments available, and it's a lot more than you see at first. They're separated into 'Basic', 'Details' and 'Advanced', and if you select them all you're then using the Photos editing tools at full power.
The other thing you need to do is click the unobtrusive disclosure arrow to the right of the adjustment title – it only appears when you hover the mouse pointer over this areas. This expands the tool panel to display some smart-looking sliders for making adjustments in detail – or you could just click the 'Auto' button at the top to see what happens.
Lastly, there's a 'Retouch' button which lets you blot out imperfections or unwanted objects in your pictures in one of two ways. You can either click and drag to 'heal' areas automatically using surrounding image data, or option-click to choose a source area and clone out defects in the normal way.
There's no rocket science here, and Photos certainly doesn't match the content-aware technology in Photoshop, or dedicated tools like Macphun SnapHeal, but it's fine for sensor spots, say, and other simple fixes.
Current page: Editing your pictures
Prev Page Photo organizing and iOS integration Next Page Verdict
Rod is an independent photographer and photography journalist with more than 30 years' experience. He's previously worked as Head of Testing for Future’s photography magazines, including Digital Camera, N-Photo, PhotoPlus, Professional Photography, Photography Week and Practical Photoshop, and as Reviews Editor on Digital Camera World.


