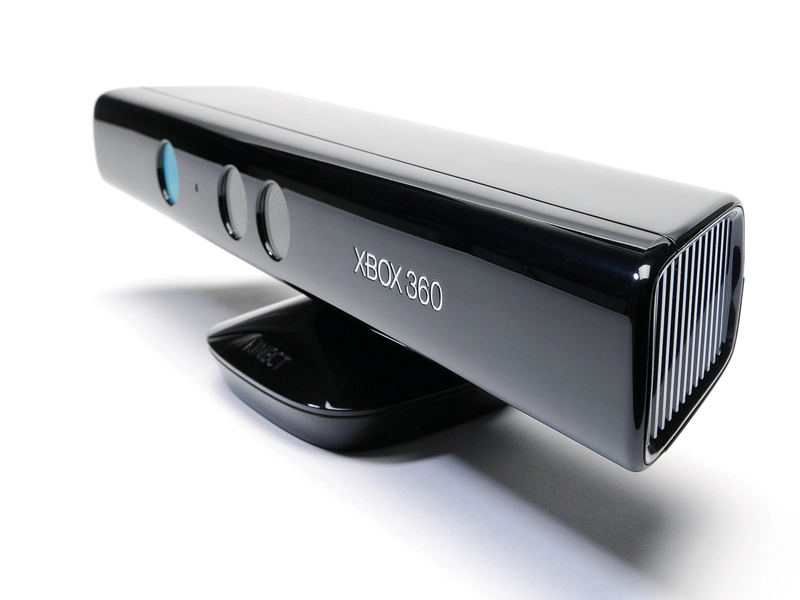
When you break it down into its basic components, Kinect isn't actually particularly revolutionary. It contains a motorised webcam, a microphone array, a depth sensor and an infrared camera - pretty straightforward enthusiast tinkering kit.
But put all these elements together and you've got something that does a good job of approximating the way we're all going to interact with our computers in the future, if science fiction ideals are to be believed. Forget keyboards and mice - waving your arms around like Tom Cruise is the new thing.
Article continues belowSet yourself up

Sadly, at the time of writing, Kinect isn't officially supported on the PC. Microsoft is getting there with its own SDK - but for now it's (technically) meant to be an Xbox peripheral only.
Thankfully, some enterprising hackers, boosted by the promise of cash rewards and worldwide fame, crowbarred their way into the device shortly after its launch late last year. Since then, thanks to a number of open frameworks and existing projects that just happened to be suitable for repurposing, Kinect has grown into a fledgling PC peripheral. It's even nearing usefulness.
We say 'nearing' because it still has some way to go. Full functionality doesn't seem to be quite there yet, which the Microsoft SDK will surely help upon its release. This means you shouldn't expect absolute perfection; even in its console incarnation, Kinect is rather finicky about positioning and lighting.
Be prepared to shuffle a few things around. To get the full experience you'll need space in which to move - 10-12ft seems to be the norm - and avoid direct sunlight if you can.
Install the drivers
Since there's no official driver, you'll need to start by installing a suite of third party software that looks after the task of recognising and interacting with the Kinect sensor. There are a few options, but we're going to start by downloading the latest unstable release of the OpenNI framework.
OpenNI, which is short for Open Natural Interaction, is a not-for-profit organisation dedicated to improving support for natural interaction devices like Kinect, applications that use them, and the middleware that goes between the two. The OpenNI framework is the bit that does the real donkey work, interpreting your hand gestures and tracking your body motion.
Most Kinect-compatible apps call upon it at this point. Start by running through the installer to get it on to your system. During the installation, you'll be asked if you want to install a driver from PrimeSense. This is the company which made the Kinect sensor for Microsoft, which works in conjunction with OpenNI, so it's safe to do so.
PrimeSense's driver isn't Kinect specific, though. For proper compatibility you'll need the SensorKinect mod, developed by a studious hacker who goes by the name Avin2. Once the OpenNI installation is complete, grab the latest binary from Avin2's site and install it.
The final node in the Kinect trifecta is Nite, which also comes from OpenNI. It's the middleware component that provides the various handy gesture interaction tools used by most Kinect-compatible apps. Download the latest unstable binary from here. You'll need to enter a free license key before you can use it with Kinect: it's 0KOIk2JeIBYClPWVnMoRKn5cdY4=.
In the interests of avoiding mistakes, the potentially confusing characters are, in this order: zero, upper case 'o'. upper case 'i', upper case 'i', lower case 'L', lower case 'o'.
Restart your machine and plug the Kinect unit in, and it should be detected and installed without any issues.
An actual app
When it comes to testing Kinect's functionality, Nicolas Burrus' Kinect RGB demo should be your first port of call. It does an excellent job of demonstrating the device's impressive capabilities.
Extract the folder from the archive you've downloaded and check inside; you should see a series of excecutable files. Forget the ones that are marked 'Calibration' for now (you don't need to calibrate the device in order to use it) and head for 'RGBD-viewer.exe'.
When you first run the app, you'll see a message in a command prompt window saying that the camera has been set to VGA resolution; the Xbox only uses QVGA, so you've already extracted more from your Kinect than console users can.
It can go even further - if you run the viewer from a command prompt with '-highres' appended after it, you can extract a full 1,280 x 1,024 from the camera, albeit at a somewhat lower frame rate.
The main screen of the app displays a depth-seperated image in the main body, with a view from the webcam in a separate box at the top right. The technicolour look of the main image represents different depths; hover your mouse over a particular pixel to see how far it is from the Kinect sensor.
That's not the best way to represent Kinect's depth-sensing abilities, though. Use the menu in 'Show | Filters' to switch on edge detection (tick the box marked 'Edges'). Close the window, then click 'Show | 3D view' to bring up a window that mixes the depth and webcam sensors together; click and drag to move the eerie three-dimensional view of what Kinect can see.
By default, this is in the form of a point cloud view - click 'Triangles' to fill the space between the points with polygons for a more solid look. Click 'SaveMesh' to output the 3D view to a PLY file, suitable for use with MeshLab or Blender.