There seems to be an influx of devices claiming that they will change the future of Computing education. From the Arduino to the Raspberry Pi we now have a plethora of choices when it comes to getting started with physical computing.
But in late 2014 there was a rumour that the BBC were keen to emulate the success of the UK's 1980s coding scene, which was led by the BBC Micro, their own micro computer. In 2011 there were a number of reports from Education advisers and Members of Parliament that the UK was now falling behind in Computer Science and that many children believed that the roles on offer meant relocating to another country. This was prevalent in the gaming industry, where the UK maintains sixth position, but with a decline in the number of developers originating from the UK. So in 2015 when the BBC announced that they would be partnering with a number of hardware, software and service suppliers to deliver a single board micro-controller powered platform, the Education sector stood up and listened.
Article continues below 
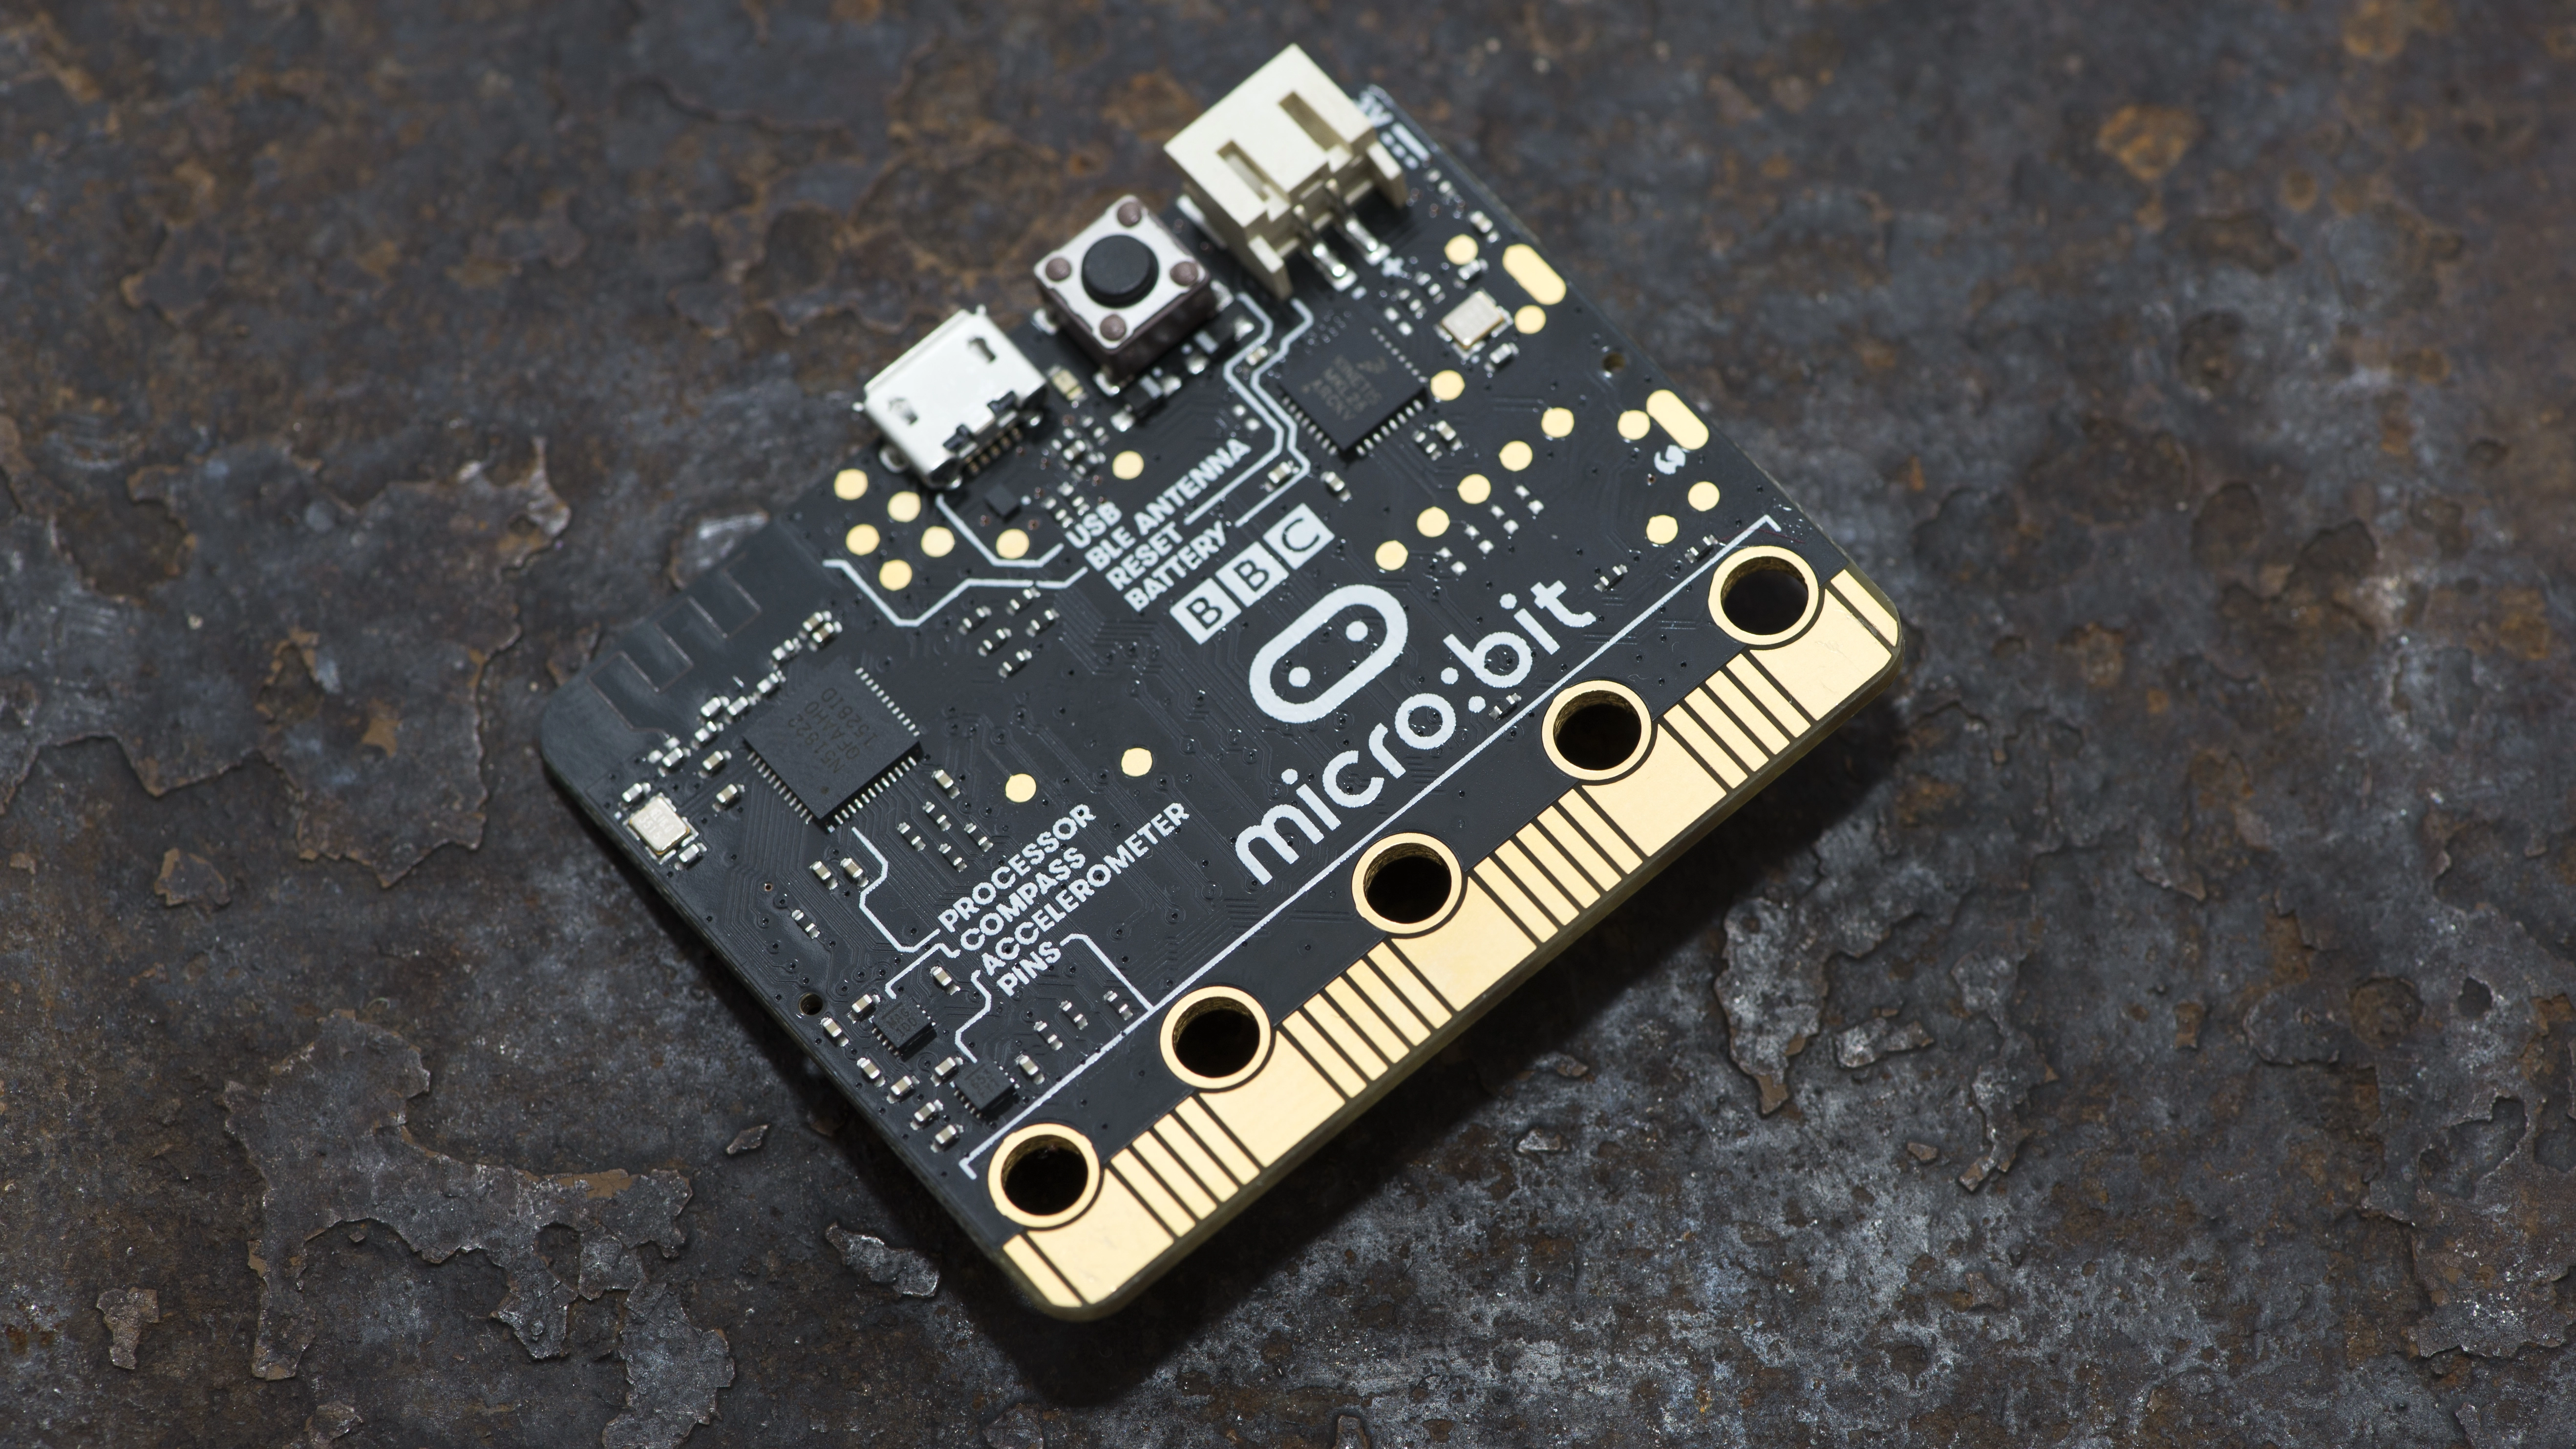
Supported by the BBC and a number of service providers, the micro:bit has projects and documentation that has been designed to fit into the UK Computing curriculum. The hope of all the project partners is to rekindle the successes of the 1980s and help children to learn how rewarding Computer Science can be, with aims to generating new job roles in the future.
Getting Started with Micro Python
For this project you will need to connect your micro:bit to a Linux machine or Raspberry Pi. You'll also need an LED, 220 Ohm Resistor (RED-RED-BROWN-GOLD) and three Crocodile clips.
In physical computing the "Hello World" introduction is traditionally to control an LED (Light Emitting Diode). This helps to test that the board and components are working correctly before we progress to something more challenging.
We begin by downloading the Python software known as Mu. Ensure that you have the latest version of the software for your OS. You will need to make the downloaded file executable, in most Linux distros you can right click on the file and select "Properties" and from there make the file executable. If you prefer the terminal then you can do the following:
$ chmod +x NAME OF DOWNLOADED FILE
Now open the Mu application by double clicking on the downloaded file. The Mu editor looks basic but is constantly being worked on by members of the Python Software Foundation.
You can see a row of buttons across the editor; pay particular notice to Flash and Repl. Flash is used to Flash your code on to an attached micro:bit, where as Repl (Read Eval Print Loop) is used to interactively hack with the micro:bit. We shall start our project by writing a few lines of code that will flash an LED on and off with a half second gap between each state. In the top windows we import the entire micro:bit Python library with:
from microbit import *
Now we create an infinite loop, which will contain the code that we wish to run while True.
Inside of the loop, the next line of code is indented, as per Python's requirement to show that this code is inside of the loop. First we change the state of pin 0, which is currently turned off. To turn on the pin we set it to be 1. Then we sleep for half a second, before turning pin 0 off, using 0, then we sleep for half a second to create a seamless loop.
You'll notice that we did not import the time library, yet we are using the sleep function. This is because Micro Python has its own sleep function inside of the micro:bit library that uses milliseconds for duration, with 500 equalling half a second.
pin0.write_digital(1)
sleep(500)
pin0.write_digital(0)
sleep(500)
With the code written, it is time to flash the code on to the attached micro:bit. Click on Flash and wait until the yellow LED on the reverse of the micro:bit stops flashing. With the code loaded on to the micro:bit now we will connect the components.
Attach one side of a crocodile clip to pin 0 and the other to the long leg of an LED. Connect another crocodile clip to the GND of the micro:bit and then attach the other end to one leg of a resistor. On the other resistor leg attach another crocodile clip and then attach it to the short leg of the LED. You should now see the LED flash if not, then check your wiring is correct by removing the crocodile clip from pin 0 and attach it to 3V. If the LED lights up then the wiring is correct.
- Enjoyed this article? Expand your knowledge of Linux, get more from your code, and discover the latest open source developments inside Linux Format. Read our sampler today and take advantage of the offer inside.