How to use the Lock screen in iOS 10
Learn how to use the lockscreen
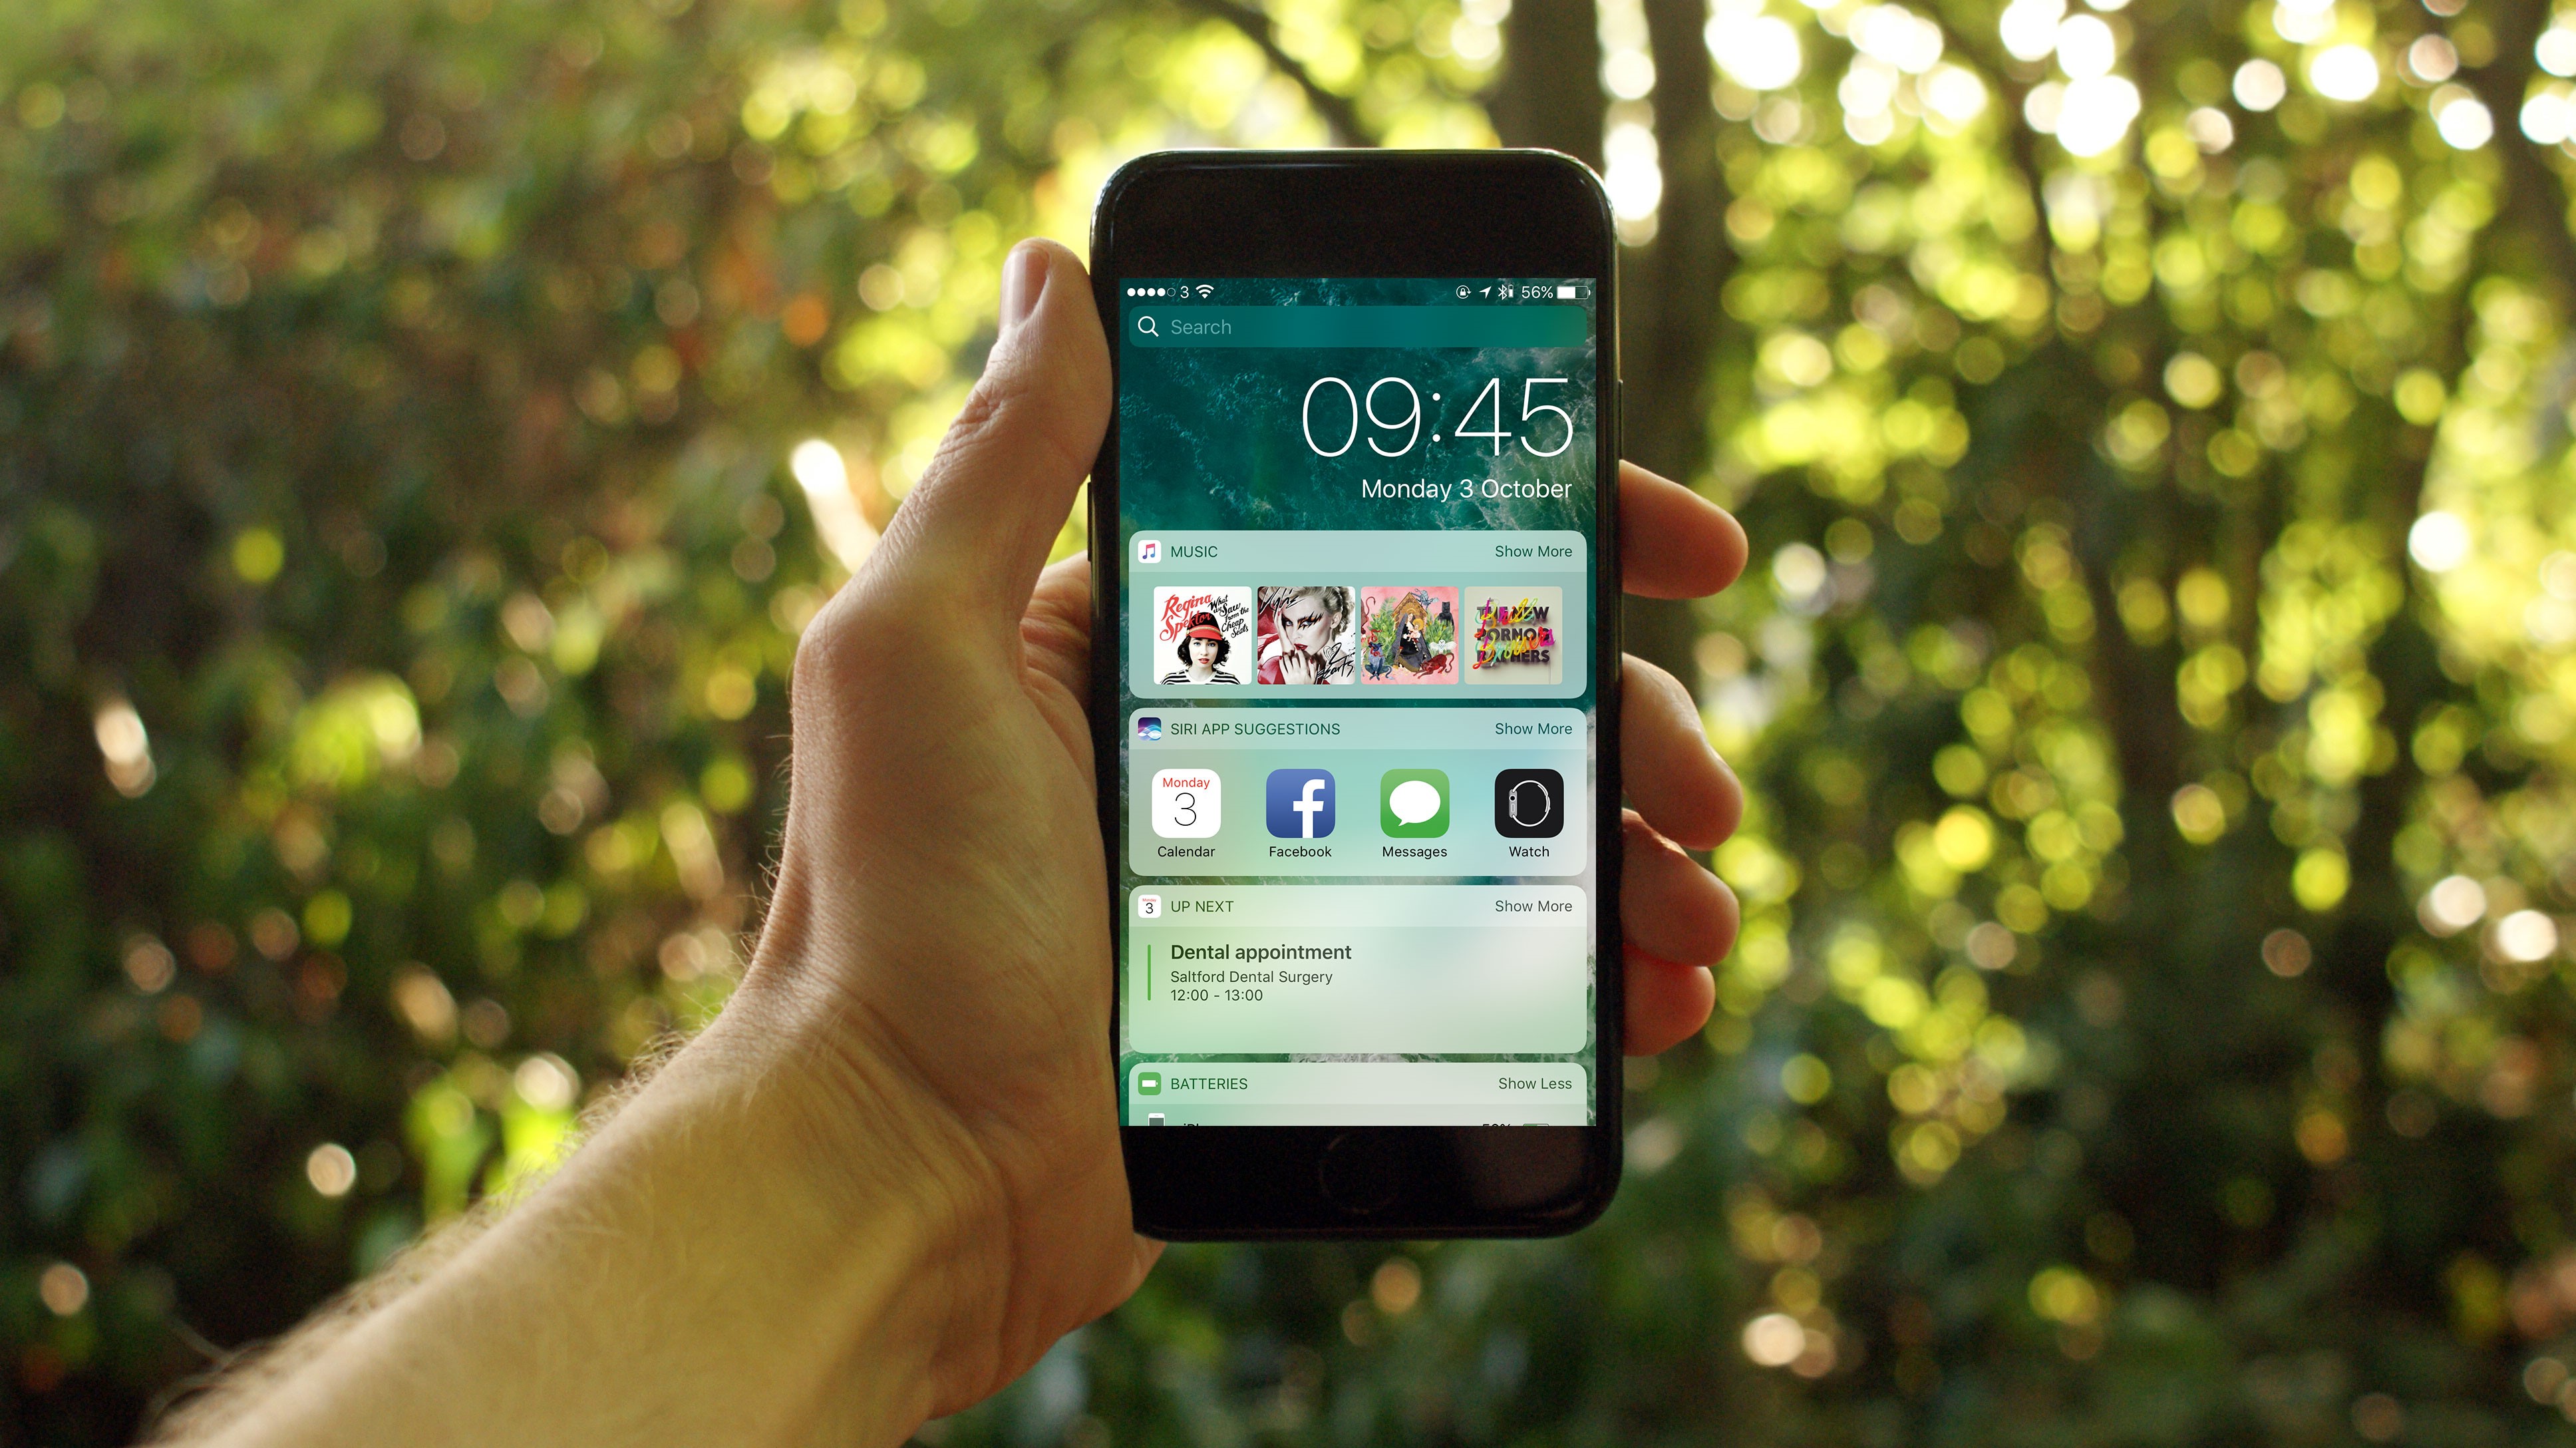
In iOS 10, Apple has revamped the Lock screen that appears when you wake your device, giving you access to a variety of features when you swipe inwards from any of the edges of your device’s screen.
It has also added a third, even simpler way to wake an iPhone SE, iPhone 6S, iPhone 6S Plus, iPhone 7, iPhone 7 Plus.
On all devices, the Sleep/Wake button wakes it to the Lock screen, as always, as does pressing the Home button. However, the new method for waking your device doesn’t require you to press a button at all, as long as Settings > Display & Brightness > Raise to Wake is switched on.
Then you can start interacting with your iPhone much like you would with an Apple Watch to see the time.
- For more guides check out our collection of how to use iOS 10 articles
At first, the Lock screen doesn’t seem much different. You still access Notification Center or Control Center with swipes from the top or bottom of the screen.
Notice there’s no longer a camera icon at the bottom right to swipe upwards from to take a photo – it’s been replaced with a simpler, more reliable method.
There’s also a difference in how you unlock devices that lack Touch ID (or on which you haven’t set it up).
Sign up for breaking news, reviews, opinion, top tech deals, and more.
With your device already awake, rather than swiping across the screen to reveal the keypad and enter your passcode, press the Home button a second time.
No more Swipe to Unlock
On the iPhone 6S, iPhone 6S Plus, iPhone 7 or iPhone 7 Plus, though, stick with the Sleep/Wake button or Raise to Wake to reach the Lock screen.
The second generation Touch ID sensor in them responds so quickly that by the time you lift your finger off it after waking the device, you’ll probably have unlocked it to the Home screen as well.
One last thing: consider making your stats, conditions and medications from the Health app available at the Lock screen. In Health > Medical ID > Edit, turn on Show When Locked.
If you need to check this for someone who’s unresponive, try to unlock their iPhone so it presents the passcode entry keypad, and then tap Emergency followed by Medical ID.
How to use and configure the iOS 10 Lock screen
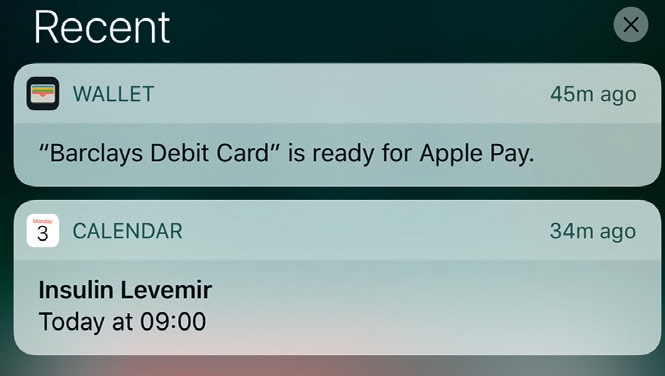
1. Missed notifications
Notification Centre is accessible from the Lock screen. Swipe down from the screen’s top edge to see items you’ve ignored or missed.
Make sure an app’s Show on Lock Screen switch in Settings > Notifications is on to have it appear here.
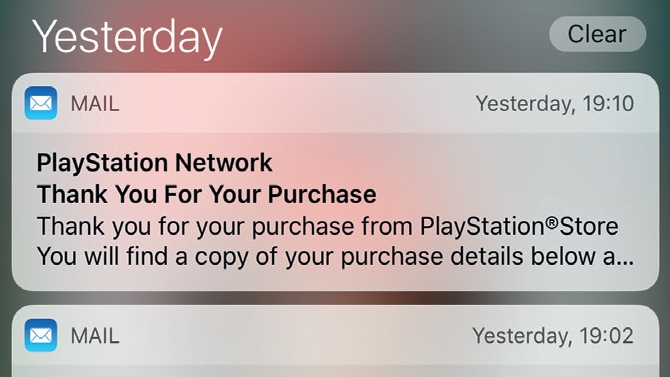
2. Clear notifications
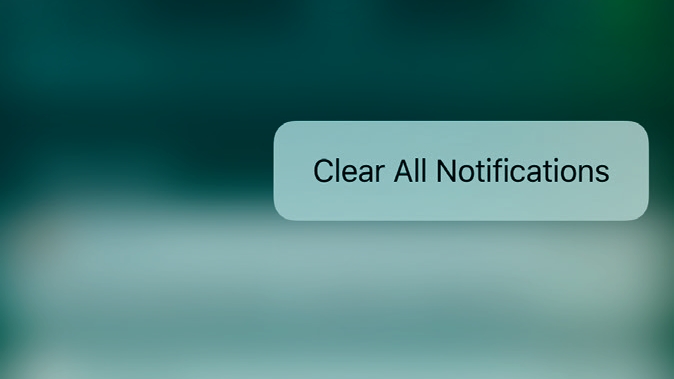
Hold a finger on (or 3D Touch) the cross that’s to the right of headings in Notification Centre (Today, Yesterday, and so on) and tap Clear All Notifications.
Alternatively, swipe left on a notification and tap Clear to get rid of just that one.
3. Respond to an item
Tap a notification to go to that item in its app. Swipe left on one for actions you can take, or apply 3D Touch to take a closer look before deciding what to do; choices in Settings > Notifications may require you to unlock your device for this.
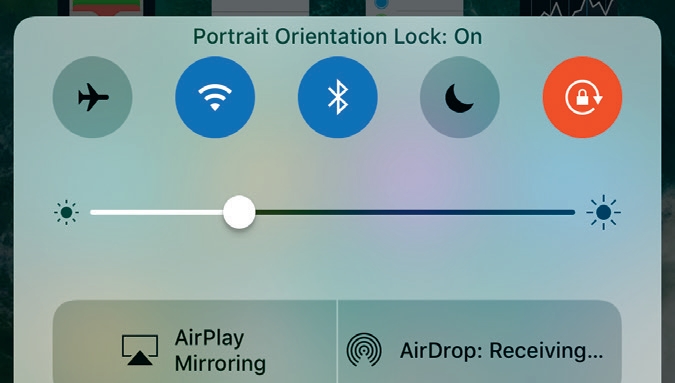
4. Control Centre
Swipe up from the bottom edge for shortcuts to features such as Bluetooth, Wi-Fi and to lock the screen orientation.
You can Tap to change settings, or apply 3D Touch to icons in the bottom row for extra options, such as flashlight intensity.
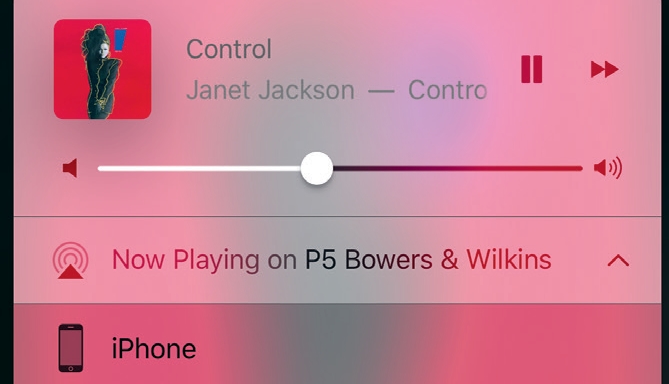
5. Audio and home control
Basic audio controls are on the Lock screen, and extras, such as which speaker to send audio to, are available by swiping left on Control Centre.
If you have set up HomeKit devices in the Home app, swipe left again to control up to nine favourites.
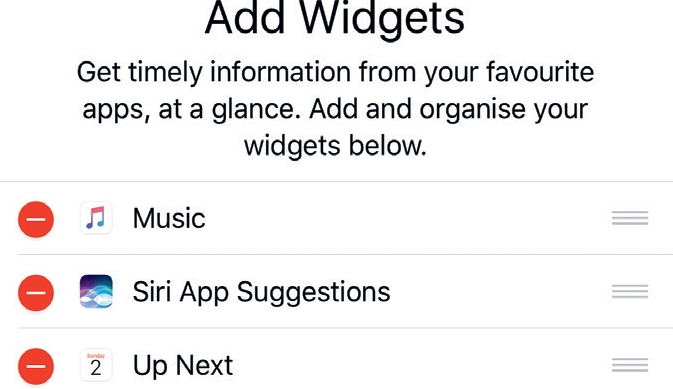
6. Tailor your widgets
Many apps show a widget when you 3D Touch their Home screen icon. To add it to the Today view (and hence the Lock screen), tap Add Widget on it.
Tap Edit at the bottom of Today to manage all your widgets, including their display order.
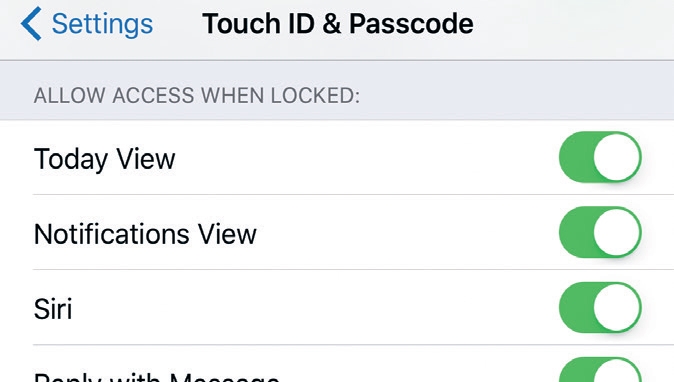
7. Choose what’s usable
In Settings > Touch ID & Passcode, you can disable Lock screen access to Today, notifications, Siri (by holding the Home button), Apple Pay (by double-clicking Home), responding to messages, and controlling HomeKit hardware.
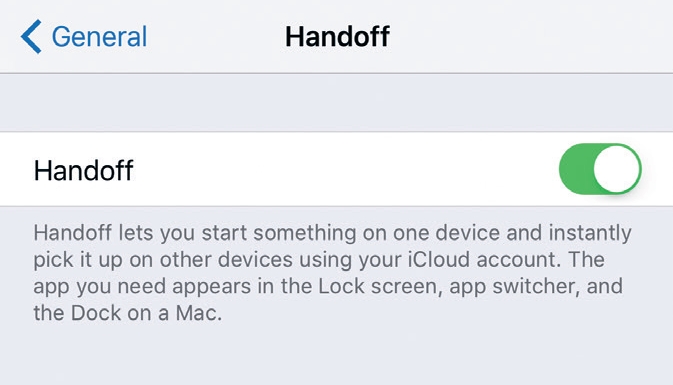
8. Tailor app suggestions
To decide whether installed apps are suggested at the bottom left of the Lock screen based on previous usage, and others you don’t have yet which may be useful at your location, set the switch in Settings > General > Handoff.
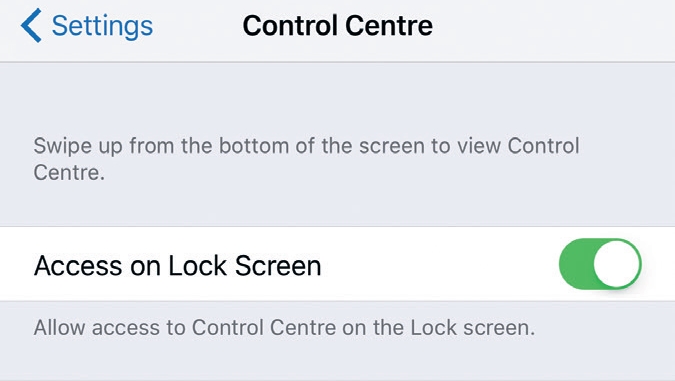
9. Restrict feature access
If you’d rather have to unlock your device to access Control Centre – to help preserve privacy and prevent remote control of your home if your device is lost – go to Settings > Control Centre and turn off Access on Lock Screen.
- Enjoyed this article? Get more tutorials, guides, and tips on how to get the most from your Apple devices inside MacFormat. Take advantage of an exclusive offer in our sampler today.