How to use Freeform on iPhone, iPad, and Mac
How to use a blank canvas in better ways
Sign up for breaking news, reviews, opinion, top tech deals, and more.
You are now subscribed
Your newsletter sign-up was successful
With more and more people working from home, different offices, and generally wherever works best for them, actually getting things done with others can be difficult. Thankfully, like so many things in life, software has the answer.
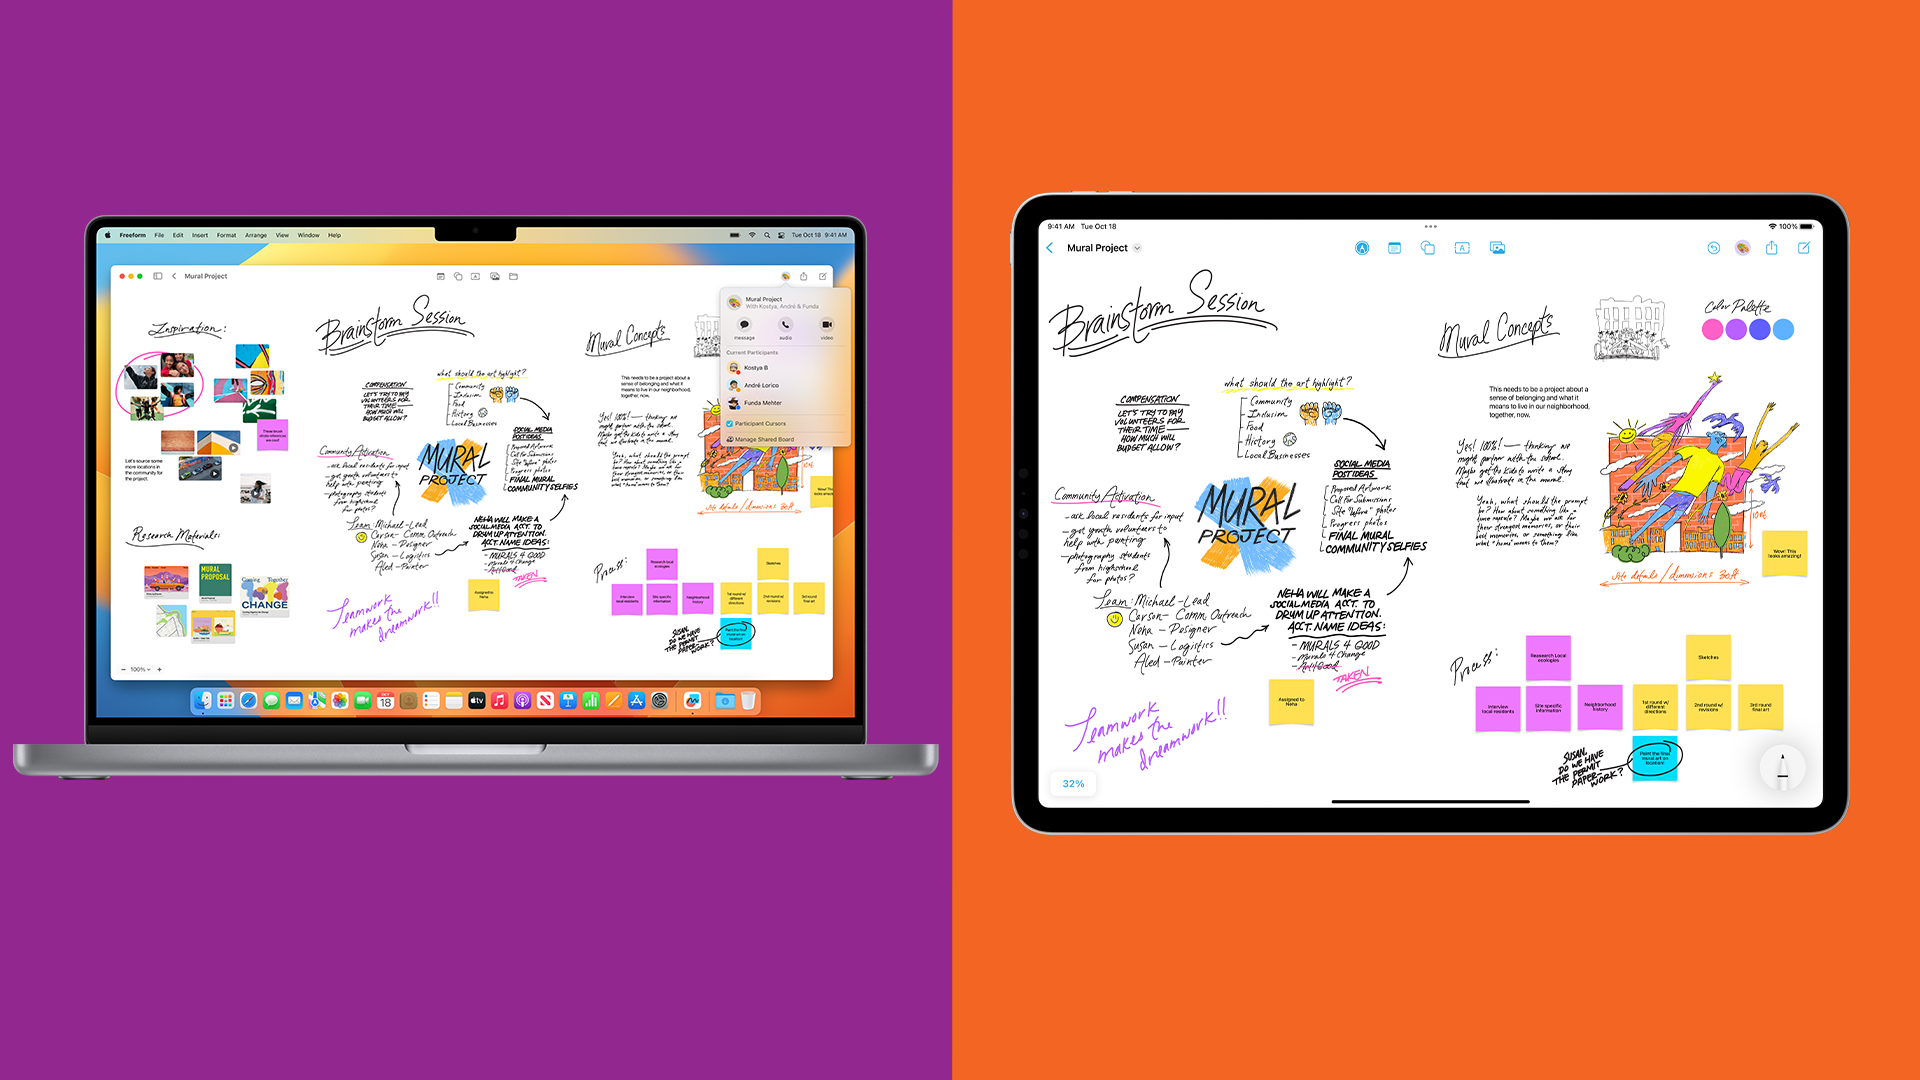
That answer comes in the form of the Freeform app. Freeform is available on iPhones, iPads, and Macs with iOS 16.2, iPadOS 16.2 and macOS 13.1 onwards, and was built to be an endless whiteboard that can house just about anything.
And because it was built to be collaborative Freeform plays nicely with others, making it easier to get stuff done with your coworkers even when they’re on the other side of the world.
But like any new app, Freeform can be daunting. Not because it’s difficult or complicated to use. But because it’s so unstructured by design.
Tools and Requirements
- An iPhone with iOS 16.2 or newer
- An iPad with iPadOS 16.2 or newer
- A Mac with macOS 13.1 Ventura or newer
Quick Steps
- Insert shapes and text.
- Draw anything.
- Work collaboratively by sharing your whiteboard.
How to use Freeform

Using Freeform on your iPhone and iPad is a great way to get your ideas onto a digital canvas, and because the two apps are two sides of the same coin, they both work the same way. The only difference? Your Freeform supports the Apple Pencil on your iPad. It’s all about using your finger-painting skills on the iPhone, unfortunately.
Insert shapes, text, and more
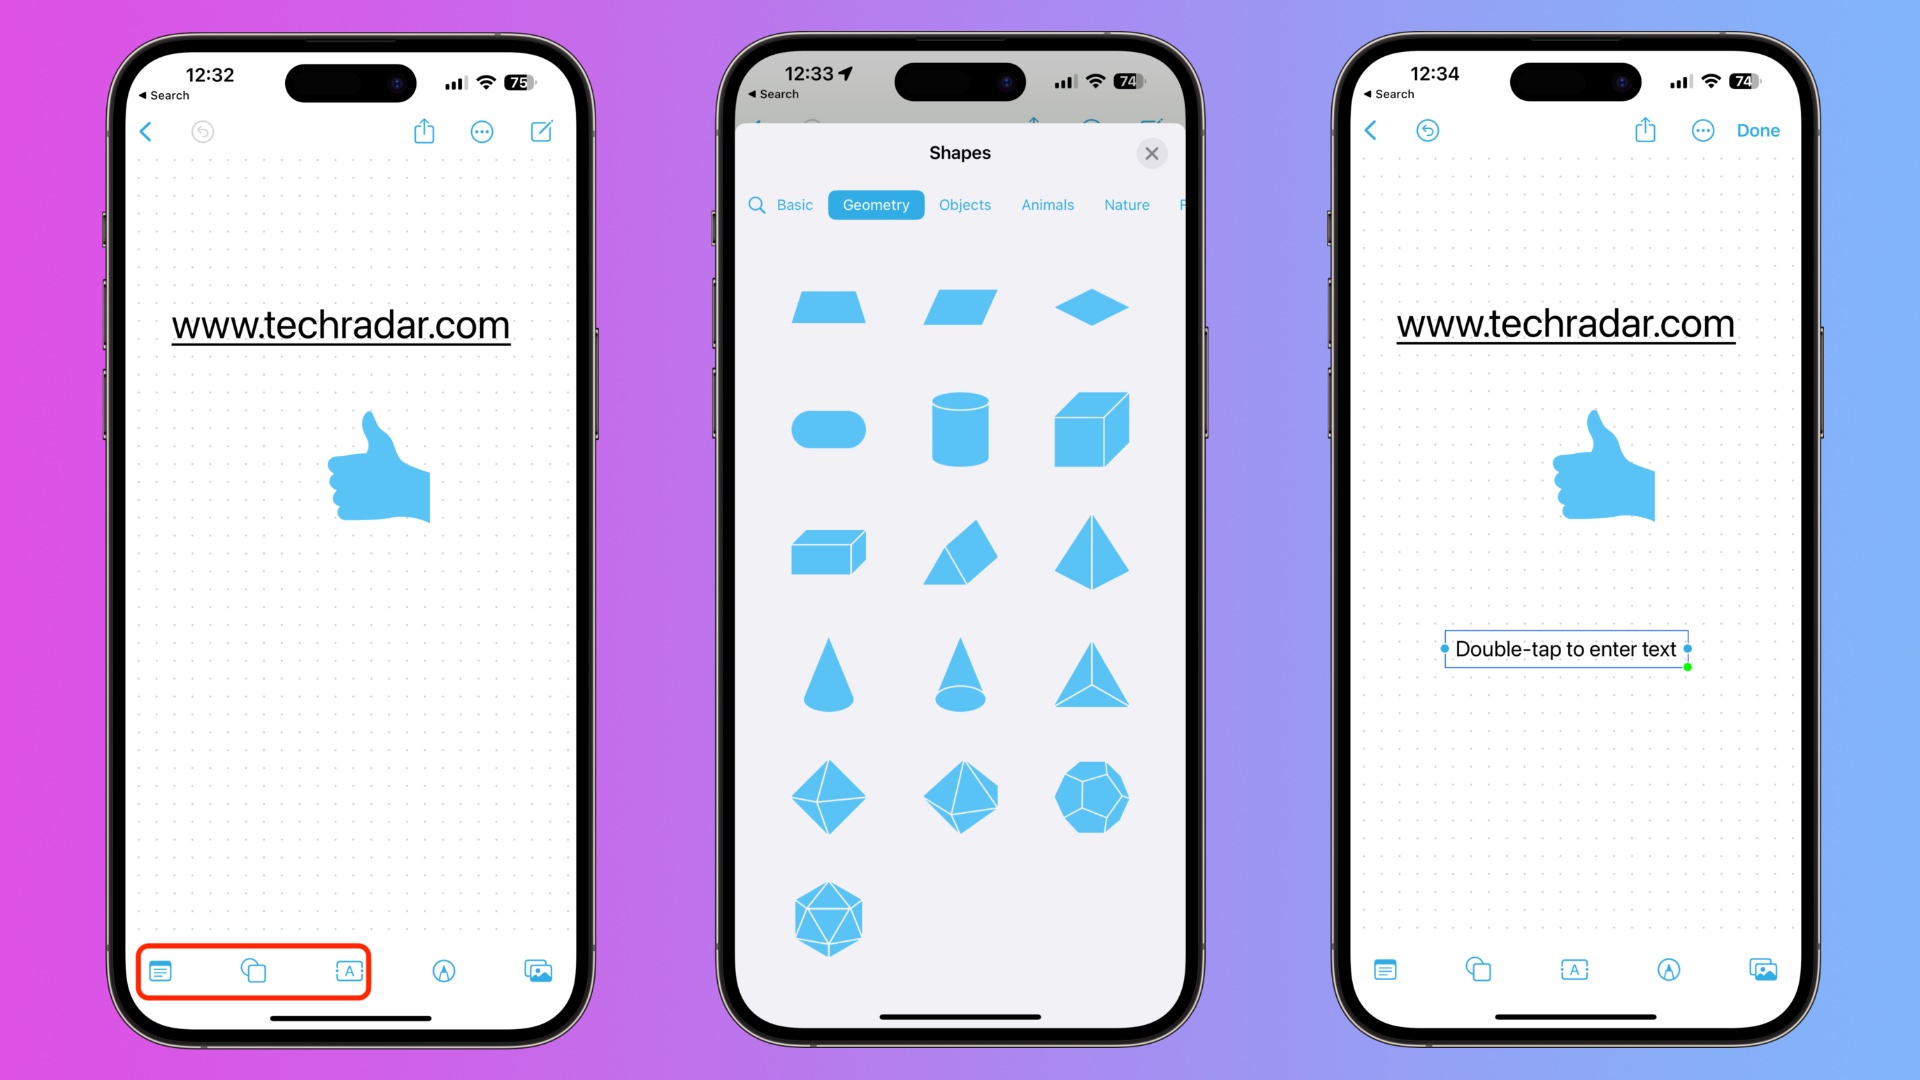
With a new Freeform page open you’re going to want to get started. Freeform lets you insert various shapes and arrows, not to mention objects, animals, symbols, and more. Tap the shapes button to get started.
Tap a category on the next screen to select the one you want to choose from and then tap the object or shape of your choosing to insert it. You can drag the object around with your finger and resize it at will once it’s on the page. Prefer to insert a photo from your iPhone or iPad? Tap the picture icon and insert something from the Photos or Files app.
Sign up for breaking news, reviews, opinion, top tech deals, and more.
Tap the text button at the bottom of the screen to insert a text box and double-tap it to enter your text. Basic text formatting options are also available on the same screen should you want to get creative. Tap Done when you’re finished entering your text.
You can also choose to add text inside a sticky note – something that could be useful if you want to leave a note for someone. Tap the sticky note icon to insert a note and then move it to wherever you like.
Get creative and draw freehand
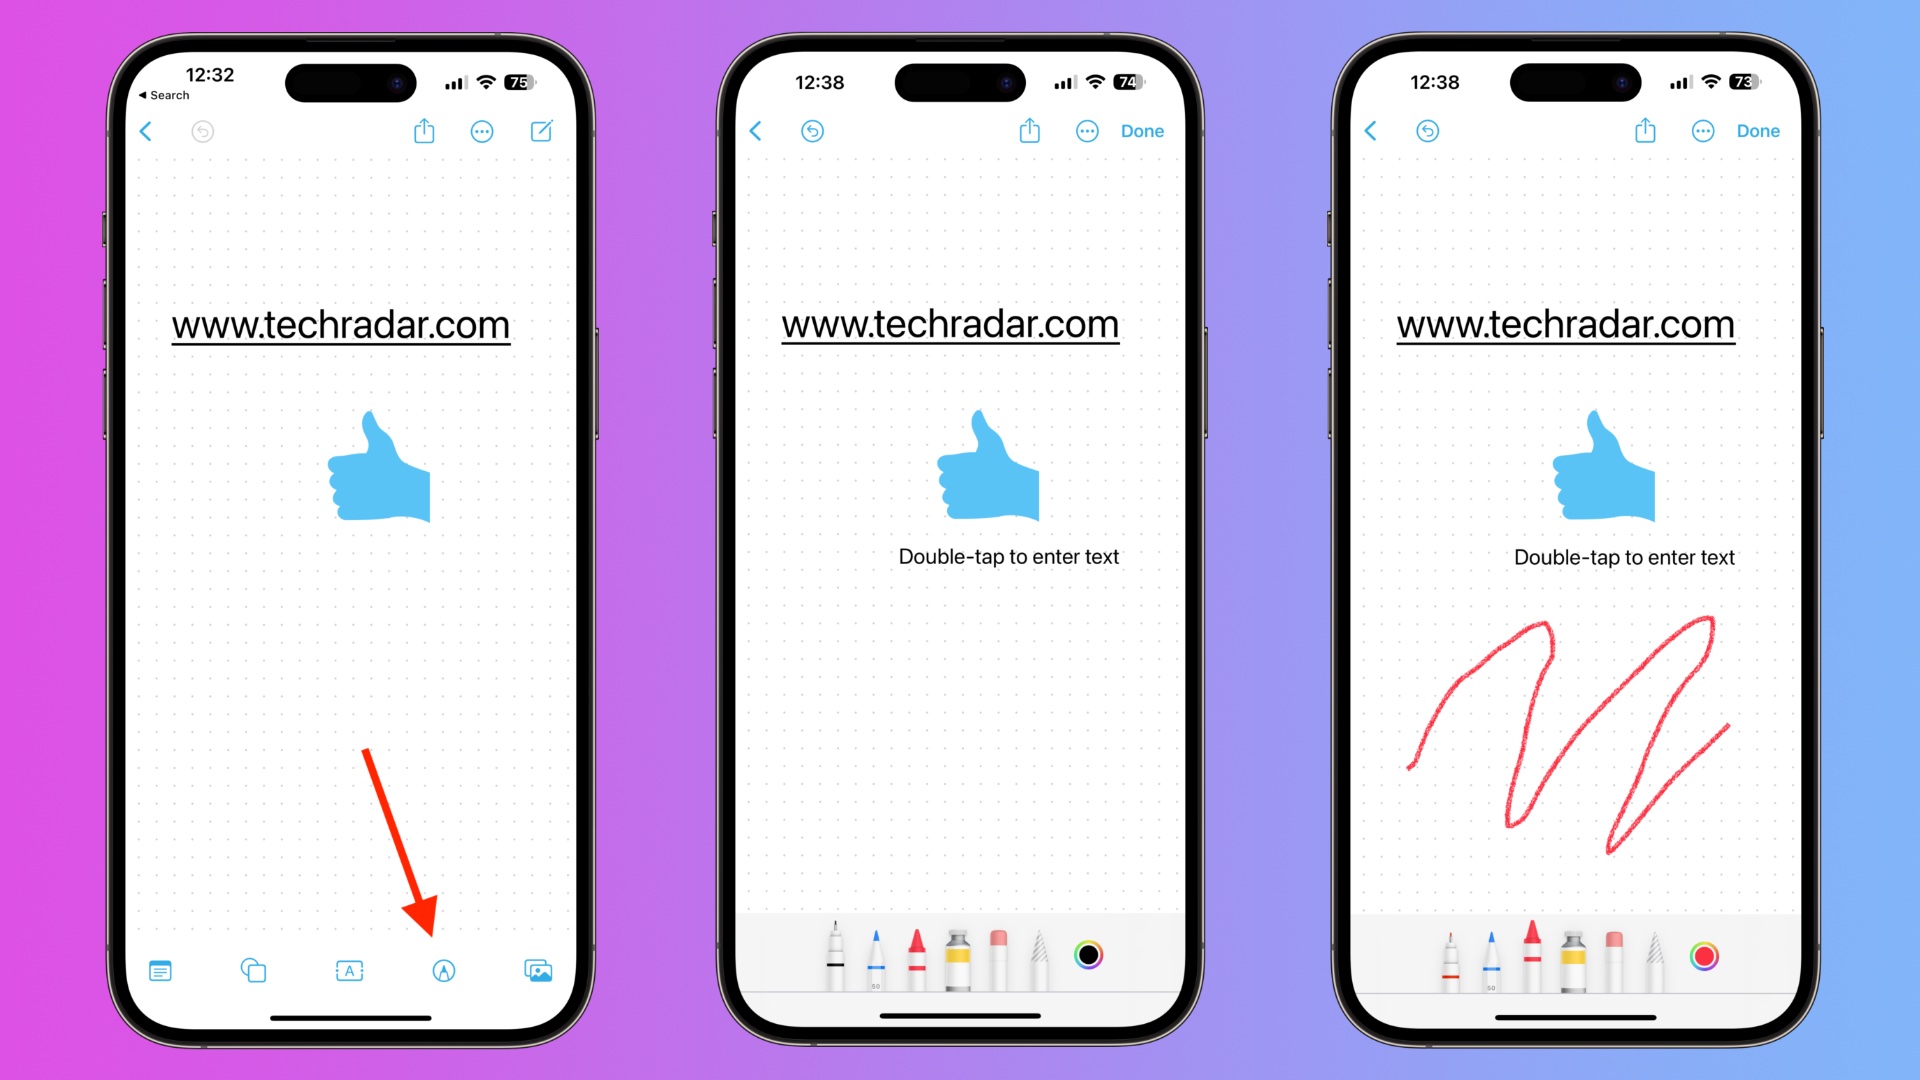
Inserting predefined shapes is great and they can be all kinds of useful, but sometimes you just need to draw your thoughts to get them across. With iPhone that’s easy, and with iPad it’s even better thanks to support for the Apple Pencil.
On your iPhone you can tap the pen icon to get started and then use your finger to draw your ideas. You can adjust the size of the lines you draw as well as other aspects of your artwork using the on-screen options.
Things are even easier on your iPad – just take your Apple Pencil and begin drawing or handwriting. You have the same controls over things like the transparency of your lines, but you have more control thanks to the Apple Pencil in your hand.
Work collaboratively

The beauty of Freeform isn’t that it’s a neverending canvas that you can scribble on but rather the fact that you can do that with your coworkers, no matter where they happen to be.
Sharing your Freeform page is easy. Tap the Share button and then tap the person you want to collaborate with. With other people included, your Freeform page can be edited by everyone simultaneously.
How to use Freeform on a Mac
As you might imagine, using Freeform on a Mac is very similar to using it on an iPhone or an iPad but with a mouse or trackpad cursor instead of your finger. But that doesn’t mean that everything is exactly the same and there are some minor differences to be aware of even if you’re a Freeform ninja.
1. Insert all the things
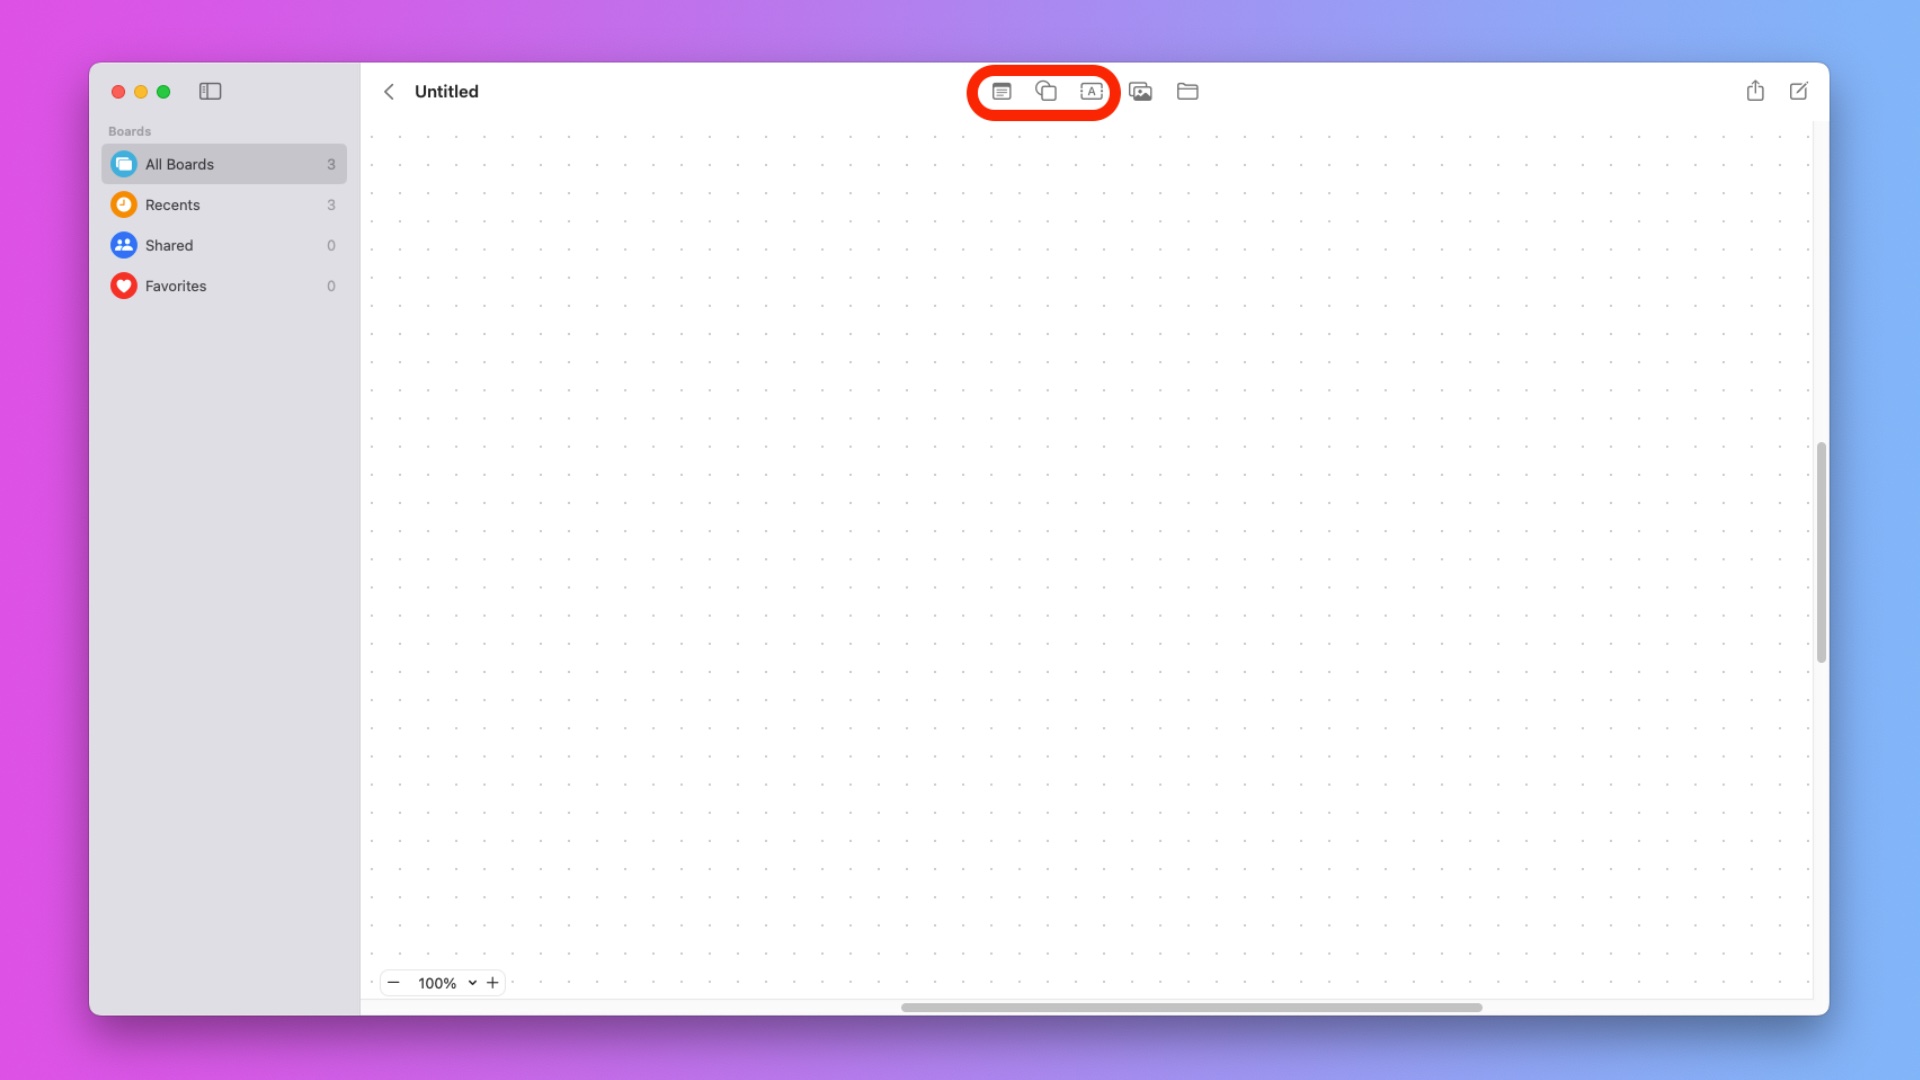
Click the shapes button to begin adding a shape or symbol to your Freeform page. Click a category to drill down into more specific groupings of shapes and symbols or click one to add it to the page and you can move and resize it as needed. You can also import any image or photo from your Mac by clicking the picture icon.
Entering text is very similar – click the text box button to get started and you can immediately begin typing. There’s no need to click or double-click the box as is the case on the iPhone and iPad. The same text formatting options are available, however.
Prefer your text to appear inside a sticky note? Click the sticky note button to insert one and then drag it to your preferred location.
2. Draw freehand
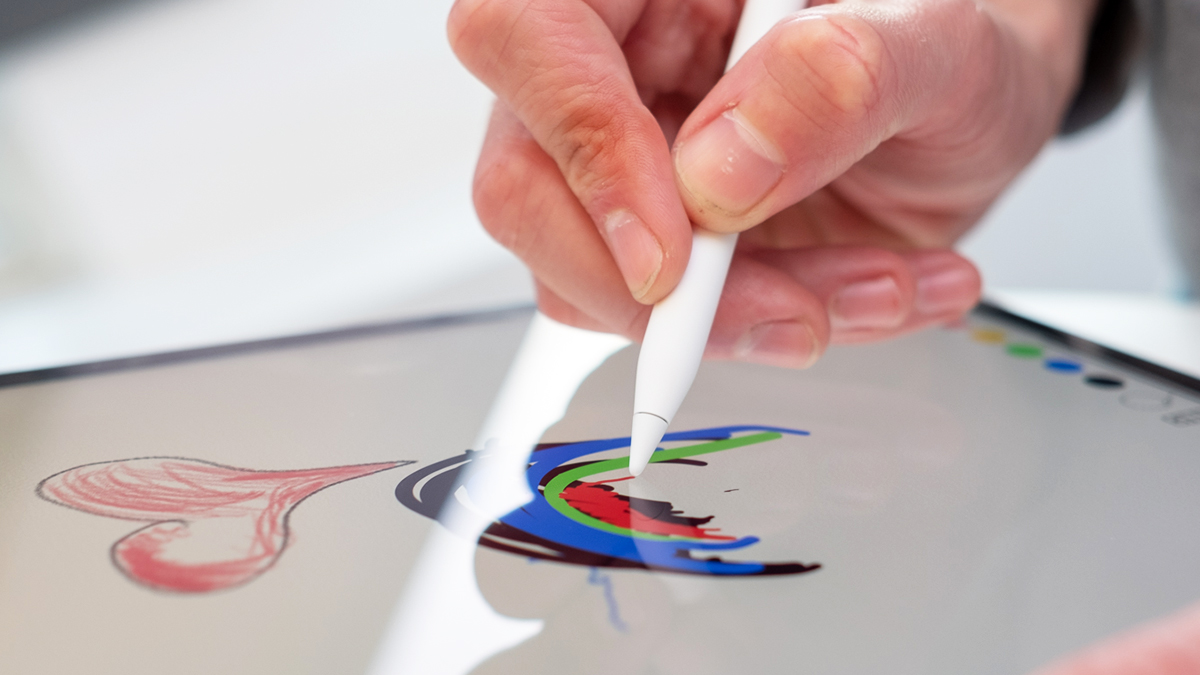
Perhaps the biggest difference between Freeform on the Mac and the same app on Apple’s other platforms is drawing freehand. Simply, you can’t. There’s no option to draw on the Mac which is surprising and baffling in equal measure. Perhaps that will change in a future update.
For now, drawing is something you’ll have to do on your iPhone or iPad – but thanks to the magic of iCloud syncing you can rest assured those drawings will be available on your Mac afterward.
3. Work collaboratively with others
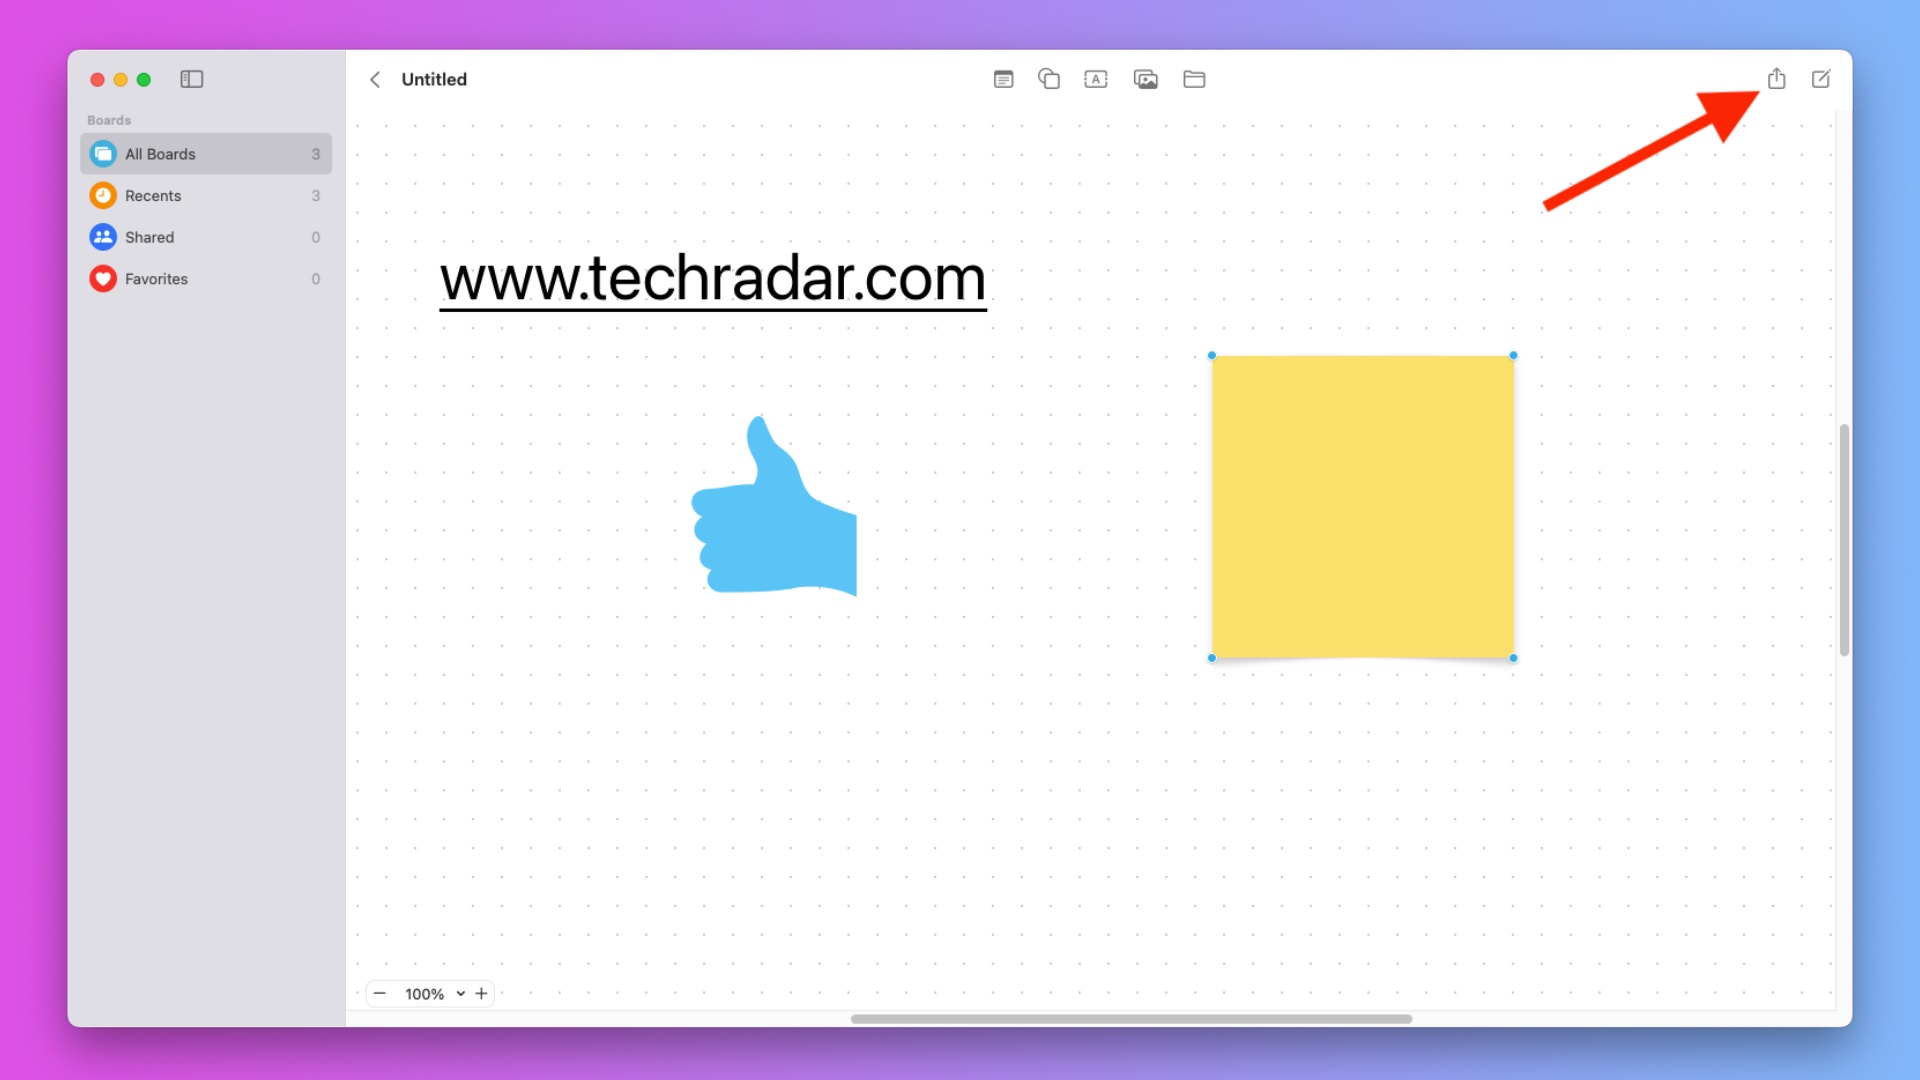
You might not be able to draw on your Mac but you’ll definitely be able to see all of your coworkers’ masterpieces. You can collaborate with others easily – just click the share button in the top-right corner of the Freeform app. Then click the person that you want to invite to your Freeform page and they’ll receive a notification on their devices.
Final Thoughts
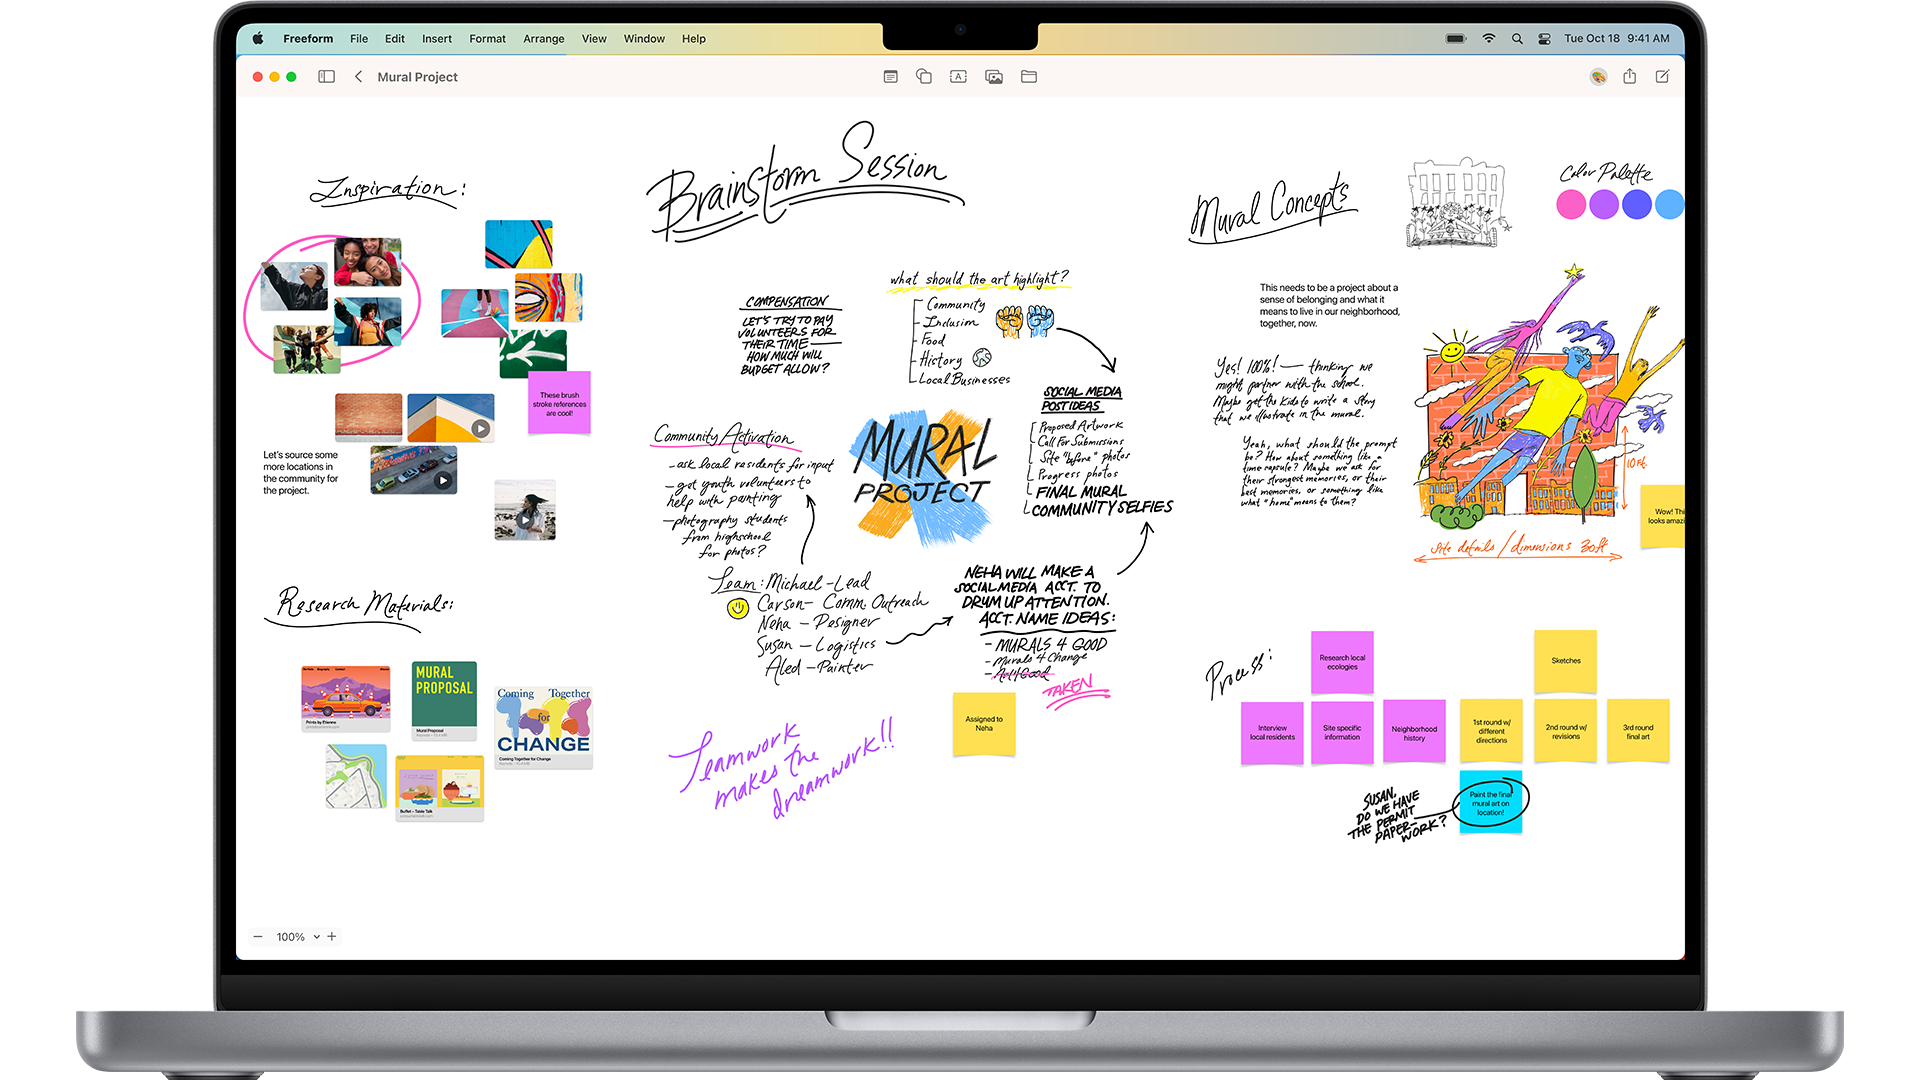
Freeform is a great example of an app that you might not realize that you need until you try it. Once you do you’ll begin thinking of cool ways that you and your coworkers could use it to get things done in ways that aren’t always possible in a distributed world.
Instant cross-device syncing via iCloud and a flawless real-time collaboration feature make Freeform a sleeper hit. You might not use it all day and every day, but you’ll thank your lucky stars that it exists when you do.

Oliver Haslam has written about Apple and the wider technology business for more than a decade with bylines on How-To Geek, PC Mag, iDownloadBlog, and many more. He has also been published in print for Macworld, including cover stories. Having grown up using PCs and spending far too much money on graphics card and flashy RAM, Oliver switched to the Mac with a G5 iMac and hasn't looked back.
- Daryl BaxterContributor