How to build a console: our ultimate living room game machine DIY guide
Introduction
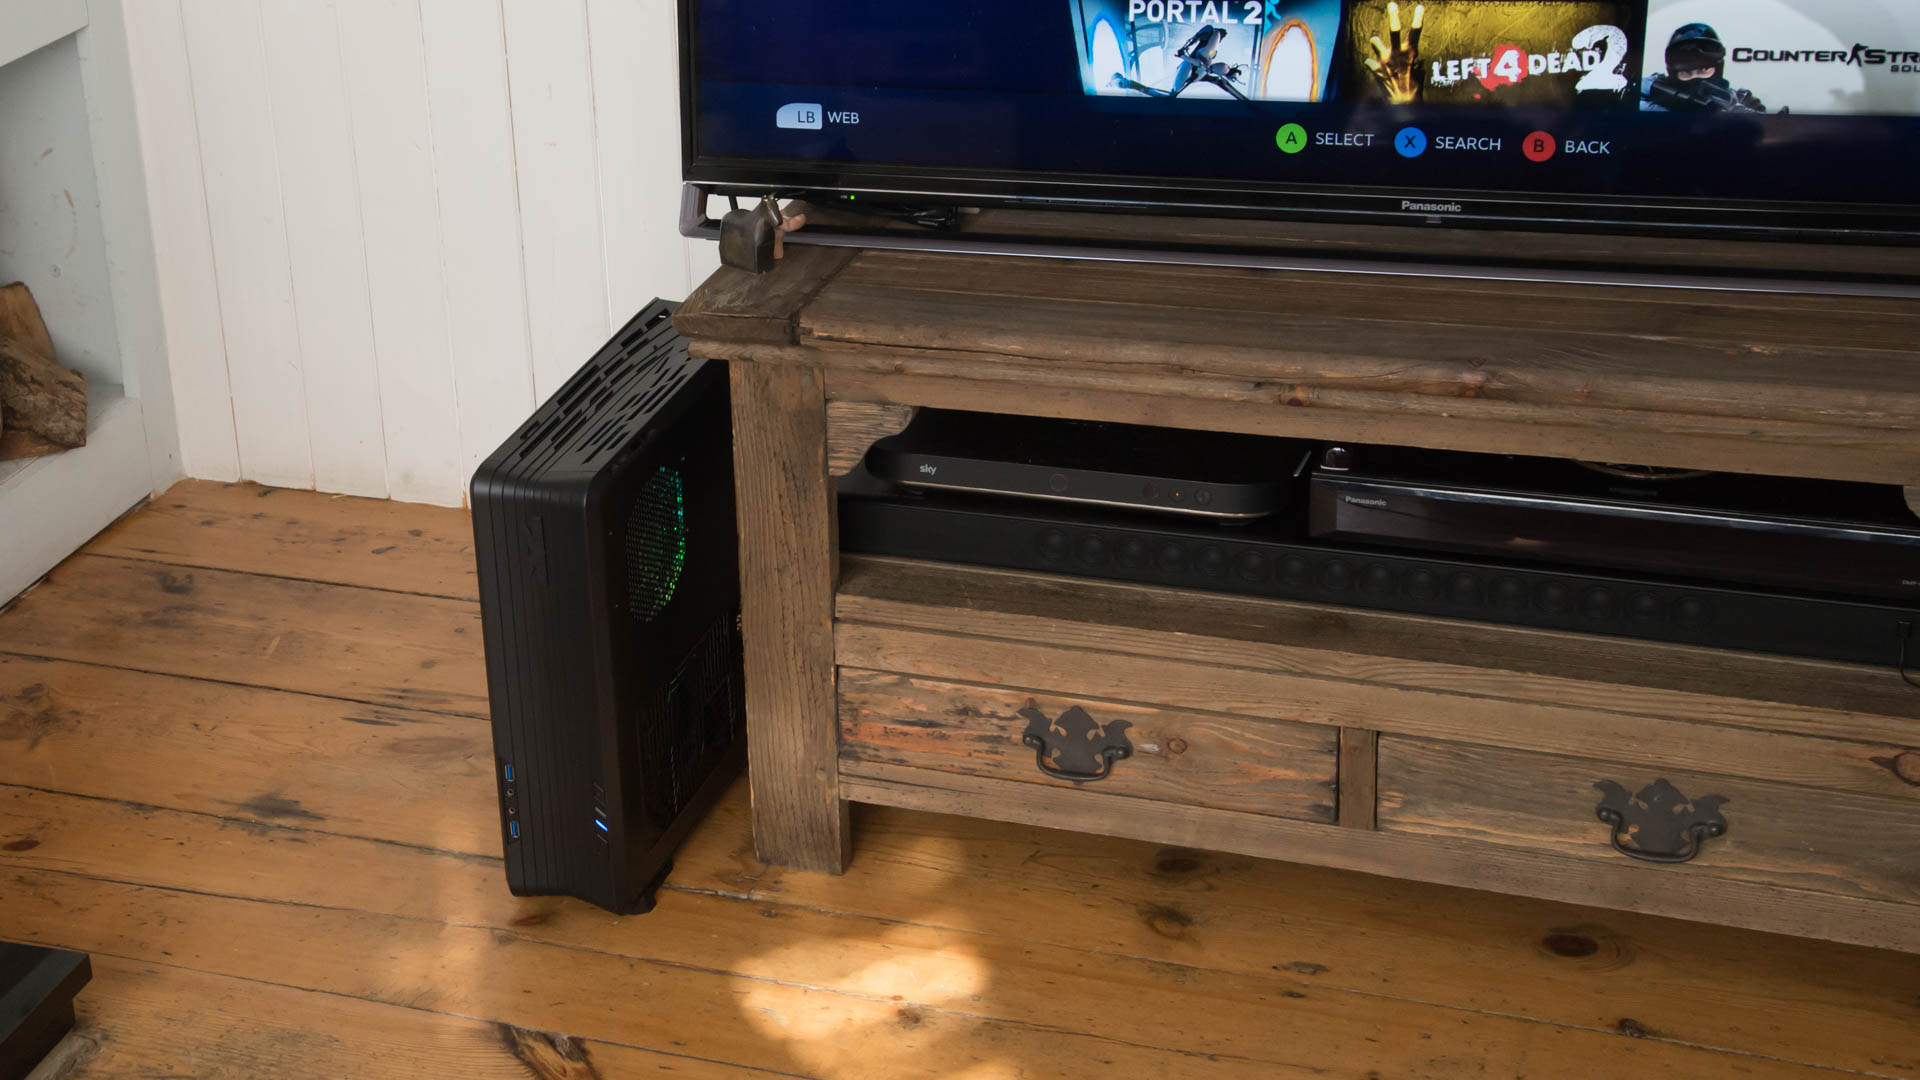
The PC is, hands-down, the best gaming platform on earth. With the incredible hardware available, you can build a gaming PC that will outperform any console in terms of resolution and detail. The only issue is that most gaming PCs are massive beasts.
Thankfully, with a bit of planning, it doesn't have to be this way. You can build a gaming computer that's as small as a console but has all of the power of a big desktop rig.
Now's a brilliant time to do this job, as graphics cards have become both a lot more powerful and a lot less power-hungry, so you can squeeze them into a smaller case without worrying about heat.
This is particularly true of Nvidia's current range of cards, thanks to their efficient Pascal architecture. Likewise, Intel's newest processors are surprisingly power efficient, so you don't have to worry too much about heat causing problems.
Storage advantages have made their mark, too, with SSDs proving to be faster than regular hard disks, while generating a lot less noise and heat and requiring less room. Storage capacities have increased, while prices have dropped.
We'll talk you through building the most powerful system you can get (a 4K gaming rig that's a similar size to a PS4 Pro); however, as gaming needs differ, we'll also suggest cheaper components, too.
1. Choosing the right hardware
If you want a small computer, there's only one choice: Mini-ITX. This tiny motherboard format lets you build a full-power PC using a board that measures a maximum of 170x170mm.
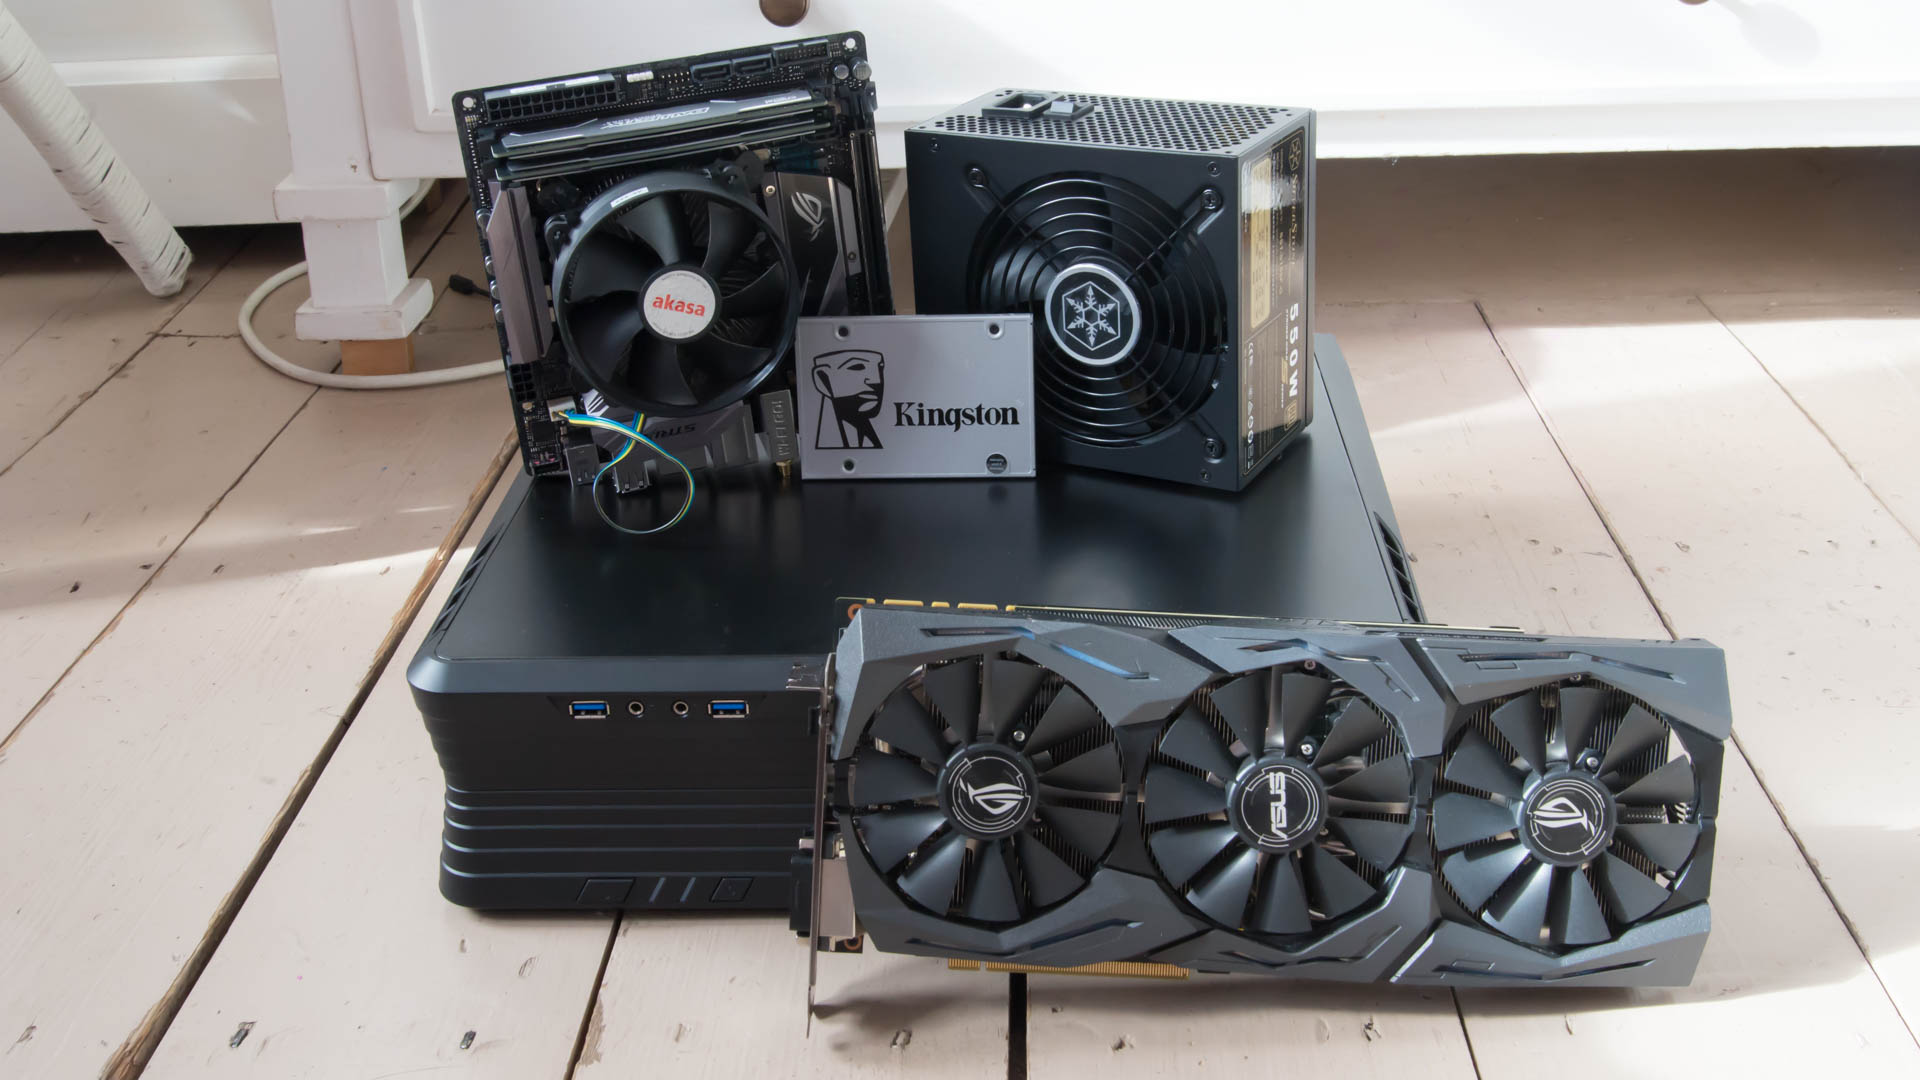
Of course, this means that you can use smaller cases. For this build, we've gone for the Silverstone Raven RVZ01-E. Although tiny, it has two major advantages over many other Mini-ITX cases: it can take a full-size(ish) ATX PSU and a full-size, double-height graphics card.
Now, there are some space constraints. In particular, while the case can take a 150mm deep PSU, that leaves barely any room for cables. A 140mm deep PSU gives a lot more room, so we've chosen a 550W Silverstone SST-ST55F-G v 2.0. As this PSU is fully modular, we only need connect the cables we're using, which saves a bit more space inside and makes the build even easier.
Any current generation graphics card less than 330mmwill fit in the case, so we've gone for an Nvidia GeForce GTX 1080 (ROG STRIX-GTX1080-A8G-GAMING); if you want to save a bit of cash or just want 1440p or 1080p gaming, the GeForce GTX 1060 is a good alternative.
We opted for the Asus ROG STRIX Z270I motherboard, as it will take the latest Intel processors (Kaby Lake) and has an M.2 storage slot, which can save a lot of space inside the case.
We paired it with an Intel Core i7-7700 processor, although you could arguably use an i5-7500.
If you're going for a lower-power graphics card, the Core i3-7100 is an excellent choice.
We used 8GB of Crucial Ballistix Sport DDR4 2,400MHz RAM, as 16GB is overkill.
There's not a lot of room for cooling in this case, so we went with a basic Akasa AK-959CU; you can fit liquid cooling, as the case has a spare 120mm fan slot.
An M.2 SSD, such as the Samsung 960 Pro, is a good option, with capacities up to 2TB. This will give you the best performance and means that you won’t need SATA cables inside the case.
These drives are expensive, though, and a regular SATA3 SSD will do the job if you want to save a bit of cash. In either case, buy at least a 500GB drive (or thereabouts), so you have enough room for Windows 10 and all of your games.
Finally, we also used an Xbox One controller with a Windows 10 USB receiver. This gives the best compatibility with games and can be used to wake your computer automatically from sleep.
2. Initial steps
Our PC building guide shows you how to build a PC, so here we're just going to focus on the important things that make this console Mini-ITX build a little different. Take care to also read the instructions that came with the Silverstone Raven RVZ01-E, as this is a specialised build that needs particular care.
First, remove the top panel of the case and then unscrew and remove the graphics card bay.
Next, from the underside of the case, remove the PSU bracket. With the inside of the case clear, you've got enough room to work.
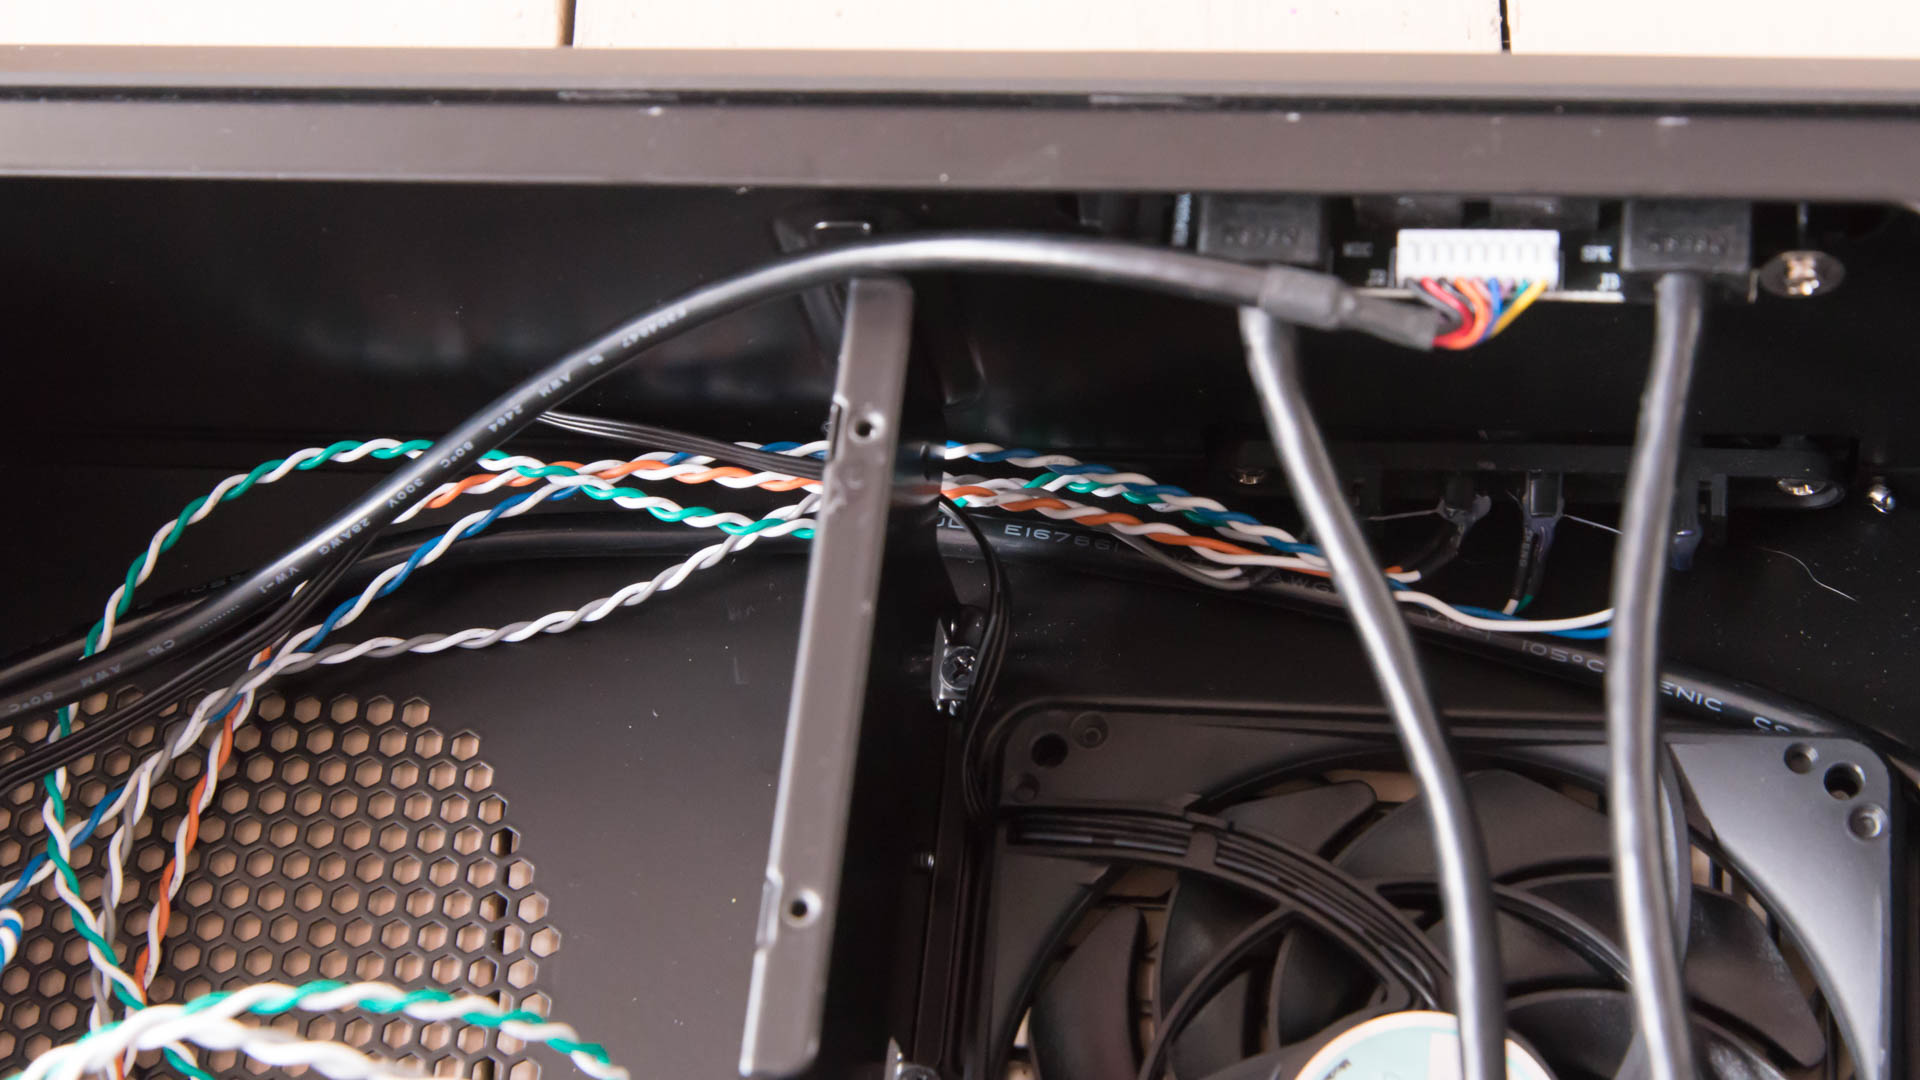
Before you get started, it's worth tidying up some cables. Run the front-panel connector cables through the hole at the back of the middle divider. A 120mm fan sits in the graphics card bay. If you're going to use this fan, run its cable through the hole in the divider, too. As our chosen motherboard has just one fan header, connect the 120mm fan at the back of the case to a Molex-to-fan adaptor.
Plug the adaptor into the PSU's modular Molex cable and run the cable through the hole in the central divider. The USB 3.0 and audio header cables can go over the top of this divider.
3. Motherboard installation
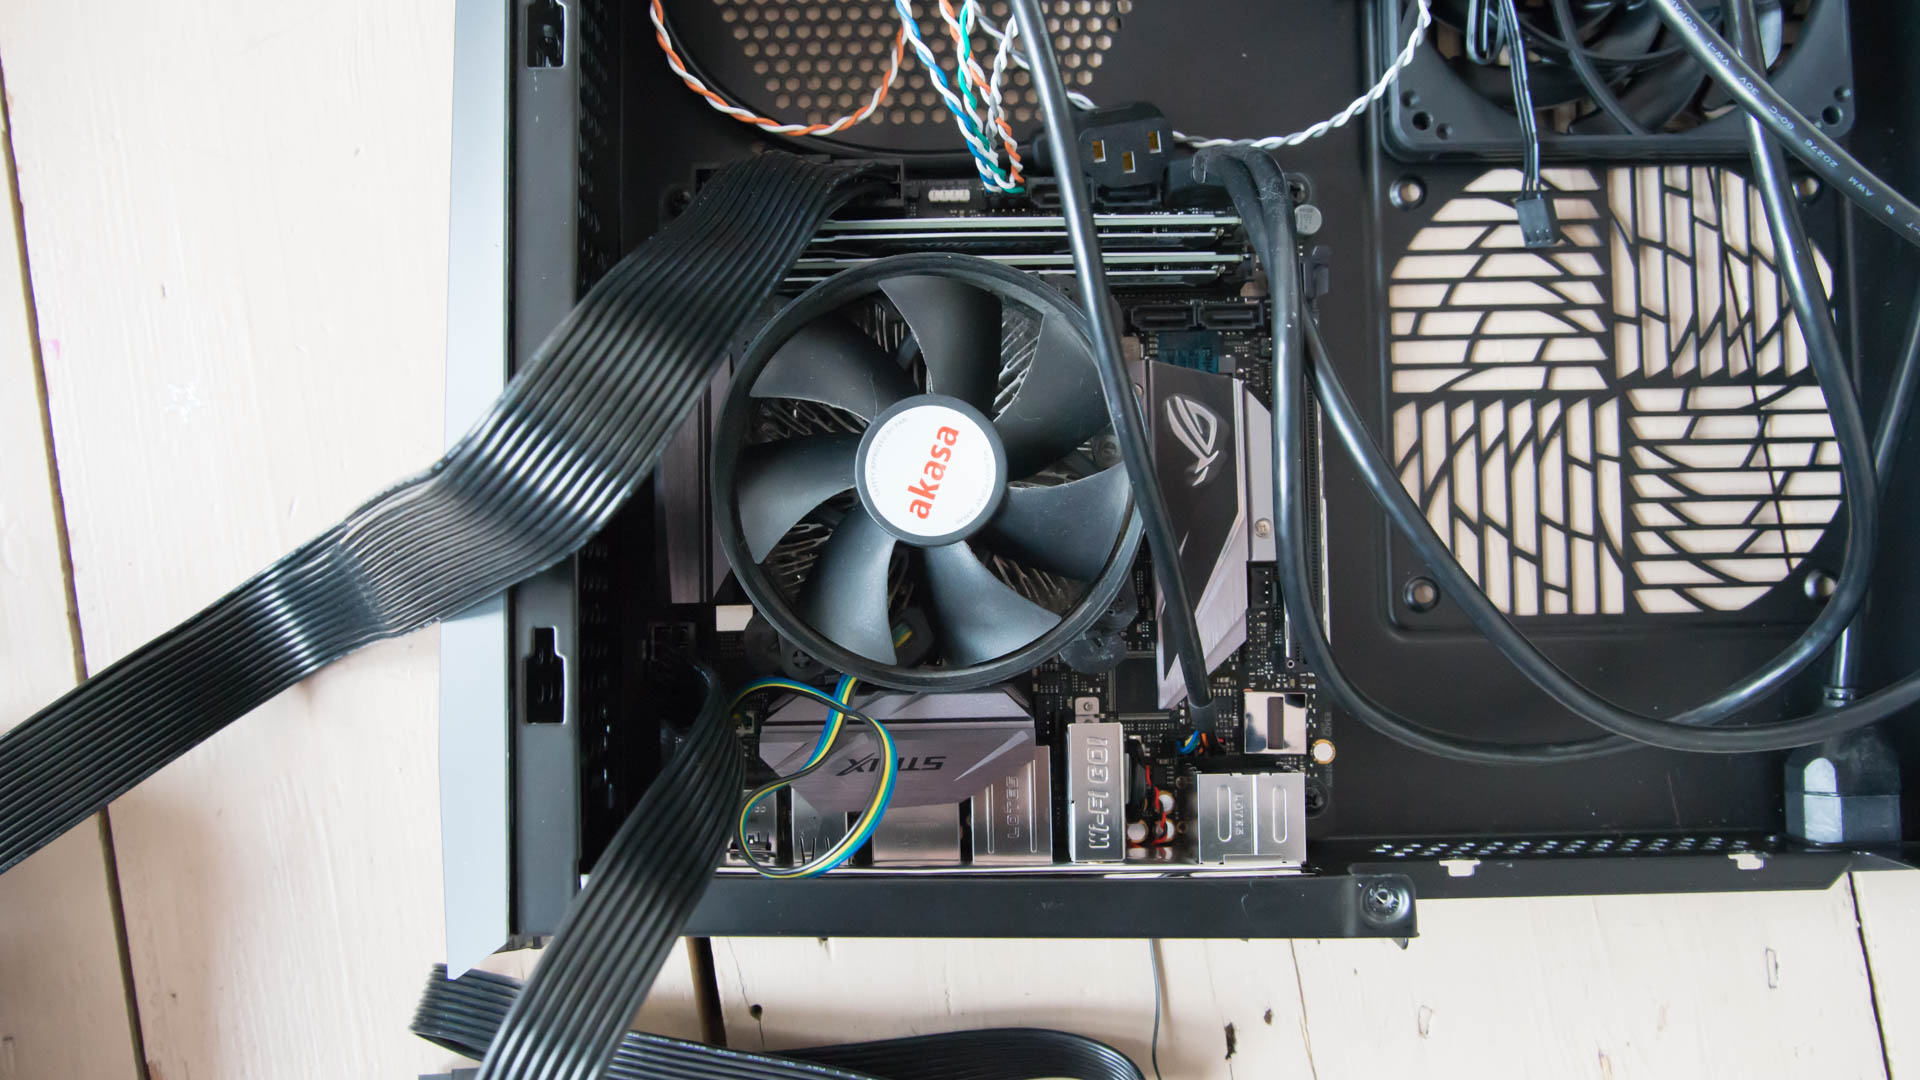
Install the CPU, RAM and M.2 SATA drive (if using) into the motherboard. If you're using a liquid cooler, you should fit the back bracket to the motherboard now, too.
Next, insert the motherboard's blanking plate into the slot at the rear of the case. Drop the motherboard in, making sure its rear ports are lined up with the blanking plates and screw it in place. You need to attach the front panel connectors (power, reset, and so on), plus the USB3 and audio headers. Also, connect the motherboard 24-pin and 8-pin power connectors, but don't attach the other ends to the PSU just yet.
Connect up the cooler and plug it into your motherboard's CPU fan power header. Finally, if you're using a SATA3 SSD, connect a SATA cable.
It looks kind of messy inside, but if you don't attach cables now, you won't have room later. To make things easier for the rest of the build, flip any cables you can over the sides of the case, so they're out of the way.
4. Install the graphics card
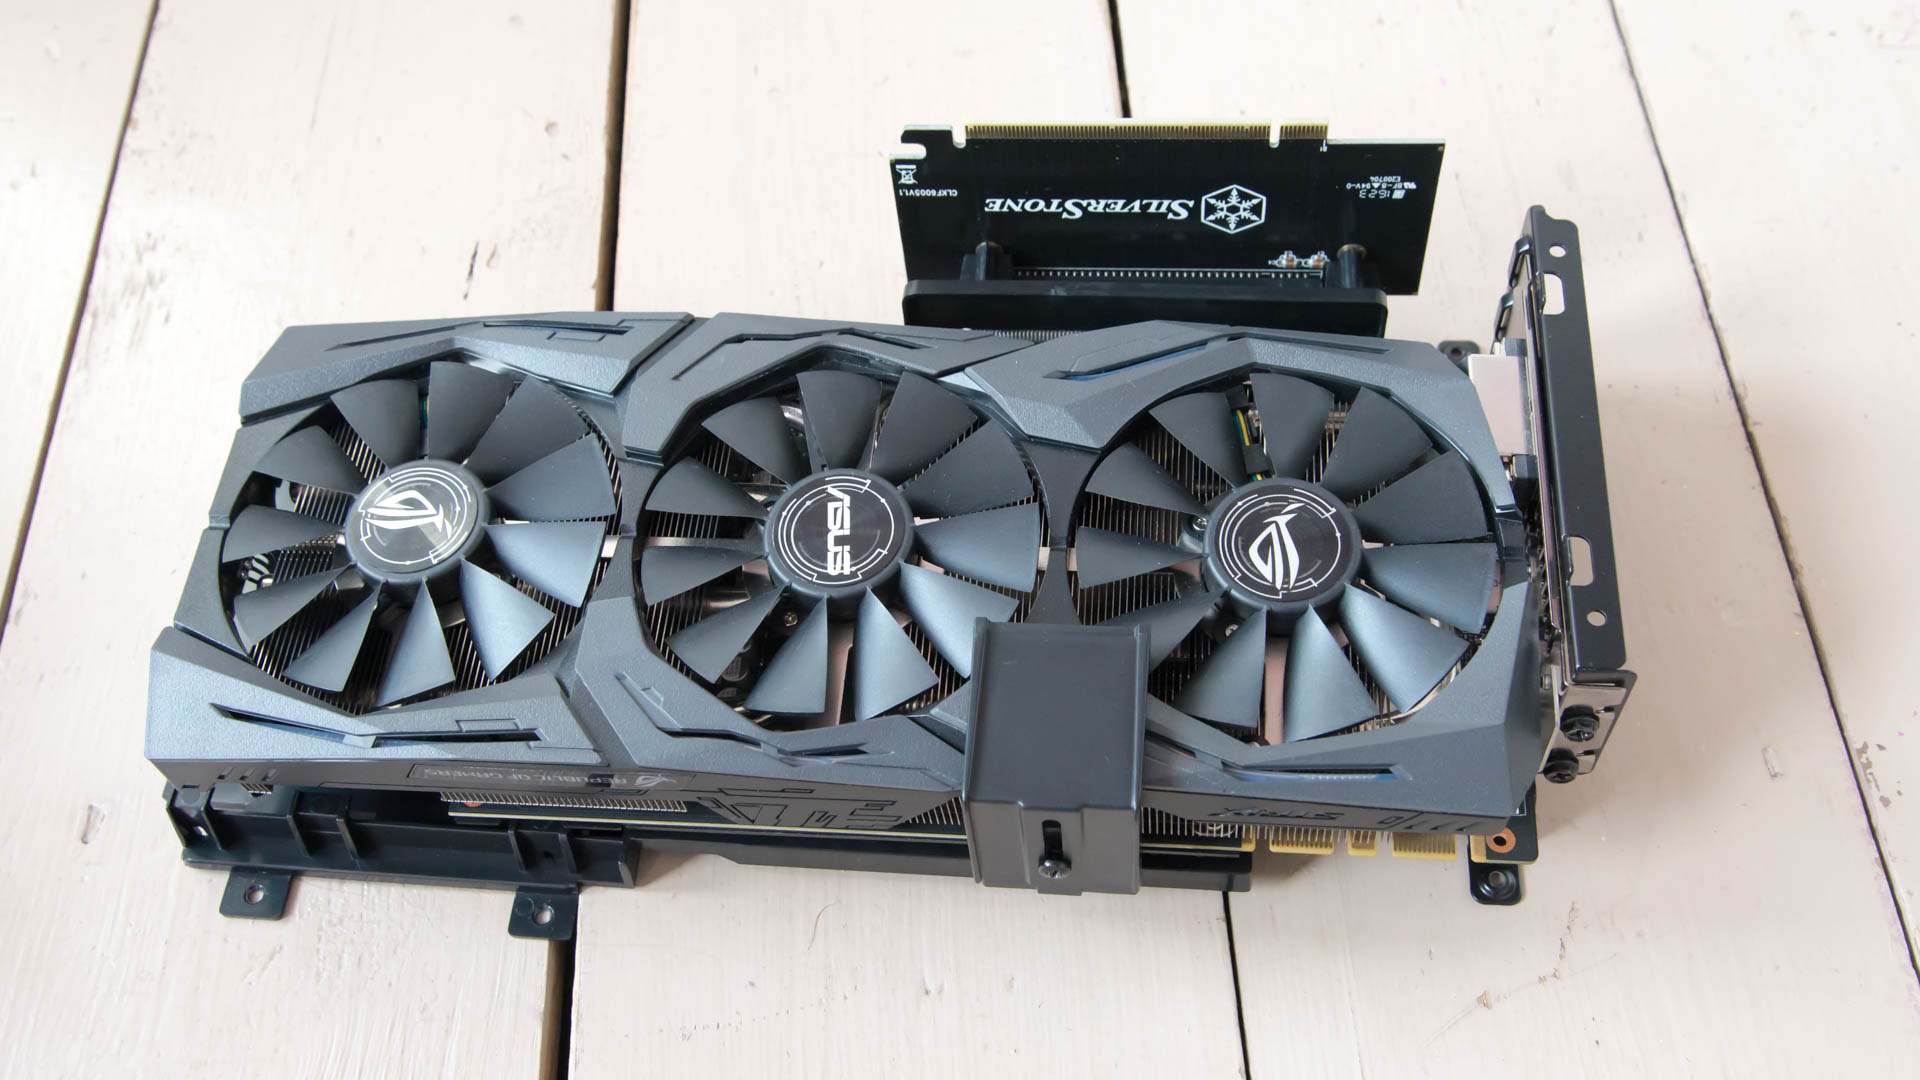
The graphics card needs to be plugged into the mounting bay. First, unscrew and remove the blanking plates.
Now, plug the graphics card into the bay's PCI-E slot (this is an L-shaped converter so that the graphics card can sit flat). Use the screws you removed to secure your graphics card.
Next, there's a C-shaped bracket in the box, which holds the graphics card in place, for extra support.
Make sure this bracket doesn't obscure the GPU's fans, then screw it gently into place.
Attach the PCI-E extension riser, otherwise your graphics card won't be able to plug into the motherboard.
Finally, connect the PCI-E power adaptors from the PSU's modular cables into the graphics card.
5. Fit the graphics card bay
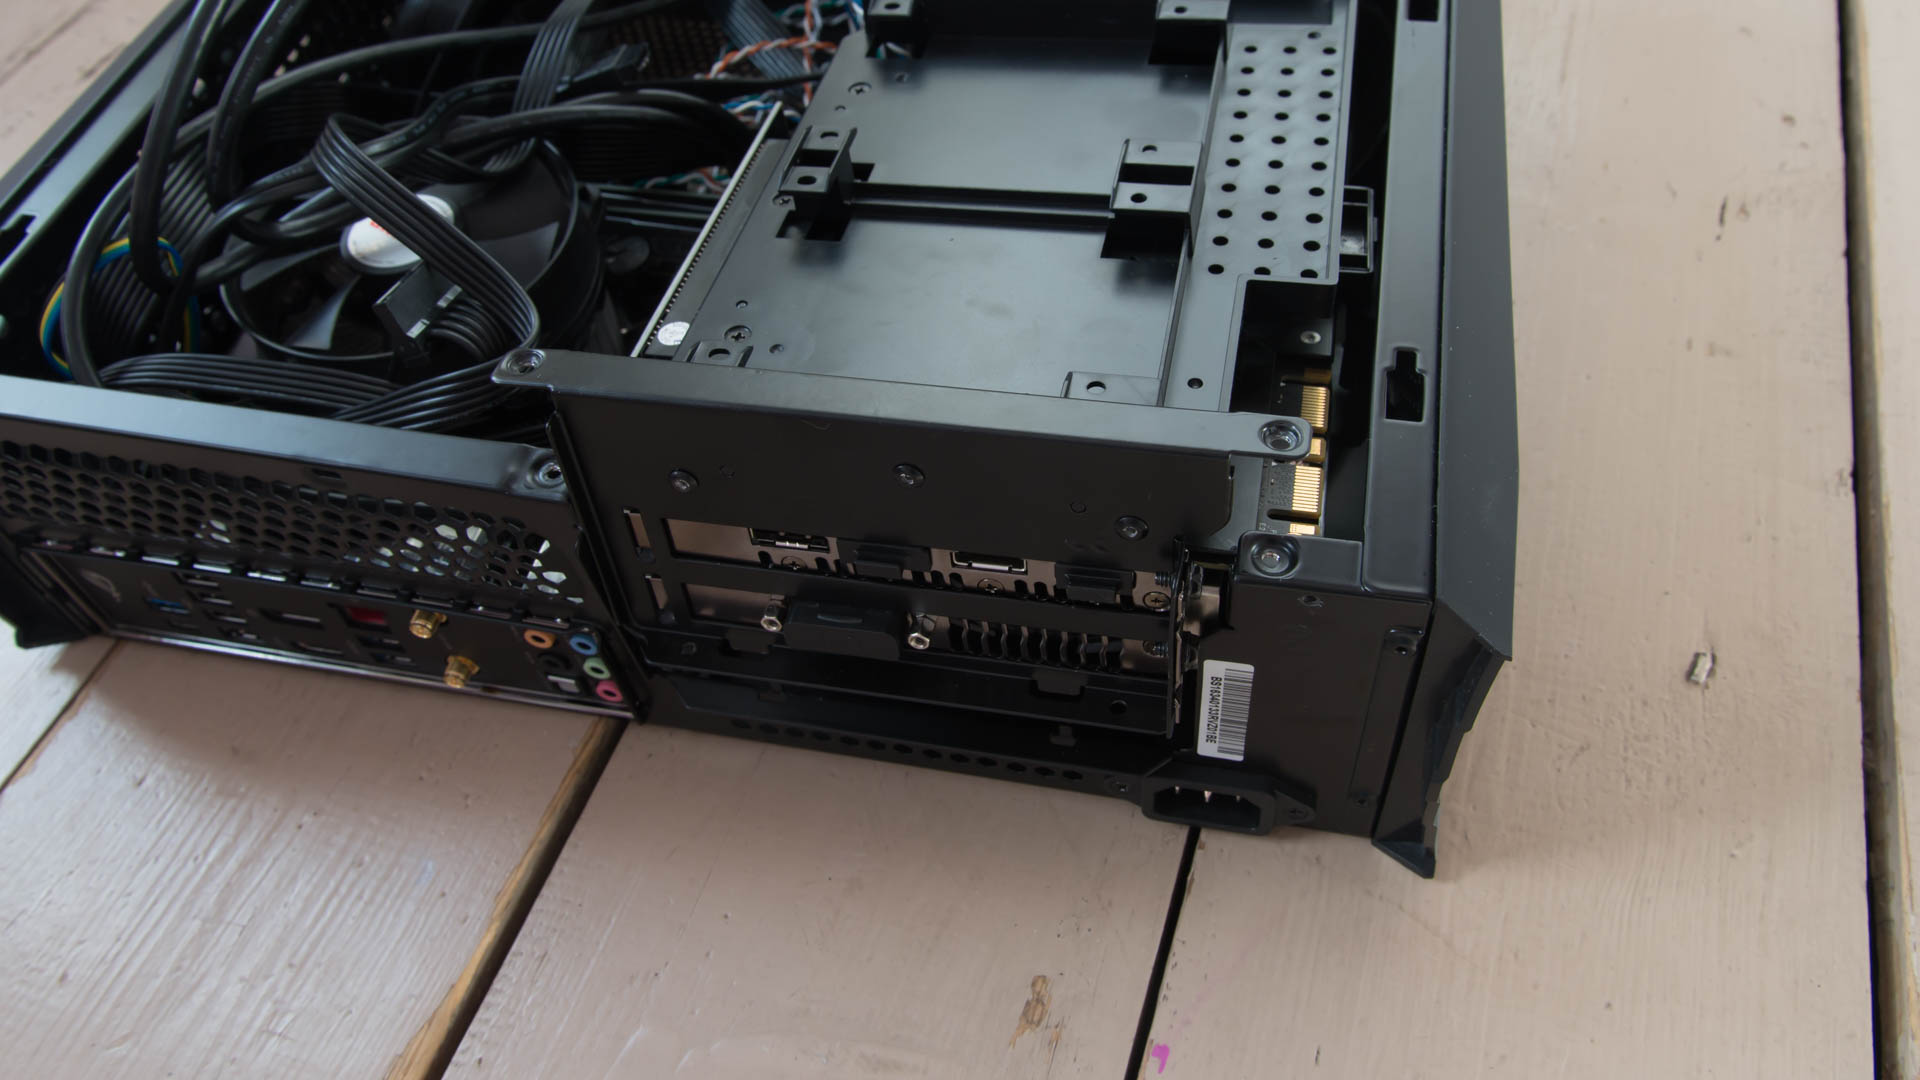
You can now drop the graphics card bay back into the case, but be warned: it's a fiddly job. We found it easiest to slide the back in first, making sure that the USB 3.0 and audio header cables were tucked out of the way. Make sure that you run the PCI-E power cables under the graphics card and around the front of the central divider, so that they're accessible in the case’s main cavity.
Now drop the bay's PCI-E connector into the PCI-E x16 slot on the motherboard and push until it clicks into position. Secure the graphics card bay with the provided screws.
6. Fit the SSD
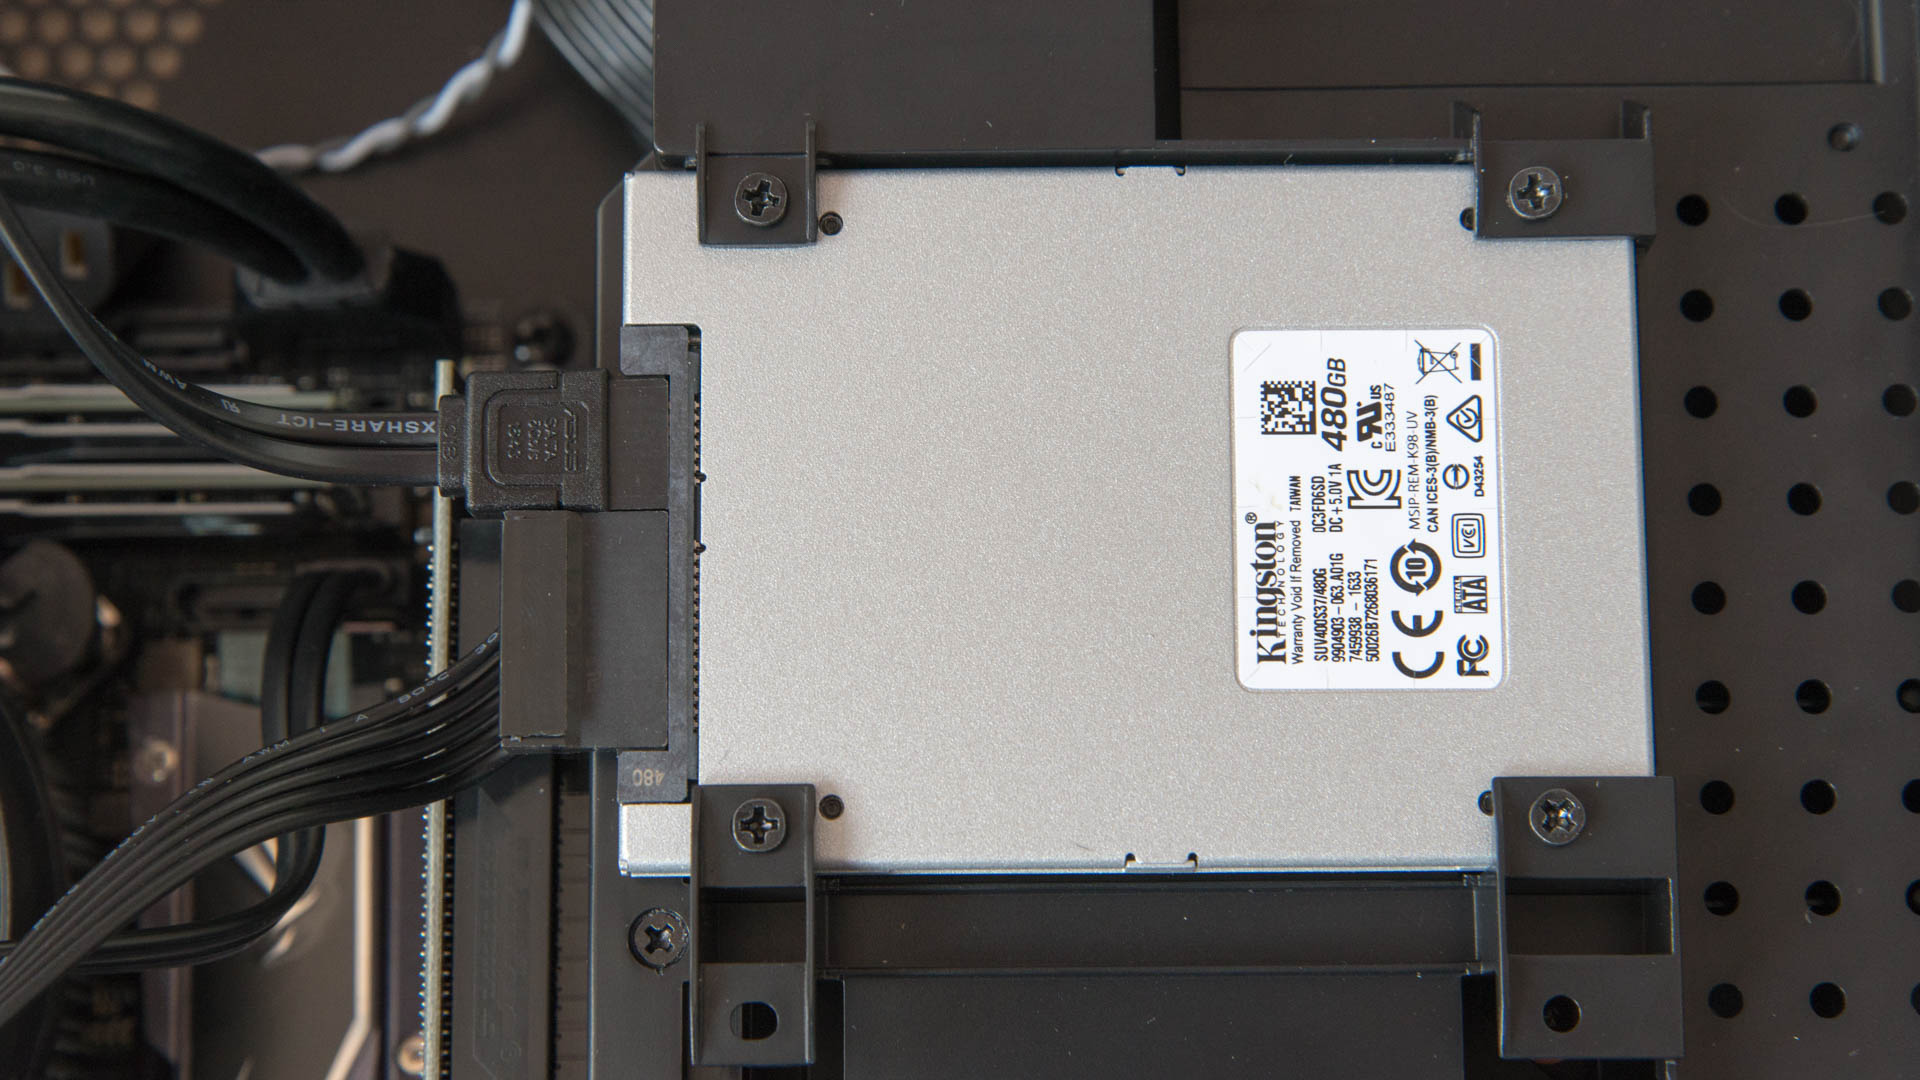
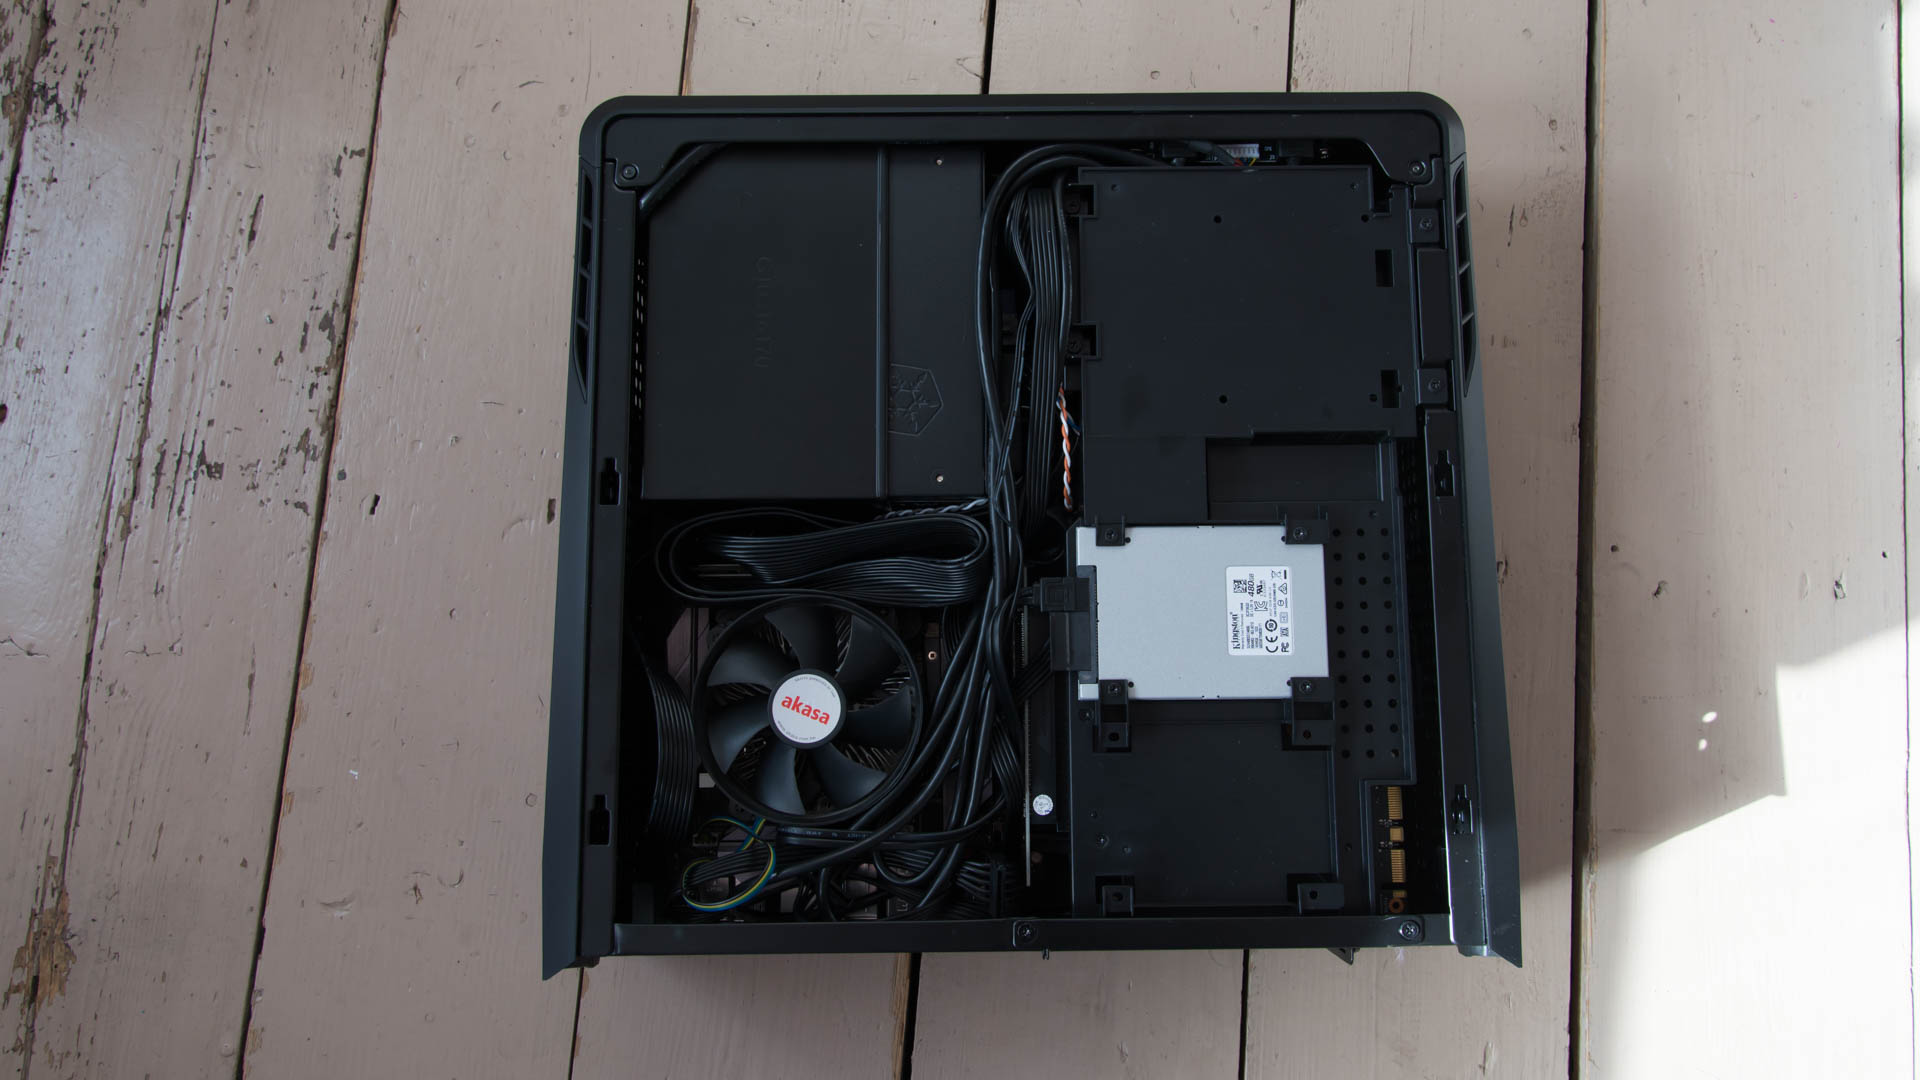
If you've gone for a SATA3 SSD, you now need to fit this into one of the drive bays on top of the graphics card bay. The SSD needs to go in upside down and is secured in place by four screws. You may find it easier to stand the case on its side while you're attaching the screws.Plug in a SATA cable (use a straight one, as an L-shaped connector will protrude upwards and prevent the case lid from closing), making sure the other end is connected to your motherboard. Connect a SATA power connector, but don't attach the end of the modular cable to your PSU yet.
7. Fit the PSU
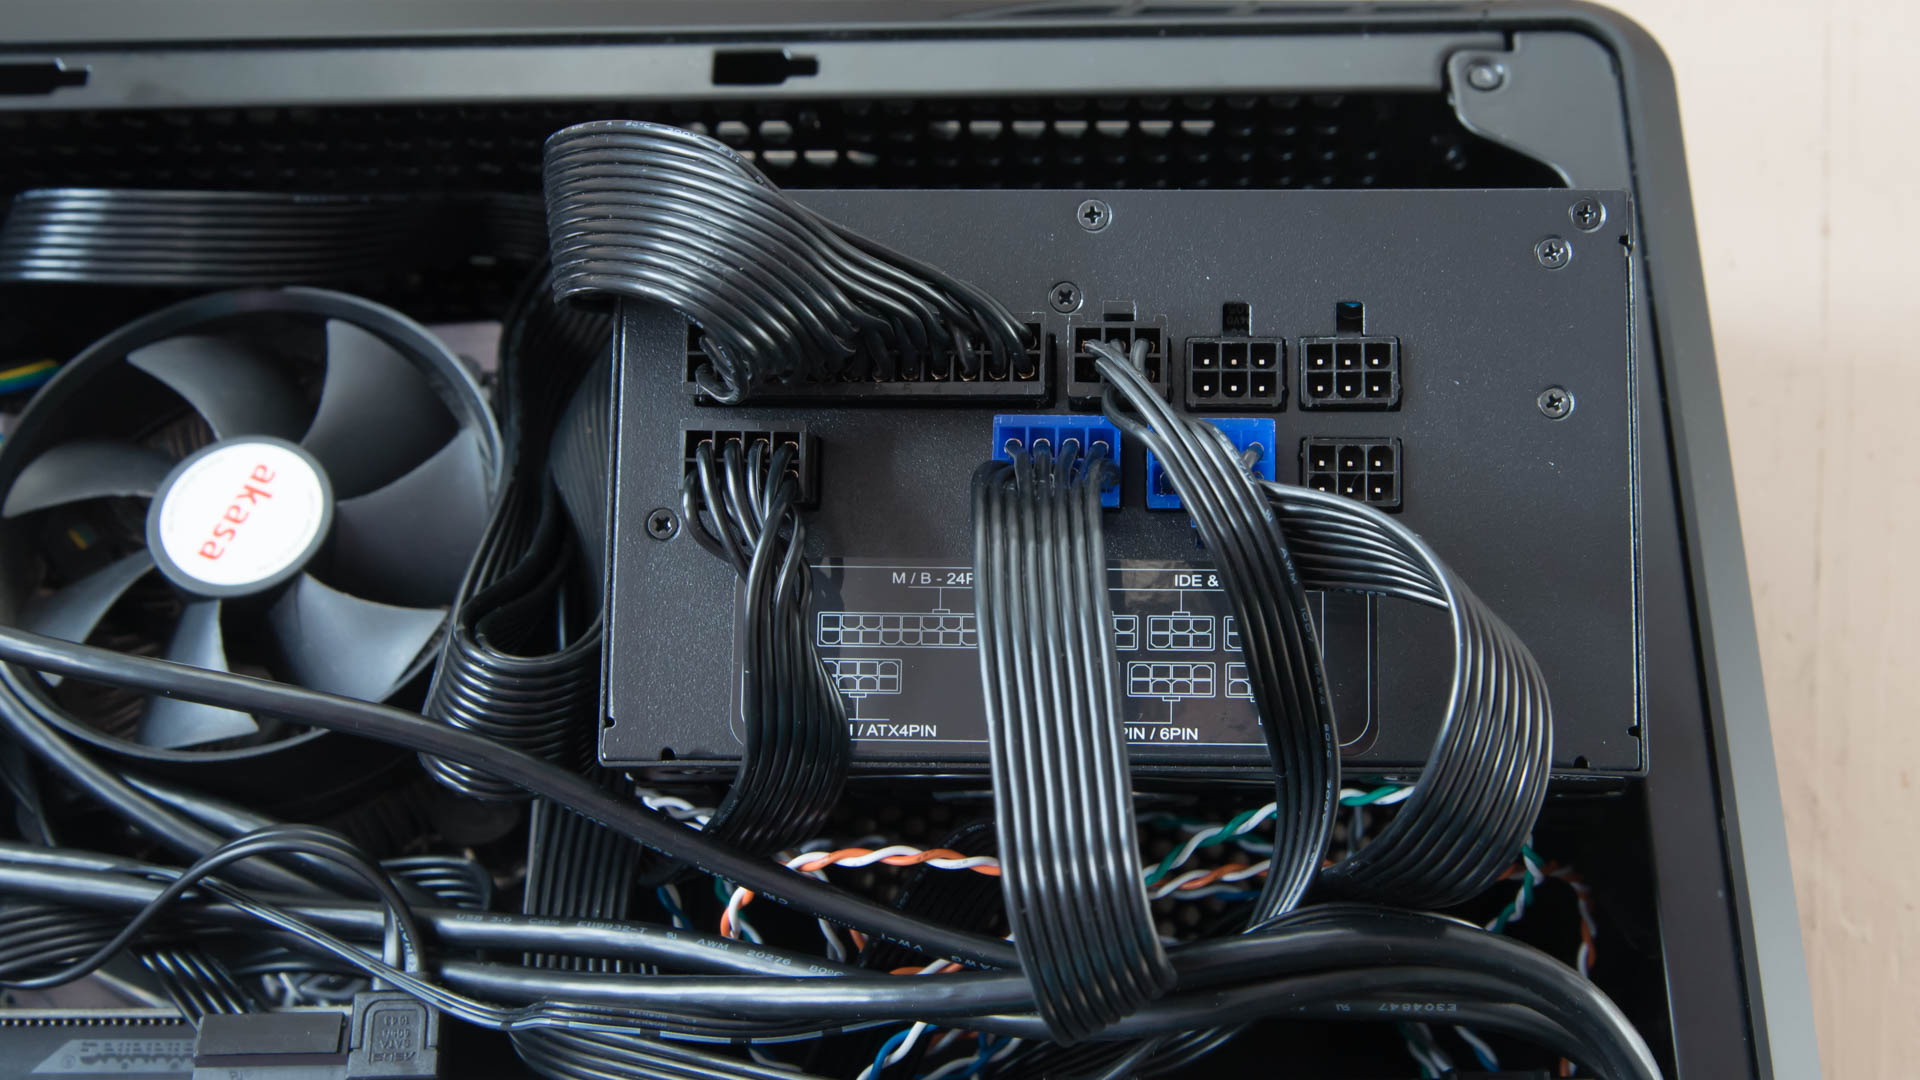
Insert the PSU into the PSU mounting brackets, so that the fan is pointing downwards out of the case. Connect the internal kettle lead into the PSU (this is an extension lead that runs from the rear of the case). You should turn your PSU on now, otherwise your computer won't power on when you press the power button.
Now, drop the PSU into the case, so that the modular connectors are facing, but at a right angle to, the graphics card. You'll need to carefully move the front panel connectors and USB header cables out of the way. Don't use too much force, as you don't want to break the headers on the motherboard.
Once the back of the PSU has slipped into place, the PSU should be sticking up at an angle.
Use this opportunity to attach the other ends of your modular power cables: SATA, Molex, PCI-E and motherboard, for example. Now, drop the front of the PSU down, lift the case onto its side and secure the PSU bracket with screws (we had to use a screwdriver inside the case to help position the bracket and line up the screw holes).
8. Tidy up the cables
You don't have a lot of room inside the case, but it's time to squeeze the cables down as much as you can.
The Silverstone SST-ST55F-G PSU has flat modular cables, so you can fold excess cable together, and push the cables into the gap between the PSU and central divider. Make sure that no cables are sticking up or are obstructing any fans.
Now, put the case lid back on, remembering to plug its fan connector into a motherboard header using the supplied fan splitter or Molex-to-fan adaptor. Finally, attach either the rubber case feet or vertical mounting bracket and plug the console into the mains and your TV.
We'll be using a keyboard and mouse for the initial setup.
9. Sort out Windows and force Steam Big Picture mode
To save on space, we've built this PC without a disc drive. This means you'll have to install Windows 10 from a USB drive. Thankfully we've got a guide on how to install Windows 10 for you to use.
Once that's installed you'll need to install the basics including drivers for your graphics card, as well as get Steam set up for all your gaming needs.
We're going to be using a keyboard and mouse to get everything set up for the first time, but once we're done you should be able to operate your new console entirely using your Xbox One controller.
After you've installed Windows, drivers and Steam, you'll want the OS to log in automatically (since logging in will be impossible with just a controller). To do this press Windows+R and type, 'control userpasswords2' and then hit Enter. Untick the 'Users must enter a username and password to use this computer' box. Enter your password when prompted and click OK.
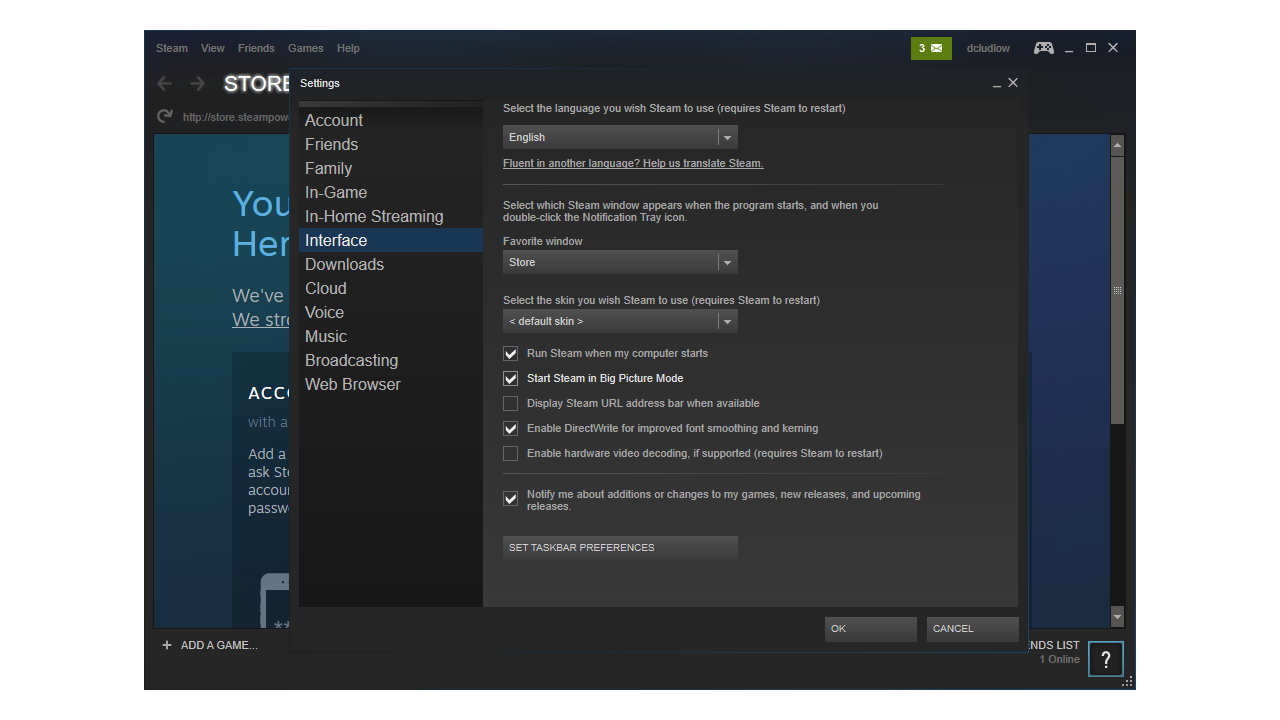
Steam's Big Picture mode allows you to use your entire library using a game controller. It's the PC equivalent of having a games console. You can force Steam to work in this mode by clicking on Steam, Settings and then selecting Interface. Make sure you tick both the 'Run Steam when my computer starts' and 'Start Steam in Big Picture mode'. Click OK when you're done, and your PC will boot into this new console mode when it starts.
With the Xbox One controller, you can now navigate your games without touching a mouse. When your PC enters sleep mode, you can press the Xbox button to wake it up, just like with a console.
With that you're done! You might need to occasionally plug in a keyboard and mouse to install or set-up new games (we'd suggest keeping a wireless keyboard and mouse to hand for such occasions), but for the most part you should now have a console that's completely controllable with just your gamepad.
Take that console gamers - who says you can't have it all?

David Ludlow is a Freelance Journalist and Home Technology Editor. Starting life on the consumer PC press back in 1998, David has been writing about the forefront of technology for the past 20 years. David has edited Computer Shopper and launched Expert Reviews. He has written a number of books on PC building and maintenance. He looks after all things smarthome and home appliances for Trusted Reviews.