Think you know how to vacuum? Save time with these 12 pro tips
You'll save time and effort

Think you know how to vacuum? Think again. It’s not as simple as just plugging it in (if you have a corded model) and switching it on. If you’re not vacuuming correctly then you may as well not bother, which wouldn't be good for anyone (or anything) in your household.
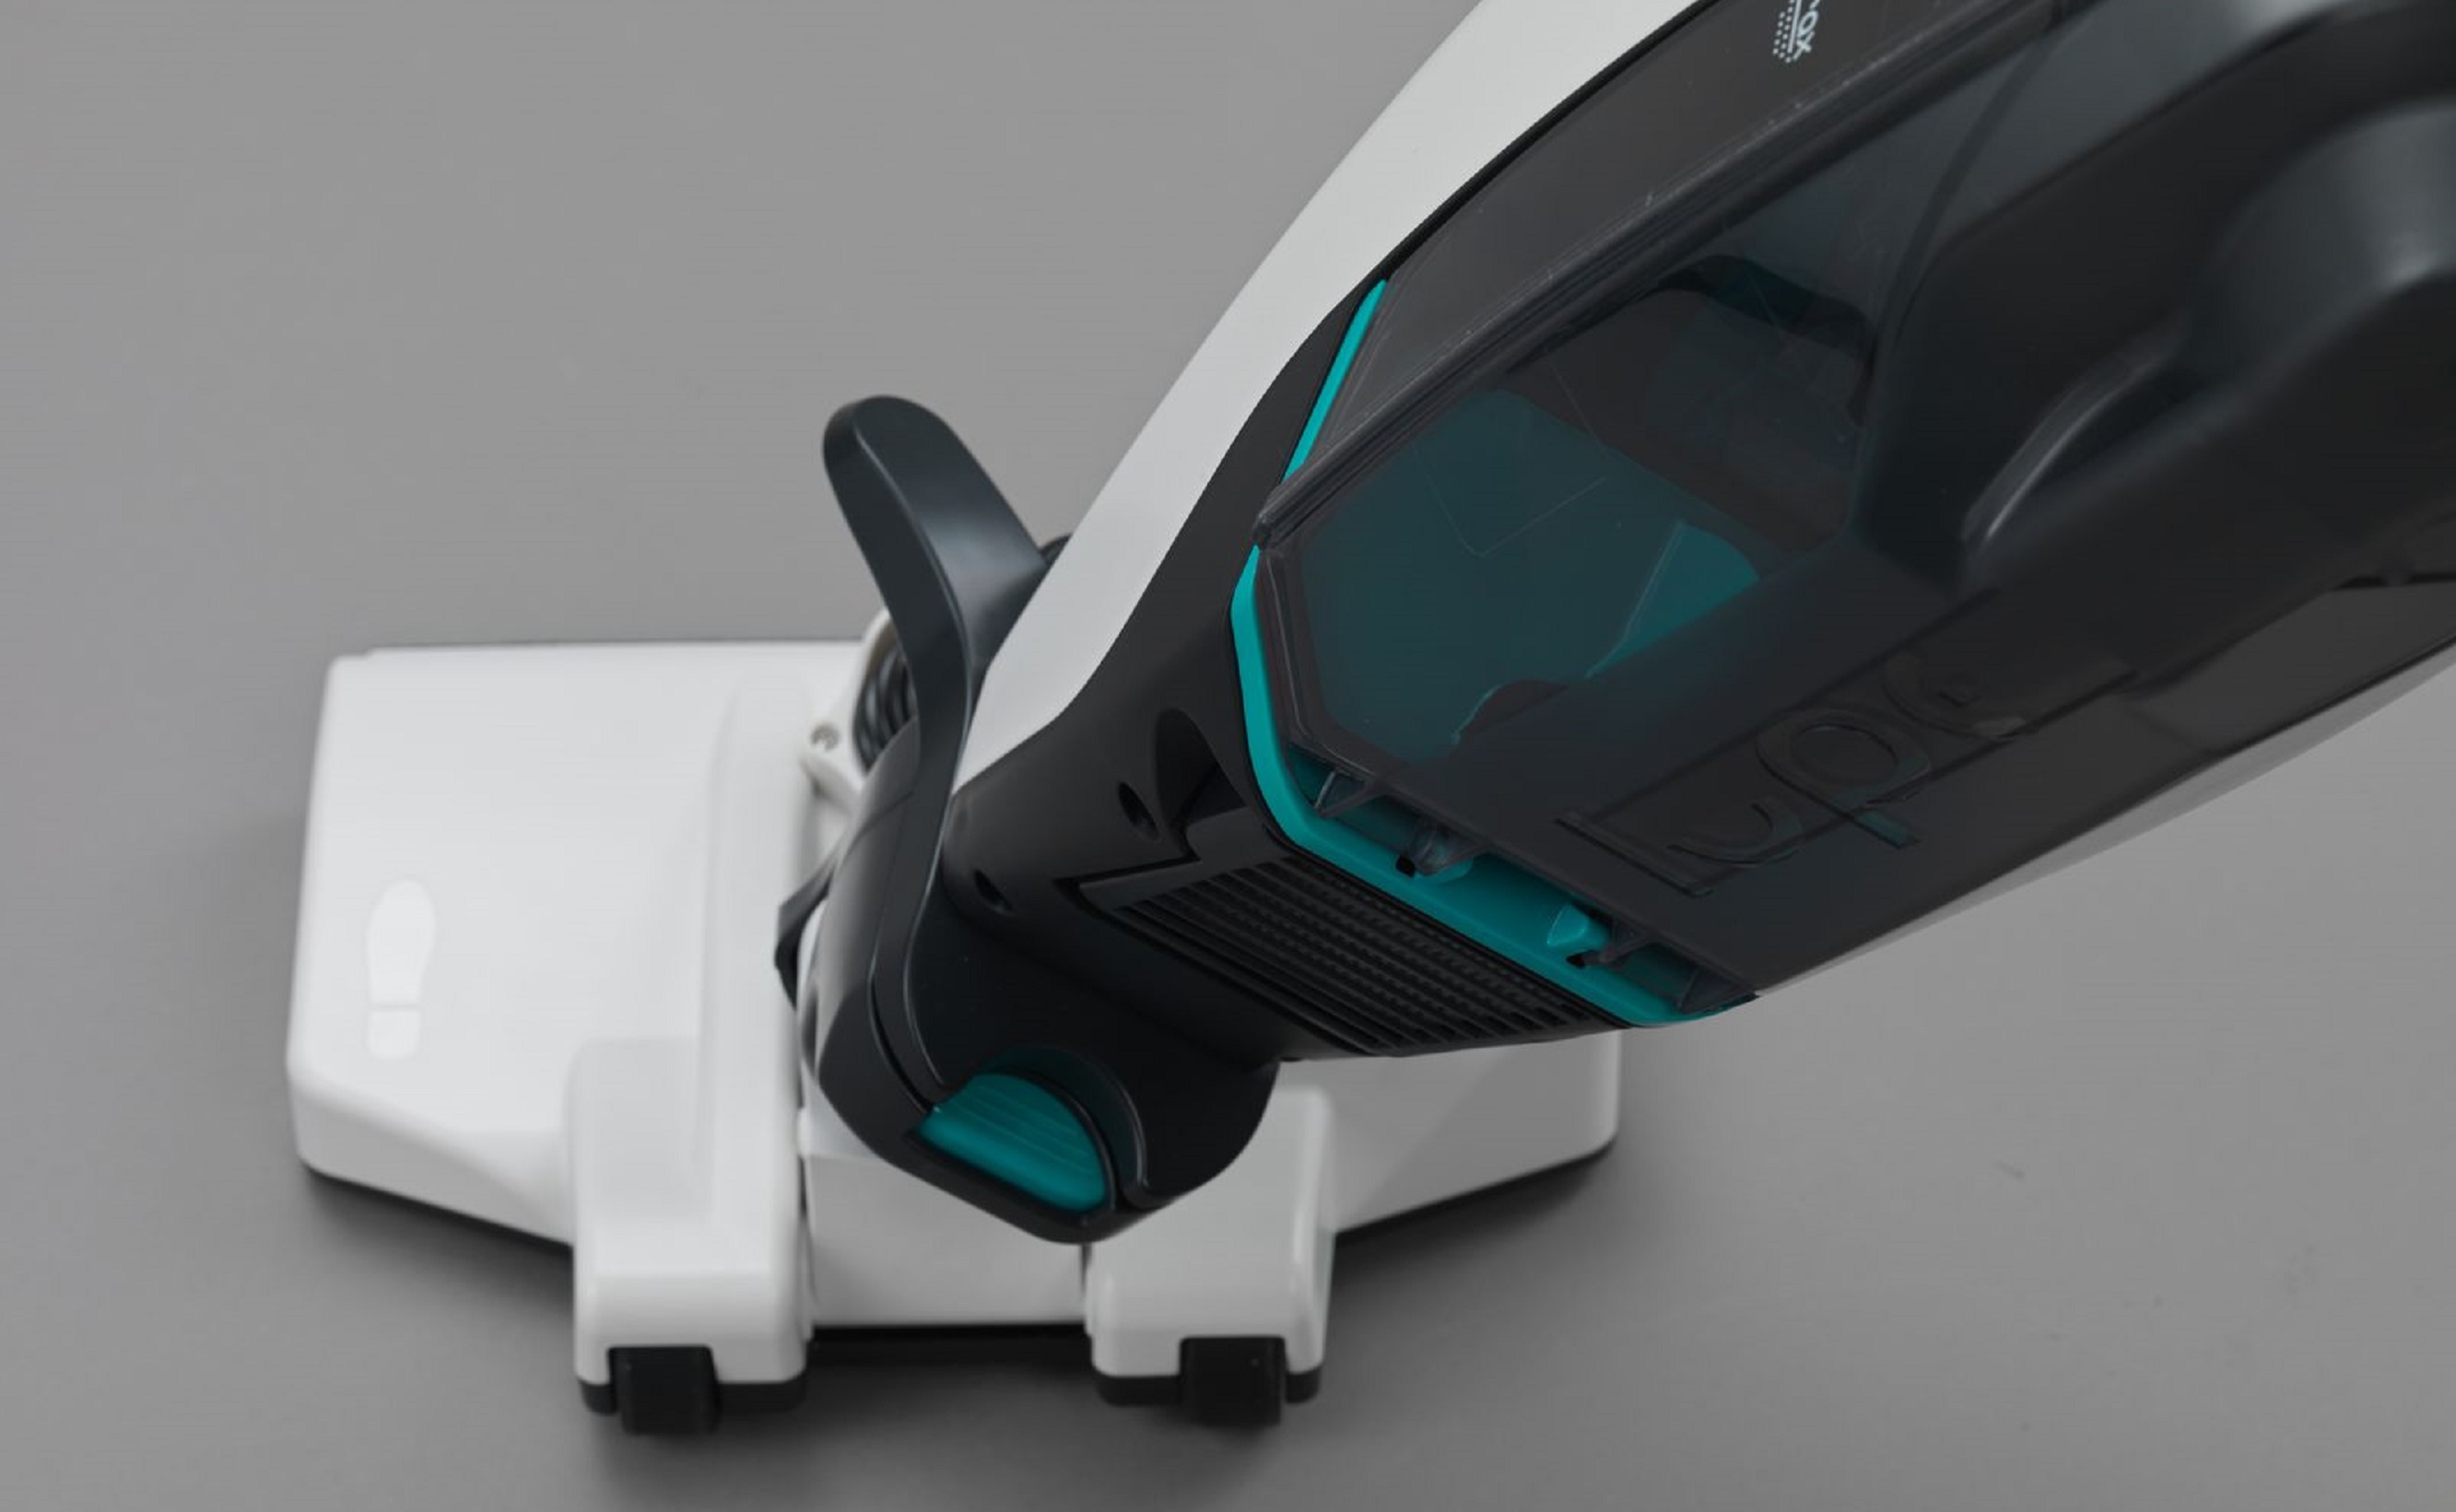
The best vacuum cleaners come in all shapes and sizes, and they also come with a wide variety of accessories to help you clean furniture, or clean in hard-to-reach areas. For this guide we’ve enlisted the help of one of the leading vacuum brands: Lupe. Lupe Technology was founded in 2015 by Lucas Horne and Pablo Montero, who met while working at another leading floorcare brand. The Lupe Pure Cordless is one of the best vacuum cleaners in the market, so these guys know their stuff.
From the floor to the ceiling, and from hard floor to carpets and stairs, knowing how to use your vacuum cleaner to its full potential will save you a whole lot of time and effort. Below we’ve got some essential tips from the experts at Lupe, and a few of our own, to help you get the job done in the most efficient way.
How to vacuum efficiently
Reaching for the vacuum cleaner for a speedy run-around the home is no bad thing – just don’t let this become a habit. A quick outing with the vacuum is likely to involve going over high-traffic areas, such as the runner along the hallway or the carpet in the dining room.
However, in order to get the most out of the vacuum cleaner, while also clearing all the dirt and debris off your surfaces, you’ll need to do some prep work before you clean – and you’d be wise to set aside a chunk of time to ensure you do it right.
1. Prepare your space
You won’t get very far with your vacuum cleaner if you’re always coming up against hurdles in the form of stray socks, cushions and toys. To clean efficiently, it’s best to tidy these away to also avoid any damage to them, and the vacuum cleaner.
You’d also be wise to scan surfaces for hair grips, earrings and other small valuables. Regardless of whether you’re using the best cordless vacuum cleaner or the best upright vacuum cleaner, if anything small becomes caught up in the vacuum cleaner's suction, the chances are you won’t be able to fish out the valuables, and they’ll be lost forever.
Sign up for breaking news, reviews, opinion, top tech deals, and more.
2. Prepare your vacuum cleaner
It’s best to begin vacuuming with an empty cleaner. There’s nothing more annoying than having to stop half-way through a clean to empty the canister, so if you didn’t dispose of the contents of the canister following the last clean, we suggest that you empty it before embarking on the next clean.
3. Choose your attachment
“Using the right pickup head/head setting for the surface you’re vacuuming – most brands have different heads/attachments for hard floors and carpets – is key for getting the most effective clean.” says Pablo Montero, Founder and CEO of Lupe Technology.
“Every attachment that comes with your hoover is helpful. But for me, using the hose with the attachment provided by your manufacturer for cleaning stairs is key and makes the job so much easier. Don't forget to clean the vertical bits of carpet on the stairs as well as the horizontal bits you step on!”
Main head: Most vacuum cleaners – aside from handheld vacuum cleaners – will include this tool, allowing the vacuum cleaner to transition across carpeted and hard floors. This attachment will be the most used in your home – we can pretty much guarantee that.
Crevice tool: This long, angular attachment is useful for getting into corners, skimming the top of the skirting boards and slipping behind a radiator.
Dusting brush: A tool for the most delicate of vacuuming jobs, such as cleaning around books or dusting the fireplace
Pet tool: An attachment for tackling stubborn stray hairs, such as on the couch or in the pet bed. We’ve also found this tool useful on the stairs, especially if you have a narrow and steep staircase, since it’s much easier to maneuver.
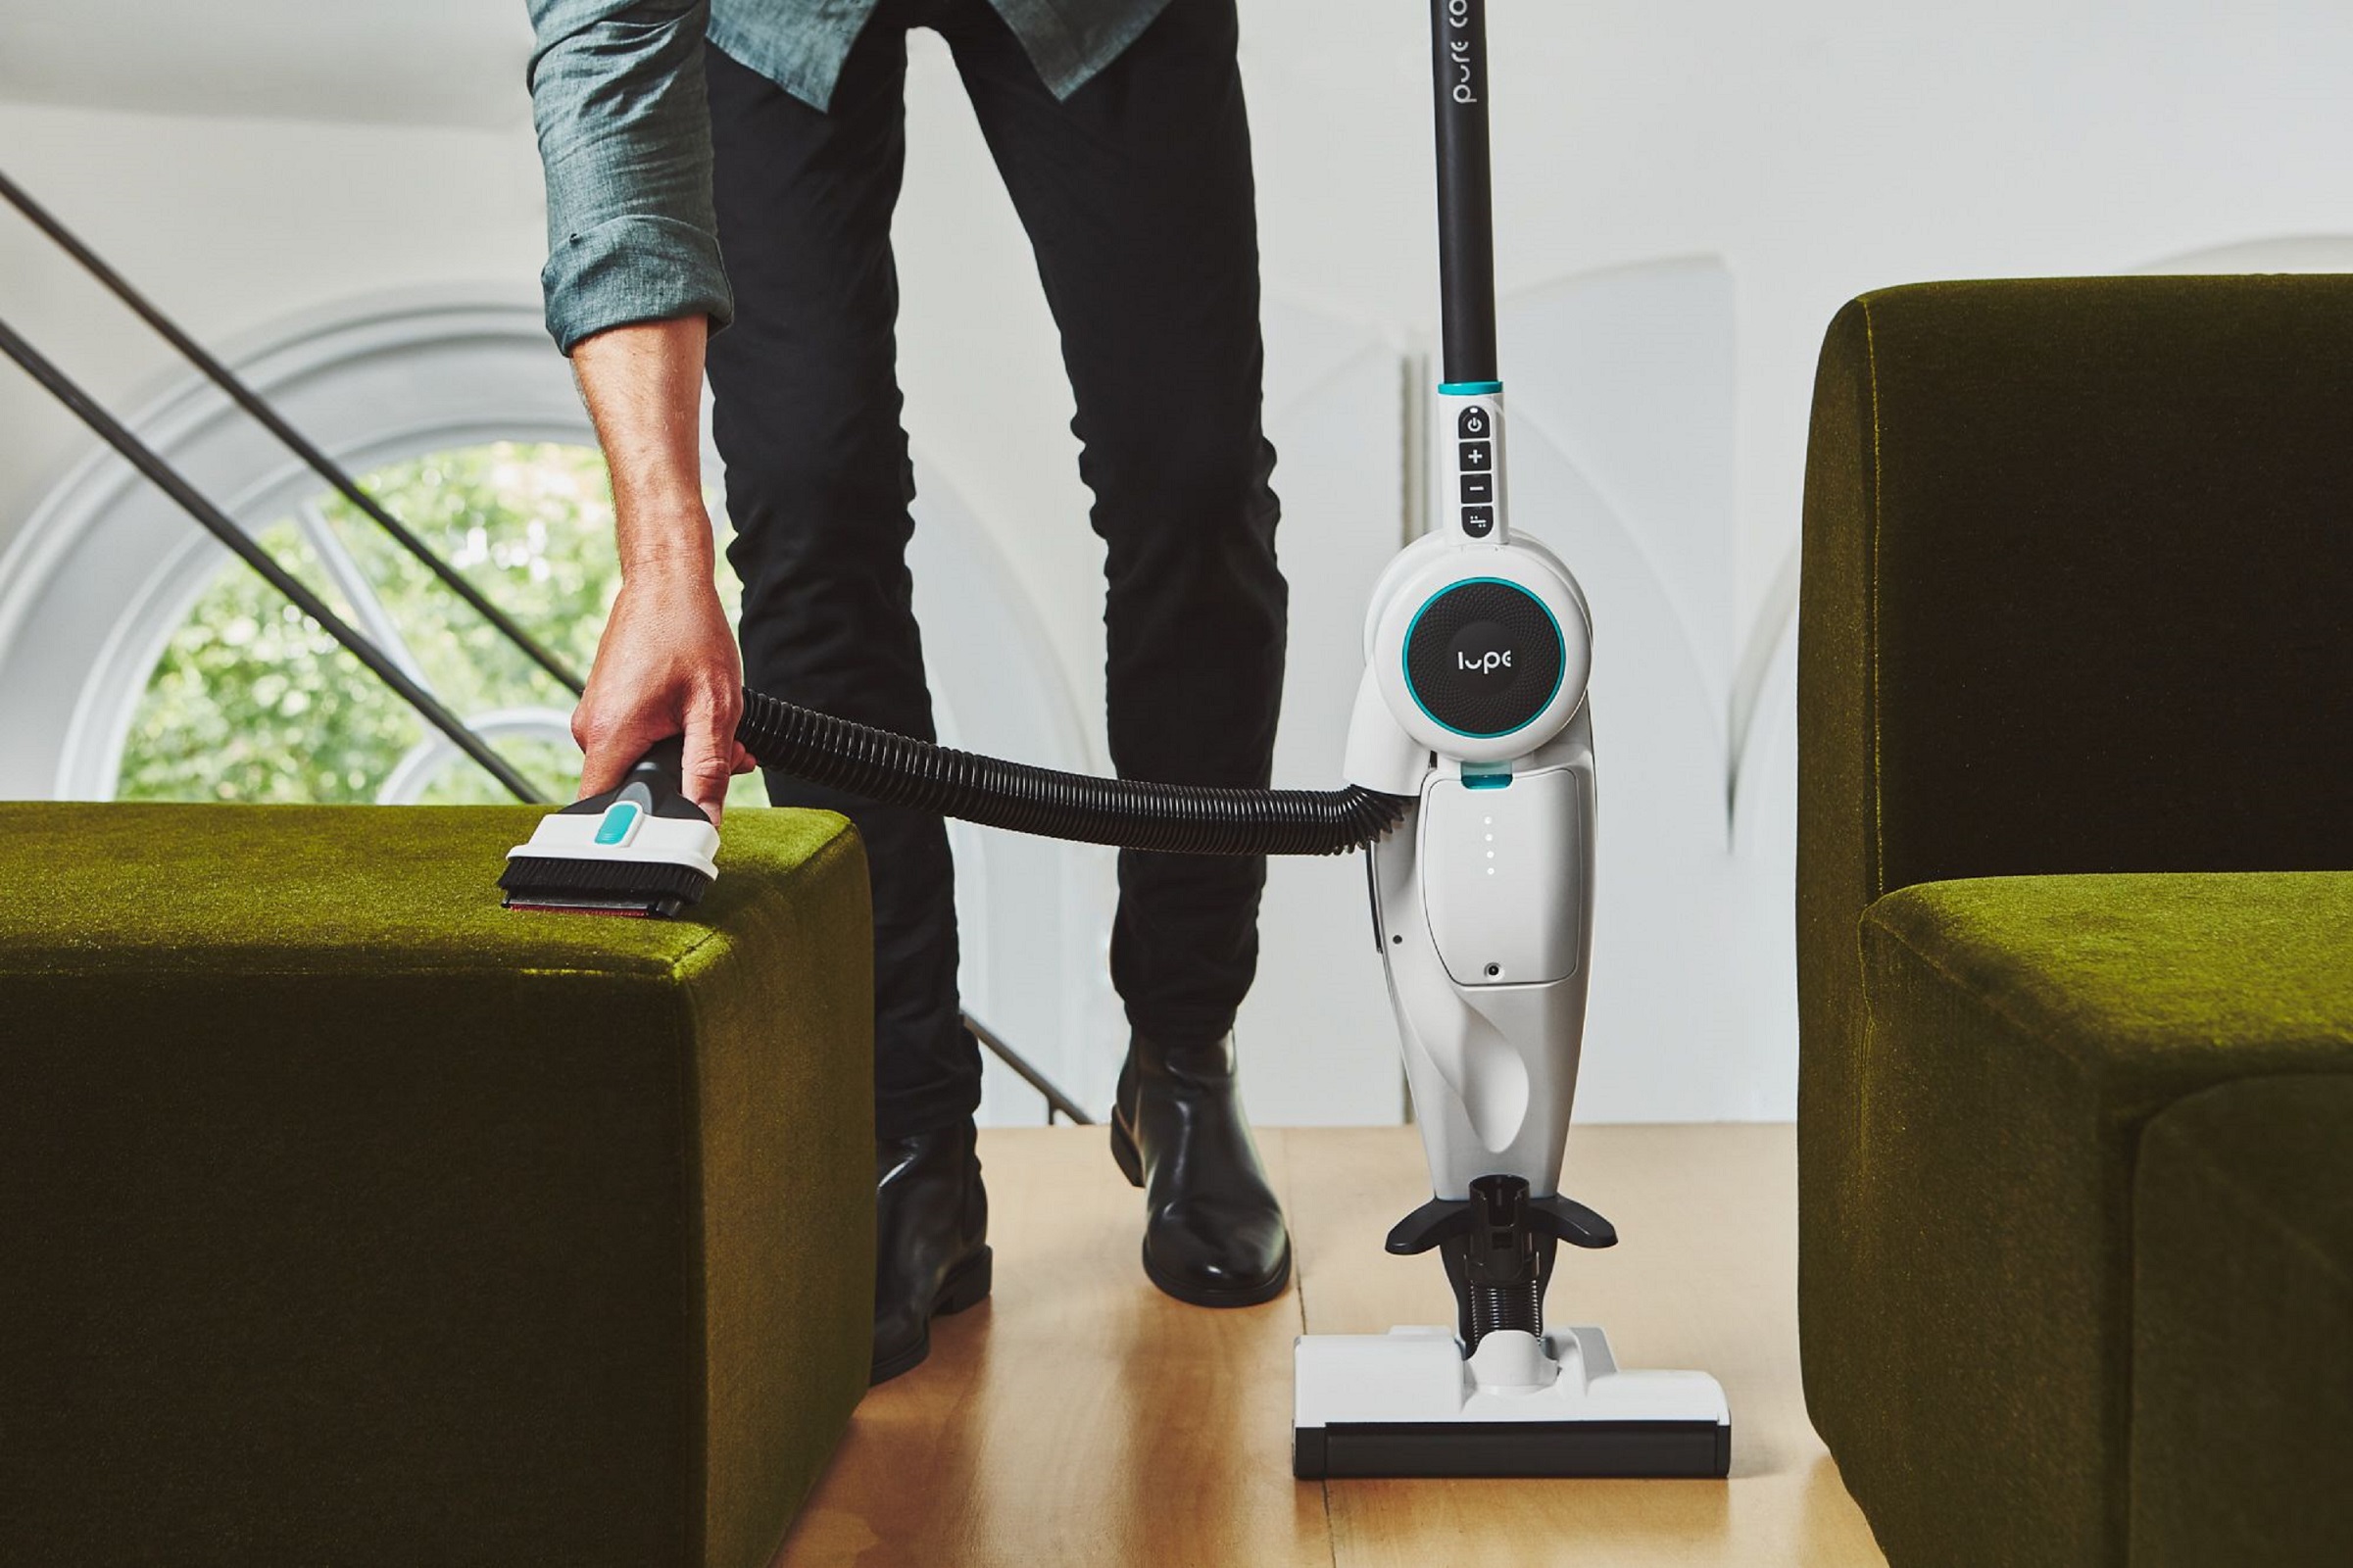
Upholstery tool: Resembling a wide-head paint brush, to us anyway, the flat head can come with a brush that glides over the fabric of sofas and curtains, and any other soft furnishings you have in your home.
Mattress attachment: This attachment looks a little like the upholstery tool and, again, how useful you find it will vary from one home to the next. It’s for cleaning the mattress only, since it’s a lot more gentle on the fabric.

4. Plugging in
If you’re using a corded vacuum cleaner, we advise you fully extend the cord before finding somewhere suitable to plug it in.
Ideally, you want to plug in the cleaner by the door, starting your vacuuming from the other side of the room. By doing this, you won’t be treading on the vacuumed floor, ensuring it stays looking nice and neat for as long as possible.
5. Choose the correct power setting
You’ll want to choose a power setting to suit the surface area you’re vacuuming, and the attachment you’re using. The power setting will determine the level of suction power.
For carpets, use the highest setting available. Of course, with a cordless model this is likely to drain the battery far quicker than the other settings. Nevertheless, it will be worth it to give the pile a deep clean to remove debris, dust and allergens. We’d suggest reducing the suction level on rugs, because on the highest setting, these can often get pulled into the attachment as they’re not secured to the ground.
On hard floors, using the lowest setting is fine, since any debris and mess will be sitting on the surface and it will also be more clearly visible.
6. How to vacuum the floor
The best practice that we’ve found to work well on both hard floors and carpets is to push the vacuum away from yourself in a straight line, then pull the vacuum back towards you at a slight angle. You’ll see that you're creating two imaginary lines, in a 'W' shape. Repeat this pattern across the surface in the room to make a 'WWW' shape.
7. How to vacuum a rug
“Rugs tend to build up more dirt than you think! It’s best to tackle them first by beating them outside, old-school-style, to get the surface dirt and dust off them. Always go both forwards and backwards on carpets and rugs to get a thorough clean.” explains Pablo.
“The slower you go, the better the clean – also true for how many times you go over the same spot. Vacuuming the carpet around and under the surface of where the rug lays thoroughly before replacing it is important to get the best clean and ensure all that micro-dust is collected properly.”
8. How to vacuum upholstery

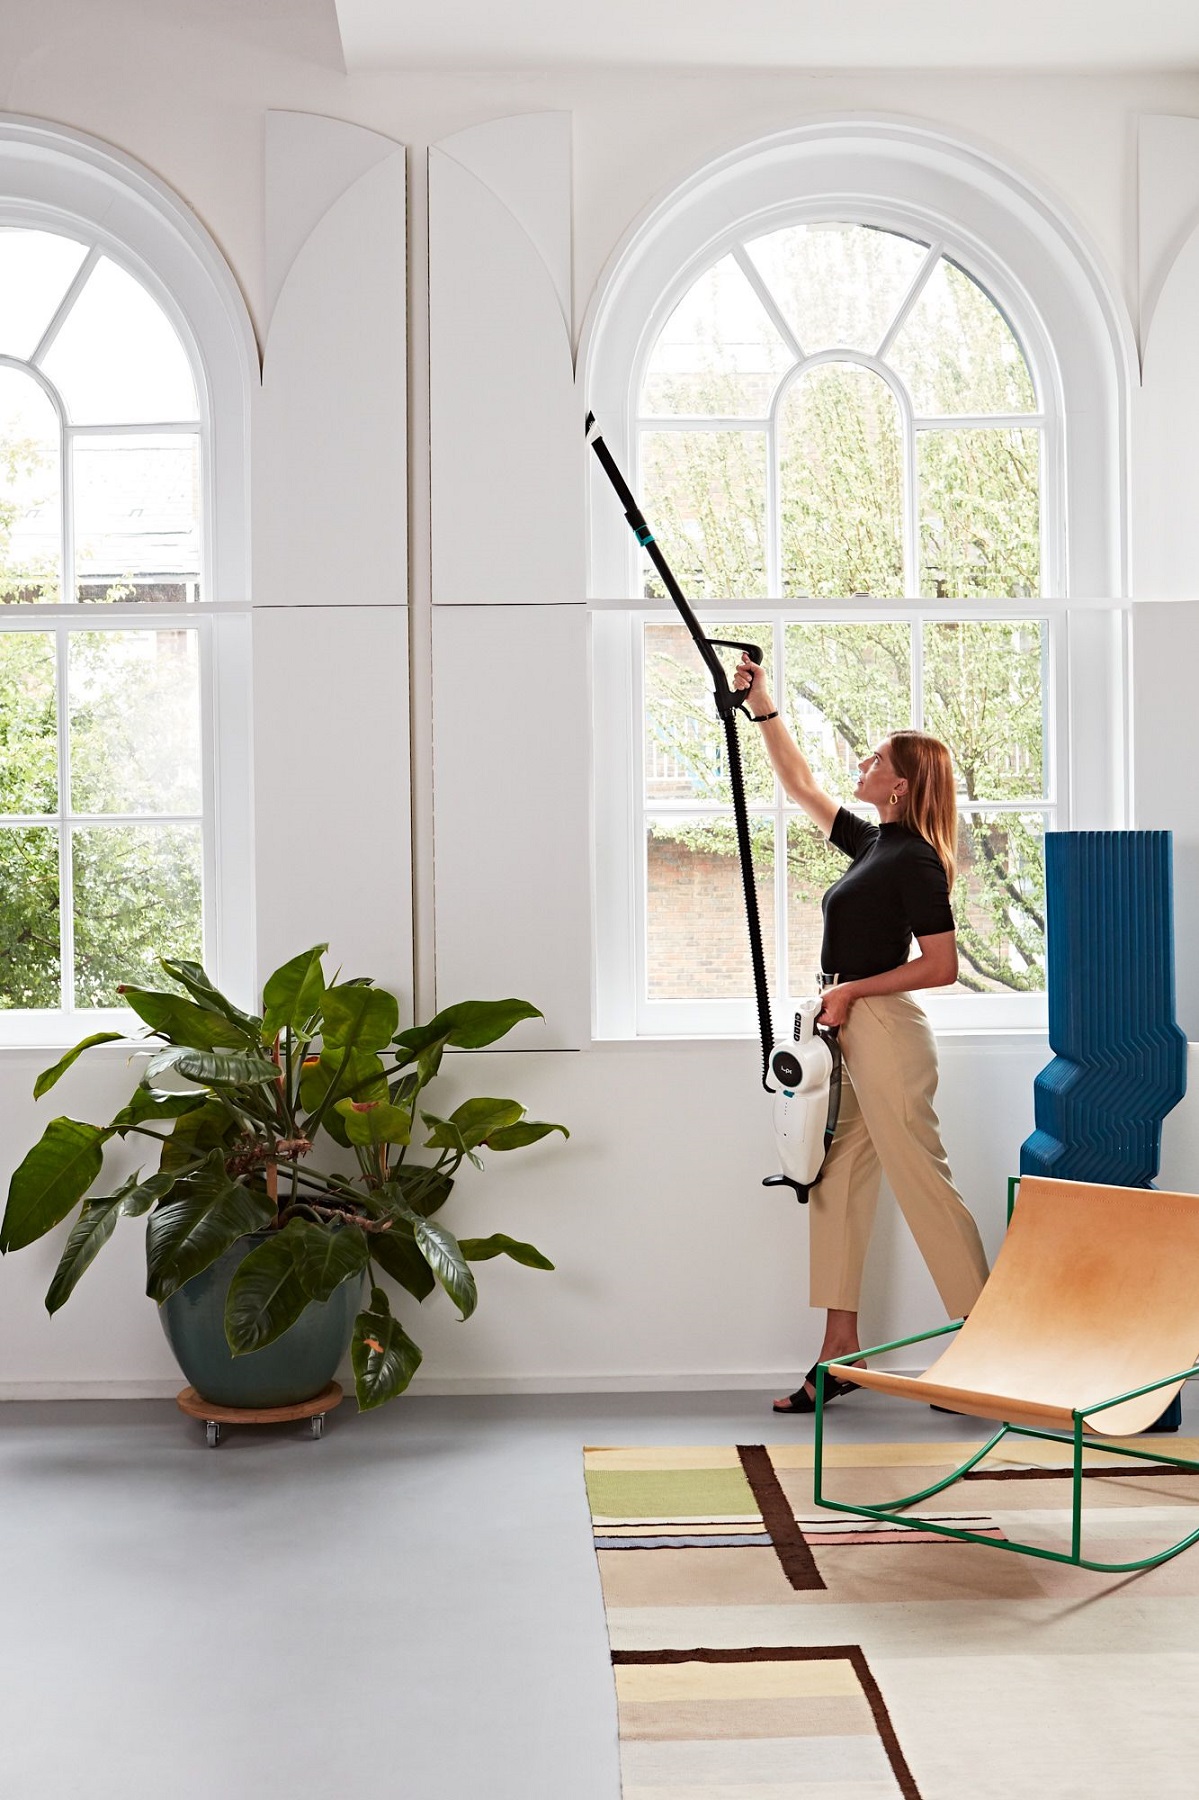
If your cleaner comes with an upholstery tool then this is the attachment to use for vacuuming curtains and blinds. You may also find the dusting brush useful for vacuuming along the top of the curtain pole. Use the lower power setting, though – anything higher may damage the fabric.
Both tools can also be used to vacuum a couch. The cushions will need a plump outside to agitate the worst of the dust and debris, and then the vacuum cleaner will clean a little deeper into the fibers of the cushion.
Upholstery cleaning won’t need to be done as frequently as vacuuming the floors of your home, although every three to four weeks would be a good routine to get into. In the meantime, if your couch has become the recipient of lots of crumbs then don’t wait until your next 'scheduled' clean; tackle them there and then, which will make your regular clean quicker.
9. How to vacuum a mattress
If you’re fortunate enough to have the mattress tool for your vacuum cleaner, then grab it for cleaning the mattress. As with all attachments, this slips on to the end of the hose of a canister vacuum cleaner, or the end of the wand on a stick vacuum.
Opting for the lower power setting will more than suffice here. Work the tool down the mattress in a linear fashion to ensure you cover the whole surface. Don’t forget to do the sides of the mattress and, if you’re after a thorough mattress clean, flip the mattress over and repeat the linear vacuuming method.
10. How to remove odors from the carpet
Vacuuming alone will not rid carpets of bad odors, so if you want to freshen up carpets we recommend heading for your baking cupboard. Grab some bicarbonate of soda and sprinkle this over the carpet or rug, ensuring that you completely cover it. Leave it for at least 15 minutes to work its magic before vacuuming it up.
Using bicarbonate of soda on carpets also helps to lift stray pet hair, since it loosens the carpet fibers. It will help to deodorize the vacuum cleaner inside, too. Rather than every week, such a carpet clean every couple of months is more than enough.
11. How often do you need to vacuum?
“Vacuuming habits are a personal preference, but our data at Lupe tells us most people will do a full home vacuum once a week for typically 25 minutes in an average house. Of course, there will be a wide spread at the extremes,” says Pablo.
“I would personally concur with a minimum of once a week – we really feel it if we haven't done it one week. Any atmospheric dust will typically settle in an undisturbed room within 24 hours – but rooms are rarely left undisturbed. Readers should be mindful that blow-drying your hair, for example, or kids jumping on mattresses (happens a lot in my house!) can really raise the number of particulates released into the air, and these will ultimately end up on surfaces.”
12. Maintain your machine
After each vacuuming session, you’ll likely need to empty the canister. As mentioned, this will not only ensure that your cleaner is ready to use again when the time comes, but if you happen to have your cleaner stored in an area where it’s visible, your vac will look nicer too.
The various attachments you've used will need a detangle and a wipe down, and the filters will also need a rinse.
Pablo shares: “Keeping on top of filter maintenance and following the manual guidance is key. Each manufacturer will have their guidance for cleaning filters – the majority (but not all) will involve washing/use of water and agitation.
"Be sure to remove any hair (human and pet) that builds up on the roller, too, as well as keep on top of emptying the bin/bag – if it has one – so it doesn’t go beyond its max fill line/indicator."
The vacuum canister / bin will benefit from a soak in soapy water every once in a while, too. Be sure to read the manufacturer’s instructions about how to clean your vacuum cleaner because every cleaner is different.

Jennifer (Jenny) is currently the editor of Top Ten Reviews, but prior to that, she was TechRadar's Homes Editor. She has over a decade of experience as a digital product writer specialising in appliances, smart tech and mattresses for some of the UK's leading retailers and magazine titles such as Real Homes, Ideal Home and Livingetc. Generally, you’ll find her watching the latest Netflix series, digging around in the garden or attempting to make a cake that is edible.