Why you can trust TechRadar
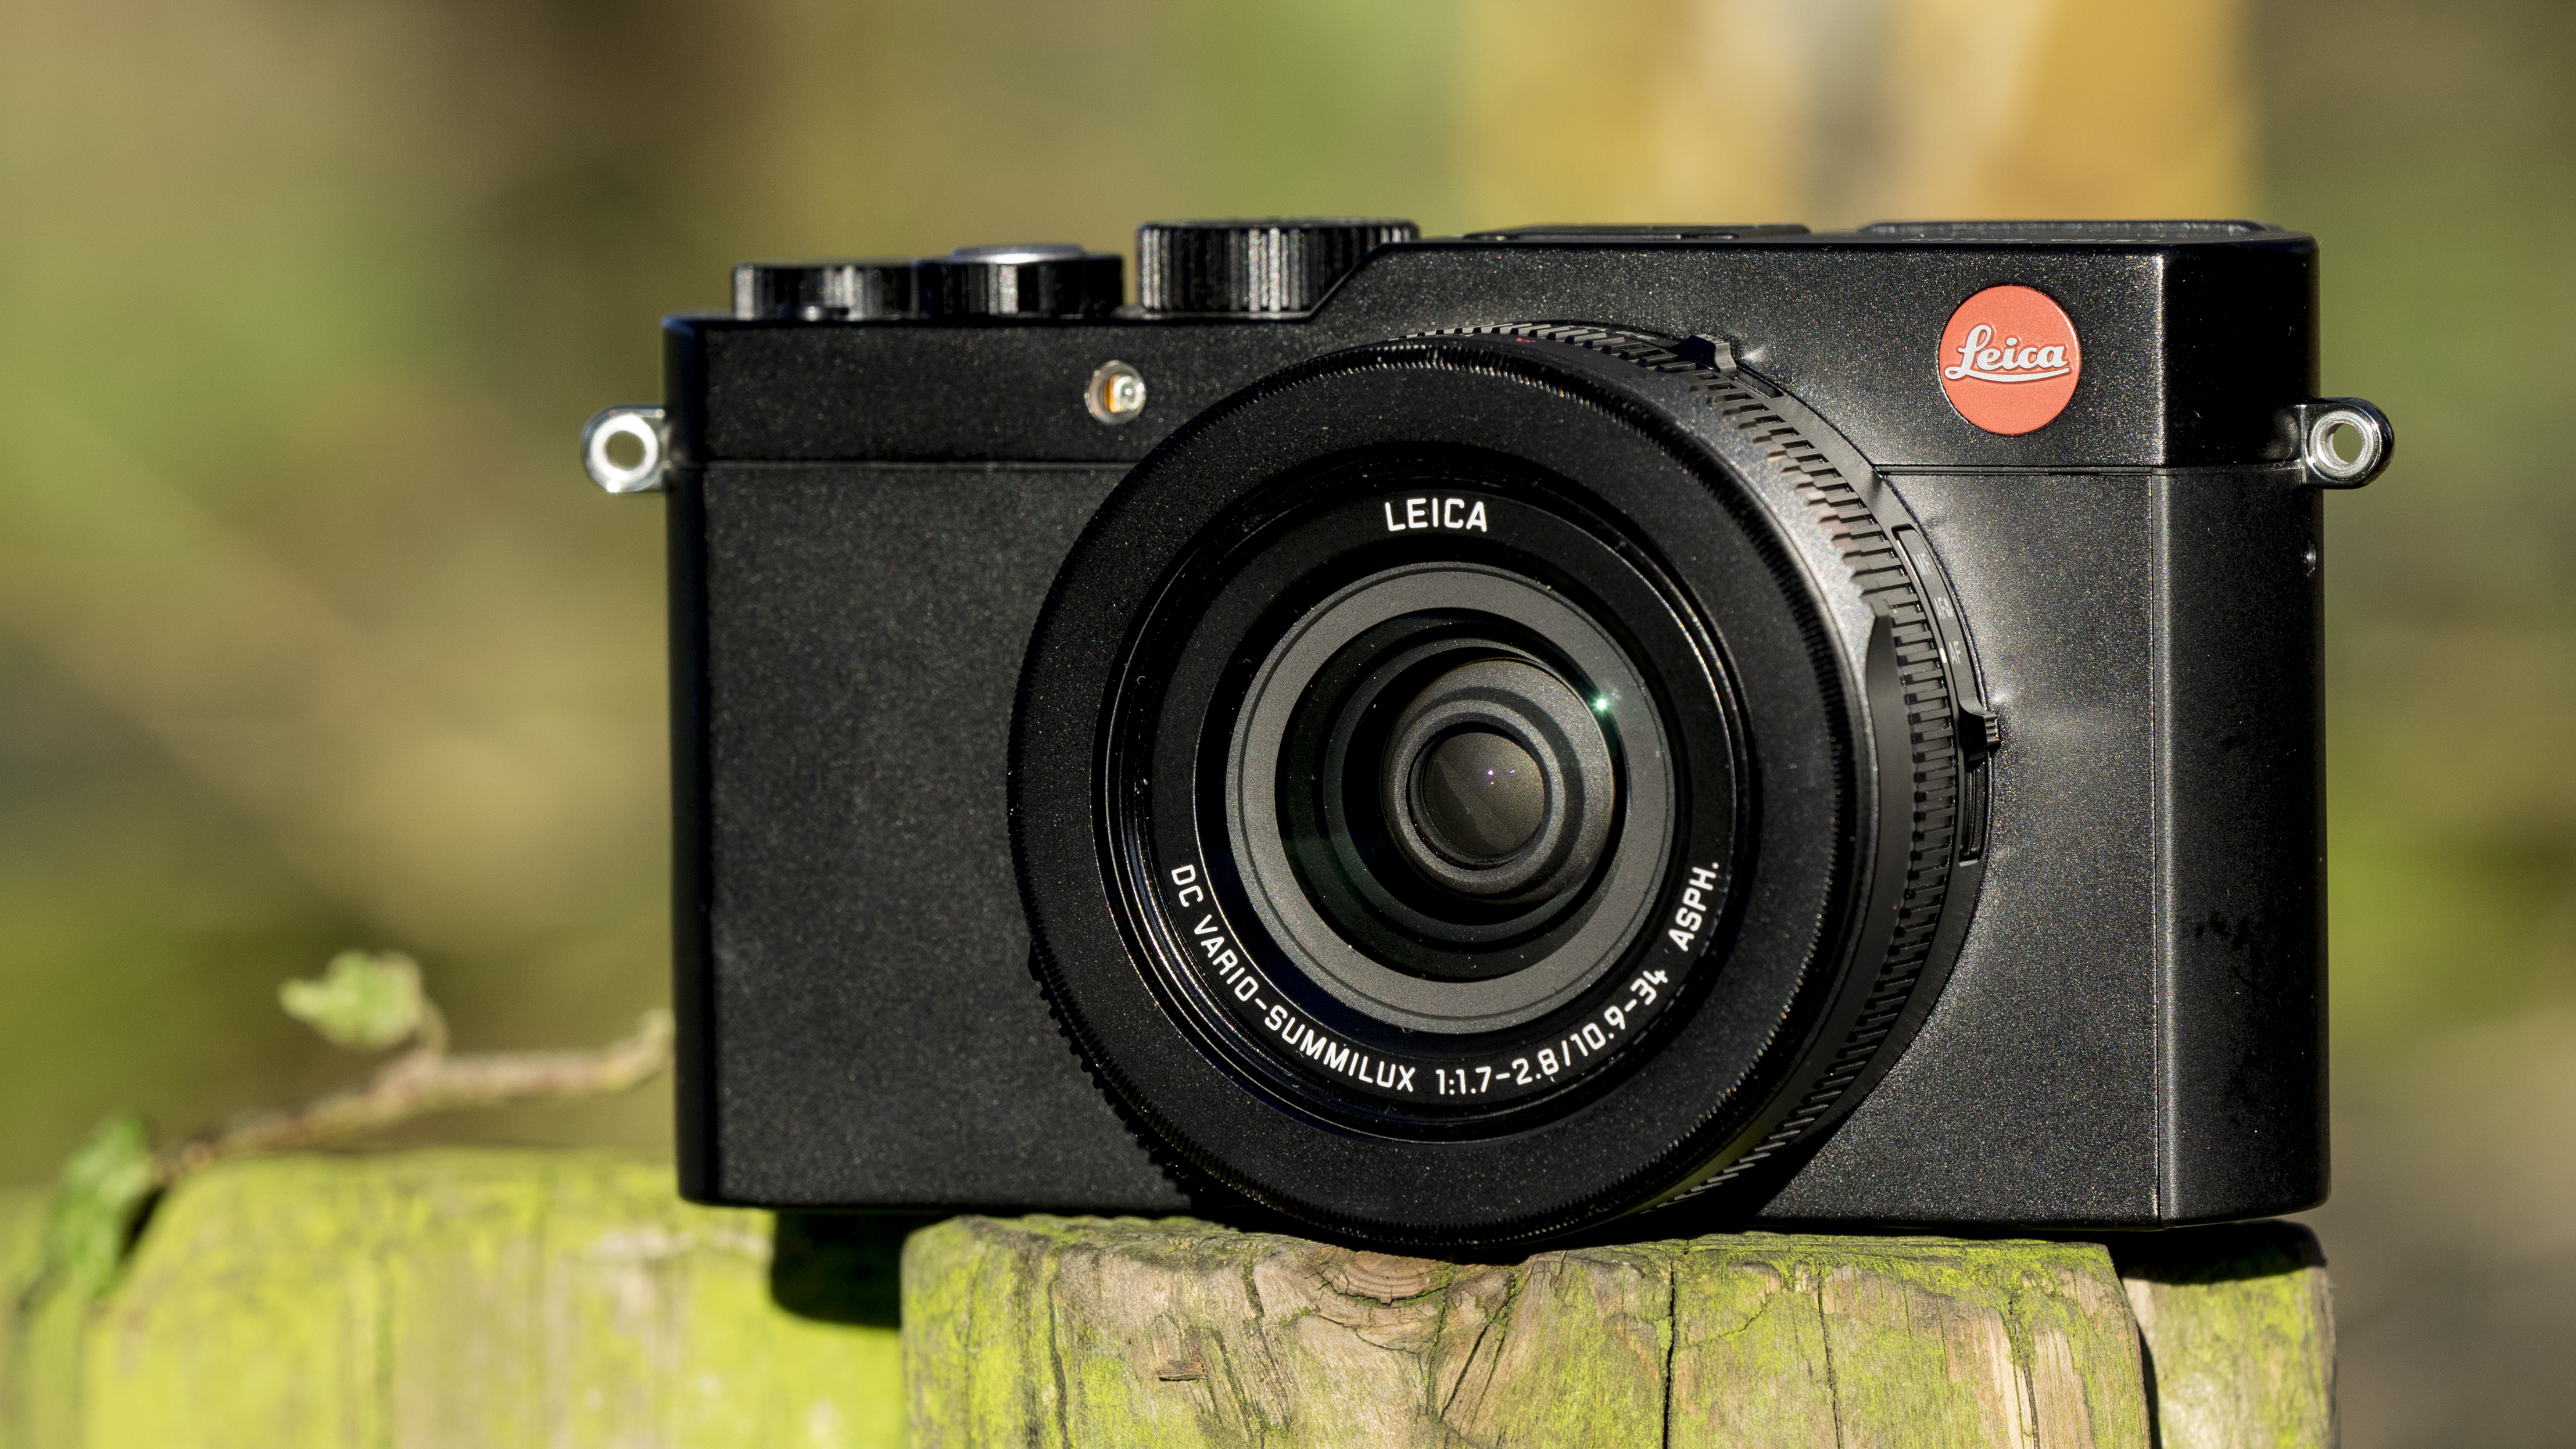
As it has the same specification as the Panasonic LX100, the D-Lux (Typ 109) is aimed at the same audience; experienced photographers who want a high quality compact camera that affords plenty of control. These users know how a good camera should feel and the D-Lux will not disappoint them.
However, the grip that's on the front of the LX100 is completely missing and this makes the camera feel rather insecure in your hand, especially in cold weather. When the strap wasn't attached I found that I usually carried the camera with my hand around the lens because the front is too slippery. There is, however, an optional grip that attaches via the tripod bush. Arguably, this spoils the beautiful, clean lines of the camera, but it should make it feel a bit safer in your hand.
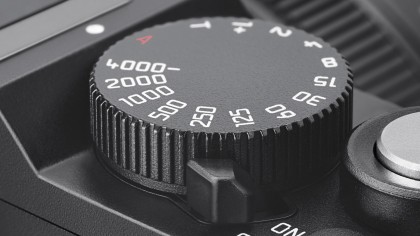
Like the LX100, the D-Lux has traditional controls with a shutter speed dial and exposure compensation dial on the top-plate and an aperture ring marked in whole stops (but 1/3 stop settings are possible) around the lens. The ring clicks as it is rotated, so it's clear when an adjustment has been made.
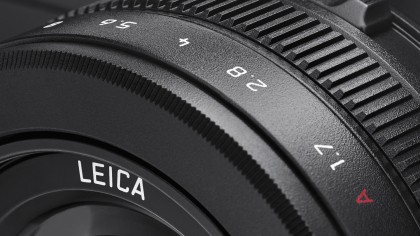
The camera can be set to program mode by setting both the aperture ring and shutter speed dial to 'A'. Setting just one to 'A' while the other is on a specific value sets the camera to aperture or shutter priority mode. Alternatively, users can take full manual control and set specific values for shutter speed and aperture.
Although the shutter speed dial doesn't have a lock I found that it doesn't get knocked out of place easily. The exposure compensation dial, however, which can be set to +/-3EV is more prone to being knocked off the selected setting.
The aspect ratio can be changed between 4:3, 1:1, 16:9 and 3:2 using a sliding switch on the lens barrel just in front of the manual focusing/zoom ring. It's great having such quick access to the aspect ratio controls as it makes you far more inclined to use them and consider composition more carefully at the shooting stage rather than rely on post-capture cropping. Raw files are captured in the selected aspect ratio rather than as a cropped version of the full sensor image, which can be adjusted to include areas outside the crop post capture.
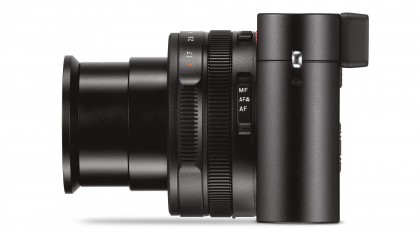
Focal length can be adjusted via the sprung lever around the shutter release or the lens ring depending upon how you set up the camera. The lever seems a little small at first, but I found I got used to it after a while. It takes around 2.5 seconds to zoom from one end of the lens to the other.
Sign up for breaking news, reviews, opinion, top tech deals, and more.
The zoom ring works electronically rather than mechanically, so it doesn't stay adjusted when the camera is turned off and it has no fixed end point. However, if 'Zoom Resume' is selected in the Custom menu, the lens zooms automatically to the focal length it was at when the camera was turned off.
When the ring is used for manual focusing, a half turn takes the lens through its entire focus range and as soon as it's moved, a focus scale appears in the viewfinder or screen along with a magnified section to make it easier to see the target. There's also a focus peaking display that makes manual focusing easier in some circumstances, but it doesn't help in low contrast situations when you just have to assess subject sharpness as you would normally. The EVF and screen show enough detail to allow accurate focusing in most daylight situations.
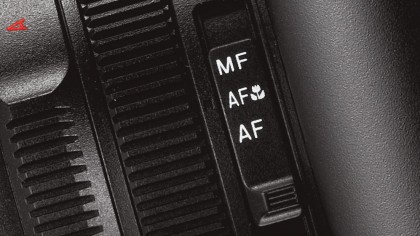
Focus mode (automatic, automatic macro and manual) is set via a switch on the side of the lens barrel and is easily adjusted with the thumb of your left hand. AF point can be selected directly using the navigation controls if this option is selected in the menu, but by default it is set by tapping the left navigation control, selecting 1-Area AF mode followed by the down control and then the keys required to select the desired point. I set the delete button to give a quick route to the AF point selection mode and after a short period of adjustment, I found it worked well, especially when the camera was held to my eye. It also avoids losing the navigation pad shortcut options.
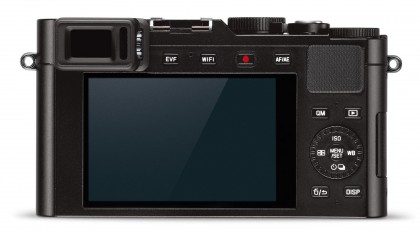
Although it's aimed at experienced photographers, the D-Lux has an Intelligent Auto mode which can be activated in any shooting mode by pressing the A button on the top of the camera. I pressed this button by accident a few times, so I set it to activate with a press and hold (instead of just a press) via the Custom menu.
There's a button on the top of the camera marked 'F', which brings up the camera's 22 filter effect options. Helpfully, these can be applied to JPEG files when shooting raw files simultaneously, so you have a clean files for post-capture processing as well as a JPEG with the effect.
I found the 2,764,000-dot electronic viewfinder (EVF) very good. It provides a nice, clear view so I used it for the majority of the shots that I took with the D-Lux. It's especially useful in bright conditions when the 3-inch 921,000-dot screen can suffer from reflections.
Like the LX100, it's relatively easy to connect the D-Lux to a smartphone via Leica's free Image Shuttle App even if you don't have an NFC enabled device. The app is the same as Panasonic's and it allows lots of remote control over the camera, focal length, Photo Style, white balance, sensitivity and focus point all being adjustable, although the shutter speed dial, exposure compensation dial or aperture ring on the camera need to be rotated to adjust exposure.
