Got a new DJI drone? Here's how to set it up to take great photos and video
Get flying and shooting like a pro
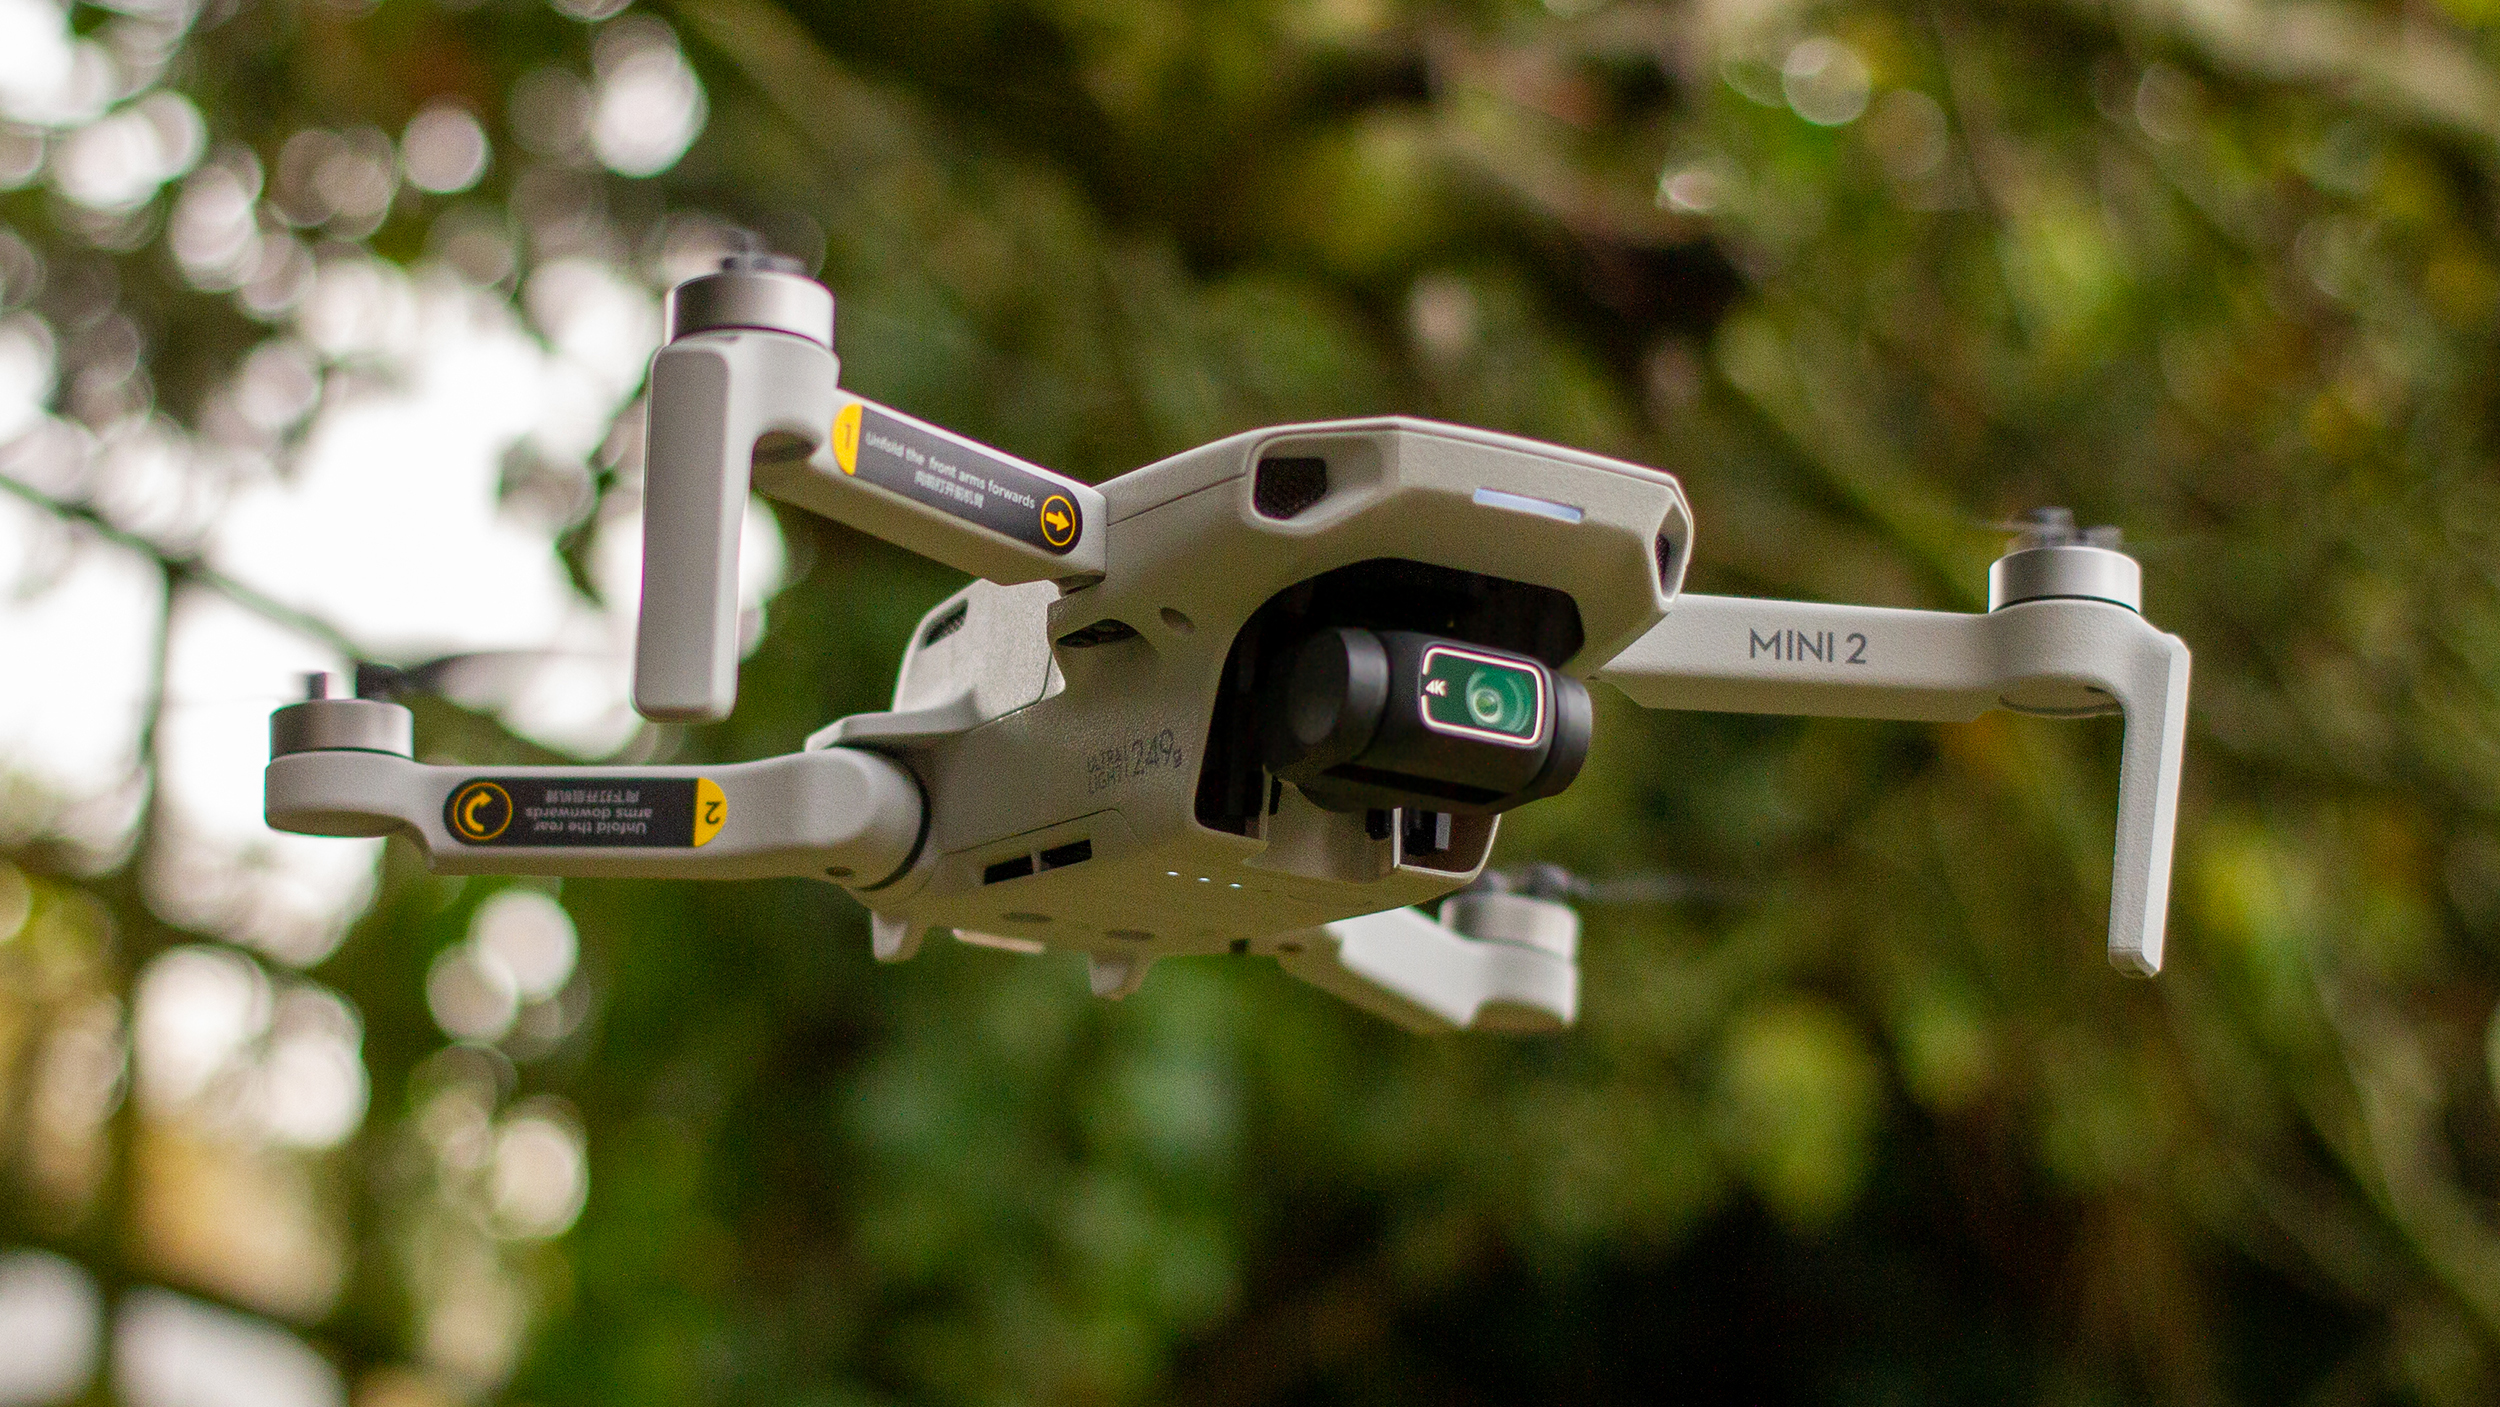
It's hard to think of a better gift to find in your Christmas stocking than a DJI drone. These flying cameras are simple to fly, but can also quite literally take your photography and videography to new heights.
Whether you've unwrapped the new DJI Mavic 3, or a smaller model like the DJI Air 2S, DJI Mini 2 or DJI Mavic Air 2, we have nine essential tips to help you get you up and flying, as well as mastering that stabilized camera.
Recent advances in technology have made it incredibly easy, and indeed safe, to fly drones. But don’t let this lure you into the expectation that you can simply unbox your new drone, charge up the batteries and shoot awe-inspiring photos and videos on your maiden flight – there’s still lots to learn.
So, if you’ve been good this year and Santa has brought you a shiny new DJI drone for Christmas, here’s our guide to getting into the air and shooting stunning photos and videos in no time.
- These are the best drones you can buy right now
1. Get registered
While your new drone is charging, the very first thing you need to do is register your drone. This process will vary depending on your region and local laws, but for the US and UK you'll need to visit the FAA or CAA websites respectively.
As an example, we're going to run through the CAA's process in the UK. You'll need to register as an operator and take a multiple-choice test to receive a flyer ID number that will need to be displayed on your drone.
For all drones, even those weighing less than 250g such as the DJI Mini 2, you now must be registered as an operator.
Sign up for breaking news, reviews, opinion, top tech deals, and more.
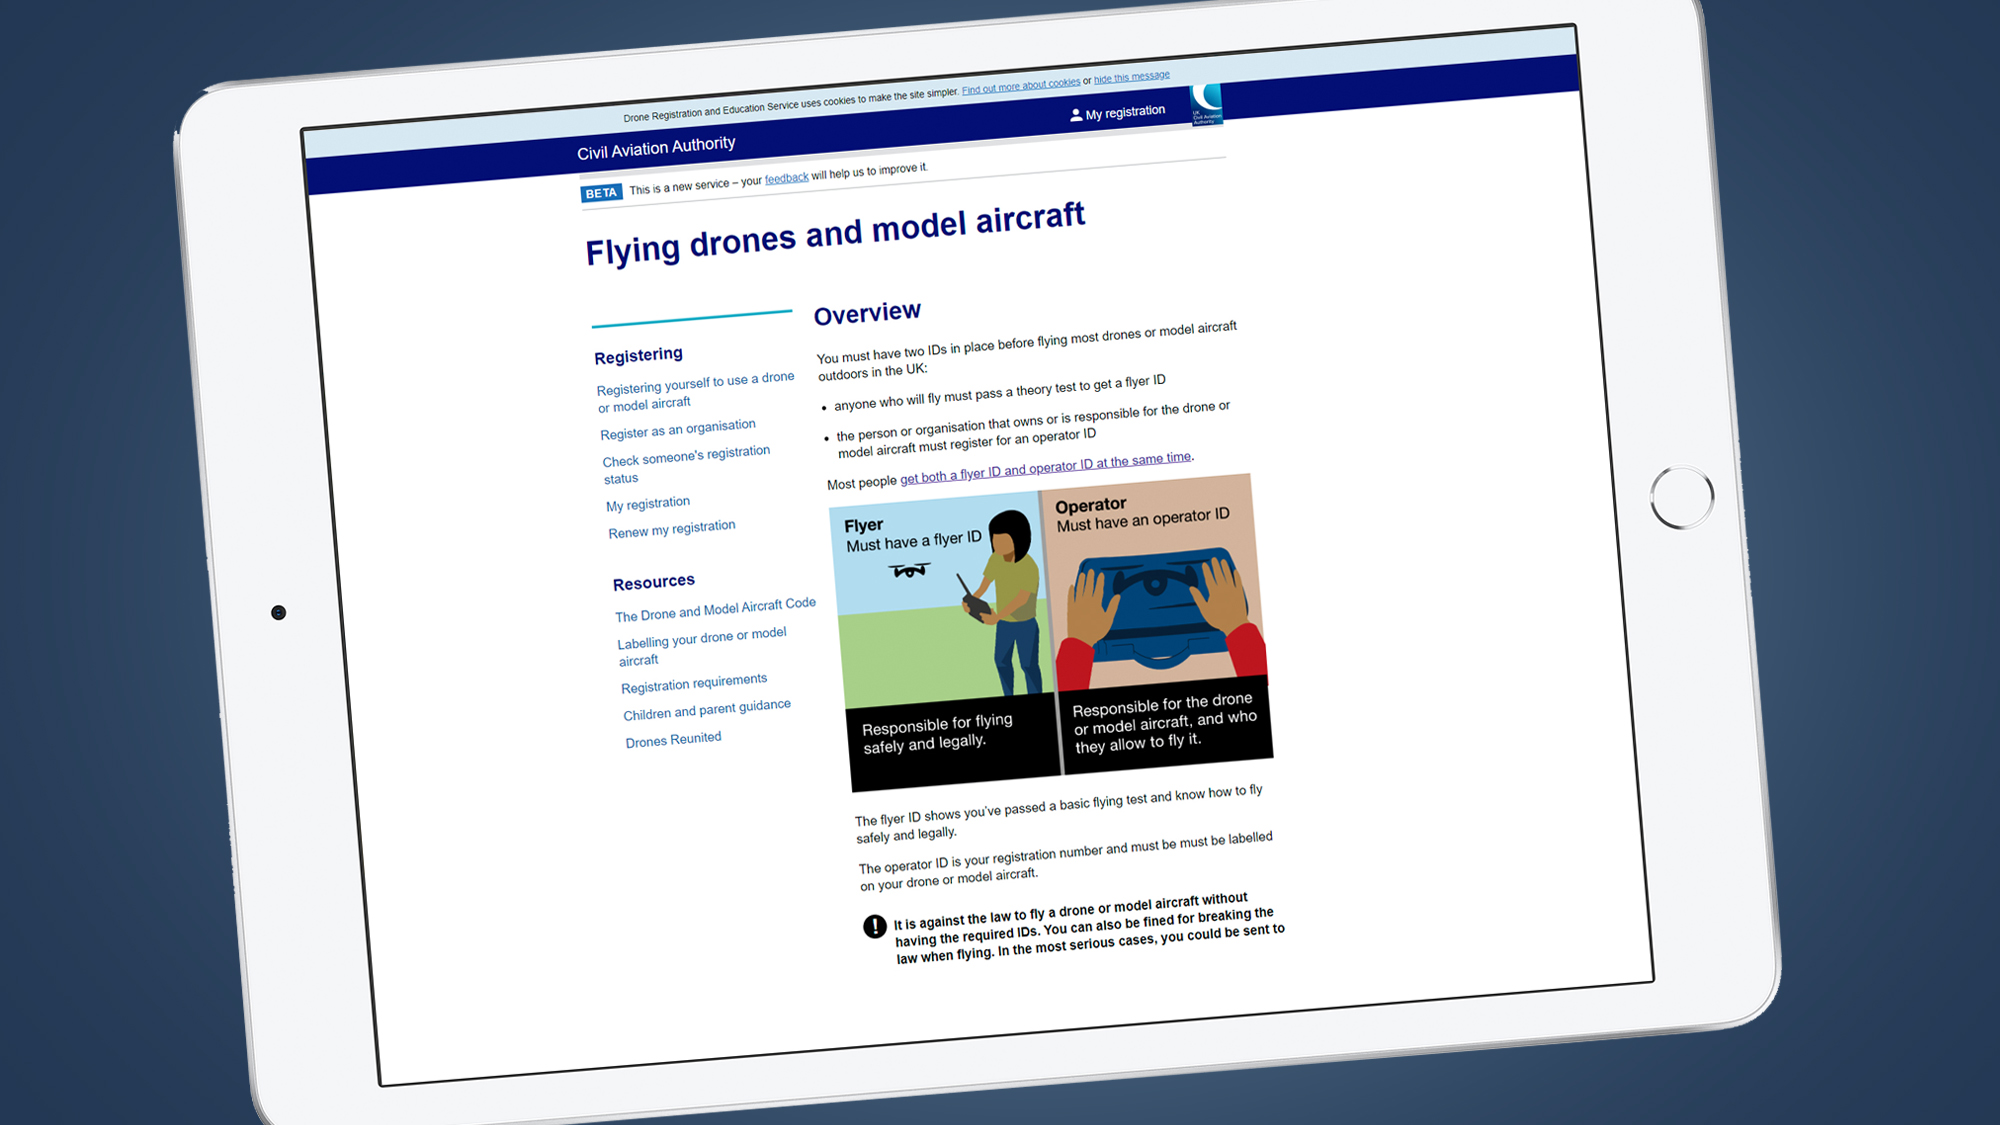
If you have a camera drone weighing under 250g you don’t have to take the multiple-choice test to obtain a flyer ID, but the CAA recommends that you do so because it gives you an overview of the laws surrounding drone flights and will ultimately help you to stay safe and legal.
If your drone weighs 250g and above, you must register as an operator, take and pass the test and display your flyer ID clearly on your drone. To learn more about drone laws and where you can fly safely and legally check out our UK drone laws article. Or to find out the exact laws in your region, check with your local civil aviation agency.
2. Activate your drone
Now it's time to get your drone connected to its partner app. For DJI drones, there are two main apps, and the one you need depends on which model you have.
If you have a Mavic 2 model, the original Mavic Air, the Spark, a Phantom 4 model and one of its professional models, you'll need the DJI Go 4 app (for iOS or Android). Got the DJI Mavic 3, Air 2S, Mavic Air 2, Mavic Mini or Mini 2? You'll need the newer DJI Fly app (for iOS or Android) instead.
Once you’ve installed the app on your phone or tablet, you’ll most likely need to create an account. This gives you the ability to access flight data that’s backed up to the cloud.
With DJI drones, you’re also given a 48-hour window to sign-up to DJI Refresh. This is an insurance policy that covers you against accidental damage for up to two replacement units in a year for a small additional charge for accidents.
The two DJI apps are mainly used for adjusting drone and camera settings, as well as providing a live view from the camera. But they also handily provide the ability to access training resources, flight records, the Find My Drone feature, the DJI store, firmware updates, plus an image viewer when connected to the drone and a video editor. Without them, you can’t successfully shoot stills or video.
3. Attach the props and calibrate the compass
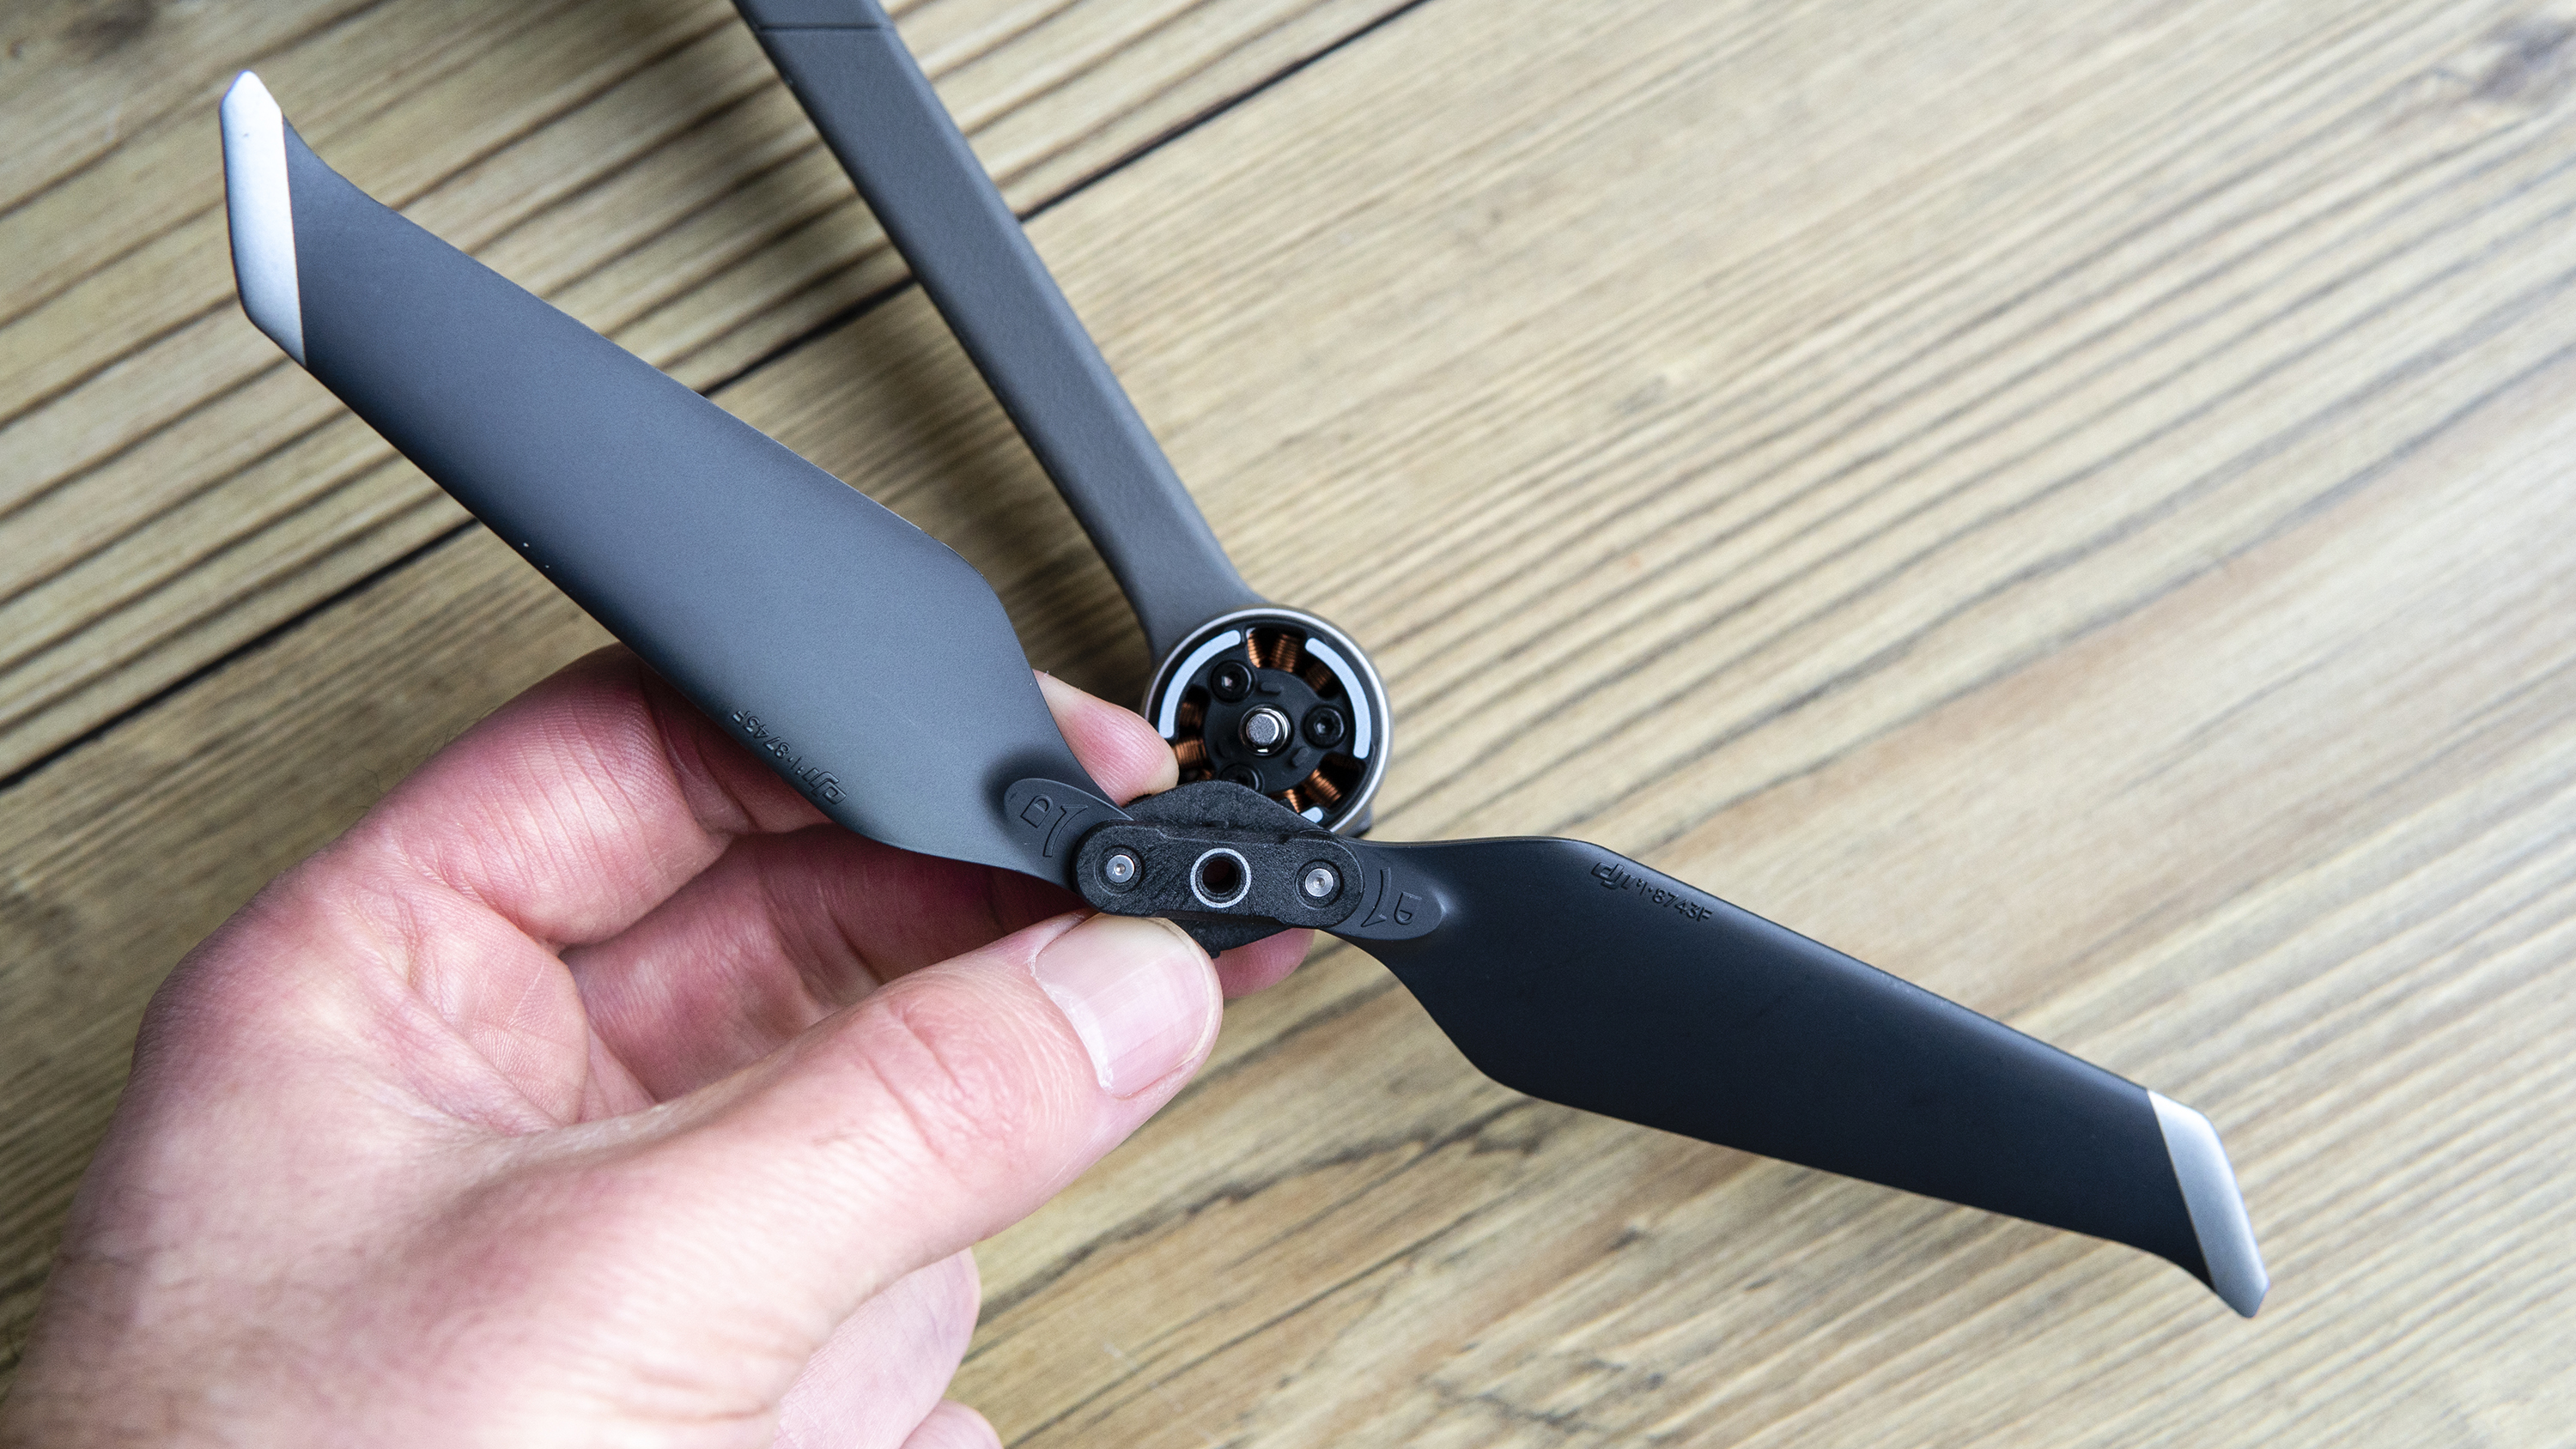
You might think that there’s little that can go wrong with attaching propellors, but you'd be wrong. Because two of them rotate clockwise and two rotate counterclockwise, the propellors must be attached to the correct motor.
The great thing with most DJI drones is that you can only attach propellors to the correct motor, and this is signified on DJI drones with a grey ring or no marking. Most drones feature toolless propellors, while a handful require a tool to secure and remove propellors.
Another thing you'll need to do the first time you use your drone, plus every time you fly in a new location, is calibrate the compass. In most situations, you’ll be prompted to do this, but if not 'Calibrate Compass' can be found in the main menu of the app.
The app will guide you through the calibration process; it simply involves rotating the drone held horizontally and then vertically when the app alerts you to do so. If calibration fails for any reason you can perform the process again – the most common is magnetic interference from being too close to metal.
4. Start with Beginner Mode
Once you've found a safe and legal place to fly, you'll want to make your first flights in Beginner Mode.
This is like a set of digital stabilizers for drone learners and limits the maximum flight distance and altitude of your drone to 30m, so the drone won’t be able to fly beyond these vertical and horizontal limits.
This is ideal for practicing take-offs and landings, as well as simply getting used to the control sticks on the controller. You won’t need to use this mode for long at all; 20-30 minutes or a full charge of a single battery will be enough to familiarize yourself with the flight basics.
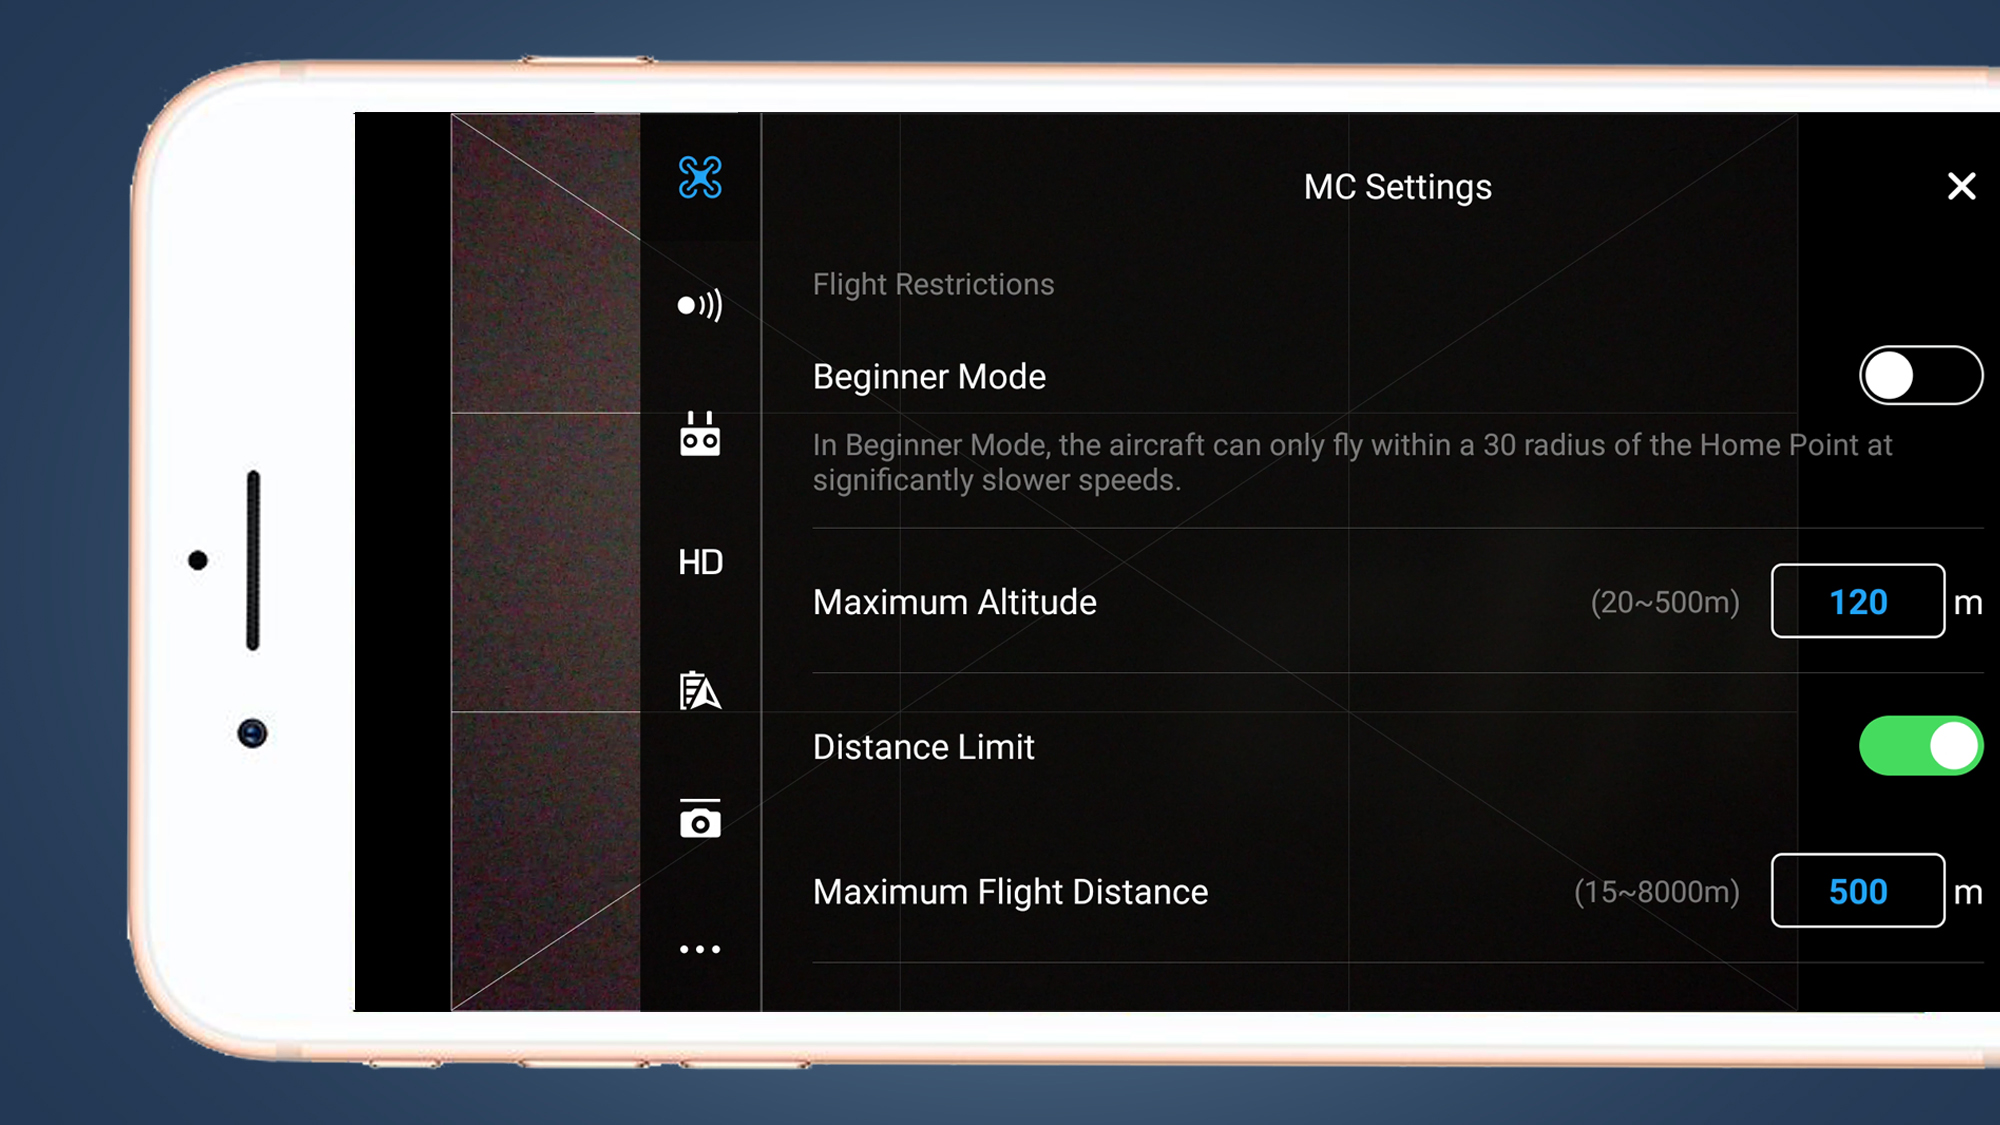
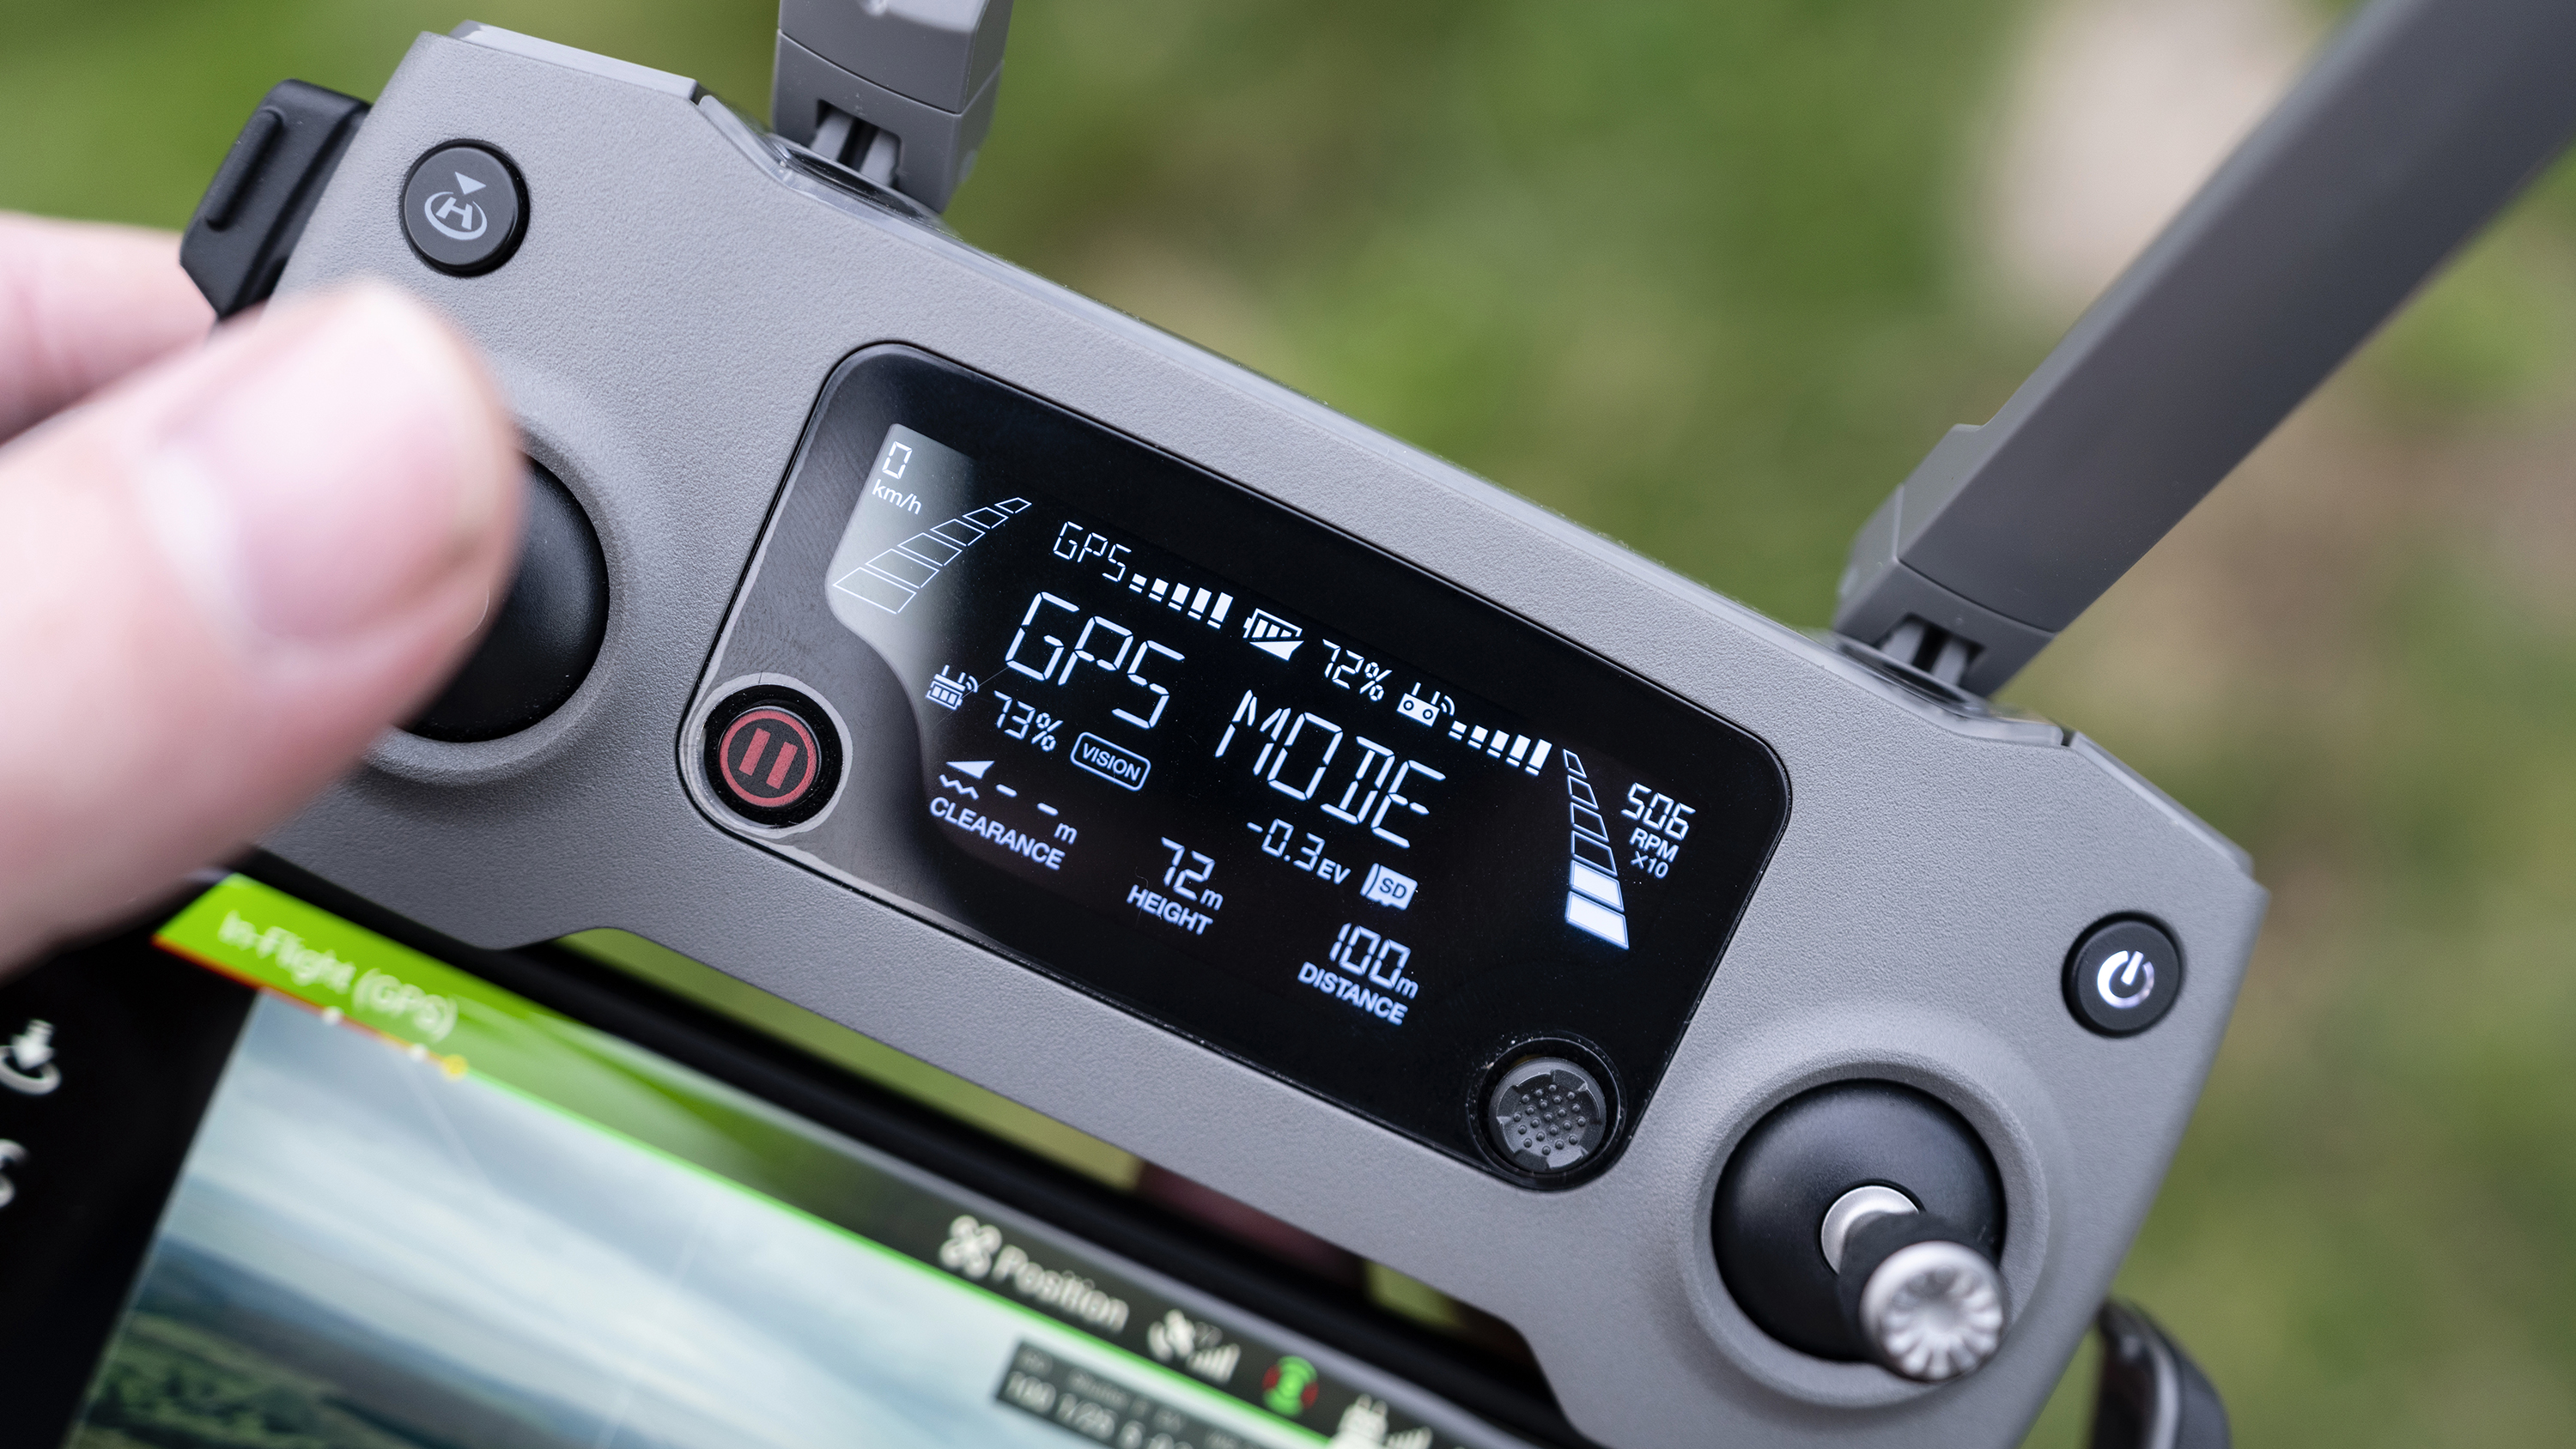
Once you’re ready to fly further away to try more interesting and complex maneuvers, you should turn off Beginner Mode and switch on the Distance Limit. This should be used by all drone pilots because you can set the maximum legal limits of a maximum 120m altitude and a max 500m distance, so you can’t accidentally exceed the legal limits.
To begin with, set the maximum altitude to 80m and the distance to 100m and get used to flying at these distances before increasing the limits to the maximum. Remember that when in flight, you must be always able to see your drone with the naked eye.
5. Practice these manual maneuvers
Most DJI drones come with several automated flight patterns to allow you to capture professional-looking video footage with minimal flying experience. While these generally work well, their pre-programmed nature means that they have a generic look that sticks out like a sore thumb.
Flying manually with full control over the drone is by far the best way to capture unique, smooth and ultimately much more professional-looking video footage. And the best way to train yourself to take better control of your drone and fly it like a pro is to practice just three basic maneuvers.
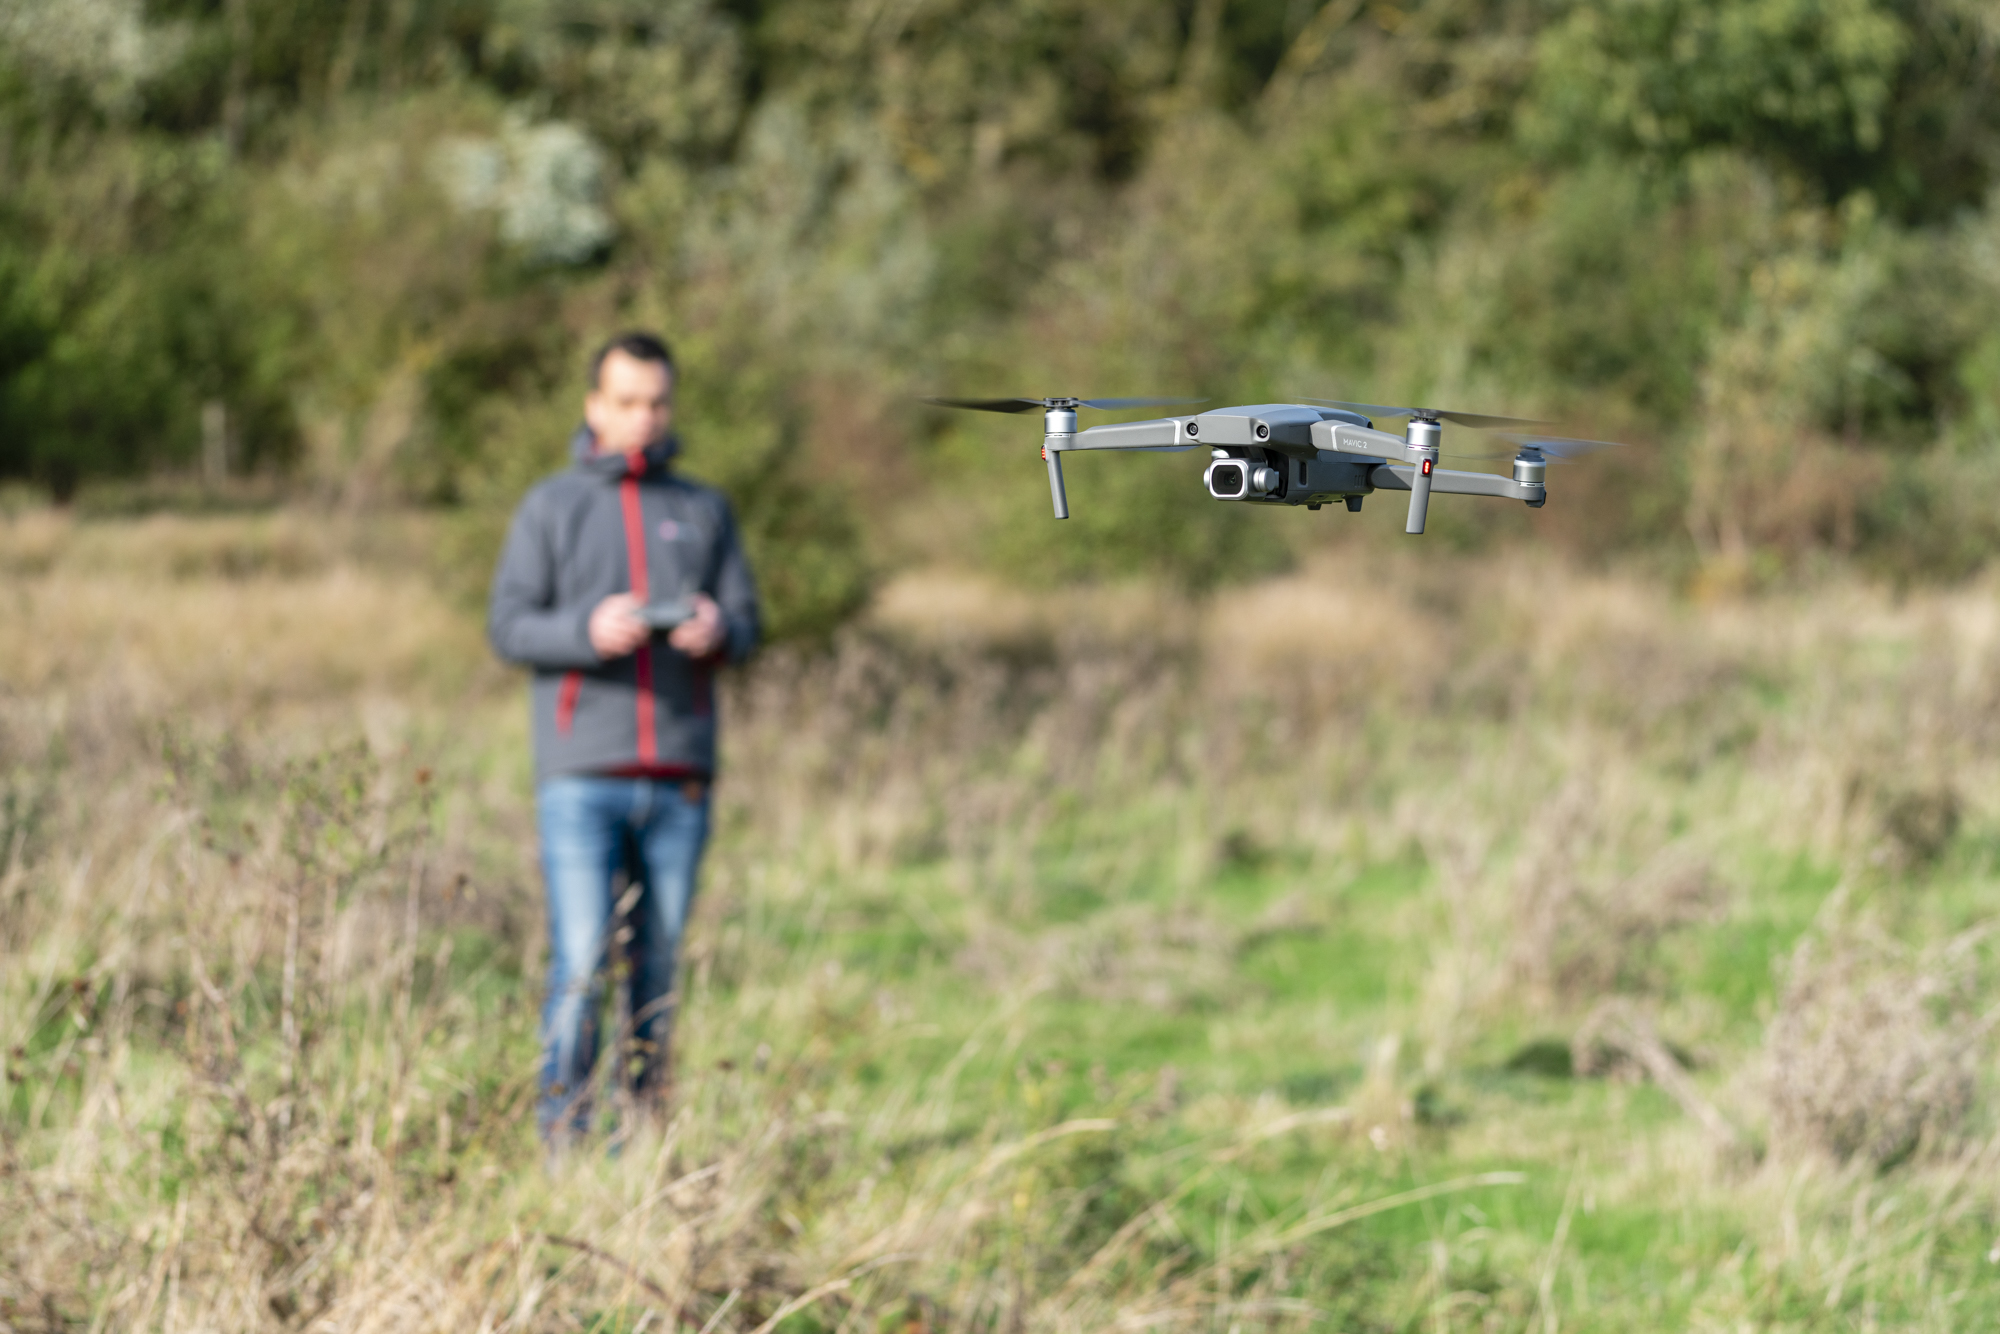
The first, called 'top hat', is where you imagine the shape of a top hat with the drone facing away from you and then fly right to form the left base, up to create the left side, right again to create the top, down to create the right side, and then right again to create the right base. This can be reversed and also tackled with the drone facing to the left or right.
Another maneuver to practice is the 45-degree incline. As the name suggests, this is where you fly the drone forwards and upwards at a steady 45-degree incline, and then downwards at a 45-degree decline. This is trickier than it sounds to achieve with smooth flight, and will help you to get used to using both control sticks at the same time.
The third maneuver builds on the use of the two control sticks at the same time and is called the 'orbit'. This is where you fly in a smooth circle above and around an object, and requires you to yaw left/right with a little throttle using the left control stick, while simultaneously using the right control stick to roll left/right with some forward pitch.
Again, this is not as easy as it sounds, but by practicing this and the other two maneuver, your flying skills and confidence will quickly grow.
6. Set up the camera view
Before shooting any stills or video, it’s worth taking a little time to set up the camera settings for both stills and videos, which we’ll cover in the next two steps. But another equally important task is to set up the camera view.
By default, you’ll be able to see camera settings such as ISO, shutter speed and aperture (if your drone features an adjustable aperture). There’s also a shutter button and a menu button to access further camera controls.
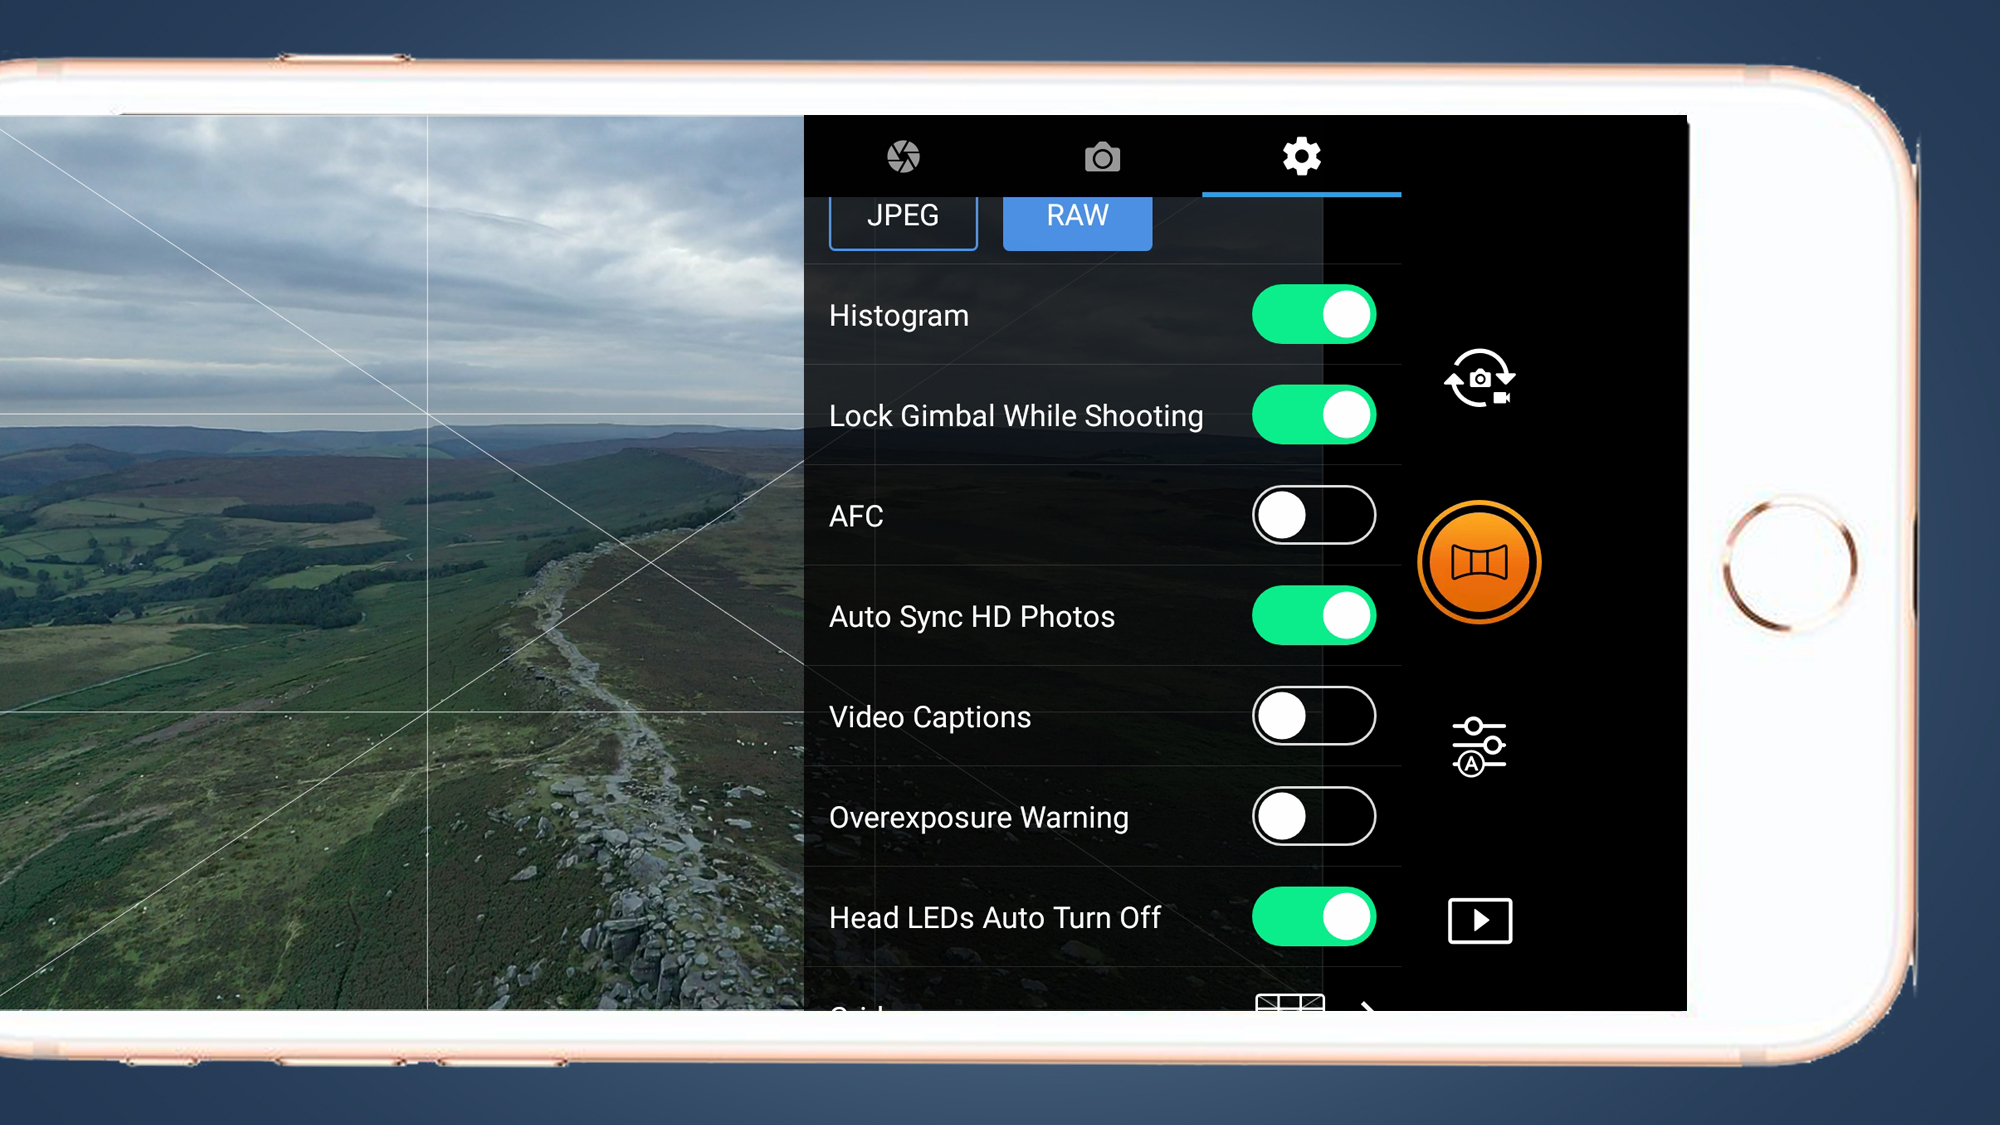
Out of the box, you could use the default view and shoot stills and video, but there are a handful of on-screen guides and warnings that can make it quicker and easier to shoot.
In the camera menu, you can set the histogram to show so that you can assess exposure. Another handy tool is an overexposure warning, which uses zebra lines to show when highlights have blown. And a couple of other useful aids are the grid option for showing the rule-of-thirds grid on-screen to assist with composition, plus focus peaking to show what’s in focus.
7. Essential photography settings
To shoot stills, you’ll need the standard camera mode to be active and this is signified by a DSLR icon. Shooting itself is self-explanatory, but it’s the settings that will make the main difference. The camera view is similar to that of a compact camera or a smartphone camera, so you should generally feel at home.
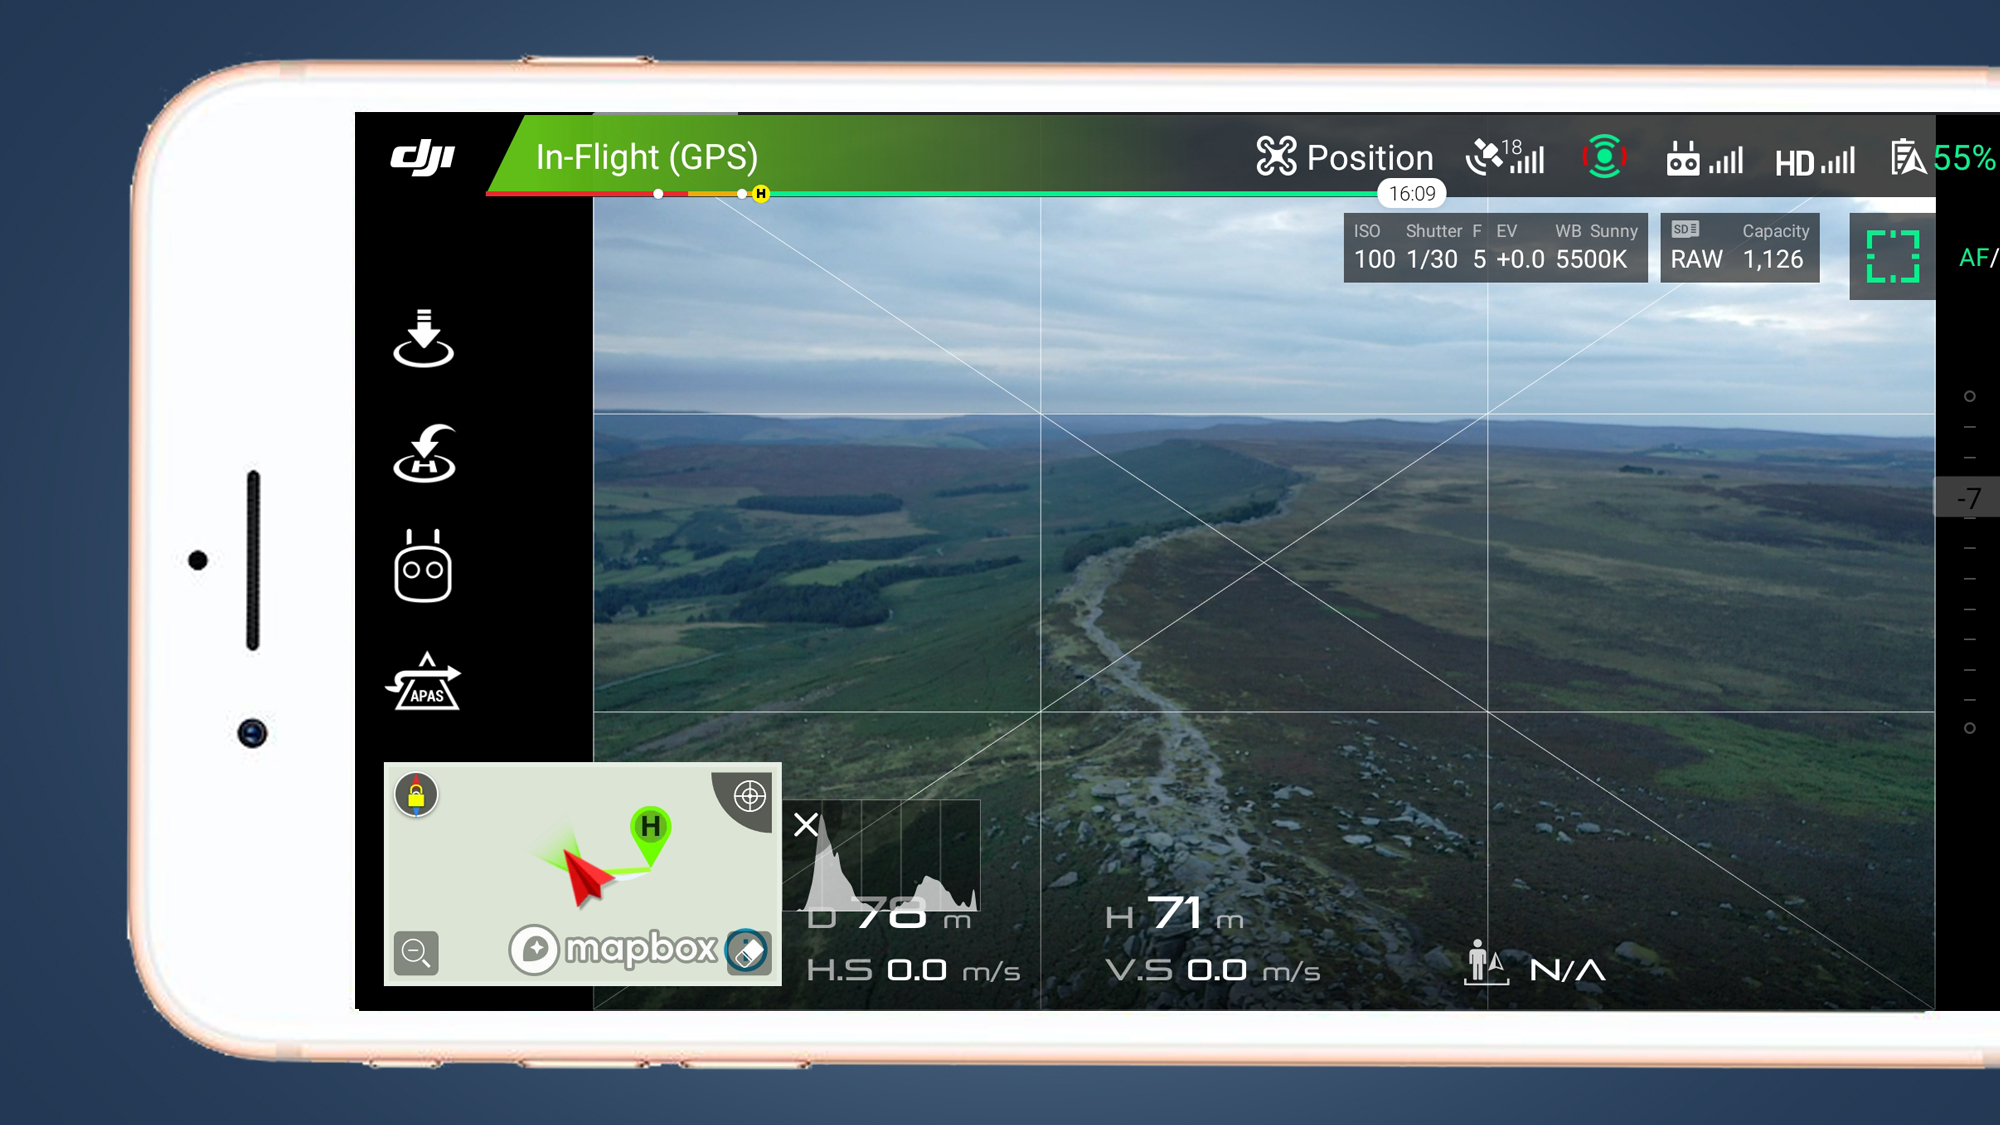
The first thing you need to consider is file format – will you shoot in JPEG or raw format? Once this is set you’ll need to dial in ISO, which is the sensitivity of the sensor to light. Since drones have small sensors, it’s best to try to keep it between ISO 100 and 400 to avoid high ISO noise.
If you’re shooting with a Mavic 3, DJI Phantom 4 or Mavic 2 drone, you can also shoot in aperture priority, shutter priority or manual because there are separate shutter and aperture controls.
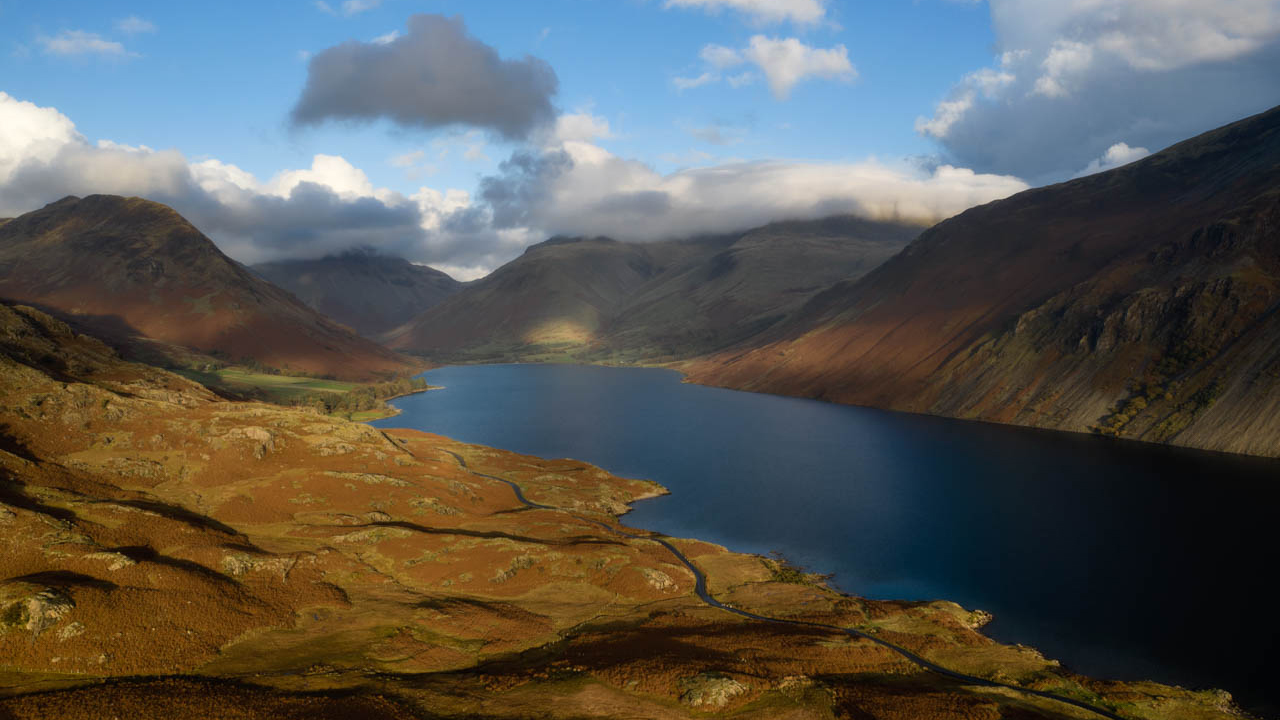
But if you're shooting with a smaller drone, such as the Mavic Air 2 or Mini 2, you'll have a fixed f/2.8 aperture, which means you’ll only need to change the shutter speed to adjust exposure.
Single-shot is the main mode you’ll want to use and, as the name suggests, this will take one shot when the shutter button is pressed.
8. Bracket your exposures for more detail
One of the problems when shooting photos with a drone is maintaining detail throughout the entire scene.
This is simply because the difference in the exposure between the sky and ground is so large. Expose for the ground and the sky is bleached out and pure white; expose for the sky and the ground will severely underexpose and look too dark. This is less of an issue when shooting with the sun behind the drone, but you can’t always guarantee that this will be the case.
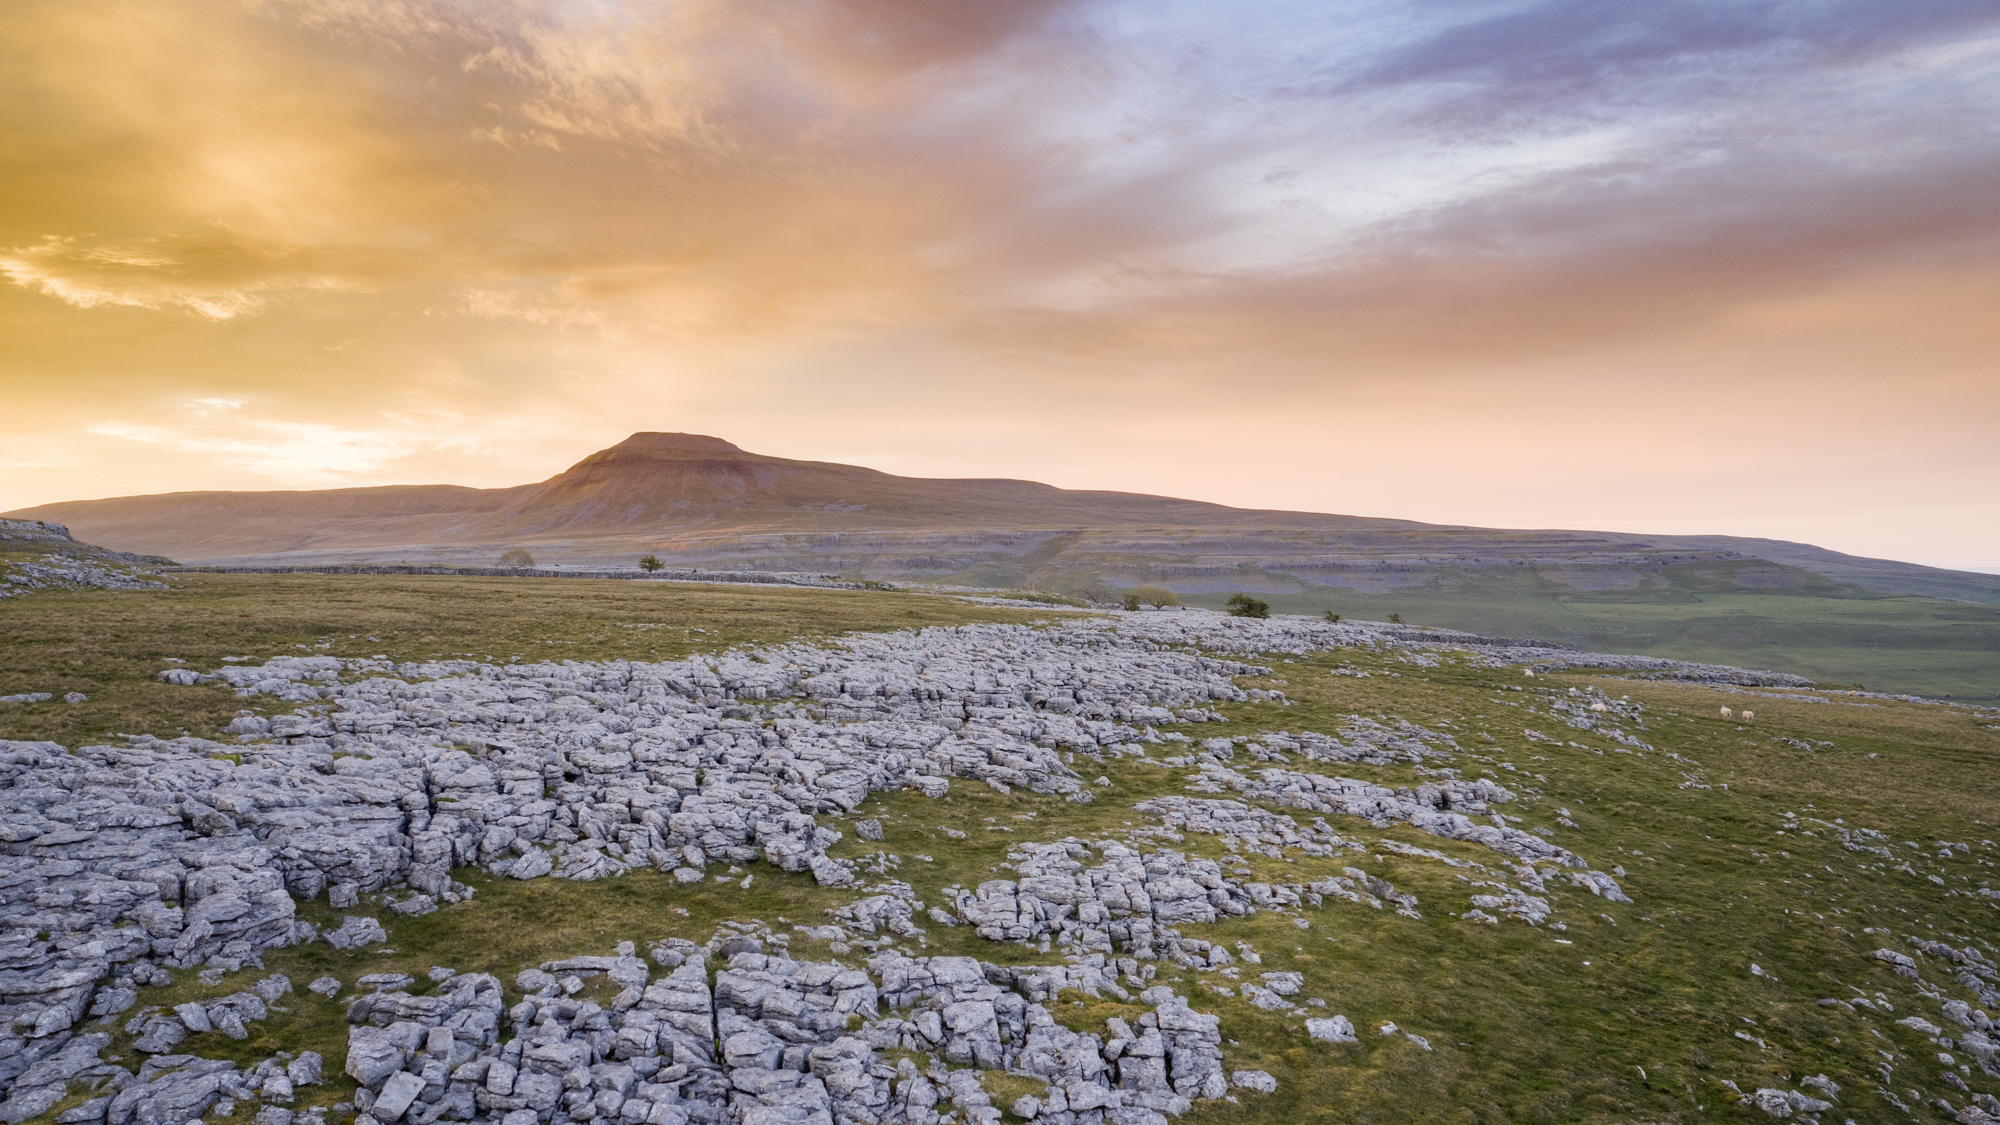
The simple way to overcome the problem of capturing detail in high contrast situations is to shoot HDR. Most drones have an HDR mode, but this is best left alone because while it makes light work of creating HDR images, this mode generally only produces JPEGs that are processed in-camera, so you have no control over the way they look. It’s also safe to say that they never look as good as manually processed HDR images made up of 3-5 bracketed exposures in Lightroom.
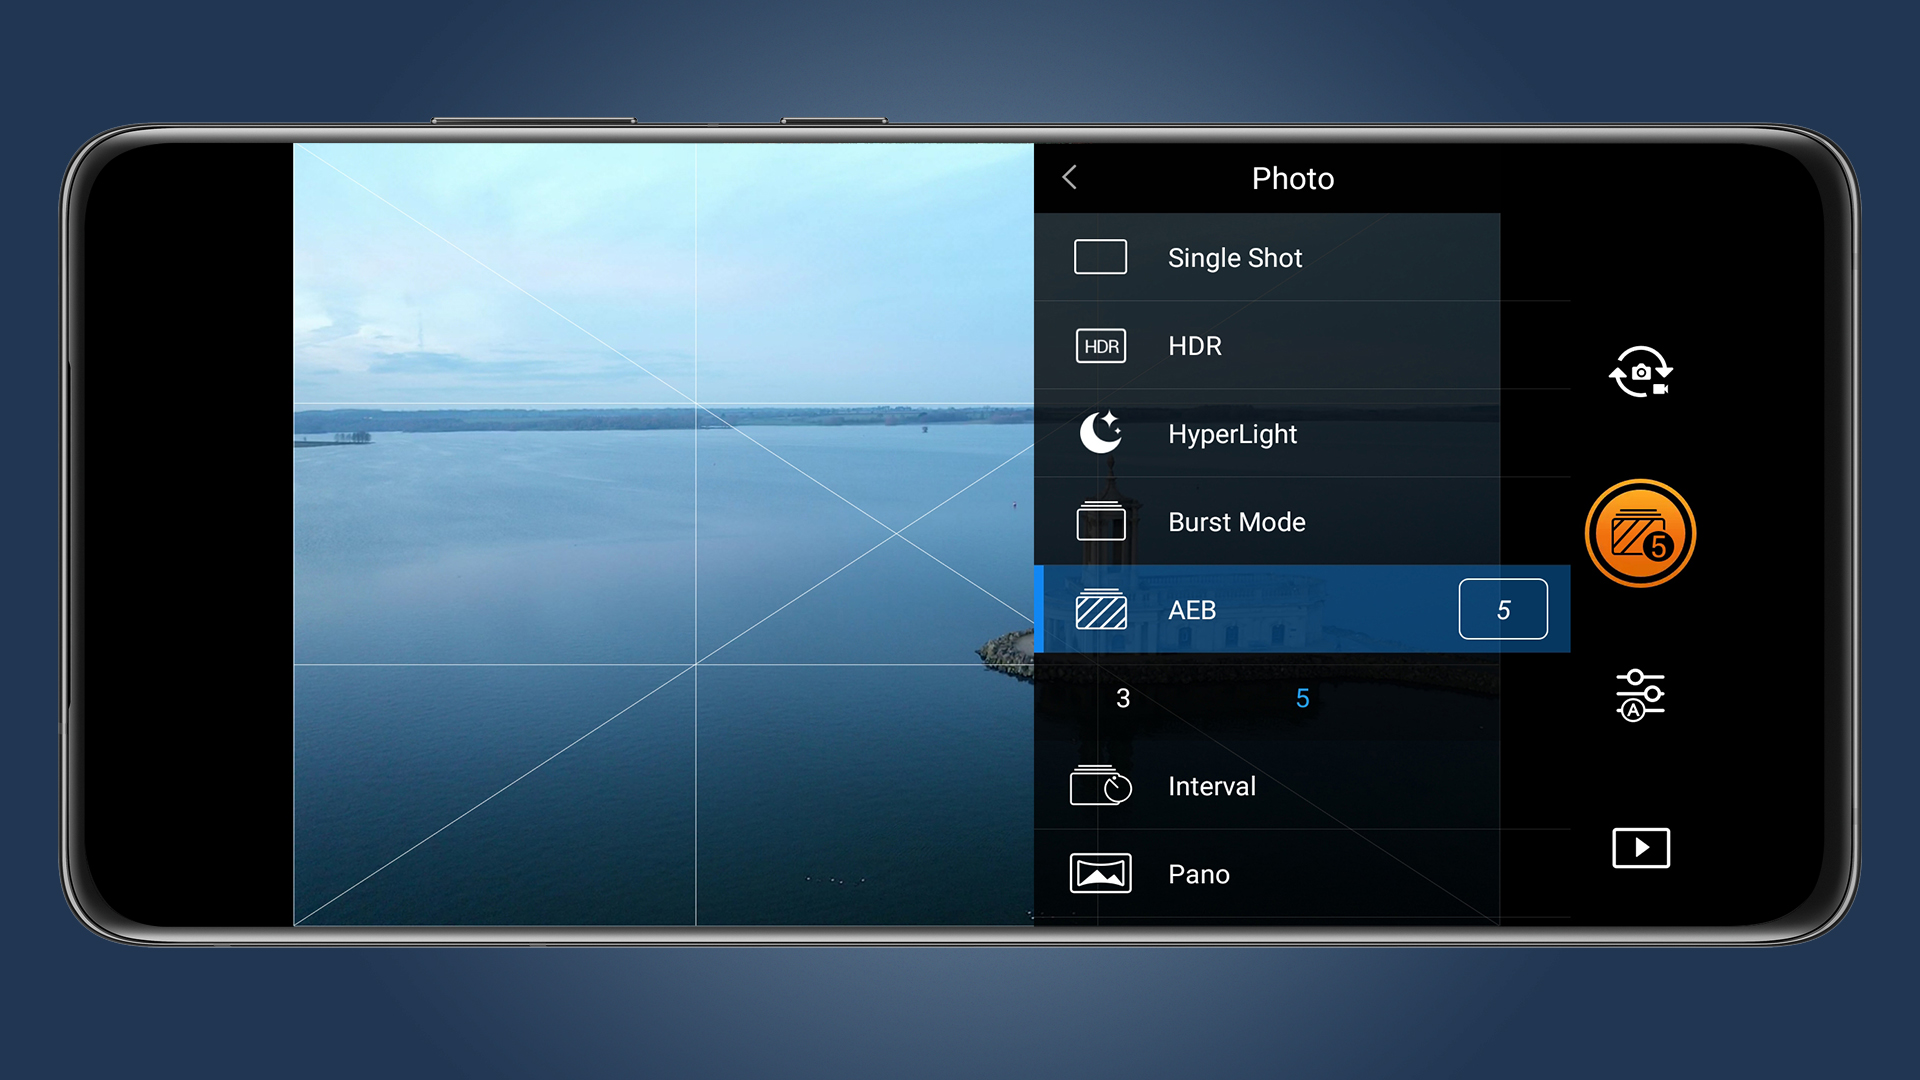
The best way to shoot 3-5 bracketed exposures is to shoot with the camera set to capture images in raw format, with the shooting mode set to AEB (Auto Exposure Bracketing). This mode will shoot three or five bracketed exposures, with the middle exposure being the one you set the camera to, while the surrounding exposures will be under and overexposed in one-stop increments.
This means that in most situations, opting for five bracketed exposures is best. Once shot and downloaded these images can be blended in Lightroom, Photomatix, Sylum Aurora HDR or other phto processing software.
9. Video settings and 'the 180 rule'
Video settings are a little more complex, but don’t let that put you off – once everything is set up, you may not need to change them again for some time. To shoot video you’ll need the video camera mode to be active, which is signified by a video camera icon.
Settings outside of the standard exposure controls that you’ll need to set include video size, which is often best set at the highest setting of 4K. If you’re an expert video shooter, shoot with the color mode set to DLog-M or similar so you can color grade your footage – this is like shooting video in a raw format.
For casual users, shoot in Standard mode so the footage you shoot is ready to use straight away without the need for additional processing. Shooting this way is similar in some respects to shooting stills in JPEG mode, rather than raw format.
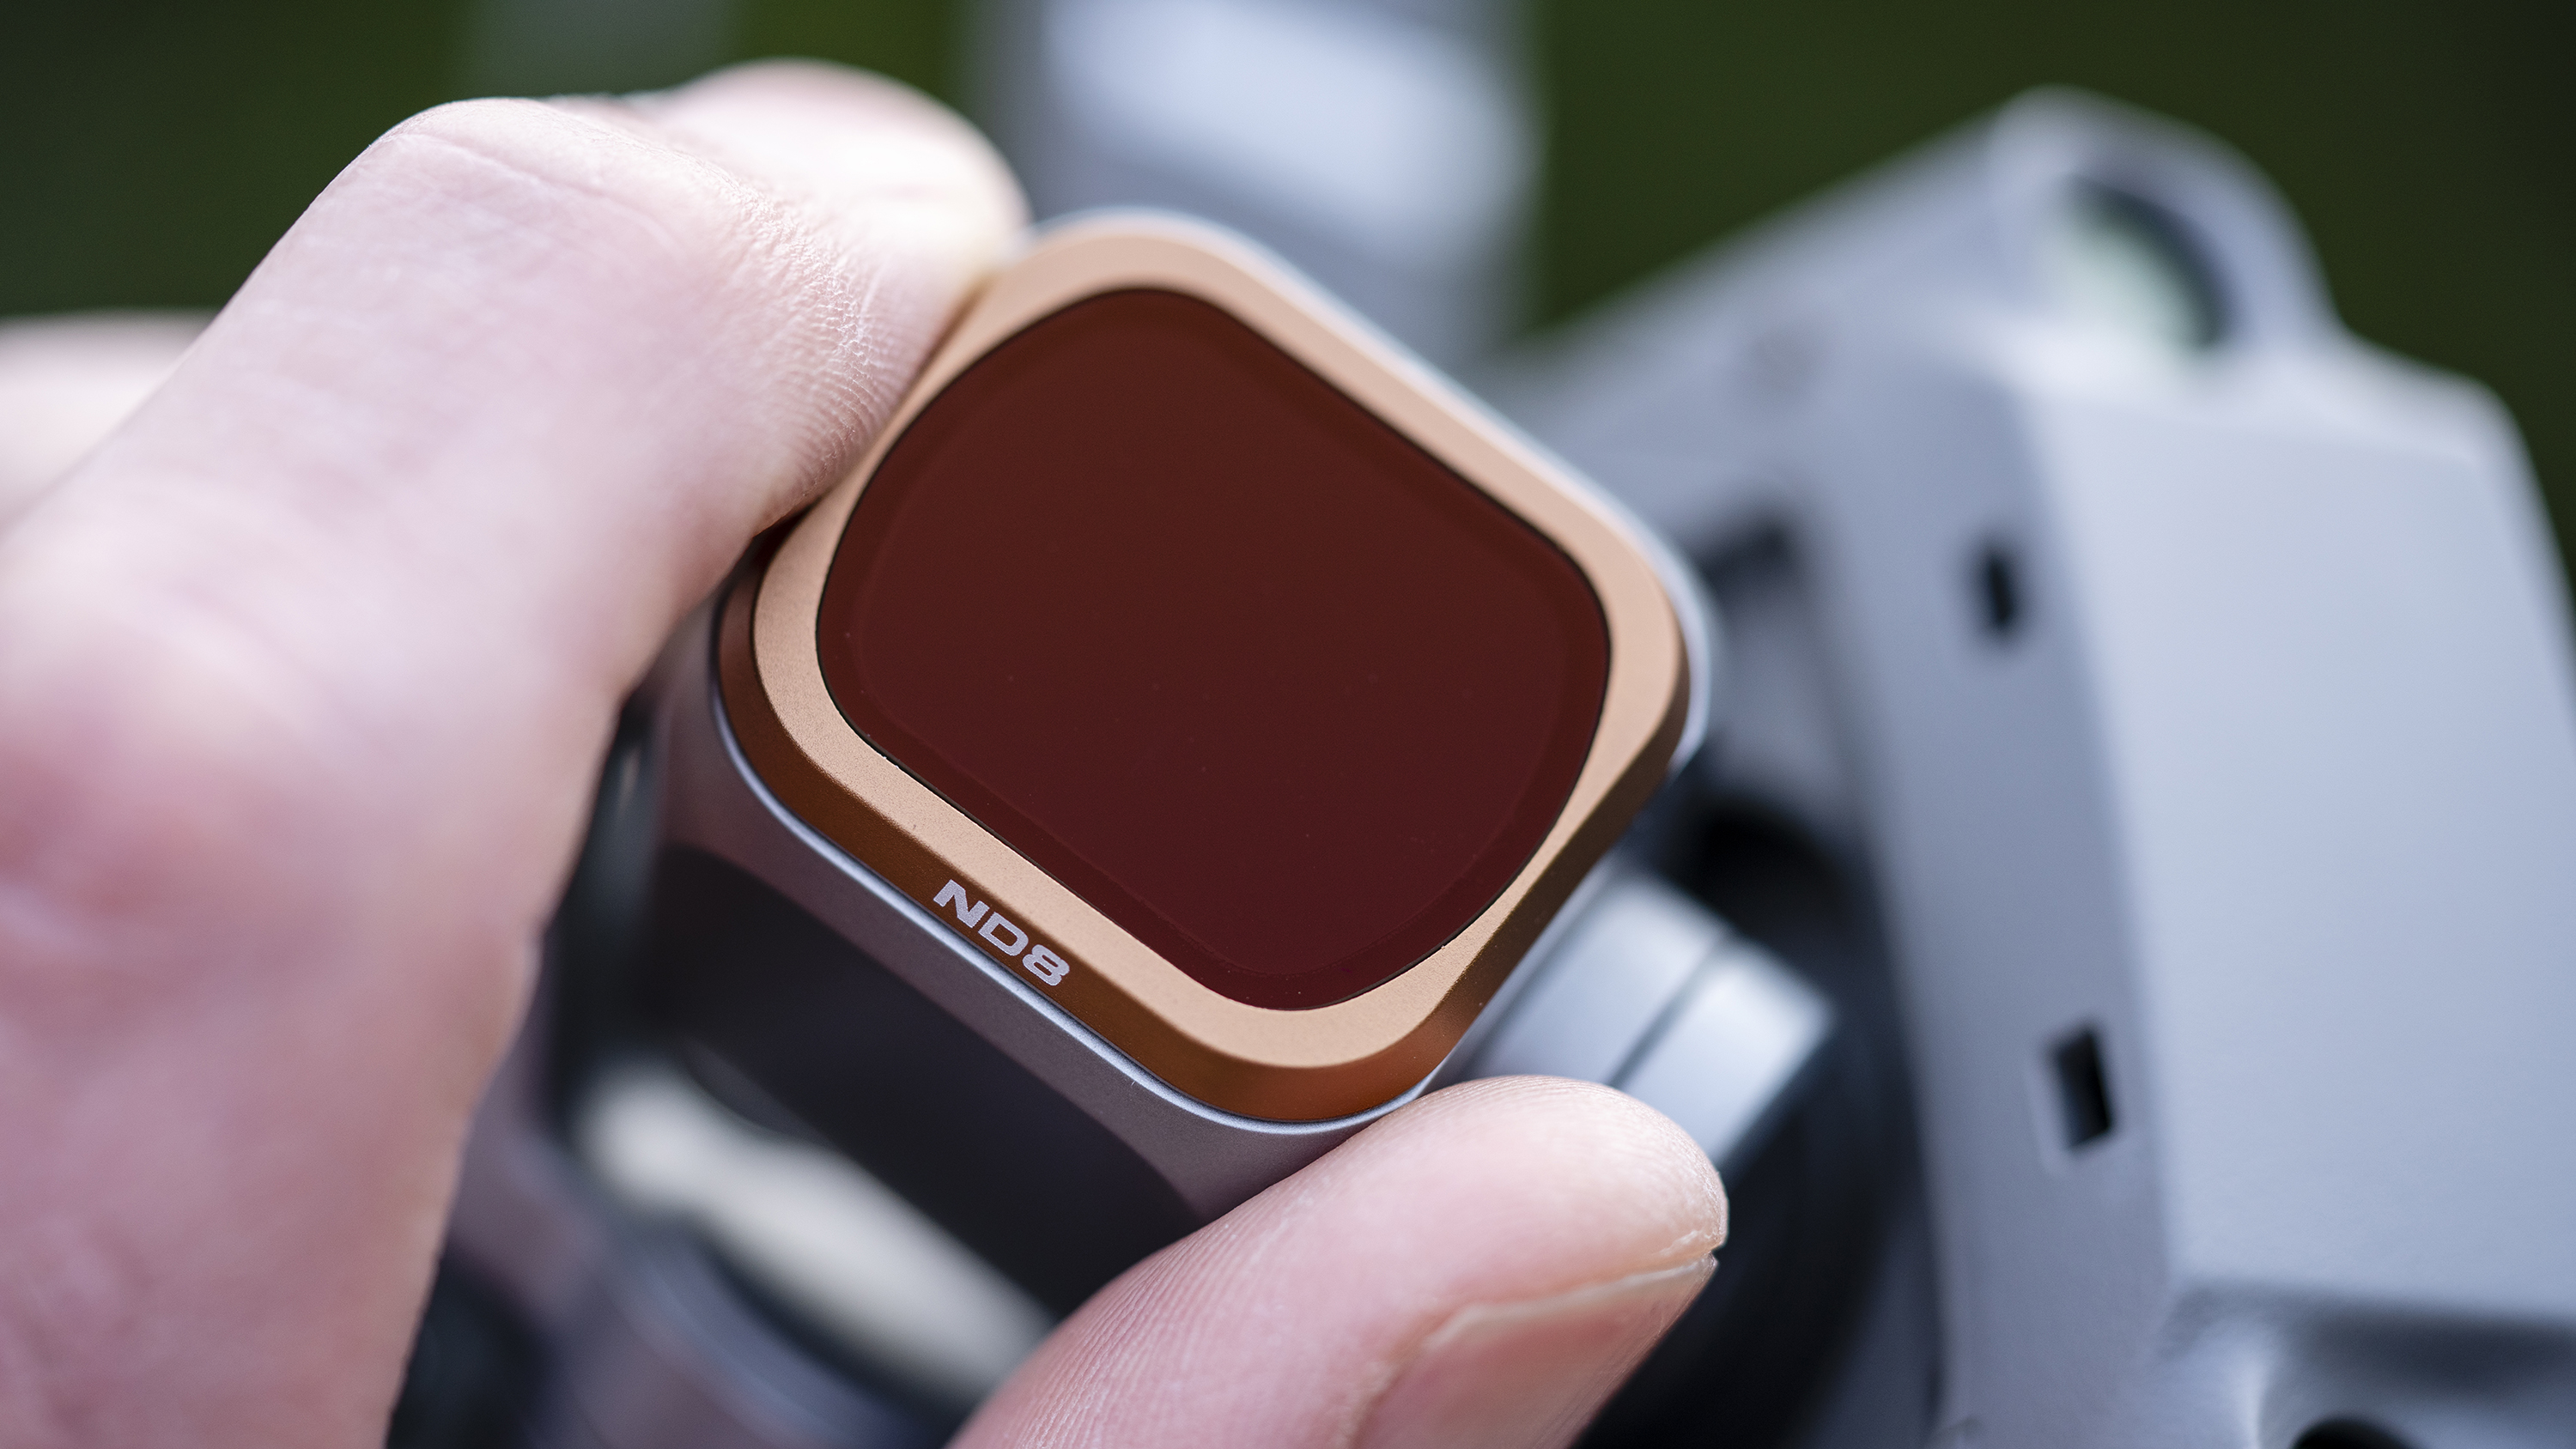
For video, it’s best to shoot with all camera settings in manual so there are no changes to depth-of-field, shutter speed, ISO or white balance in during filming. It’s also best to conform to the '180 rule' – in a nutshell, this states that the shutter speed of the camera should be roughly twice the frame rate of the footage being recorded.
So, if you’re shooting at 30fps, shutter speed should be around 1/60 sec so that movement is captured looking natural. It’s more common for shutter speed to be too fast in daylight, so ND filters (see image above) allow you to shoot at slower shutter speeds by reducing the amount of light entering the lens.
- Need more drone tips? Check out our DJI Mavic Air 2 tips and tricks
James Abbott is a professional photographer and freelance photography journalist. He contributes articles about photography, cameras and drones to a wide range of magazines and websites where he applies a wealth of experience to testing the latest photographic tech. James is also the author of ‘The Digital Darkroom: The Definitive Guide to Photo Editing’.