Sign up for breaking news, reviews, opinion, top tech deals, and more.
You are now subscribed
Your newsletter sign-up was successful
01. Install CPU
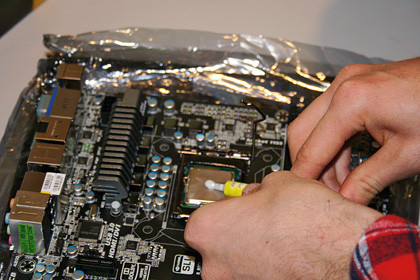
We're going to test the vital components before putting them into the case. Lay your motherboard on its anti-static bag and remove the CPU guard. Lower your CPU in, being careful not to bend any pins. Lock it down and add a pea-sized dab of thermal paste to the top.
02. Cooler and fan
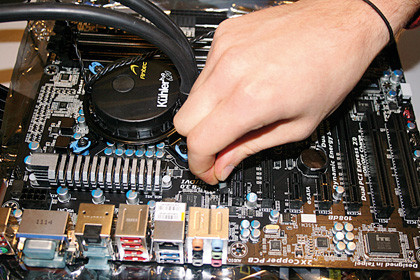
Cooler fixings vary between coolers and chips. Most require a bracket underneath the board, which affixes to the cooler itself. Check your manual to find out which of the screw holes and fittings you need. Connect the fan cable to your mobos' CPU FAN connector.
03. Fit the RAM
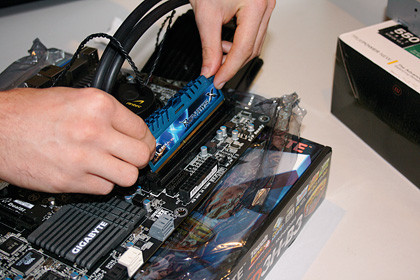
RAM only fits one way, you just need to open the catch, snap it in and lock it in place with the catch again. Some motherboards have different configurations between memory channels, so 1 and 3 may operate differently to 2 and 4 - check in the manual first.
04. The graphics card
Sign up for breaking news, reviews, opinion, top tech deals, and more.
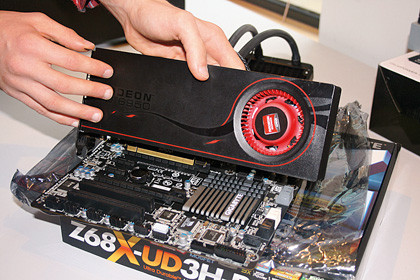
The GPU should always occupy your top PCI-e slot because this is where the highest bandwidth will be: x16. Since bandwidth drops to x8 as soon as you involve another GPU in an SLI/CrossFireX array, manufacturers usually only put one x16 slot on the board.
05. Hook up the PSU
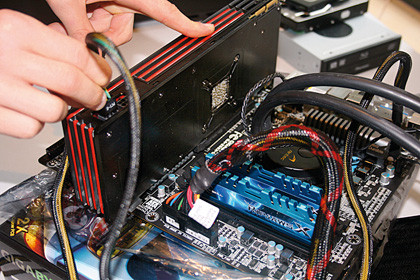
Connect the 20+4 pin connector to the mobo, the 8-pin EPS cable to the mobo (near the CPU) and whichever 6/8-pin PCI-e cables your GPU requires. If your cooler has more than one power connector, make sure it's hooked up to a SYS_FAN on the board.
06. Test the components
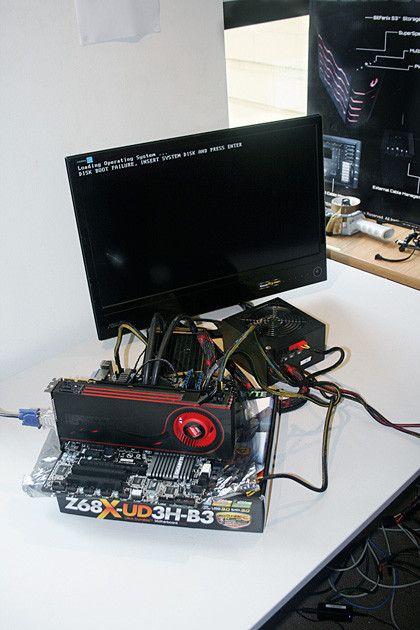
Power that sucker up by turning on the PSU and either hitting the power button on your mobo if it has one or using a screwdriver to short the power (+PW-) pins on the board's ATX block (This is where you connect all the case connectors).
07. Prep the case
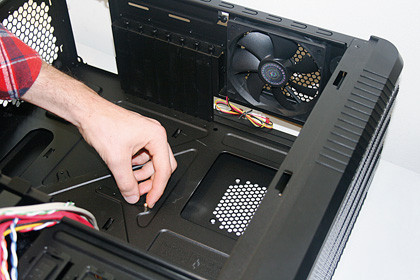
Take out any bits of case you don't need such as drive bays and PCI slot plates. You need as much room in there as possible, and it's at this point that buying a bigger case pays for itself. Tie all the fan cables out of the way and fish out the mobo's mounting screws.
08. ATX backplate and mounting screws
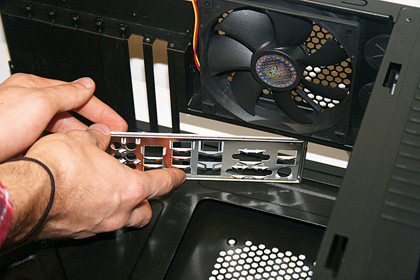
Chuck your case's backplate in favour of the one that came with your mobo - it's guaranteed to fit, and chances are it'll be less flimsy. You'll also need to fix mountings to the case in line with your mobo's screw fittings.
09. Install the PSU
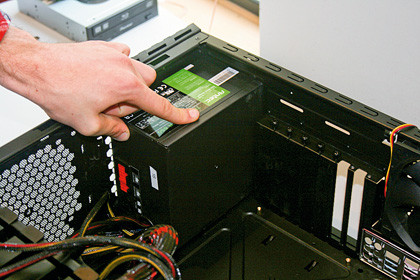
Some cases offer the choice to fix the PSU at the top or bottom of the case - there are pros and cons to both. You need to consider airflow and space to make the best call. Screw it in place and tie the cables out of the way. If it's modular, take all the cables out.
10. Drop in the motherboard
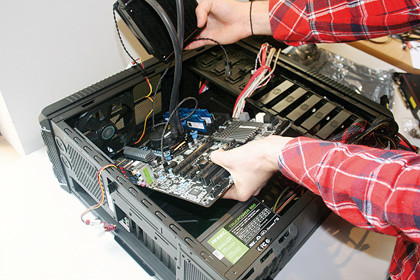
Remove the GPU from your mobo for now and with the CPU, cooler and RAM still in place, lower your mobo in and line it up with the rear mountings, then screw it in place. It's easier to do it this way round than to try and fix the components in afterwards.
11. Reunite GPU and mobo
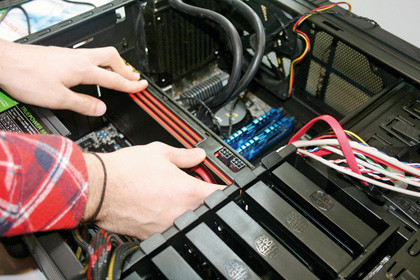
This can be surprisingly fiddly if your case's storage bays stick out quite far. Some cases will allow you to pop out some drive bays, so do this if possible, and bung your graphics card back into that top PCI-e 2.0 x16 slot. Once it's firmly in the slot, screw it in place.
12. Test it still works
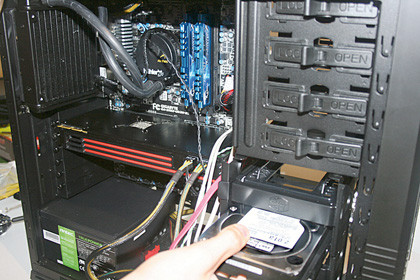
You'll need to connect the PSU's cables to all your components again. Checklist: main mobo power, CPU power and GPU. Don't worry about hooking up any case fans yet, just the CPU cooler. Power-up as before and check for POST beeps or LEDs light up your mobo.
13. Install the hard drive
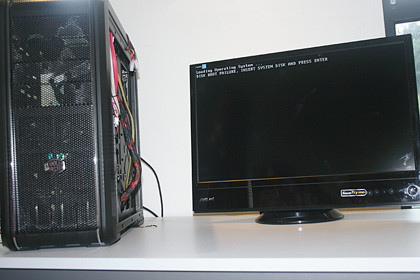
Locate the handiest 3.5-inch drive bay (bearing in mind the SATA and power cables that will be trailing off it), pull it out and screw the disk into the bay. Pop it back inside. Slightly trickier if you need to reinstall those drive bays you took out to get the GPU to fit.
14. Add the SSD
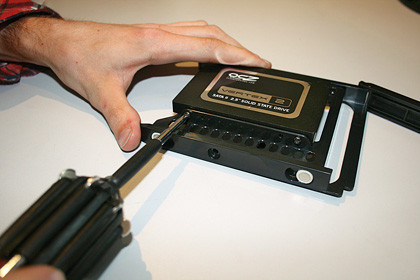
Those sleek SSDs need mountings of their own to fit into a 3.5-inch bay, so screw your solid state bad boy into its mounting (usually provided with the drive) and then affix it as a hard drive. If you're the sort to hot-swap drives, use the easily swappable bays.
15. Attach an optical drive
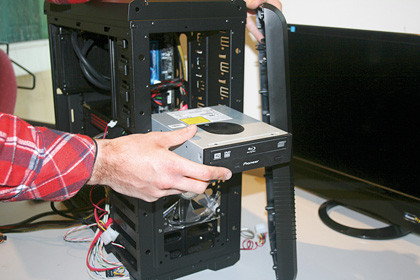
Pop out the cover for the optical drive bay from the front of the case, and slide in your optical drive, again from the front, then secure it in place by screwing it in. If your inner OCD slave can deal with it, it's neater for cables if you use the lowest drive bay.
16. Case connectors
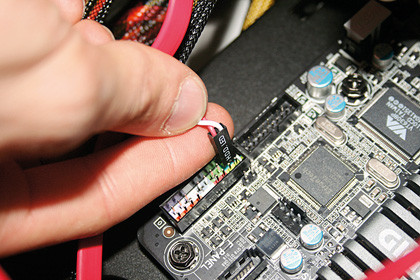
Invariably the fiddliest of all steps. Connect your case's USB cables, HD audio, fan connectors and all those tiny 1-pin ATX block connectors. There's a tiny diagram on the motherboard itself that shows where to put each pin, but check the board's manual.
17. Tidy your cables
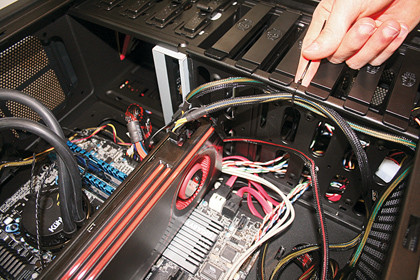
This tidy up will help maintain good airflow and avoid dust build-up. If there's space between the backplate and case, feed cables in there. Make sure your drives are connected to the fastest SATA ports, use the PCI-e cables for your GPU and tidy up with cable ties.
18. Windows installation
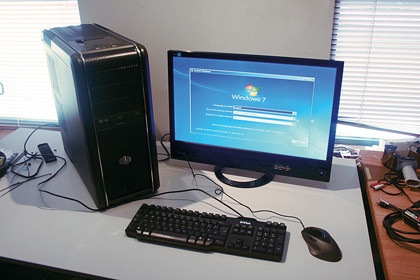
Time to check everything is working properly. If you get any funny beeps check out what they mean online - it's probably a loose component or missing connection. If everything works fine, bung the Windows disk in your optical drive and install the OS on your SSD.