How to digitise your vinyl
Rip your record collection
Sign up for breaking news, reviews, opinion, top tech deals, and more.
You are now subscribed
Your newsletter sign-up was successful
When Apple first introduced iTunes, its slogan was 'Rip. Mix. Burn.' This encouraged people to digitise their CD collection so it could be transferred to the then-new iPod. This was easy enough since all Macs came with a CD drive, but what about all the people out there, then and now, with vinyl records?
It's true that some third-party USB record players exist with the facility to stream sound straight from a record into your Mac, but these cost money. The good news is you can also do it inexpensively: in fact the only thing you have to add is a phono to mini jack audio cable, which can be found online for a few pounds.
Recording sound from a record into your Mac is much the same as recording any sound source with a microphone, except the cabling is slightly different. Hook up the turntable either to a specialised USB audio interface with phono inputs, available from as little as £80, or connect the record player to your Mac's audio line in port using one of the aforementioned cables.
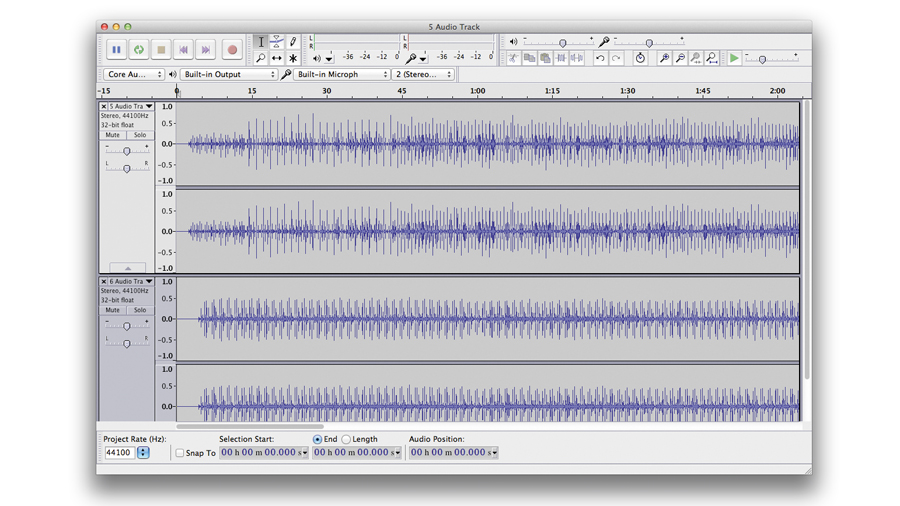
Download and install the free audio-recording app Audacity and you can capture the sound. It's then possible to process it to clean it up a little, and export it to a full-quality AIFF file or an MP3, and even upload it to iTunes Match. As well as letting you enjoy your music on the move, it's a great way to make back-ups of your fragile vinyl collection.
How to rip your vinyl records to your Mac
1. Install Audacity
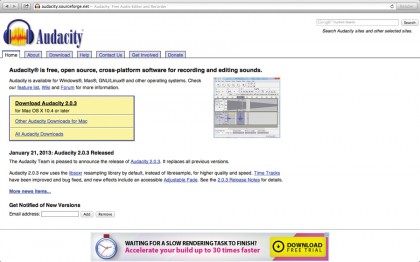
Head over to audacity.sourceforge.net and download the latest version of Audacity for OS X. It's a free audio recorder and editor that lets you capture the signal from your records in high quality as well as clean it up. On first load it scans any plug-ins that you may have installed.
2. Connect your decks
Sign up for breaking news, reviews, opinion, top tech deals, and more.
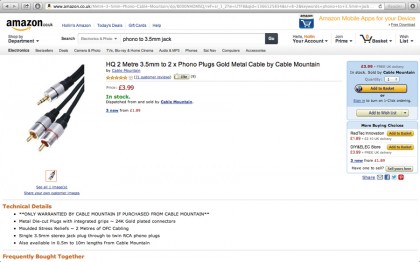
Connect the output from your record player or your amplifier (if it's part of a hi-fi system) to your Mac. This can be done using either a third-party USB audio interface or a cable that has phono connections on the turntable end, and a mini audio jack connector on the Mac end.
3. Set up audio input
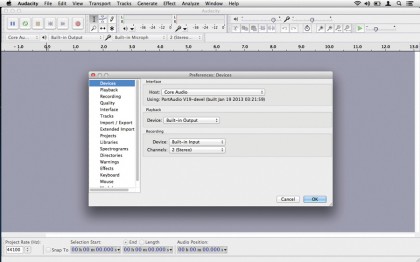
In Audacity, go to Preferences and find the Devices tab. Here, set the Recording Device to whatever you have connected. If you have connected a cable to the Mac's line input, choose the option called Built-In Input. Leave the Channels set to Stereo unless you want them to be in mono.
4. Test the signal
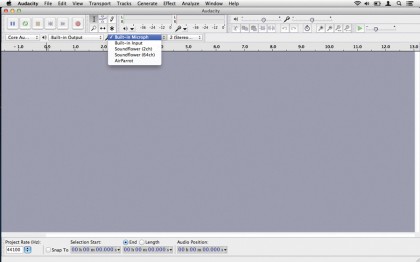
Play back a track from your turntable and check the incoming levels. A good trick is to play the loudest part of a track and see that the incoming levels aren't too high. It's an analogue signal so it's up to you to make sure the signal isn't so loud it distorts. If in doubt, err on the side of caution.
5. Record a file
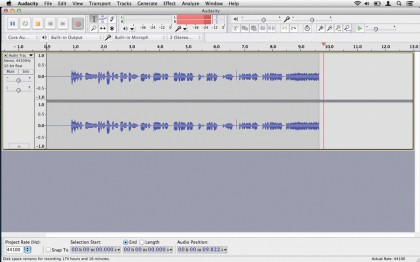
Press Record in Audacity. Prepare your record for playback and drop the needle a couple of seconds before the track starts. You can always trim the start and end of the file but not easily fix a recording if you miss out the start. Allow the track to play through, then press Stop in Audacity.
6. Clean up the sound
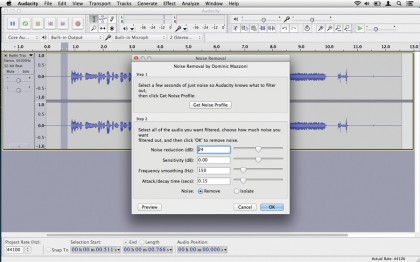
If you really want to get rid of any pops and clicks, you can use some tools in Audacity to minimise them. Go to the Effect menu and choose Noise Removal. You might need to experiment a little with the amount of noise reduction, as too much can deaden the sound.
7. Normalise the file
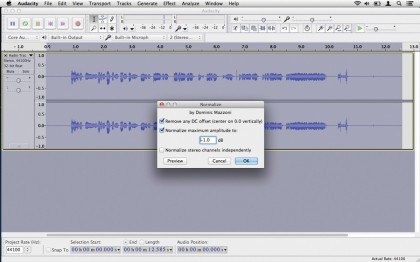
It's often a good idea to pull up the levels of the digitised sound as vinyl can be a little quiet. To do this, select all of the audio then go to the Effects menu and choose Normalize. Use the default setting of -0.1dB and click OK. This should increase the overall volume without any distortion.
8. Top, tail and export
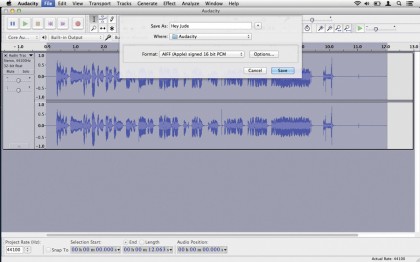
If there are unwanted bits of sound at the start or end of the file, select them and press Command+x to cut. Choose File > Export and select a format. Export as an MP3 or a full-quality AIFF or WAV file. From Finder you can then upload the files to iCloud via iTunes, if you have an iTunes Match subscription.