
 Become a TechRadar Insider


Cheap projectors have become a popular Halloween accessory for beaming ghosts, bats, or seriously spooky mist on the outside of your house, instantly turning it into a prime venue for attracting trick-or-treaters.
The type of projectors I’m talking about here aren’t necessarily video ones, but lamps paired with rotating slides that can be easily stashed behind a tree, bush, or maybe a plastic tombstone where they can create maximum lurid effect within a minimal footprint.
But if you own a video projector, either one of the best 4K projectors or the best portable projectors, you can temporarily repurpose it to turn your home’s picture window, or any other front-facing window, into a terrifying outdoor display. It can all be done very easily, so here’s what you’ll need, and how you’ll set it up.
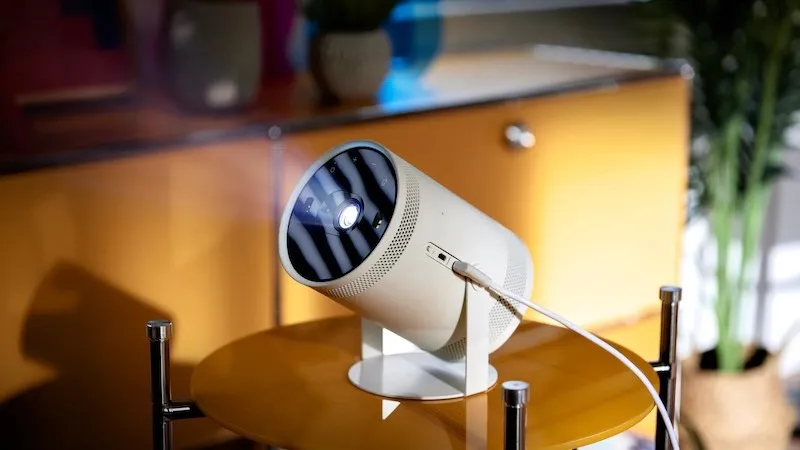
A projector
The best video projector option for Halloween use will be a portable one – the same type you’d use for a summer outdoor movie night or for entertainment in a kids’ playroom. These lend themselves to positioning in a variety of settings, and the best ones will sport features like auto-calibration to make the image a perfect 16:9 aspect ratio once you put it in place, and a rechargeable battery so you don’t have to connect it to power. (You’re most likely going to want your Halloween horrorshow to run for several hours, so a reliable power source will be a good idea in this case.)
Most portable projectors have a screw terminal on their bottom surface that allows them to be mounted on a tripod, and that will be the most convenient way to go. Projectors meant for more permanent installation – both long throw and short throw models – may also have a screw terminal, so you’ll want to do a visual check for that feature.
A screen
While there are special screens designed for rear-projection installations where the projector sits behind, as opposed to in front of, the screen, these are fairly pricey and perhaps overkill for a once-a-year usage.
You can find cheap screens designed specifically for Halloween projection at pop-up holiday stores or on Amazon which are a perfect option for a temporary installation. These are usually made of a translucent white or gray plastic material, and they come with hardware to assist in mounting the screen to fully cover a window or door.
Alternatively, you could buy translucent white material at a fabric store, many of which will carry cheese cloth meant specifically for use in Halloween costumes. Whatever screen material option you go with, make sure it’s gauzy enough to pass through light coming from the projector. Also, you’ll want to make sure you have a sufficient throw – the distance between the projector’s lens and the projection surface – in the room to fill up the entire window area.

Scary images
As for the images you’ll use to terrify trick-or-treaters, that’s the part where you can get really creative. If you’re not the creative type, you can also find scary images online to download for free on stock photo sites like Unsplash, Dreamstime, and Pixabay. Those same sites and many others also offer free frightening video clips to download, which can make your Halloween window horrorshow even more dynamic and compelling.
As for playing those videos and images, most projectors provide a USB port plus the ability to present media files in a slideshow or looped presentation format. You could also connect a computer to the projector’s HDMI input and play videos and still images using the computer as a source or, if you have a Roku or other stick-type streaming device, cast them wirelessly from your phone via Chromecast or AirPlay to a streaming stick plugged directly into the projector.
Behold the horror!
Once you have everything set up, you’ll want to make sure that the room where the projector is positioned is fully darkened. This will ensure that the images onscreen look sufficiently bright and “pop” in a dramatic and scary way. Projector menus typically provide a rear-projection setup option, so you’ll most likely want to select that to make sure the onscreen image is properly oriented.
Scary images can be even more terrifying when accompanied by sound, so you may want to fire up a Halloween spooky sound effects or horror movie score playlist (there are lots of them) on one of the best music streaming services to accompany your window show. Crack open a different window and crank up the stereo. Or if you’re feeling really motivated, cannily conceal one of the best Bluetooth portable speakers somewhere on your home’s exterior. I’m sure my Sonos Move would do the trick (or treat).
You might also like
