How to edit videos in Windows 11 with Clipchamp
How to trim and crop videos, apply special effects
Sign up for breaking news, reviews, opinion, top tech deals, and more.
You are now subscribed
Your newsletter sign-up was successful
Quick Steps
- Download and install Clipchamp
- Import or capture video footage
- Trim, edit and apply effects
- Export your work and share
Video editing in Clipchamp
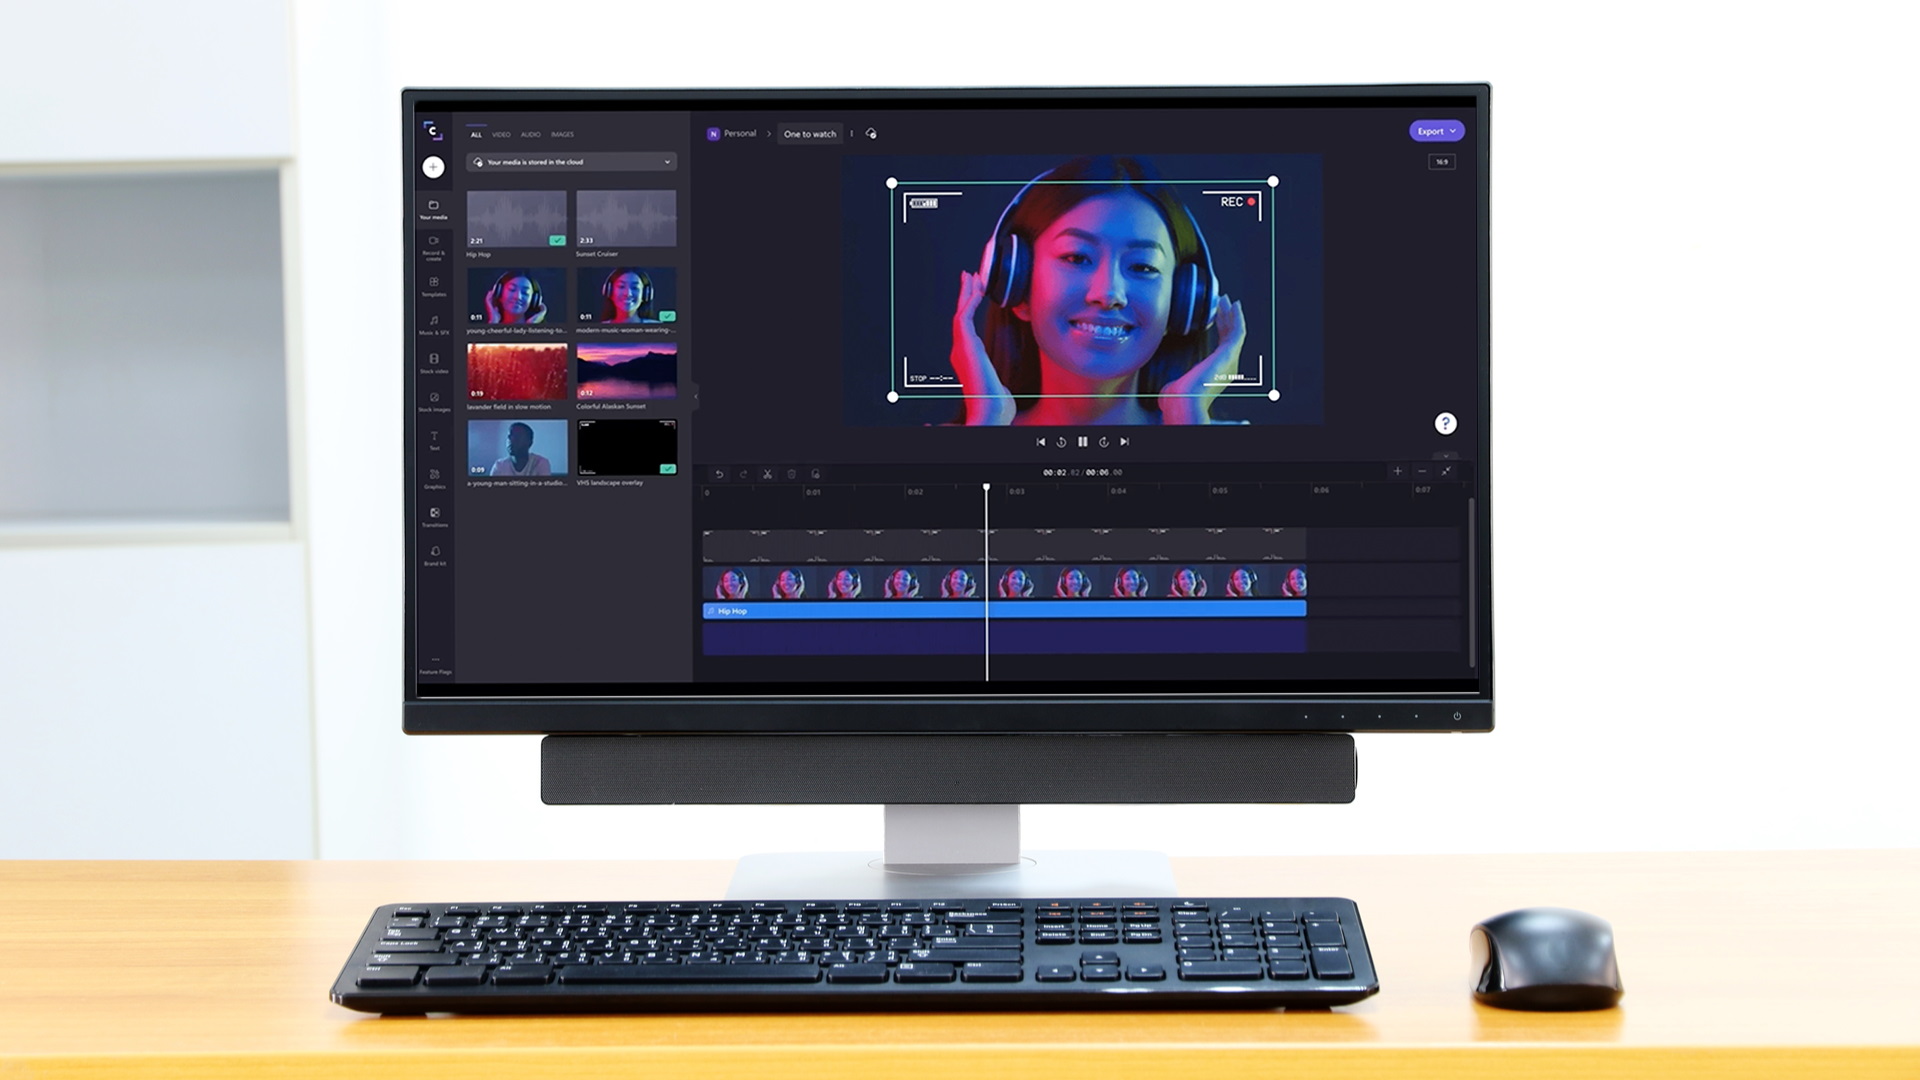
More seasoned Windows users will remember the days of Microsoft's Movie Maker tool. This particular piece of software no longer exists, but now Clipchamp is here to replace it for Windows 11, giving you a way to create professional-looking videos ready to share on social platforms or post elsewhere online.
Many people have put off the idea of video editing because of the impression that it going to be either complicated or require expensive software. Clipchamp goes some way to disproving both of these myths, making the process of editing videos simple and approachable. It's one of our top picks for best video editing software for beginners. Here's how to get started with this incredible tool.
Download Clipchamp
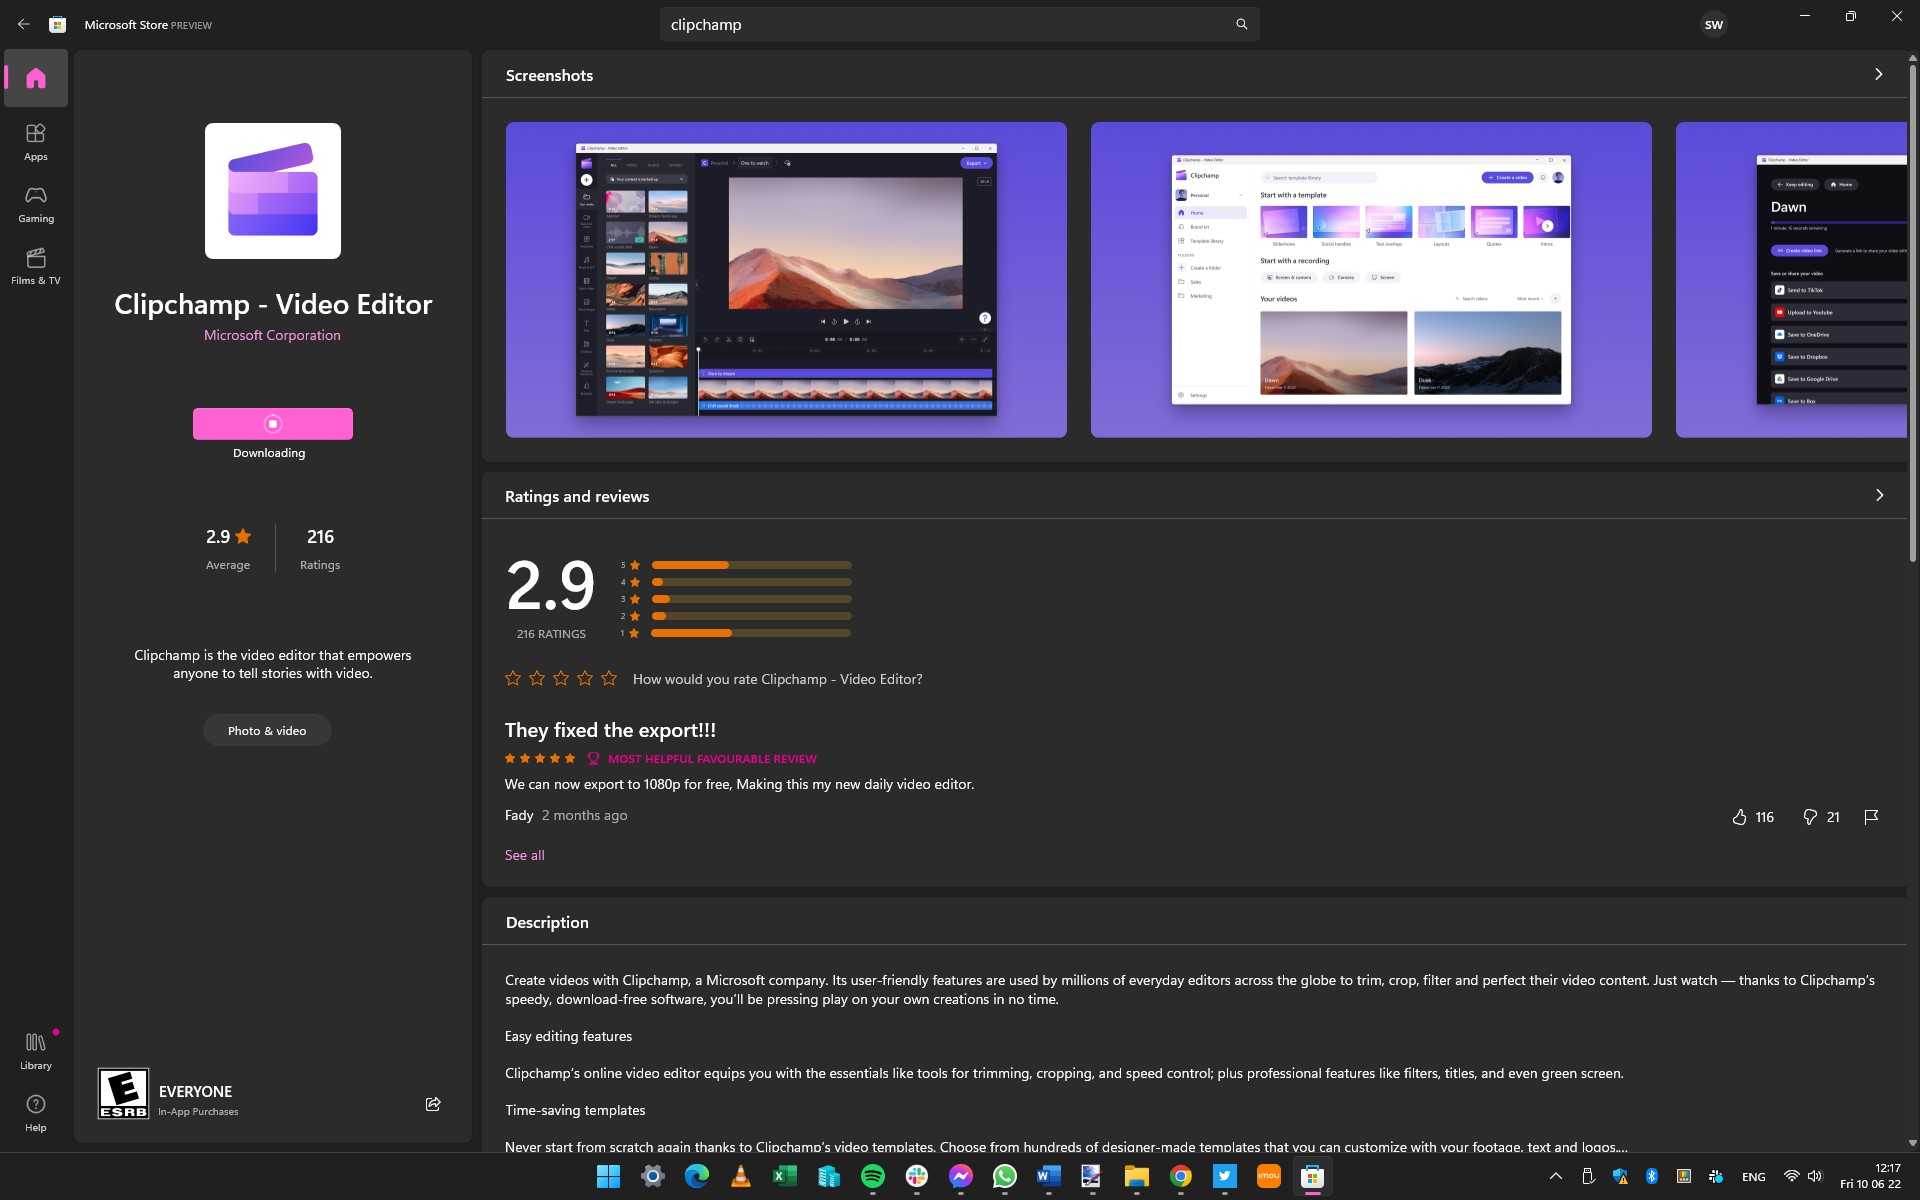
Clipchamp is an app that is now owned by Microsoft, but it is not included in Windows. As such you can either click here with will launch the Clipchamp page on the Microsoft Store, or by downloading the app manually.
You can do this by launching the Microsoft Store app, searching for 'Clipchamp' and then clicking the Get button on the app listing page for Clipchamp - Video Editor.
The app is not particularly large, so it won't take very long to download. Once installed, you can launch Clipchamp by clicking the Open button in the Microsoft Store, or via the Start menu,
Grant app permissions
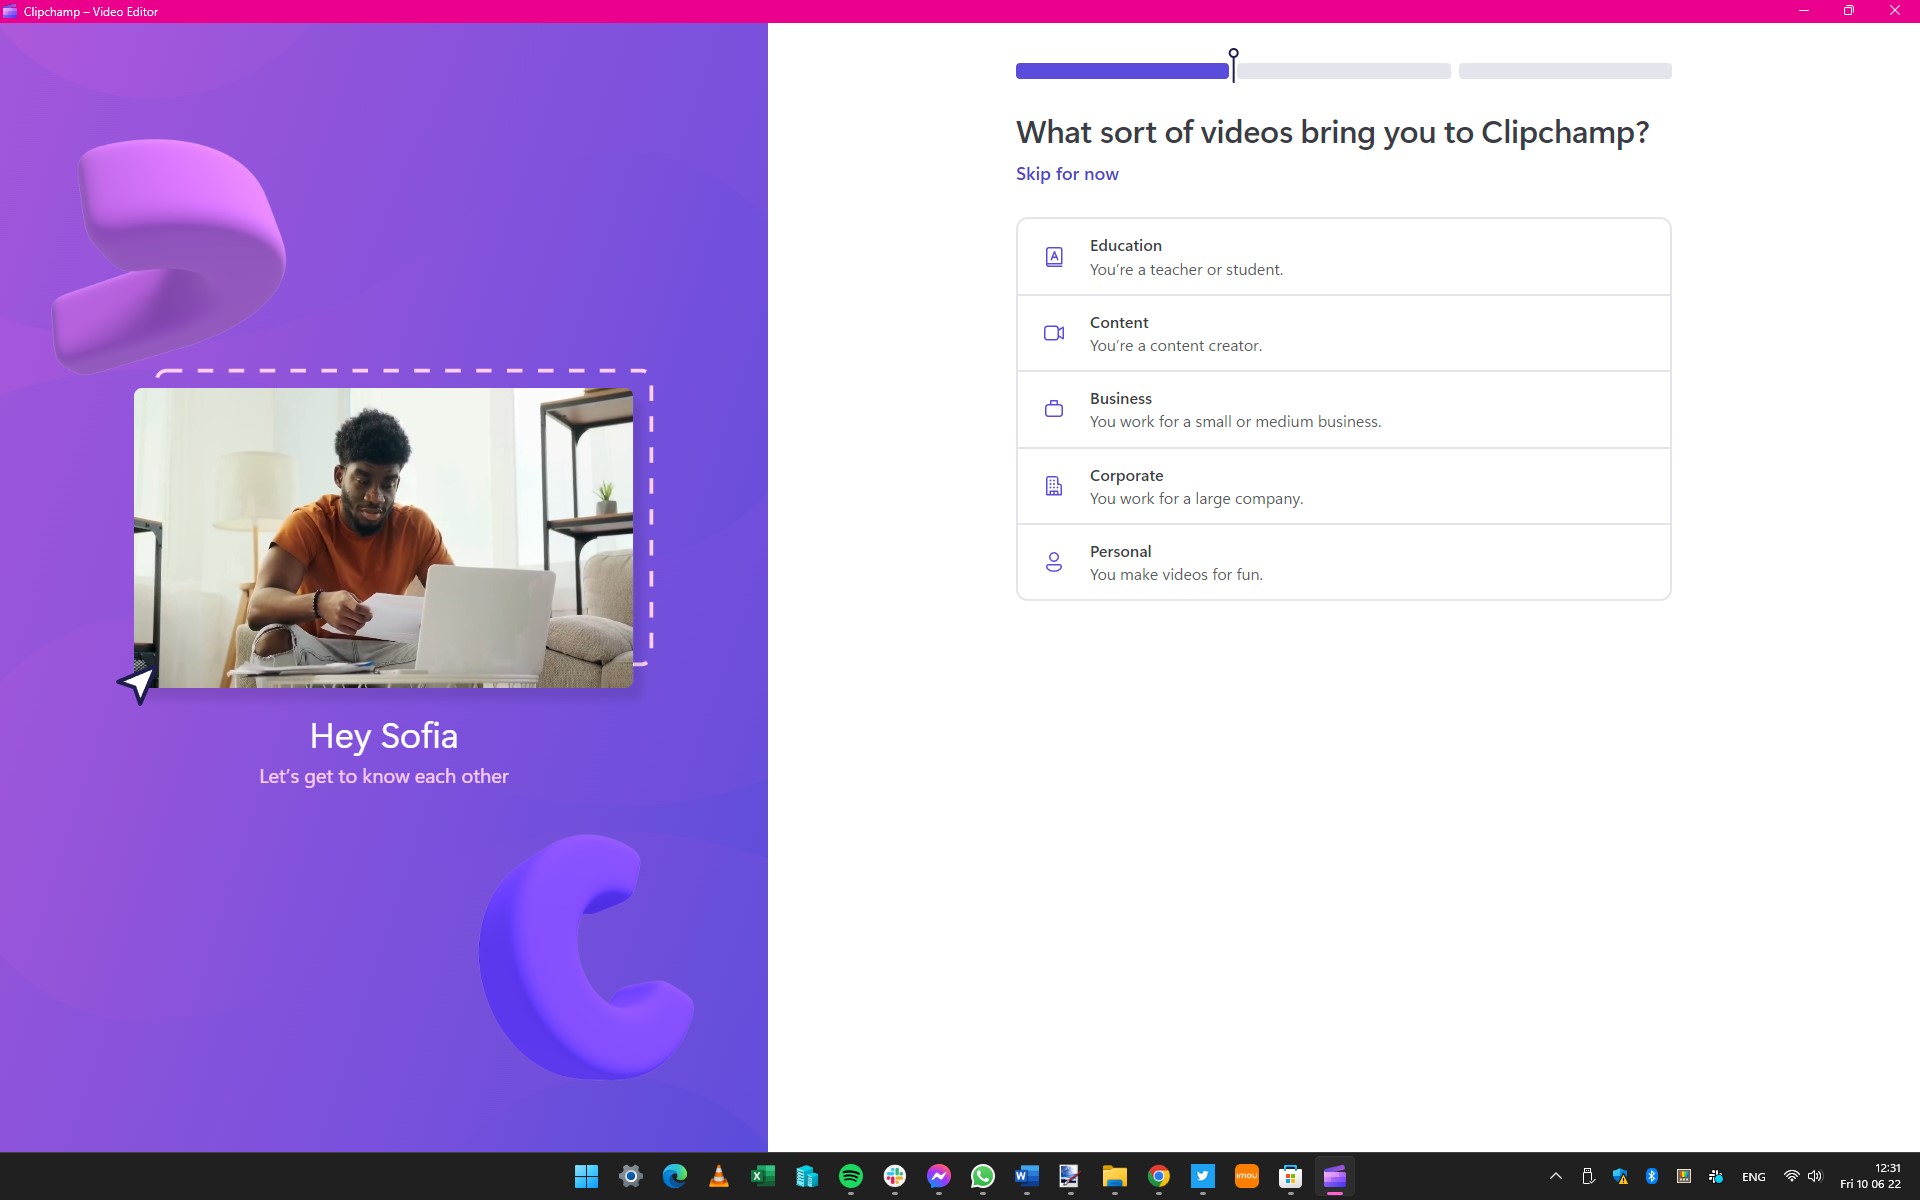
The first time you launch Clipchamp, you will need to allow the app to access data associated with your Microsoft account -- just click Yes to allow this. At the bottom of the screen, you should also grant cookie permission; you have the option of accepting all cookies, or only allowing the absolute minimum required to use the app.
You can then start the process of personalizing the app by indicating what type of video you intend to create. Most people will want to select Personal, but select whichever option is most appropriate to you.
Sign up for breaking news, reviews, opinion, top tech deals, and more.
Link accounts
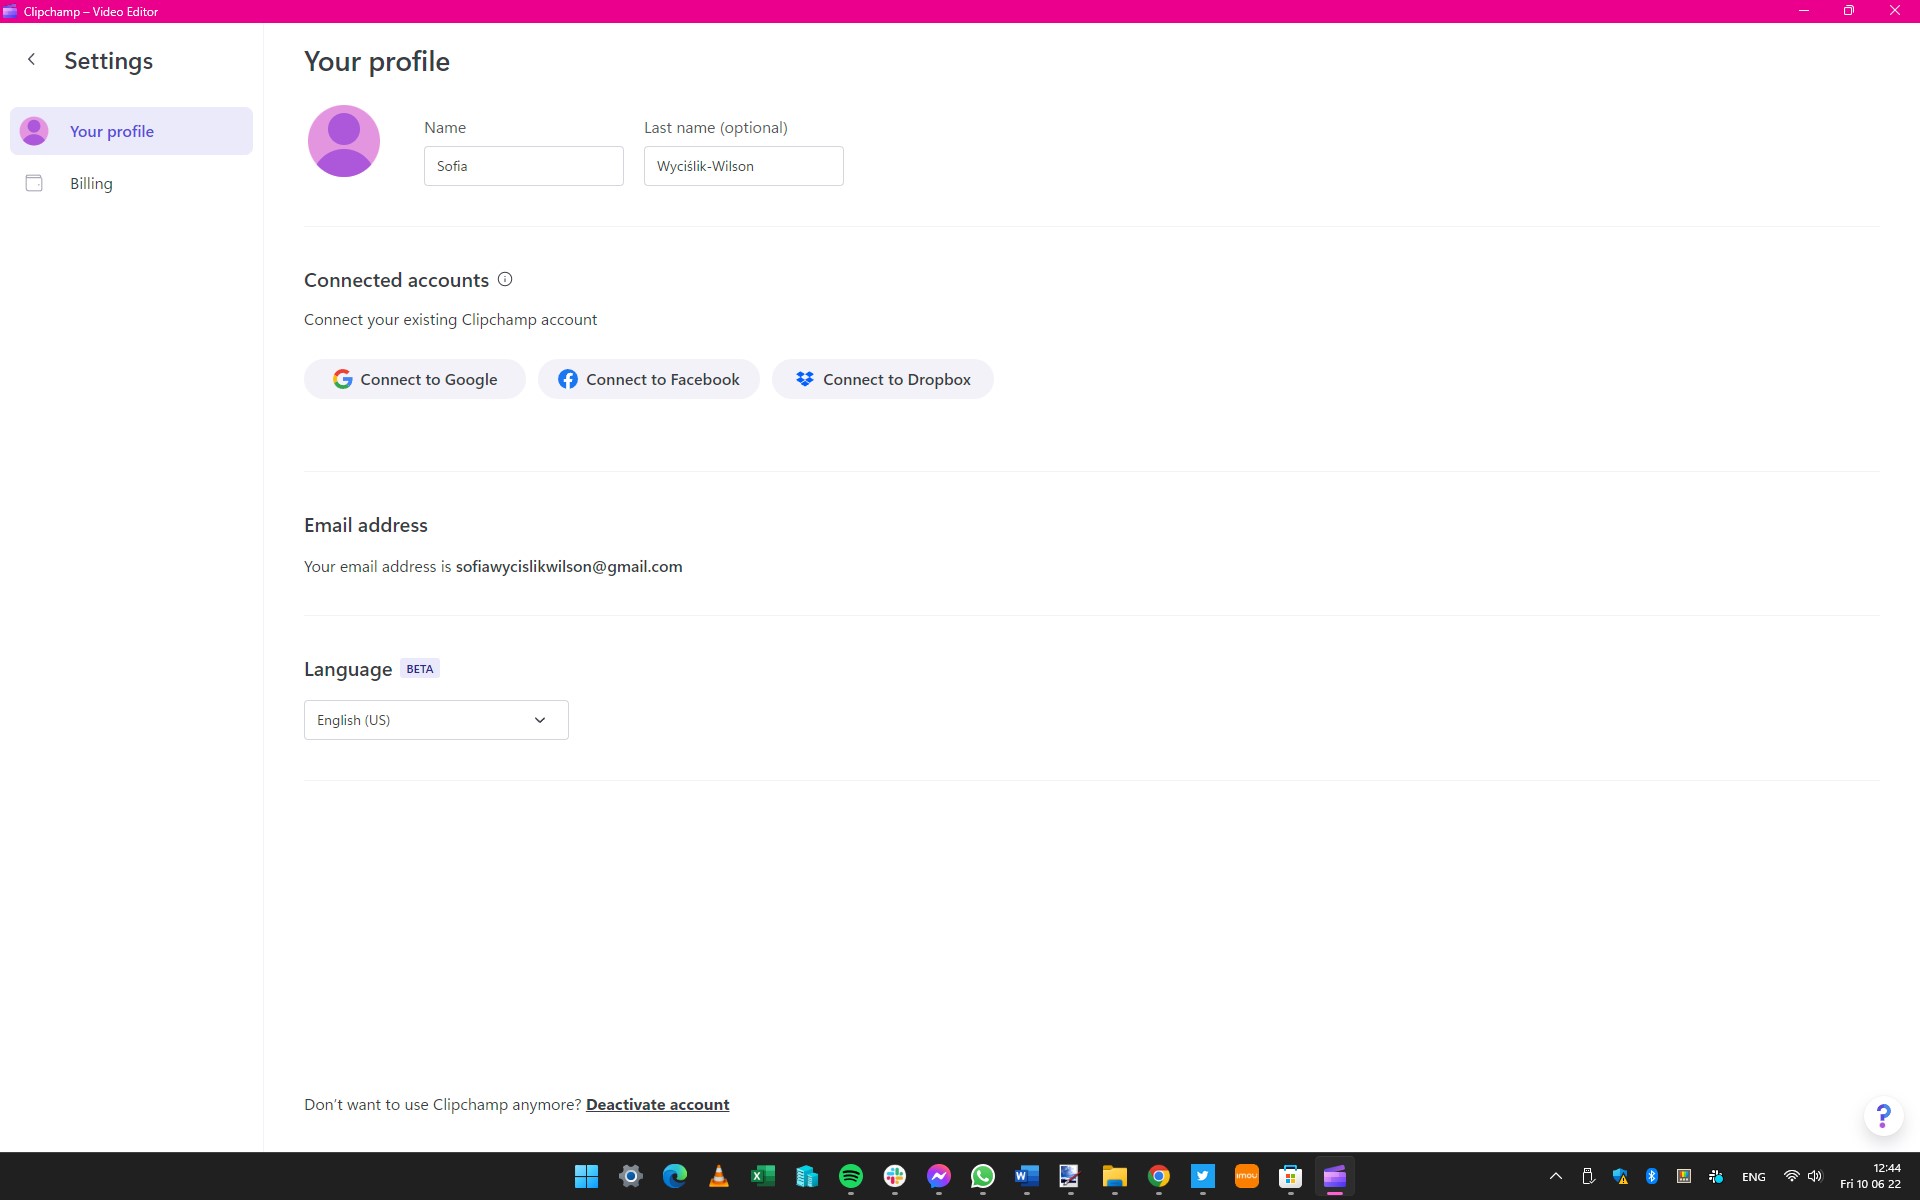
Part of the joy of using Clipchamp is the ability to share content online. This is made much easier if you link your other accounts to the app, and you can do this by clicking the Connect Now button in the notification banner that appears. Alternatively, you can click the avatar to the upper right of the app window and select Settings from the menu that appears.
You can then use the various button to link Clipchamp to your other accounts such as Google, Facebook and Dropbox. You can connect as many or as few as you want.
Adding video
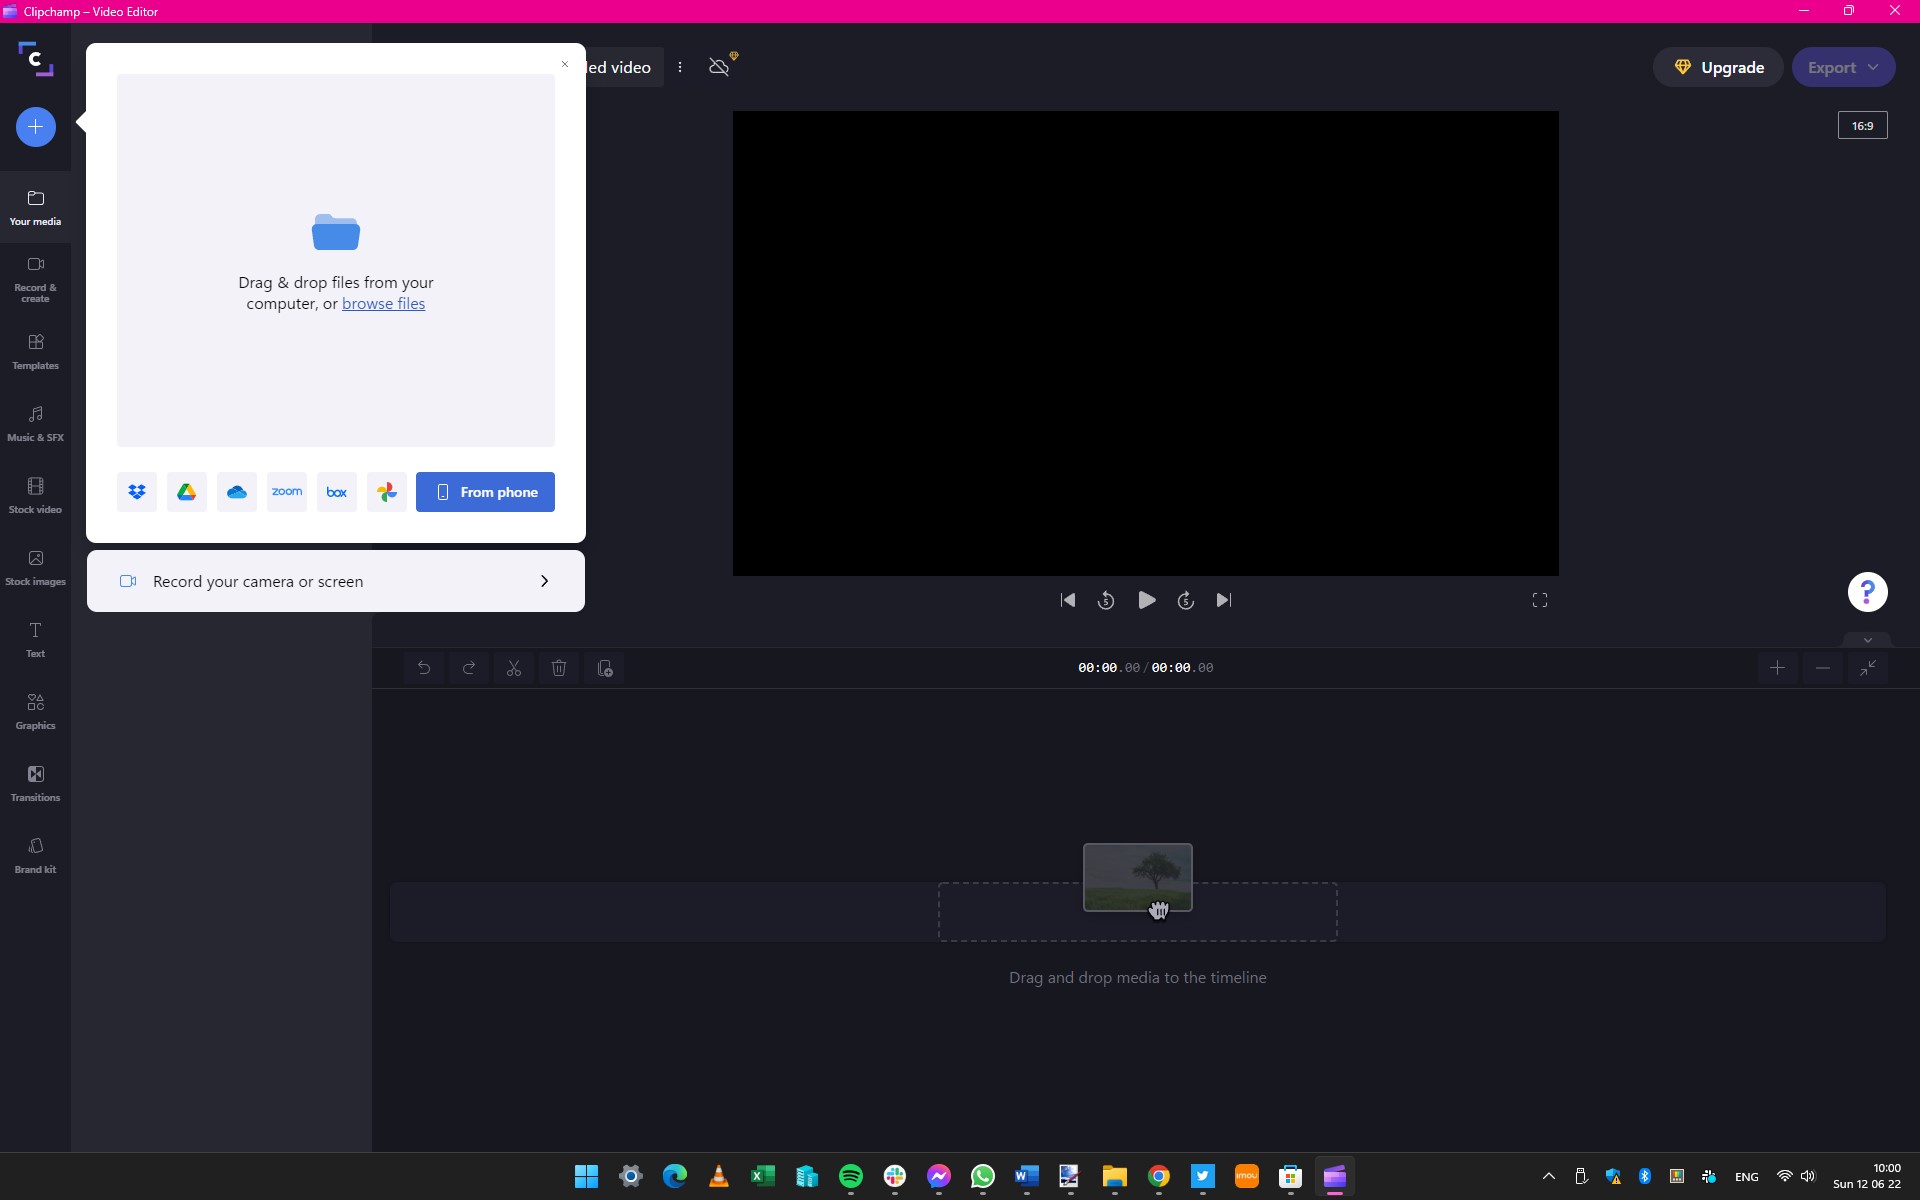
Start a new project by clicking the Create a video button to the upper right. You can then add the video file or multiple files that you want to work with -- this can be achieved by either dragging and dropping video files onto the Clipchamp window (this will cause a 'drop zone' to appear), or by clicking the + button and select videos from your hard drive or cloud storage.
Another option is to click + followed by selecting 'Record your camera or screen' to capture footage from a camera connected to your computer, or by recording on-screen activity.
Creating a timeline
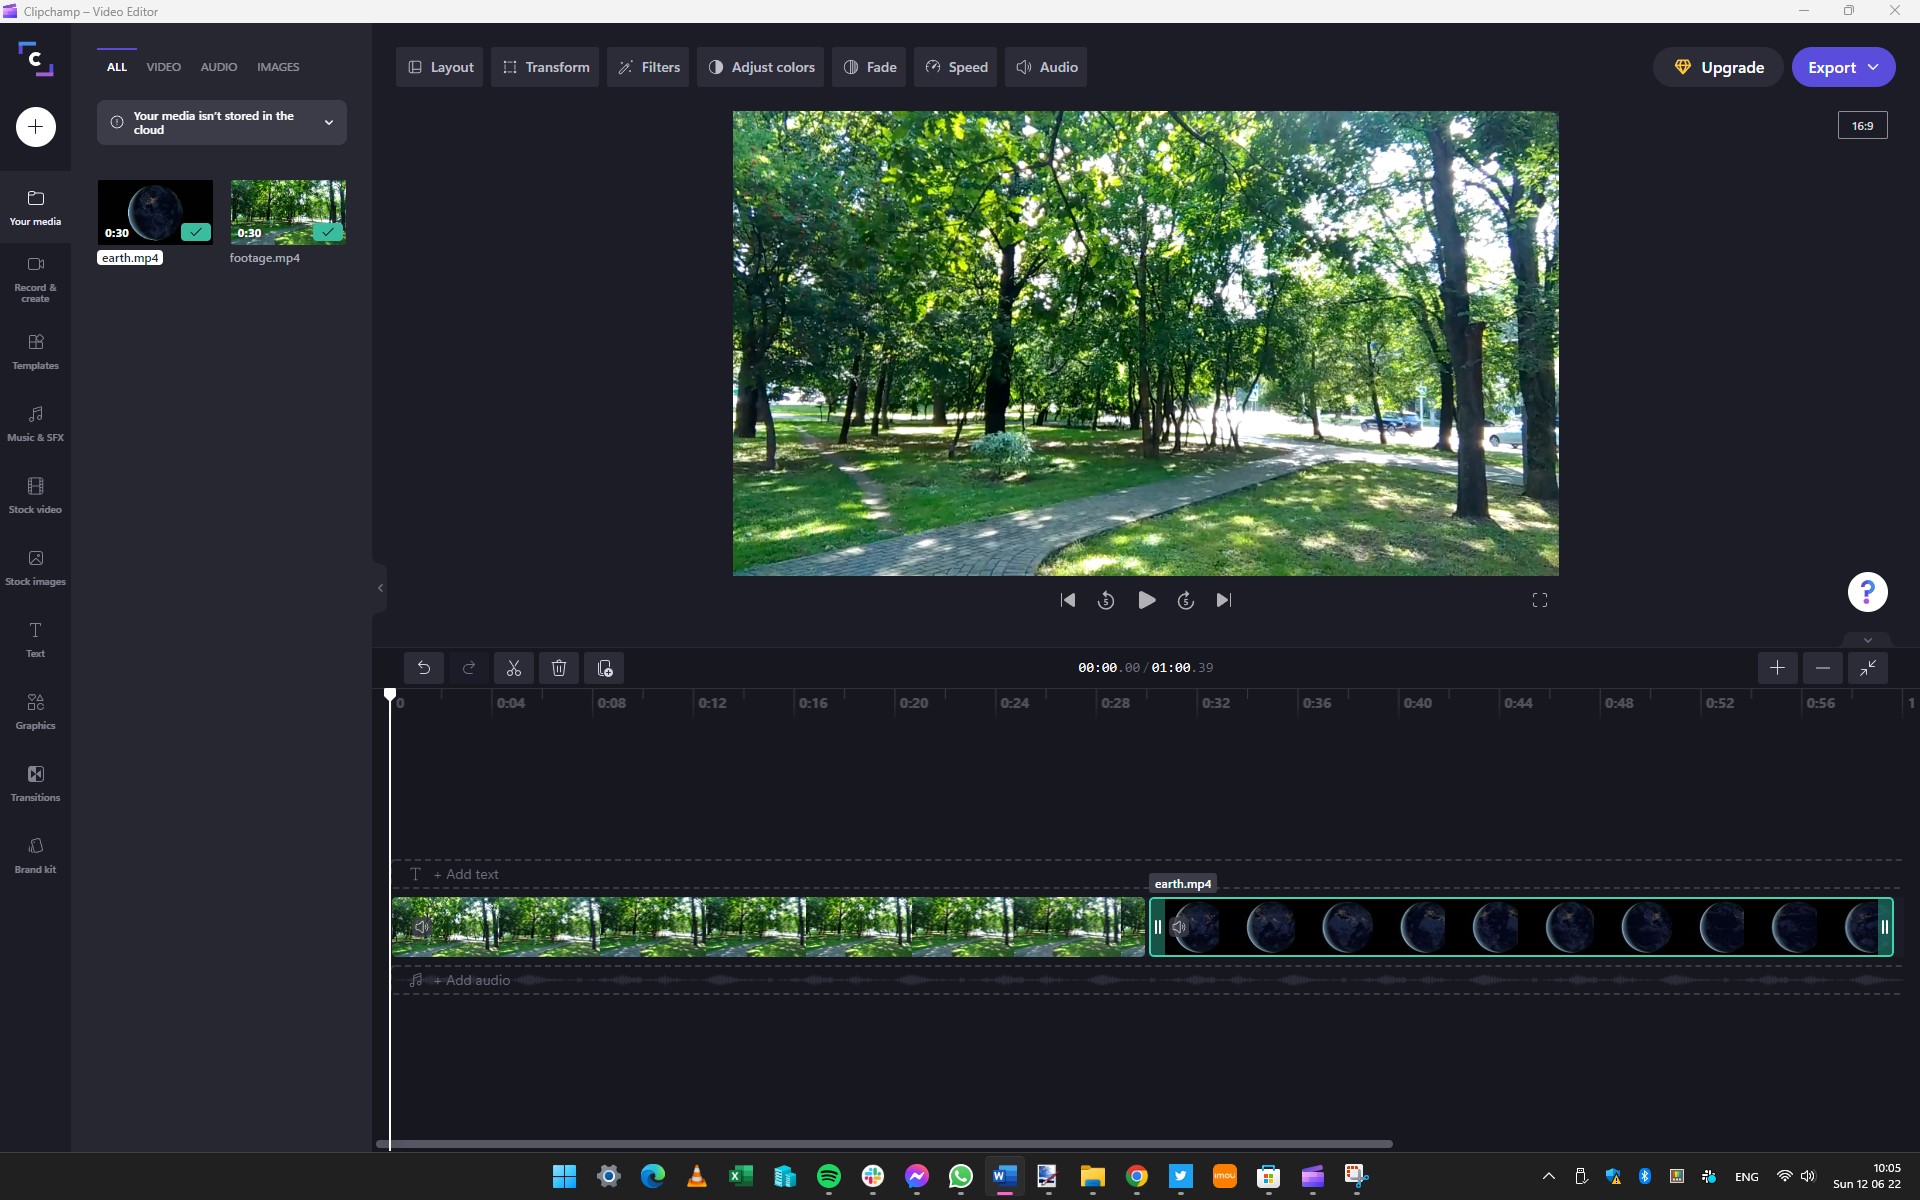
Like many video editing tools, Clipchamp uses the idea of a timeline to allow you to organize the clips and effects that will make up your completed project. Any videos you import into Clipchamp can be found in the My Media section.
If you open this section, you can then drag and drop clips onto the timeline to the lower right of the screen ready to start working with them.
Clips can be added and arranged in whatever order you like, and quick trimming is possible (to remove unwanted footage from the beginning or end of a clip) by simply hovering over the start or end of a clip and dragging the handles inwards.
Adding audio
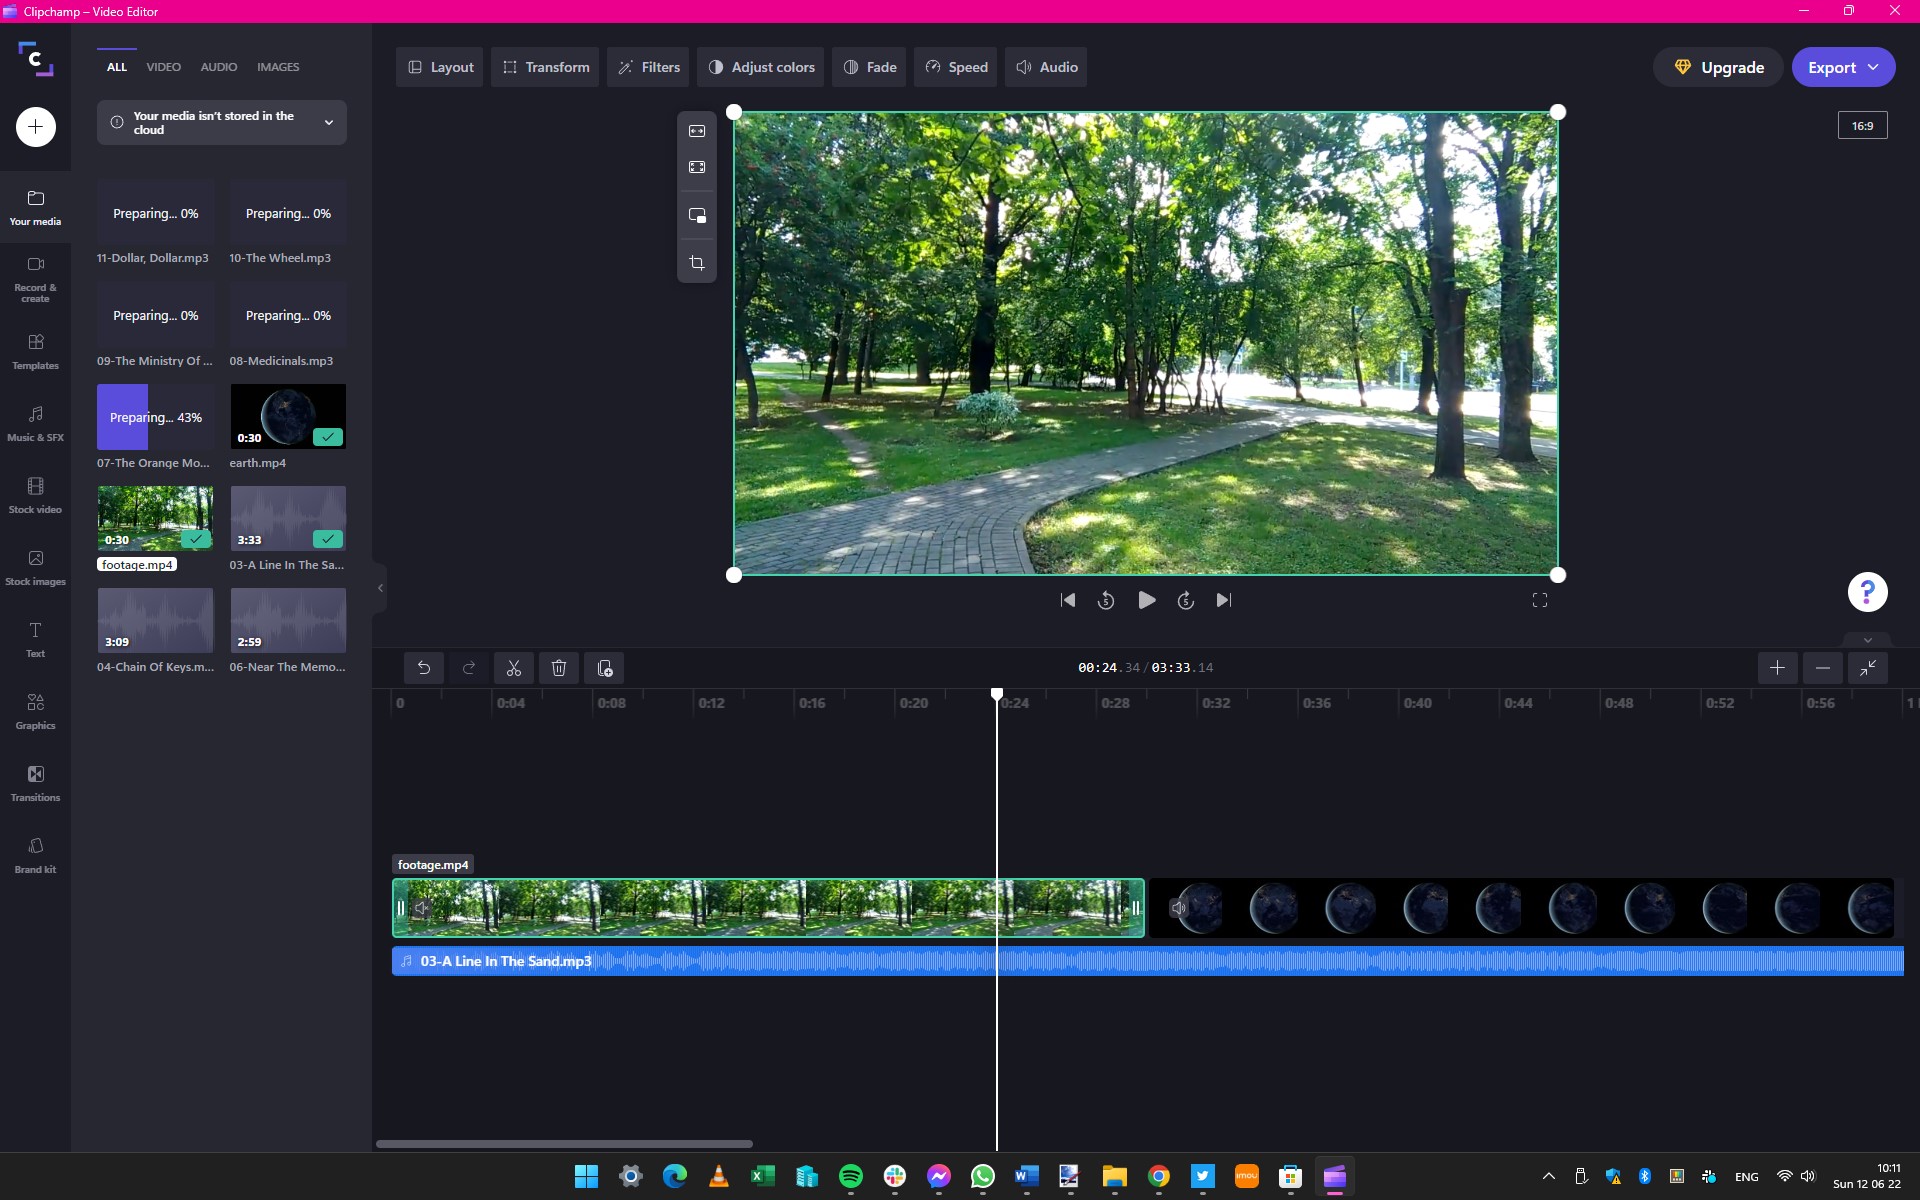
Adding videos to your project timeline is one thing, but a video project can also benefit from background music, a voiceover track and on-screen text.
In the timeline, you will notice that there is a section for text to be added above the video you are working with, and an audio timeline below. Adding audio is a simple matter of clicking Add audio and then selecting an audio file to import -- you may wish to mute the built-in audio of a video track by clicking the speaker icon that appears to the left of the timeline.
Adding titles and other text
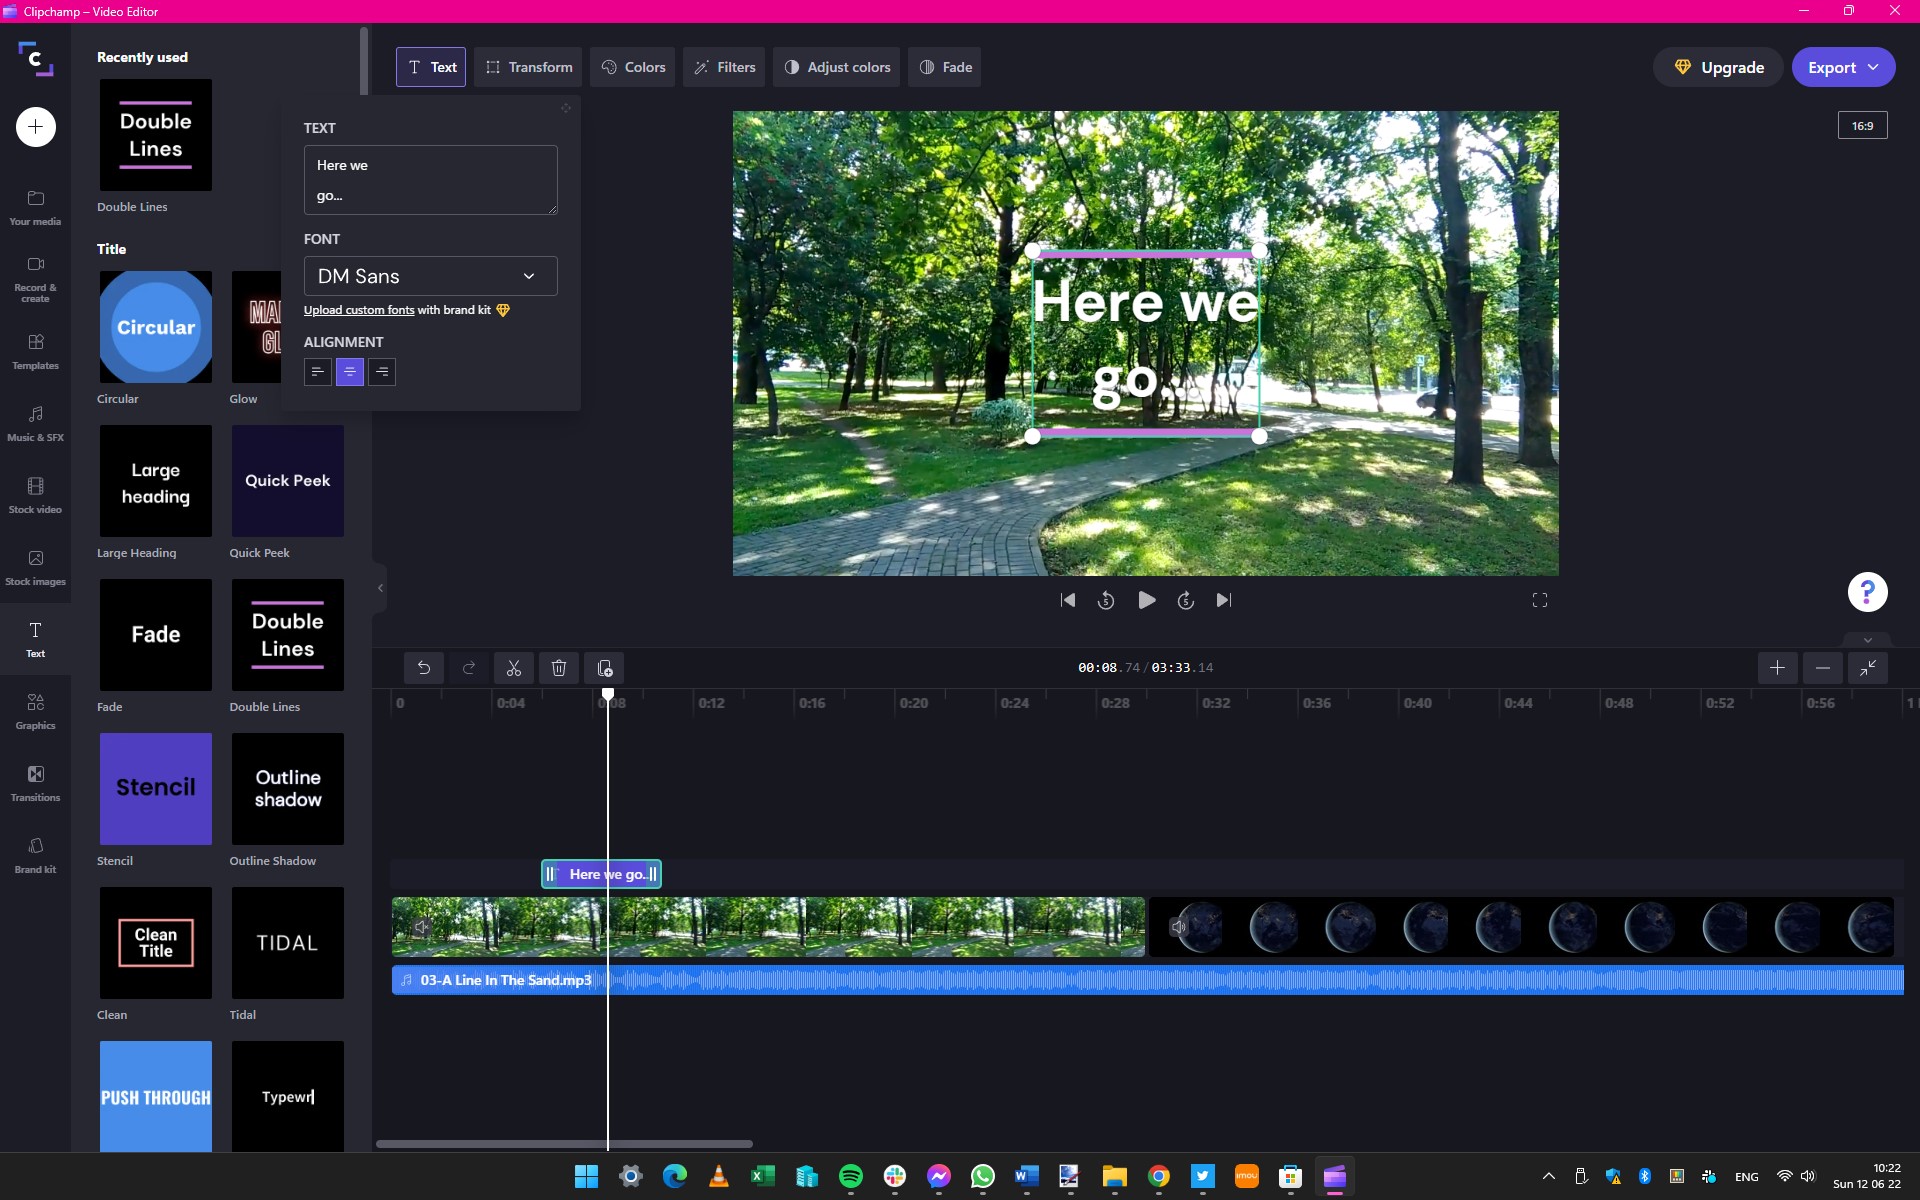
A video project can be made to look rather more professional with the addition of title screen text, credits, and other text overlays throughout. Click the Text link in the left-hand, vertical toolbar, and you can browse through a series of templates for in-screen text, some static, some animated.
You can preview what animations look like by hovering over a sample. When you've found something you'd like to use, click the + button and it will be added to the timeline.
You can drag the block representing the text to a different position on the timeline to have it appear at a different point in your video, and double-click it to change the sample text to something you actually want to use.
Using overlays and transitions
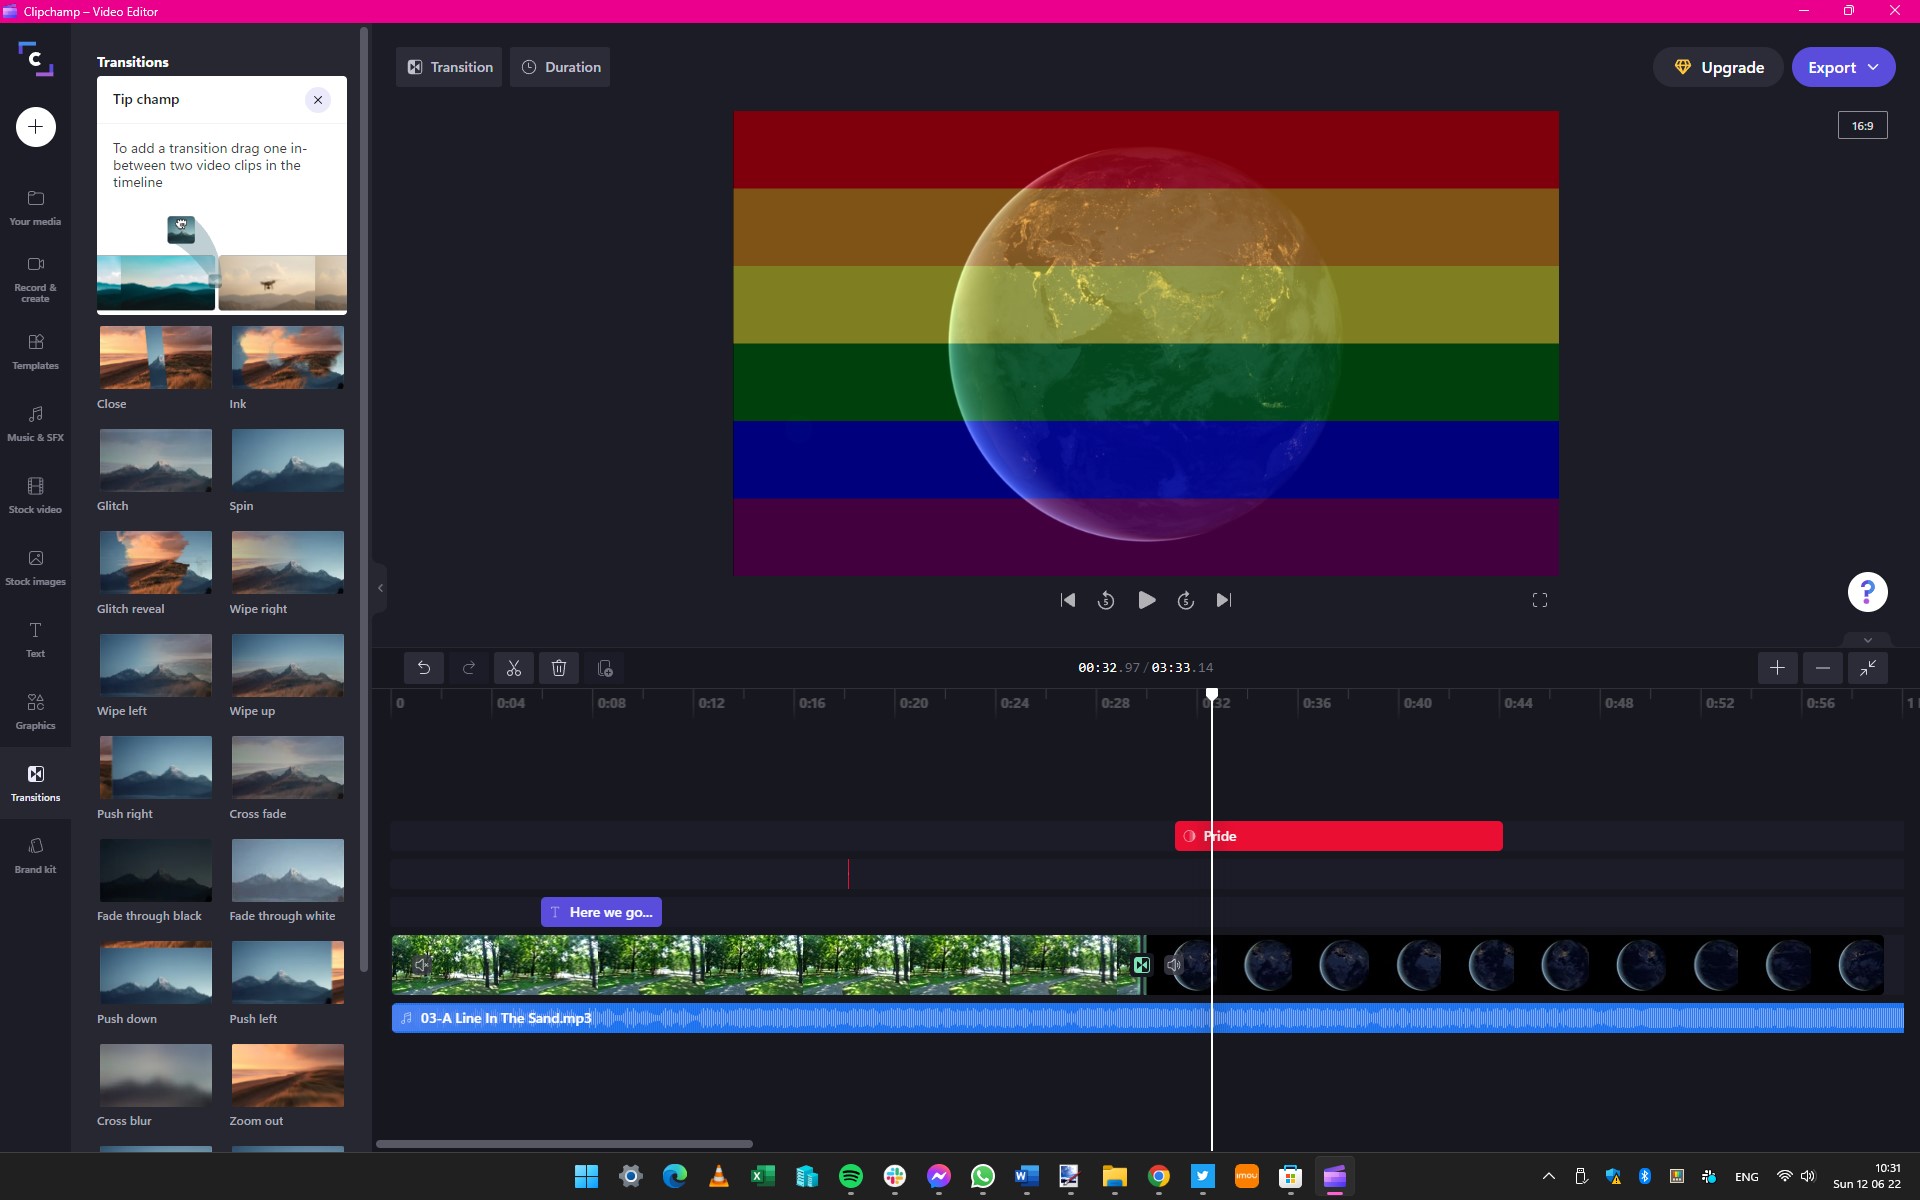
Clipchamp provides numerous ways to add interest to your projects, including using overlays and stickers. You can find these options and more in the Graphics section to the left, and you can add individual items to your timeline by clicking + or by dragging and dropping them into place. You can choose how long a graphic appears on screen by resizing its block in the timeline.
Transitions between video clips can range from simple fades to rather more elaborate animation. Move to the Transitions section, preview effects by hovering over them, and then drag an effect to the timeline between two clips.
Other video editing options
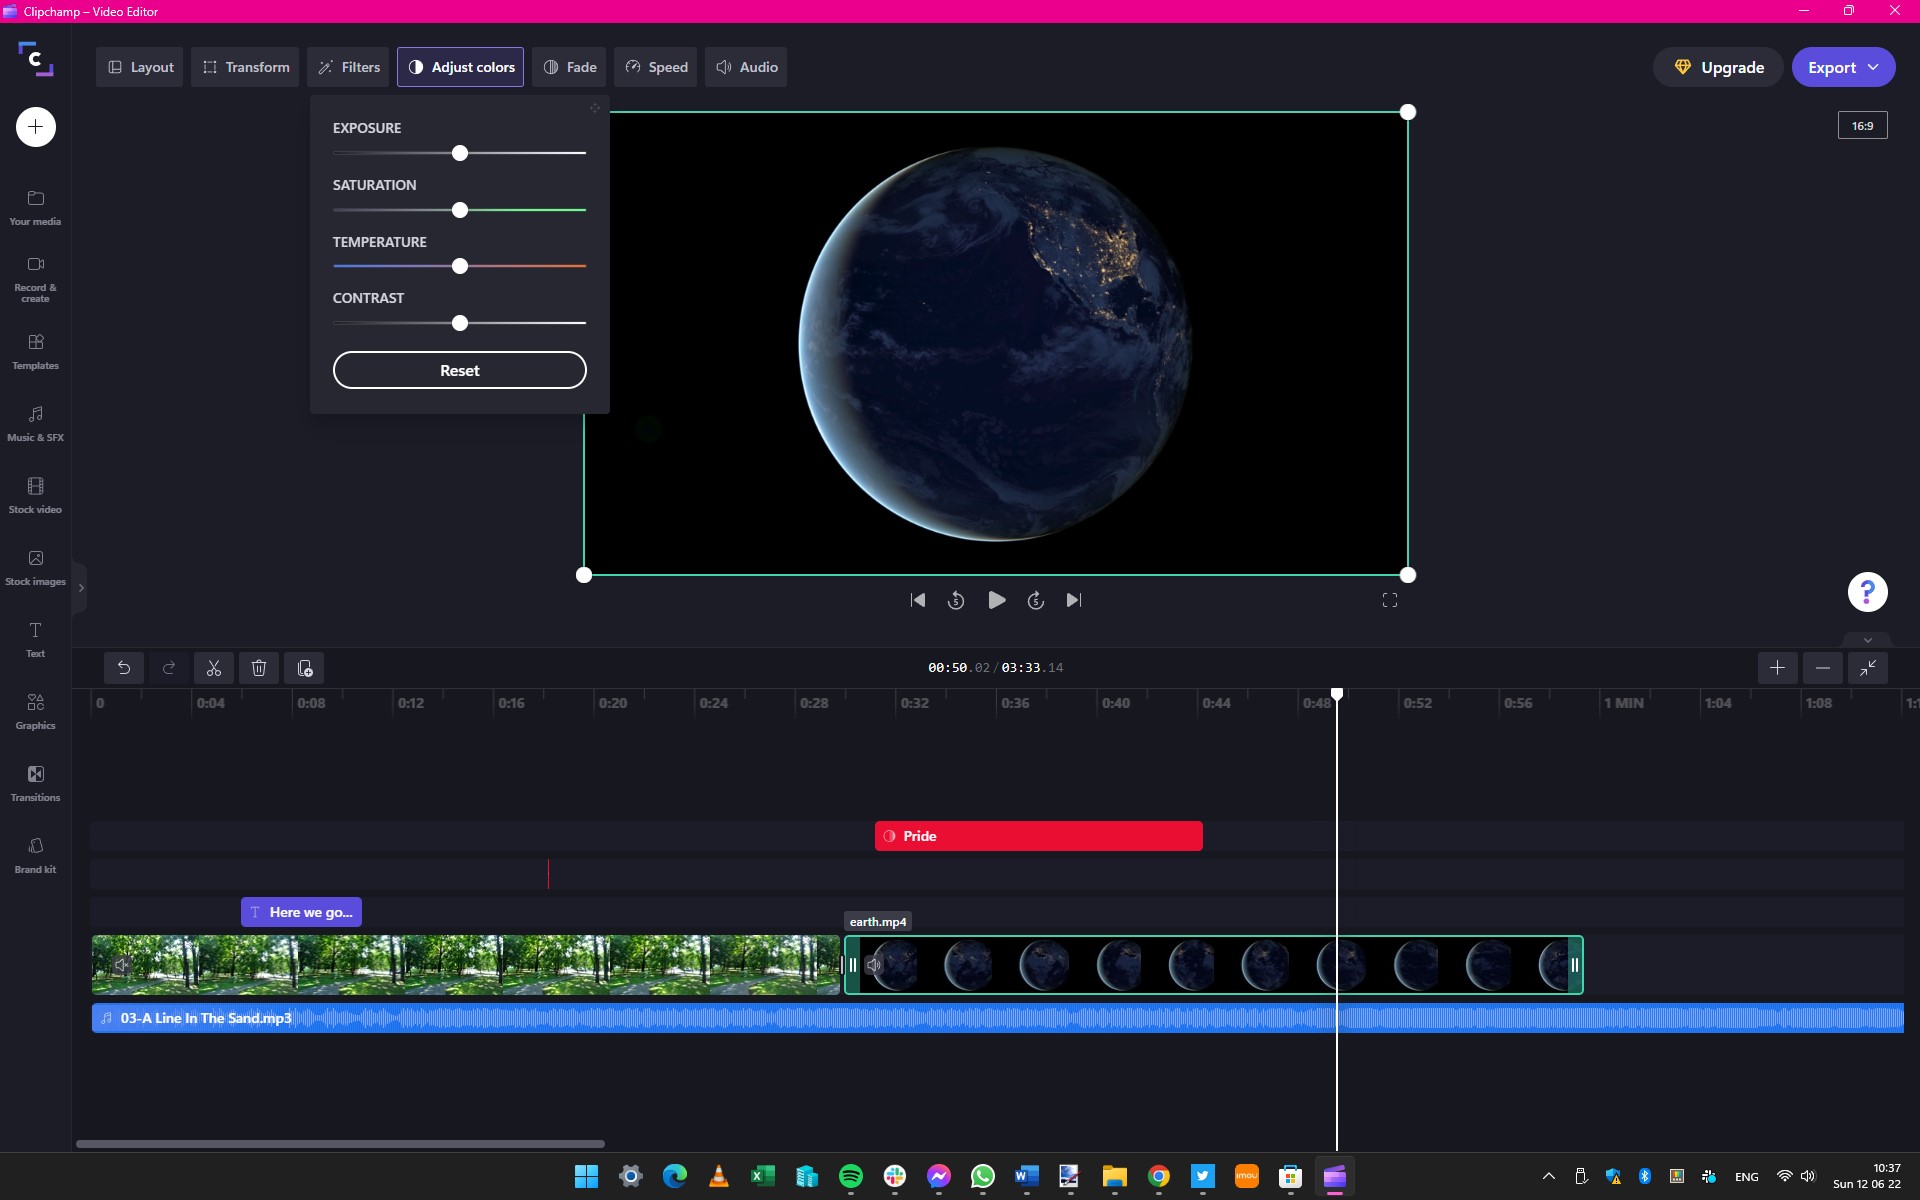
We have already mentioned that it is possible to trim video clips by resizing them in the timeline, but Clipchamp offers plenty of other options for tweaking individual clips as well.
Double click a clip in your timeline to select it and you will see several buttons above the video preview. Using these buttons and their associate drop-down menus you can do things such as adjusting color levels, applying special effects (Transform), adjust the speed of playback, and create your own simple transitions by using the Fade button to add a fade-in or a fade-out to a clip.
Exporting and sharing your project
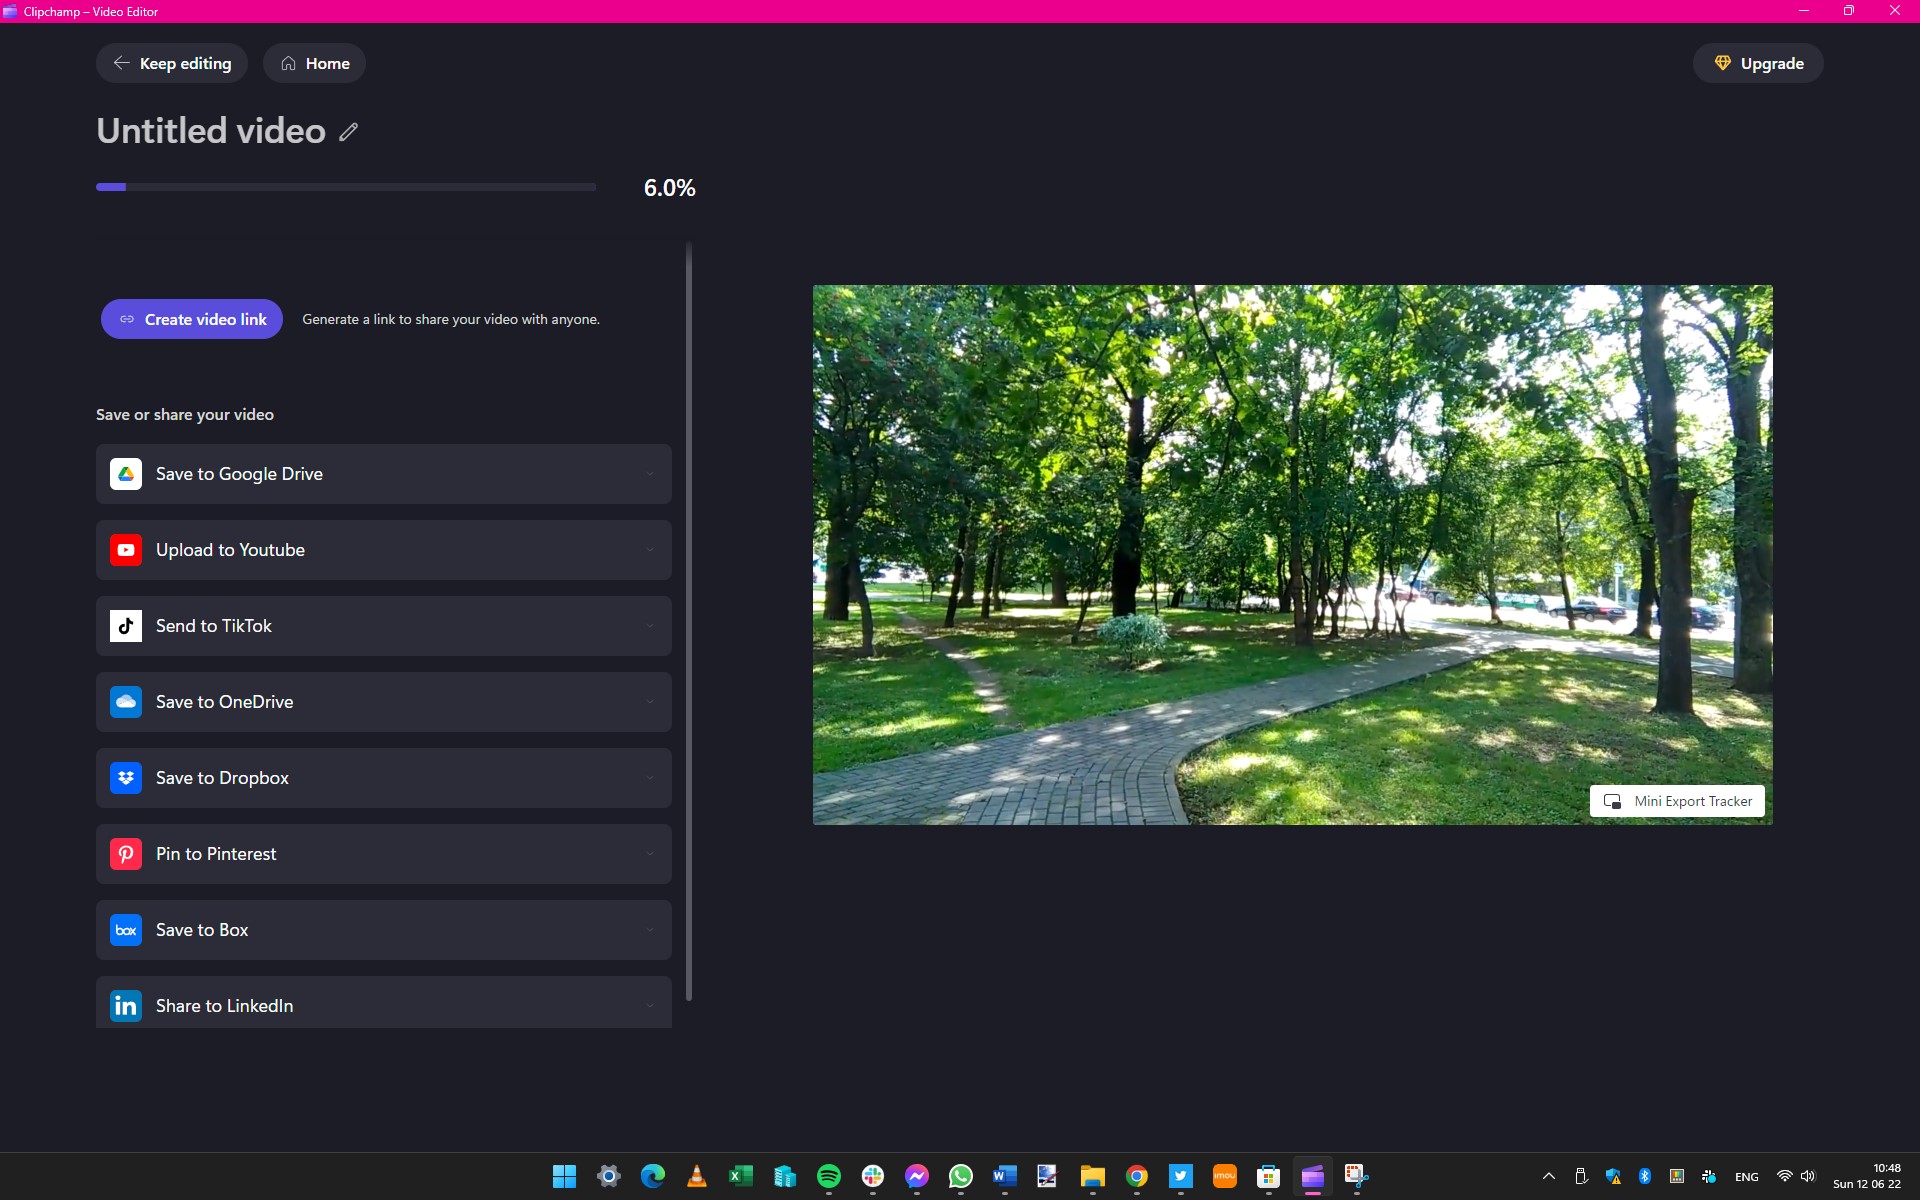
When you have reviewed your project and you're happy with what you've created, it's time to export your completed video.
Click the Export button to the upper right of the screen and from the drop-down menu that appears, choose the video quality you would like to use. You can choose anything from 480p to 1080p, and the setting you opt for will depend on how the video will be used.
While your video is being saved, you can watch a preview. The video will be saved to your hard drive, and there are also links that can be used to share your creation to the likes of YouTube and TikTok - just click and follow the instructions.
Final thoughts
ClipChamp is a relatively new app -- to Microsoft, at least -- but it is undergoing active development, so you can expect to see plenty of new features added as time goes by. But there is no shortage of video editing apps to choose from.
If you find that you want to test the waters of a different video editing tool, why not take a look at OpenShot? This cross-platform app is free and includes advanced features such as animation and lots of special effects.
Another editor that's worthy of attention is HitFilm Express; the main app is available free of charge, but it can be expanded with a number of paid-for add-ons that bring additional functionality and options.
Looking for professional video production tools? We tested the best video editing software and the best free video editing software.

Sofia is a tech journalist who's been writing about software, hardware and the web for nearly 25 years – but still looks as youthful as ever! After years writing for magazines, her life moved online and remains fueled by technology, music and nature.
Having written for websites and magazines since 2000, producing a wide range of reviews, guides, tutorials, brochures, newsletters and more, she continues to write for diverse audiences, from computing newbies to advanced users and business clients. Always willing to try something new, she loves sharing new discoveries with others.
Sofia lives and breathes Windows, Android, iOS, macOS and just about anything with a power button, but her particular areas of interest include security, tweaking and privacy. Her other loves include walking, music, her two Malamutes and, of course, her wife and daughter.
- Daryl BaxterContributor