How to check Alexa voice history
Use this one step to protect your privacy

Sign up for breaking news, reviews, opinion, top tech deals, and more.
You are now subscribed
Your newsletter sign-up was successful
It shouldn’t come as a surprise that you can check your Alexa voice history. And, if it does, be aware that the best Alexa speakers, along with plenty of other smart devices, are always listening. That’s not to drum up paranoia – after all, they’re listening so that they can respond to requests most of the time – but privacy is a hazy concept in the world of smart devices.
If you’re concerned about that and want to see what Alexa has kept tabs on, or even if you’re curious and want to remind yourself of something you previously asked, you can use these steps to check your Alexa voice history as well as delete entries.
All you need for this process is access to the Alexa app, which means a smartphone or tablet with the app installed and linked to your account.
Steps for how to check your Alexa voice history
- Open the Alexa app
- Open the Alexa Privacy settings
- Review voice history
- Adjust filter settings
- Select an audio recording
Tools and requirements
- Smartphone or tablet with Alexa app
Step by step guide
1. Open the Alexa app
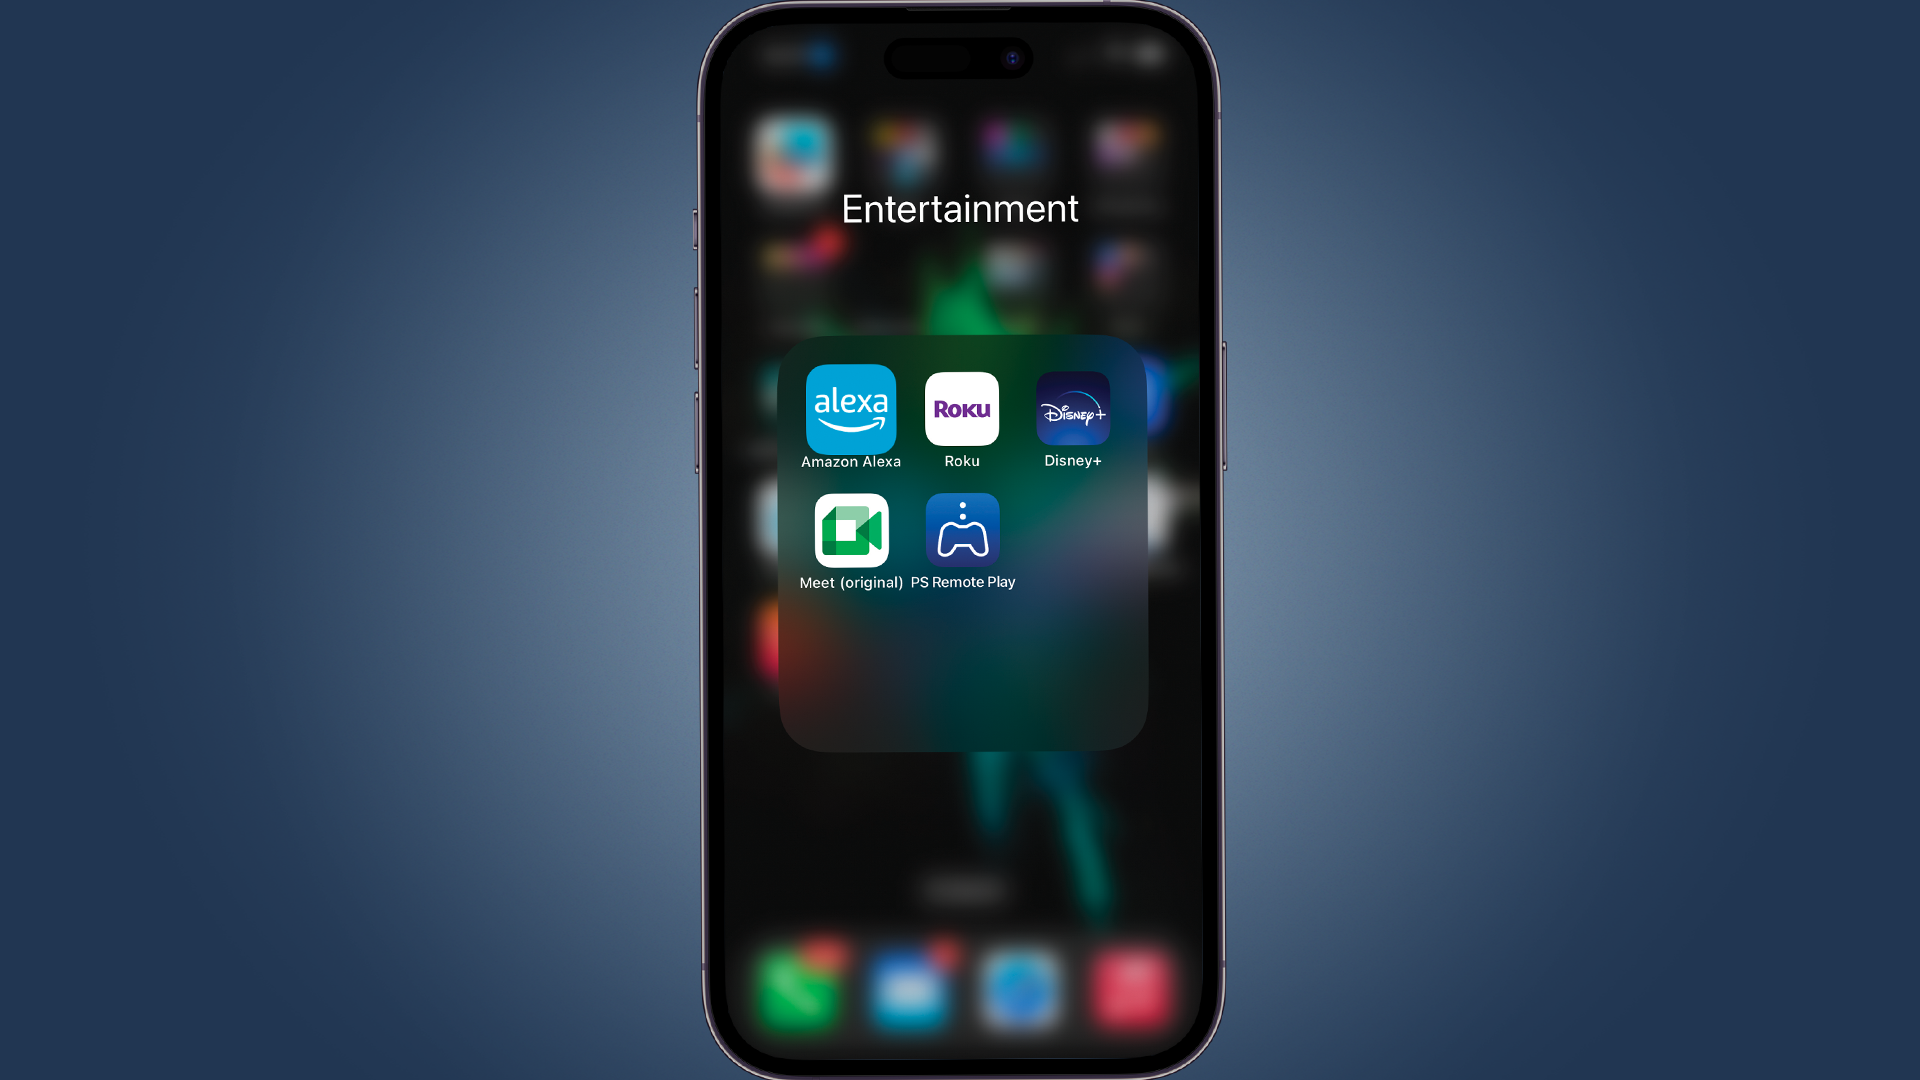
Grab whatever mobile device you use to control your Alexa-enabled devices, and open the Alexa app.
2. Open the Alexa Privacy settings
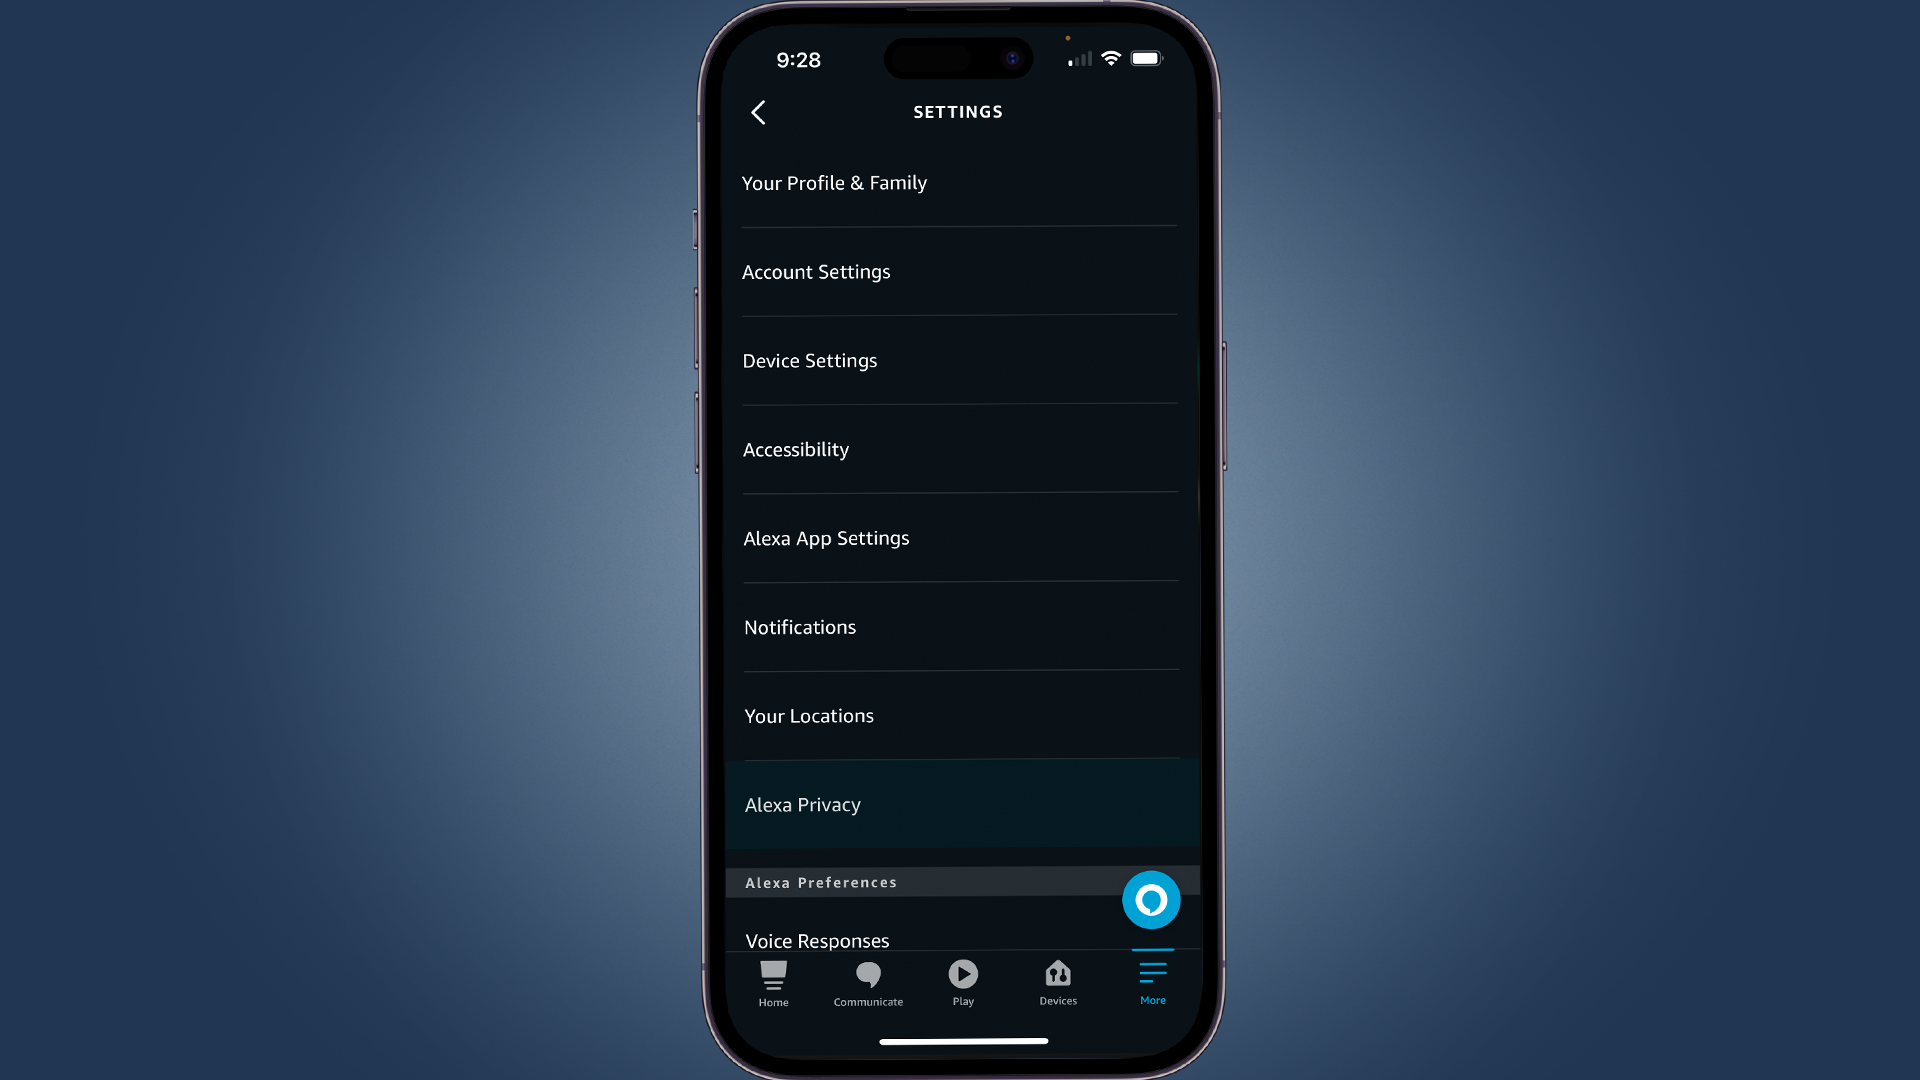
Press on More > Settings > Alexa Privacy. The screen should change from the usual interface to a slightly different looking one where you should see boxes with a header and paragraph detailing what you’ll find inside.
3. Review voice history
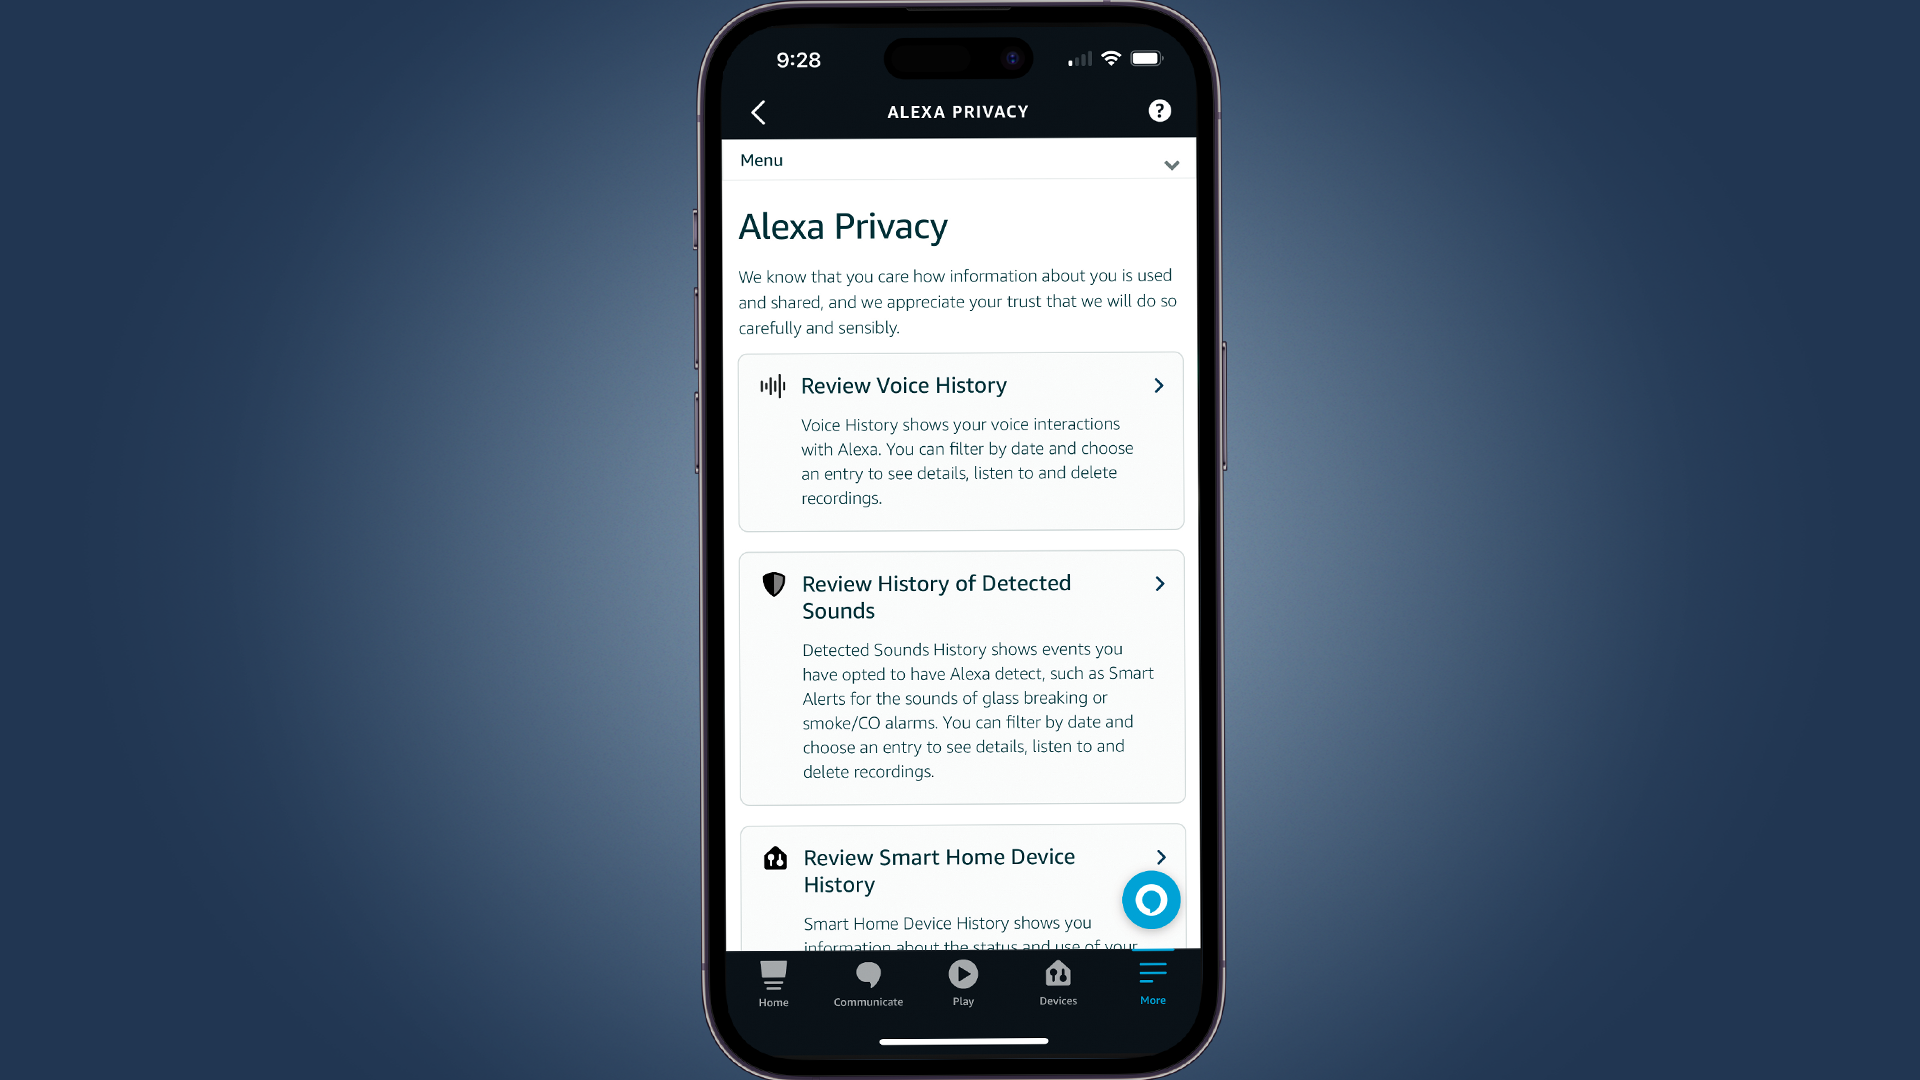
“Review Voice History” is listed first - click on this to start checking through your voice interactions with Alexa.
4. Adjust filter settings
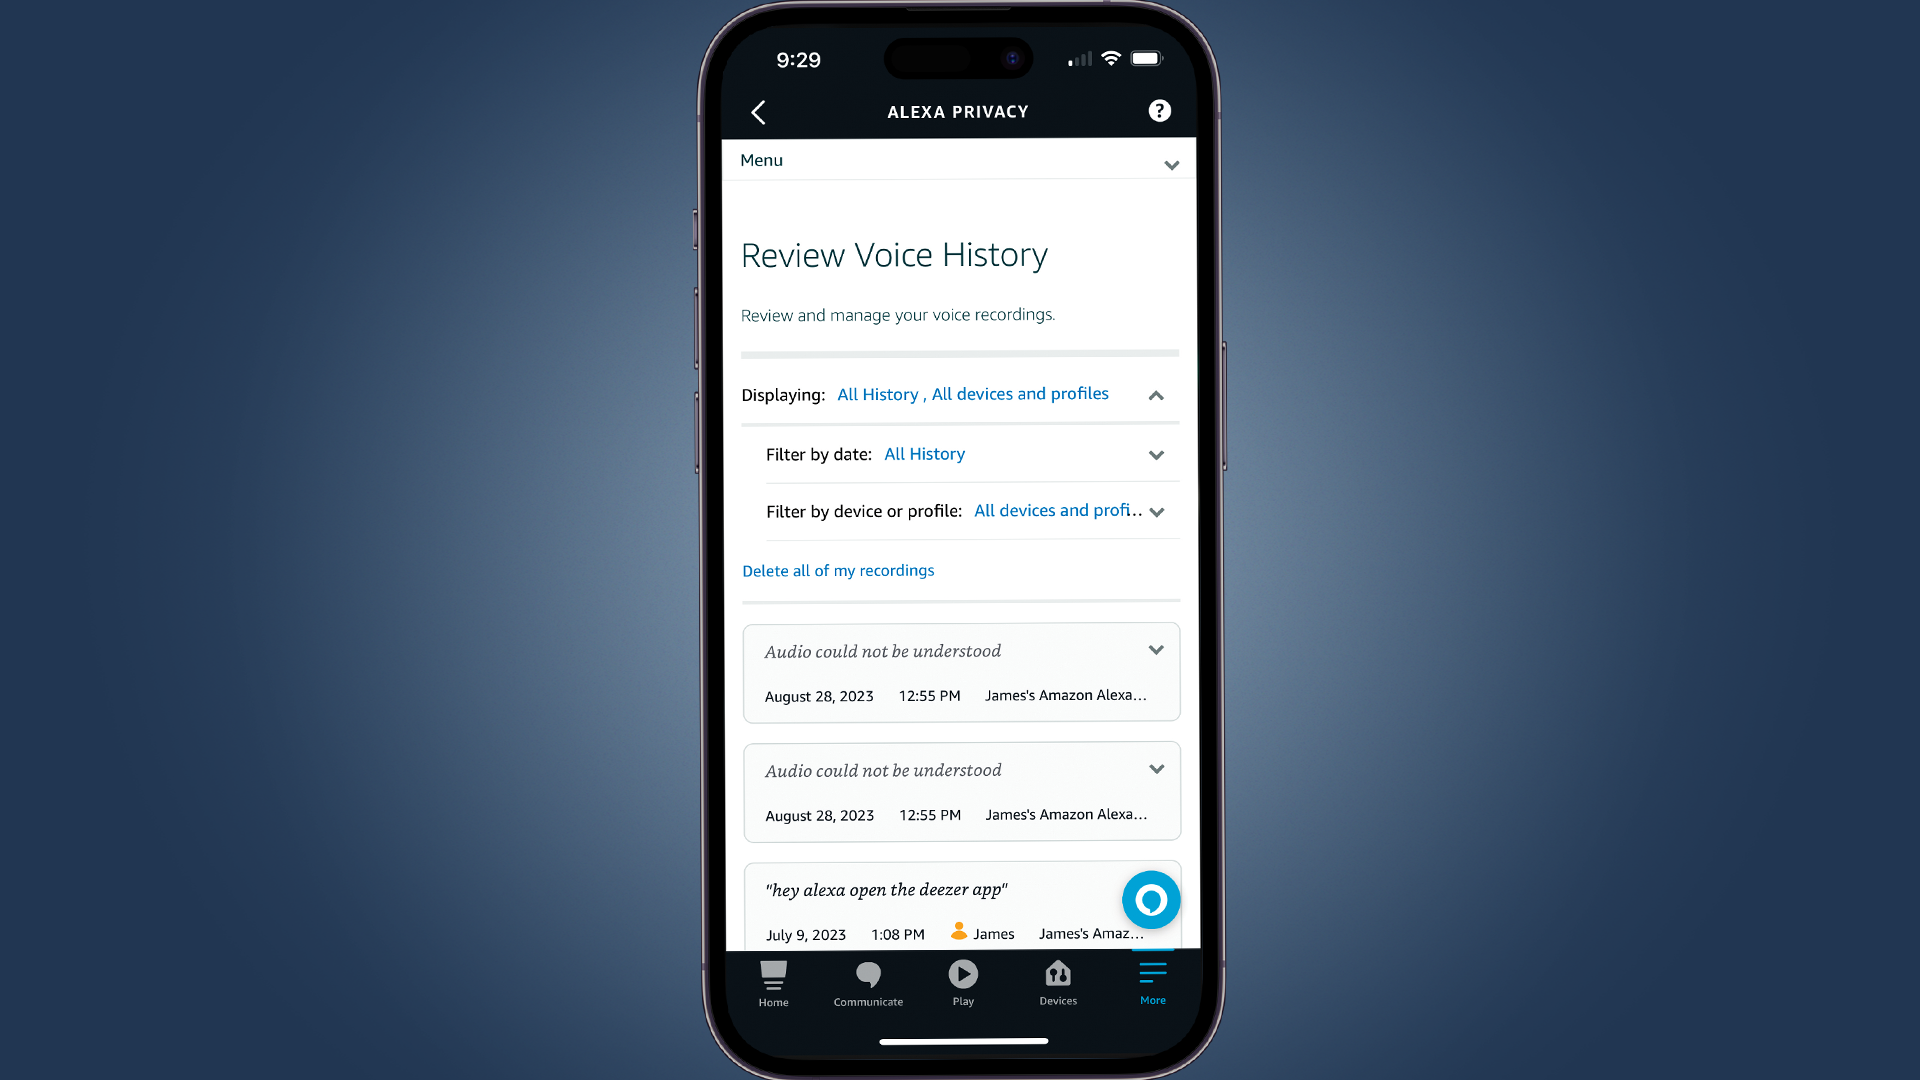
There are two filter settings near the top – Filter by date and Filter by device or profile. Change the settings for each to your desired range of time and device or profile.
5. Select an audio recording
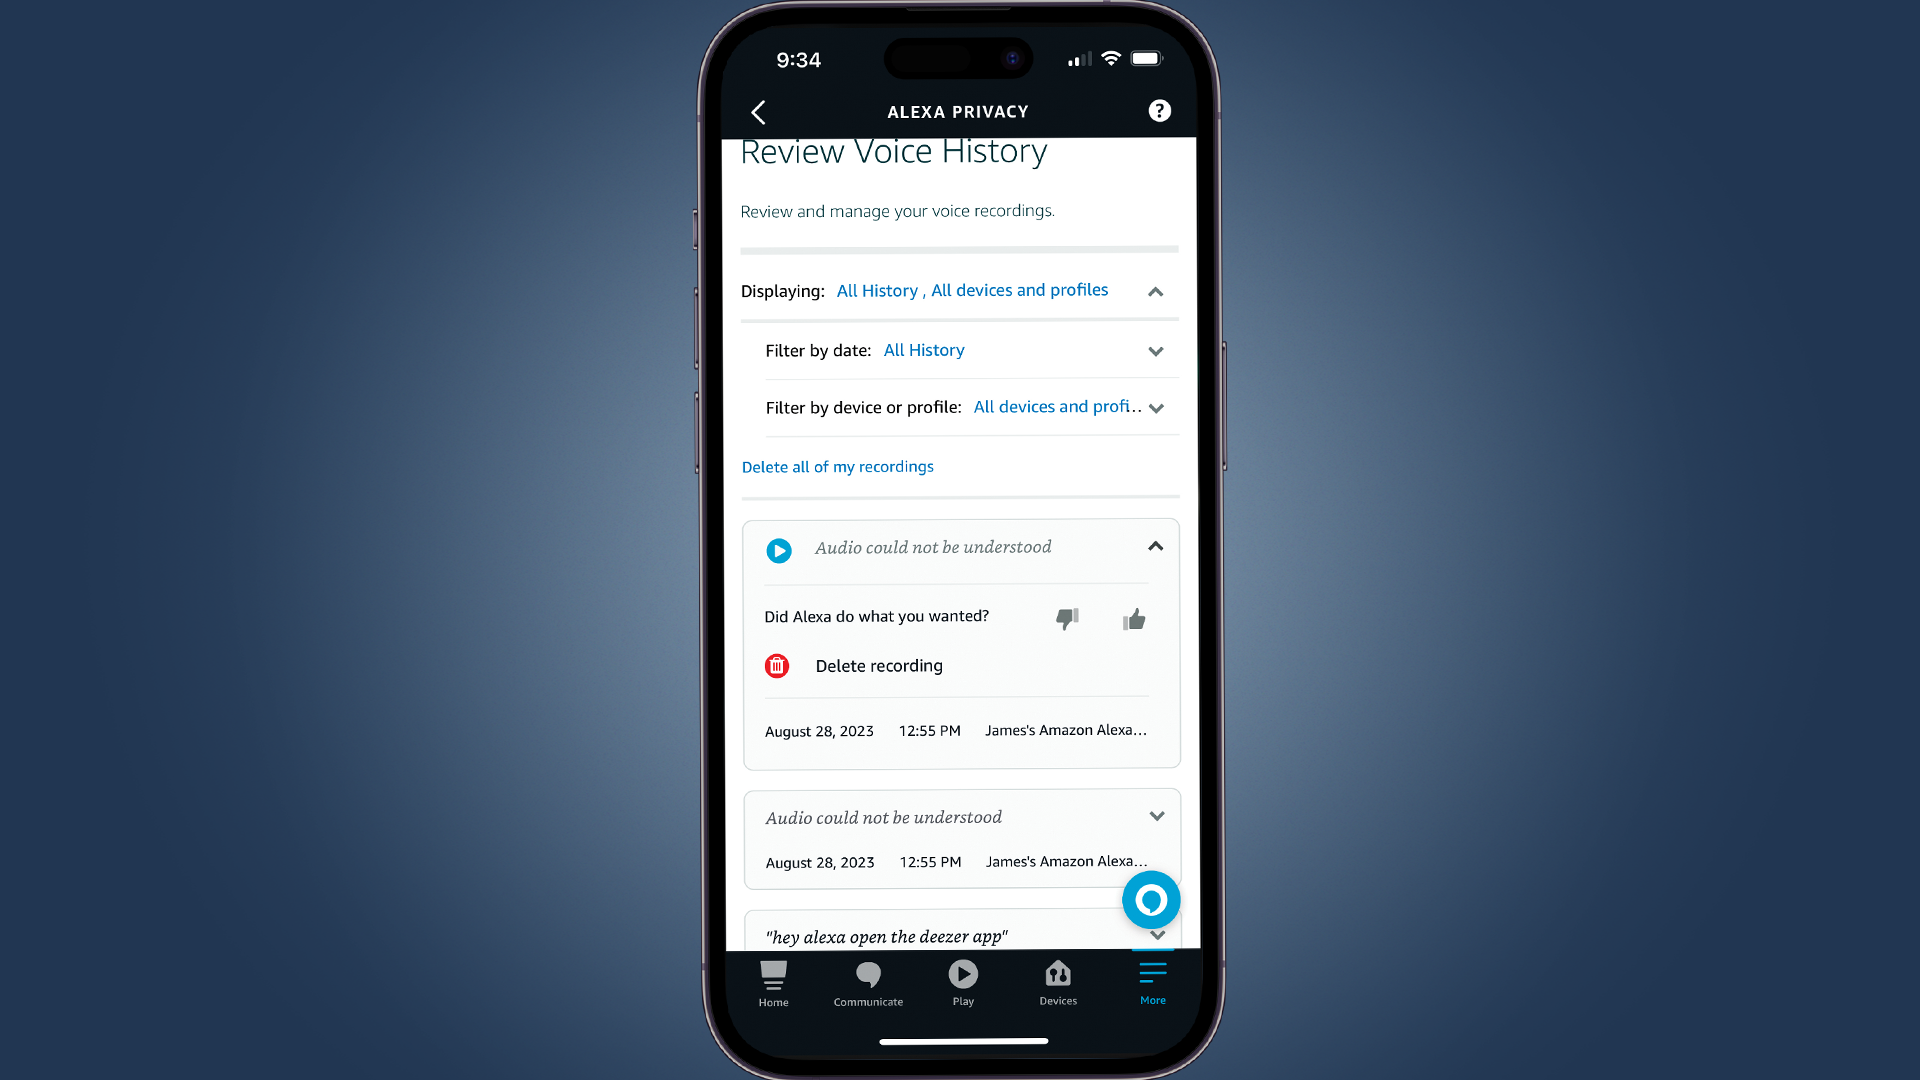
You can now review your voice history. Select an audio recording and it will expand to show you some options. You can press the play button to actually listen to what was said, check the date and time, as well as delete the recording. Note that near the top of the page right under filter fields, there’s the option to “Delete all of my recordings” that you can press to clear the history.
Final thoughts
Interestingly, going into the privacy settings will also show you the history of detected sounds in case you have a device set up to do so, such as a security device, as well as other private data that you can review and delete.
While some of that data can help Amazon elevate the experience of your devices, privacy should come first. And, if you’re not comfortable having some of that history available to Amazon, the company has made it easy to remove it.
You might also like
Sign up for breaking news, reviews, opinion, top tech deals, and more.

James Holland loves checking out gadgets of all sorts, whether it's audio equipment, laptops, or vacuums (especially of the robot variety), and does so for a number of Future Publications including TechRadar, Top Ten Reviews, Homes & Gardens, and T3. He's built up an expertise for in-depth reviewing over the last four years. When he's not putting in the work on the latest tech, he loves to travel, play music, and eat questionable food.