4 ways to improve music quality from your computer speakers
Make your office chair a listening chair
Sign up for breaking news, reviews, opinion, top tech deals, and more.
You are now subscribed
Your newsletter sign-up was successful
Computer speakers have been around for almost as long as desktop computers. Over time this piece of sound hardware has evolved from cheap plastic accessories bundled with PCs to sophisticated designs that could easily work with a proper hi-fi audio system.
Listening to music with the best computer speakers can be a rewarding experience – it’s something I do nearly every day – and also one that can be greatly improved with a few basic tweaks. You don’t necessarily need to spend a lot of money to optimize the performance of your computer-based music playback system (yes, that’s what we’re going to call the speakers connected to your computer going forward). But investing in a higher-quality tier, such as one of the best music streaming services, as well as some modest gear upgrades, can yield a big sound quality improvement.
The first step to improving your computer-based music playback system will be to declutter your desk so that there’s nothing getting in the way, either physically or psychologically, between you and your music. Make sure to remove all debris and irrelevant objects — which also includes that stack of unpaid bills. Once that’s done, you can then move on to the following steps.
1. Use good desktop speakers
There’s a staggering range of computer speakers out there to choose from. Go to Amazon and enter 'computer speakers' in the search bar and you’ll be confronted with a seemingly endless list of options, many of them priced under $20. Some of these speaker pairs come with tiny 'subwoofers', while others have built-in LED lights that blink wildly during playback.
I’m not here to comment on either of those options, but to instead suggest you buy a basic powered monitor-type speaker pair with solid build quality from an established audio brand, and not necessarily the most expensive models.
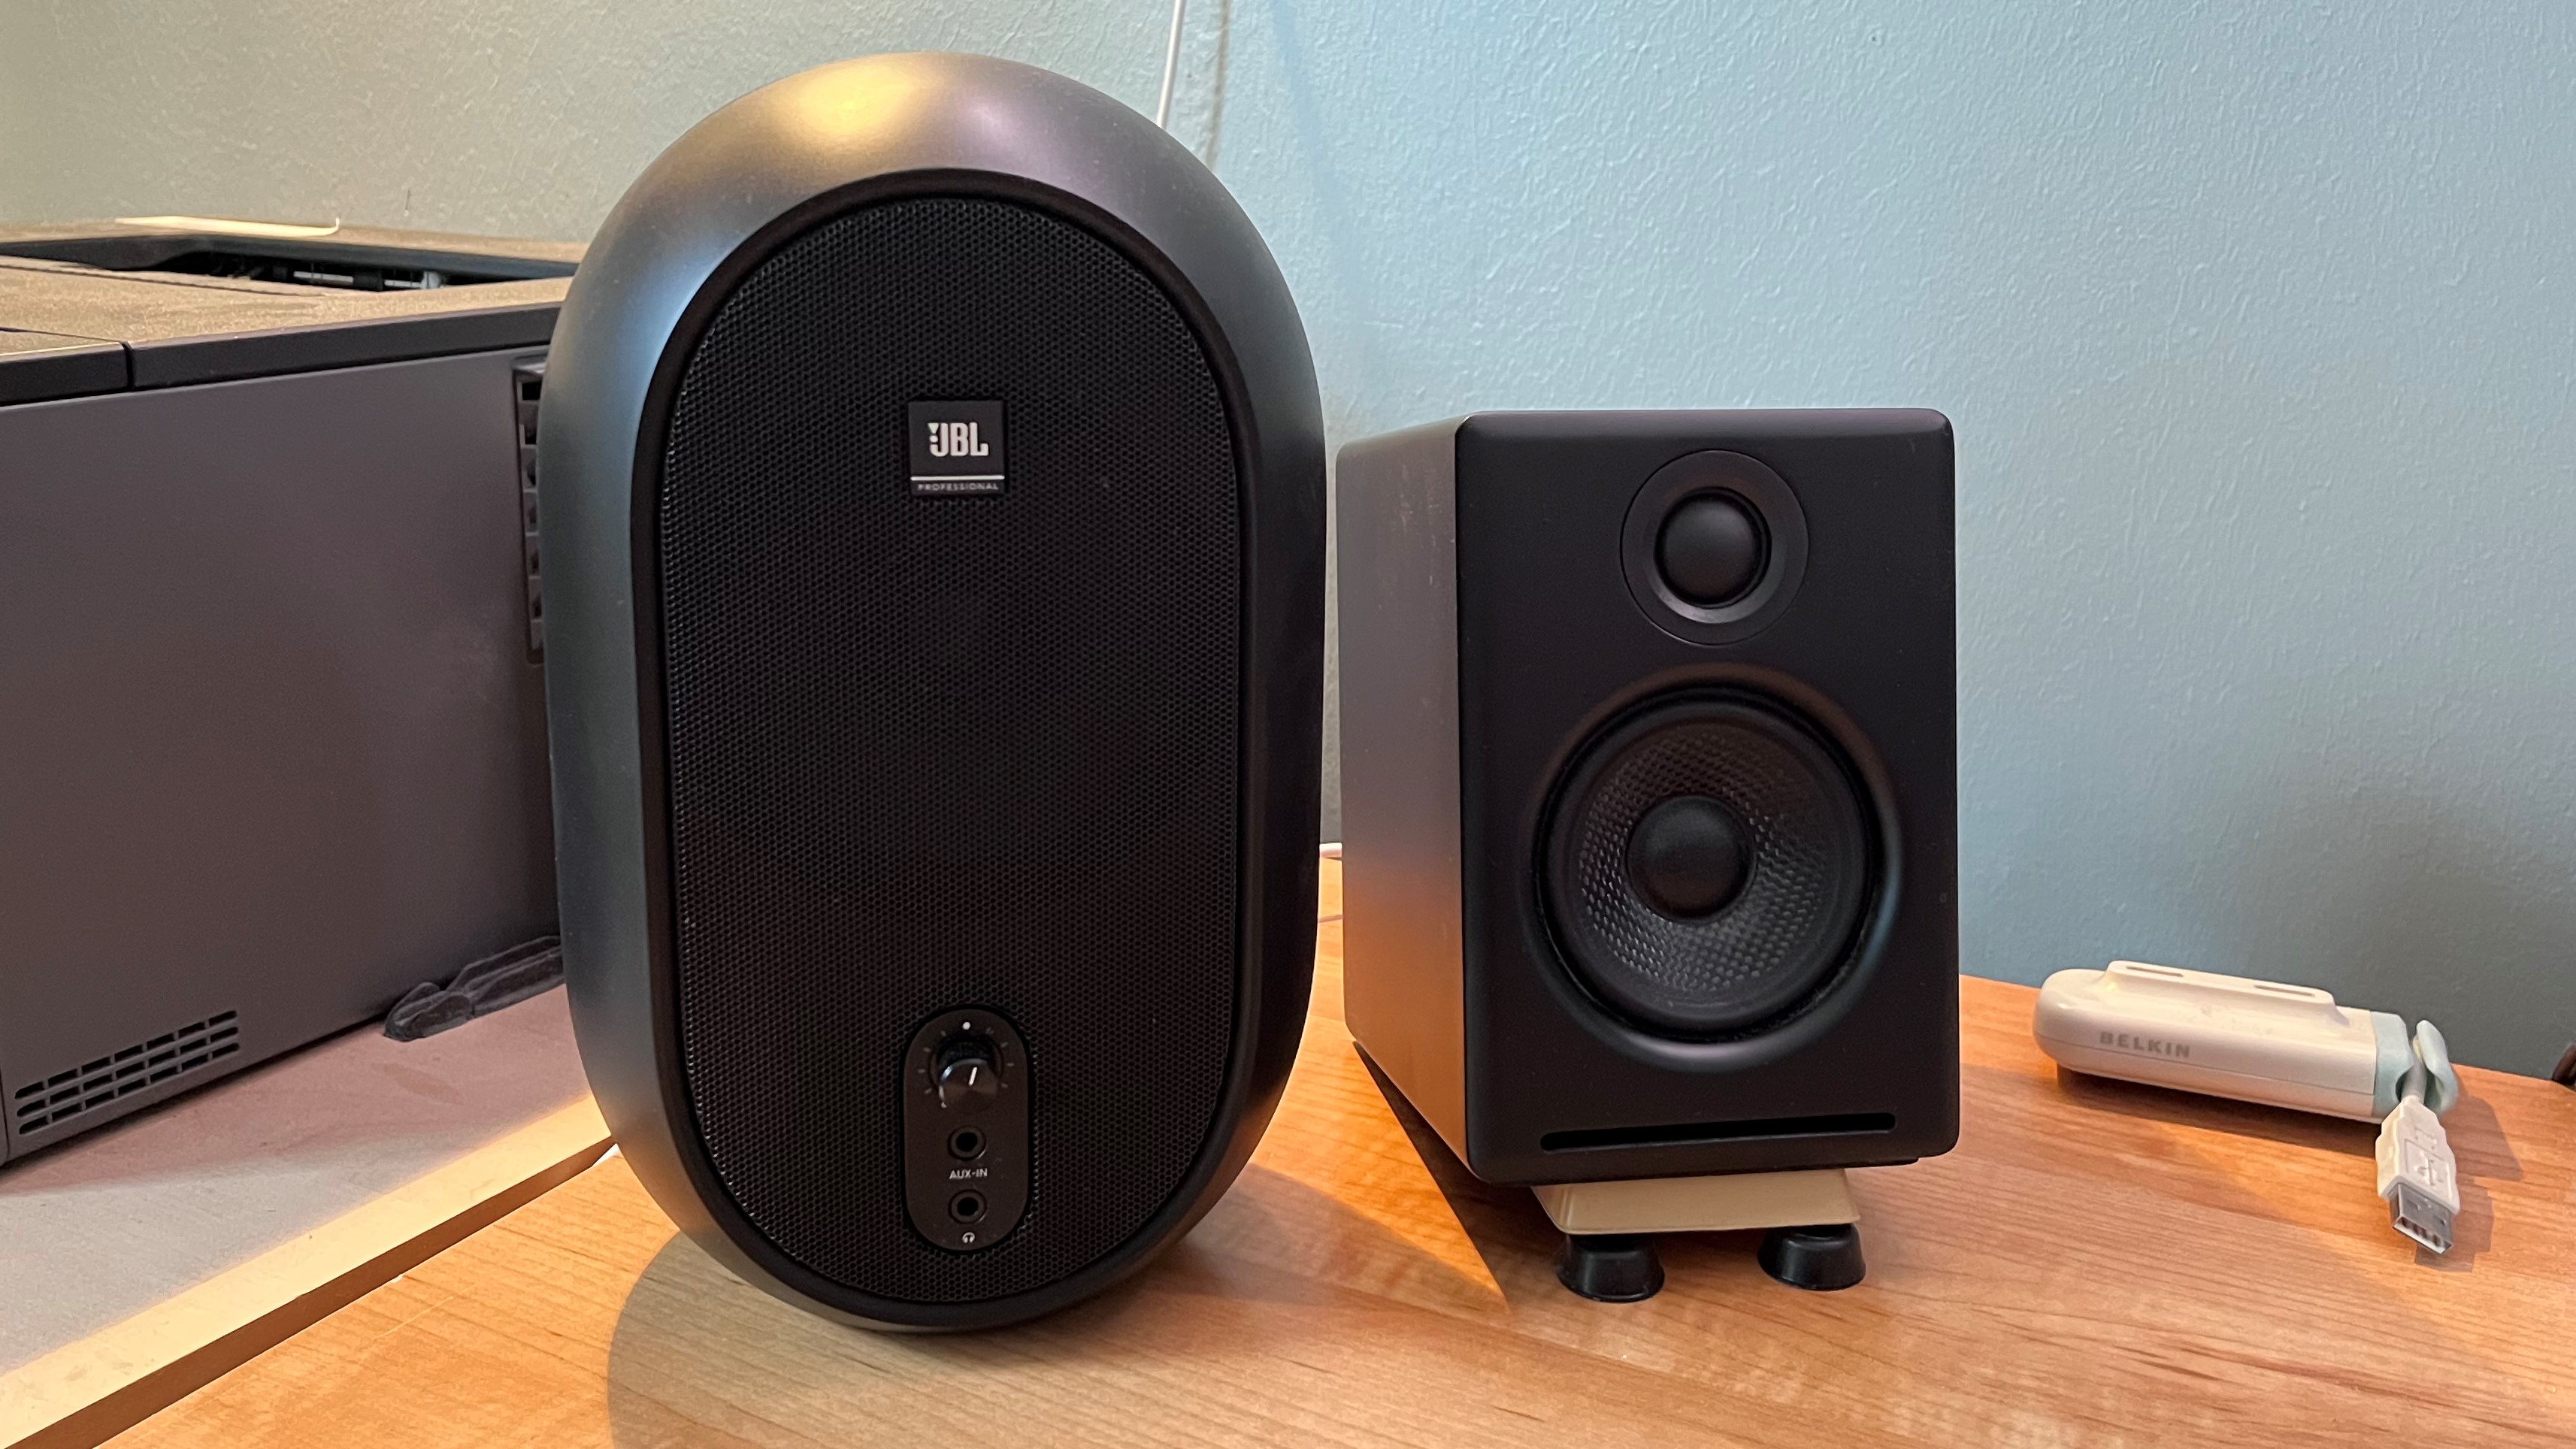
The two computer speaker sets I use (and very much like) are the Audioengine A2+ ($269 / around £215 / AU$400) and JBL 104-BT compact reference monitors ($169 / around £135 / AU$253). Both provide hardwired RCA-type audio inputs along with a Bluetooth wireless connection (aptX Bluetooth on the Audioengine). A key difference between the two, aside from their very different looks, is the presence of a volume control knob on the front of the main JBL speaker (the one containing the system’s built-in stereo amplifier), a feature that enables easy and quick volume adjustments. The JBL also has a mini-jack audio output, giving you the option to switch over to headphones listening if needed.
Another key difference between the Audioengine and JBL speakers is their sound signature. While the Audioengine A2+ has a refined 'hi-fi' presentation, the JBL’s sound is decidedly more neutral – something that’s not surprising considering it comes from the brand’s pro audio division. While I like both sets for different reasons, I tend to prefer the Audioengine A2+ for day-to-day music listening.
Sign up for breaking news, reviews, opinion, top tech deals, and more.
2. Optimize the speaker placement
Many people simply drop their computer speakers on their desk’s surface, usually on either side of the monitor or laptop screen. And while you’ll still be able to listen to the speakers in that arrangement, there’s much that can be done with positioning to improve their performance with music.
The first thing to do is arrange the speakers so that the center of each is set the same distance both from each other and from your seating position, with your head roughly forming the tip of an equilateral triangle. The next step is to angle the left and right speakers inward a bit so that their front baffles are aimed at your left and right ears, respectively. You can play some stereo music through the speakers at this point to 'tune' positioning: spreading the speakers outward will create a wider soundstage, while moving them more inward will result in a tighter, more focused presentation.
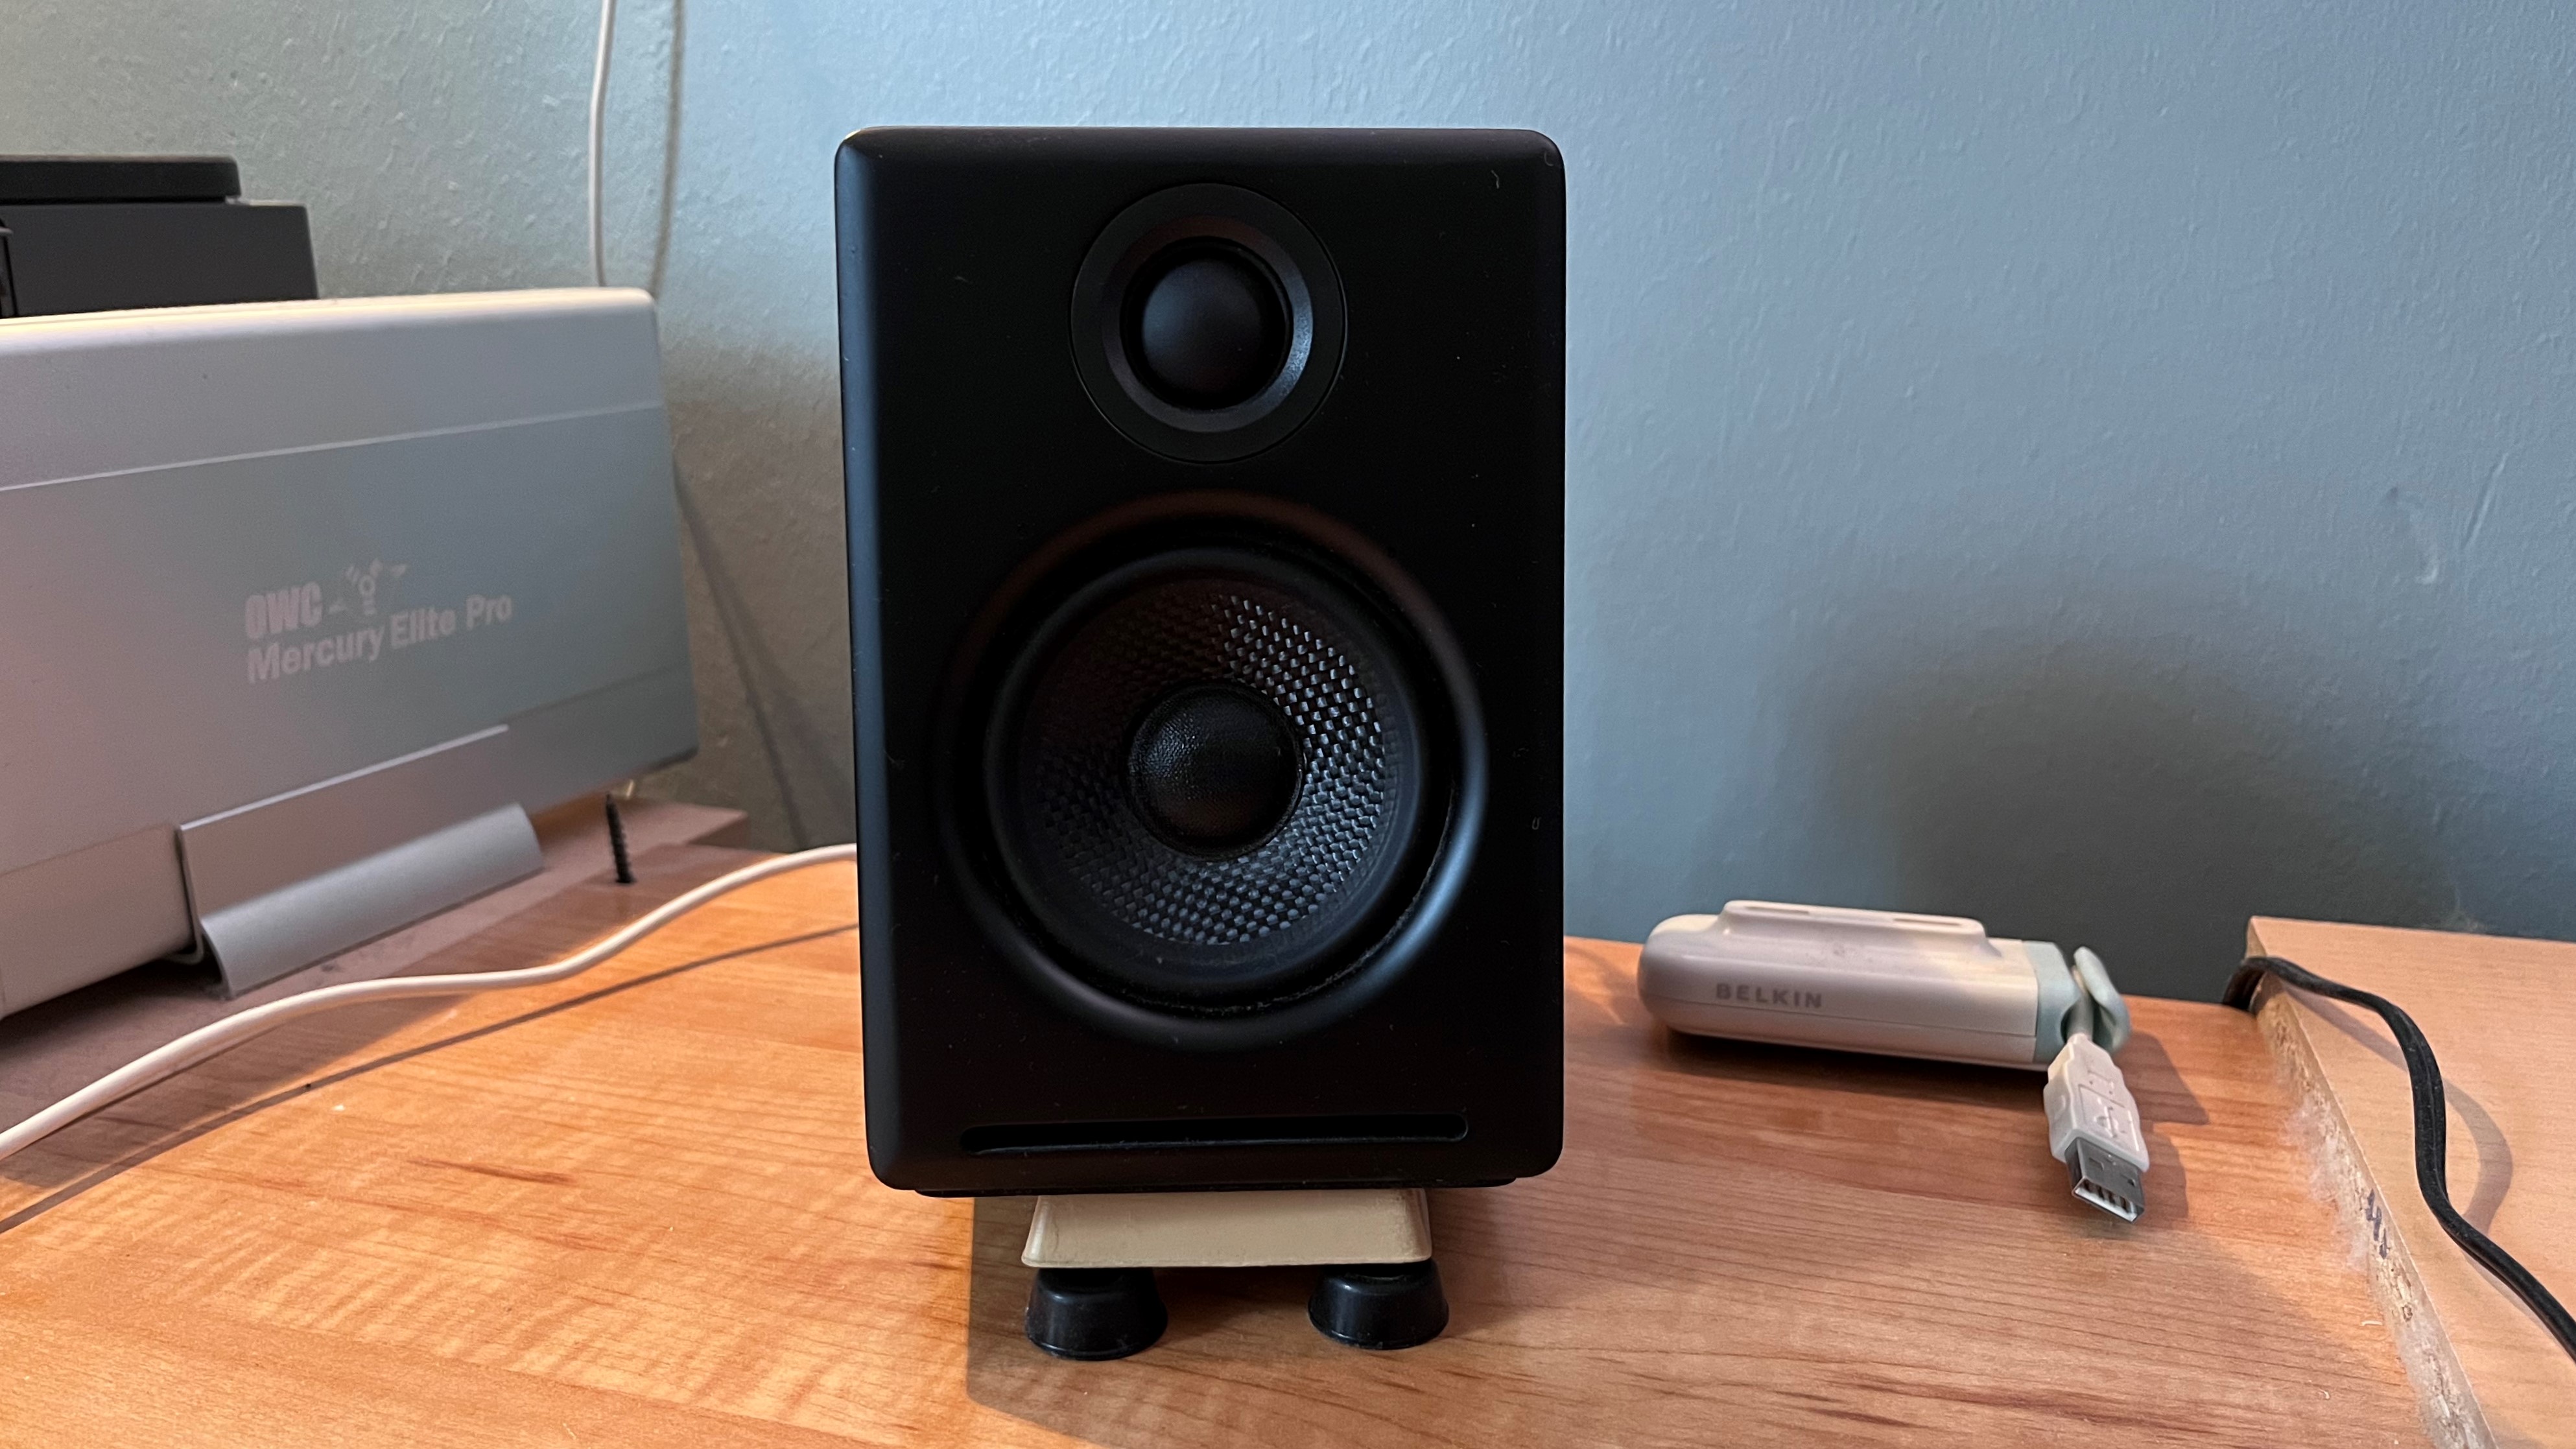
There’s yet another positioning tweak I’d recommend since it can make a big difference both in the perception of high frequency sounds in music and in stereo imaging. Physically angle the left and right speakers so that the center of the tweeter (the smaller driver typically located near the speaker’s top) is pointing directly toward your left and right ears, respectively.
There are desktop stands you can buy that are designed to elevate speakers in this manner, but you can easily create your own using cheap rubber furniture floor protectors bought at a hardware store. Just make sure that each speaker is equally elevated, and that there’s sufficient support so they don’t tumble over if you accidentally knock into your desk.
3. Use music service desktop apps for streaming
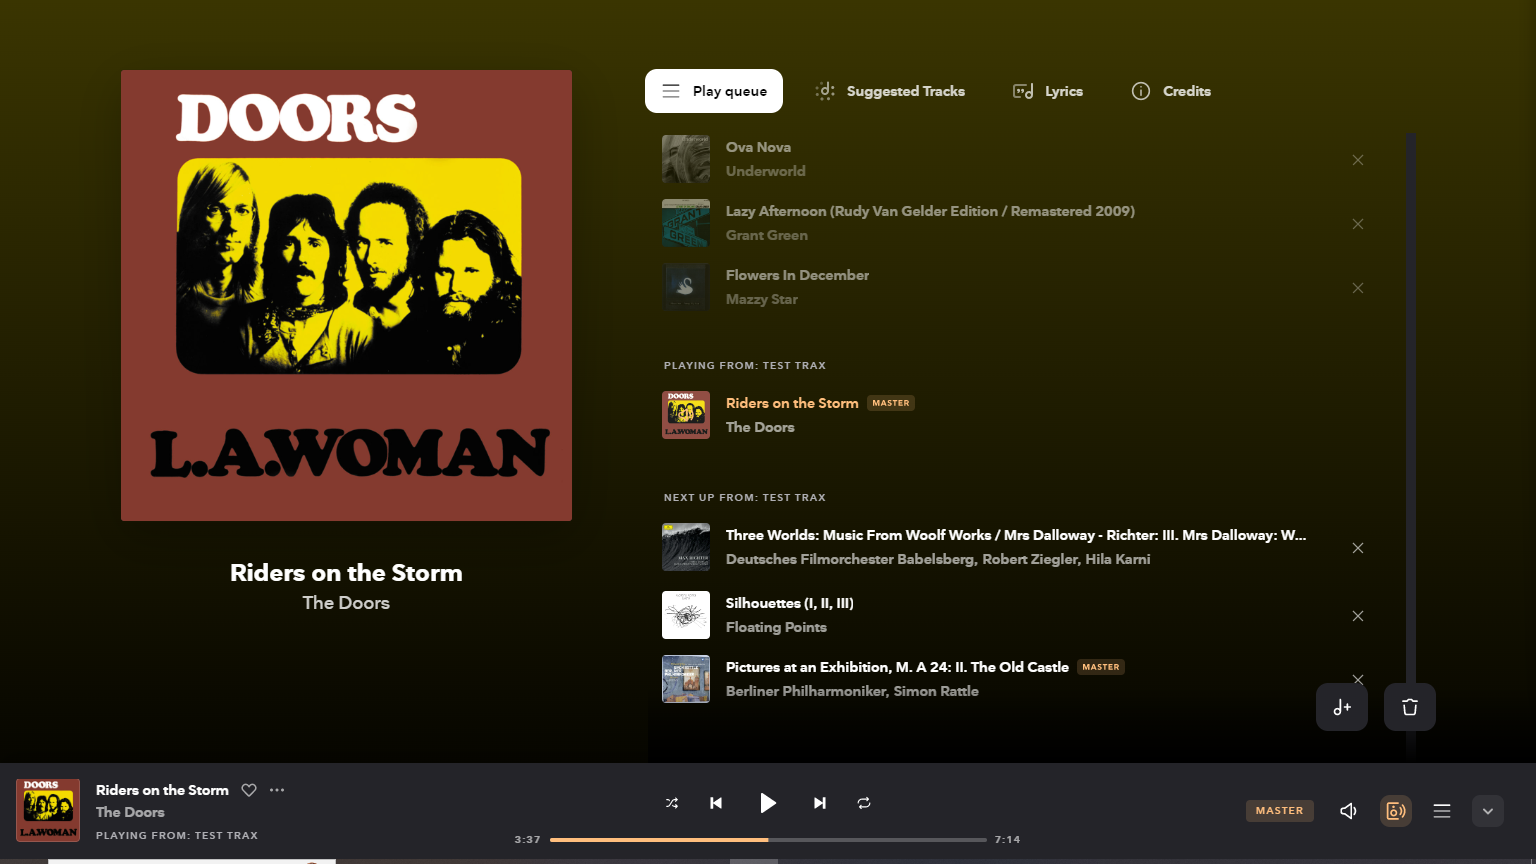
Music streaming services like Spotify, Apple Music and Tidal can all be accessed via a web browser by signing into your account online. And while that’s an easy way to play the music in your streaming collection, you’ll get better performance from the service’s dedicated desktop app.
Using Tidal as an example (because that’s the service I mainly use with my computer for music playback), the desktop app gives you an 'Exclusive Mode' setup option where the app takes control of your computer’s audio output settings. The upside here is that it allows for bit-perfect playback of the audio source, which in this case is the Tidal HiFi or HiFi Plus account you’re paying good money for. The desktop app is also required to play high-res audio Master files in the Tidal library, which can’t be properly streamed using a web browser.
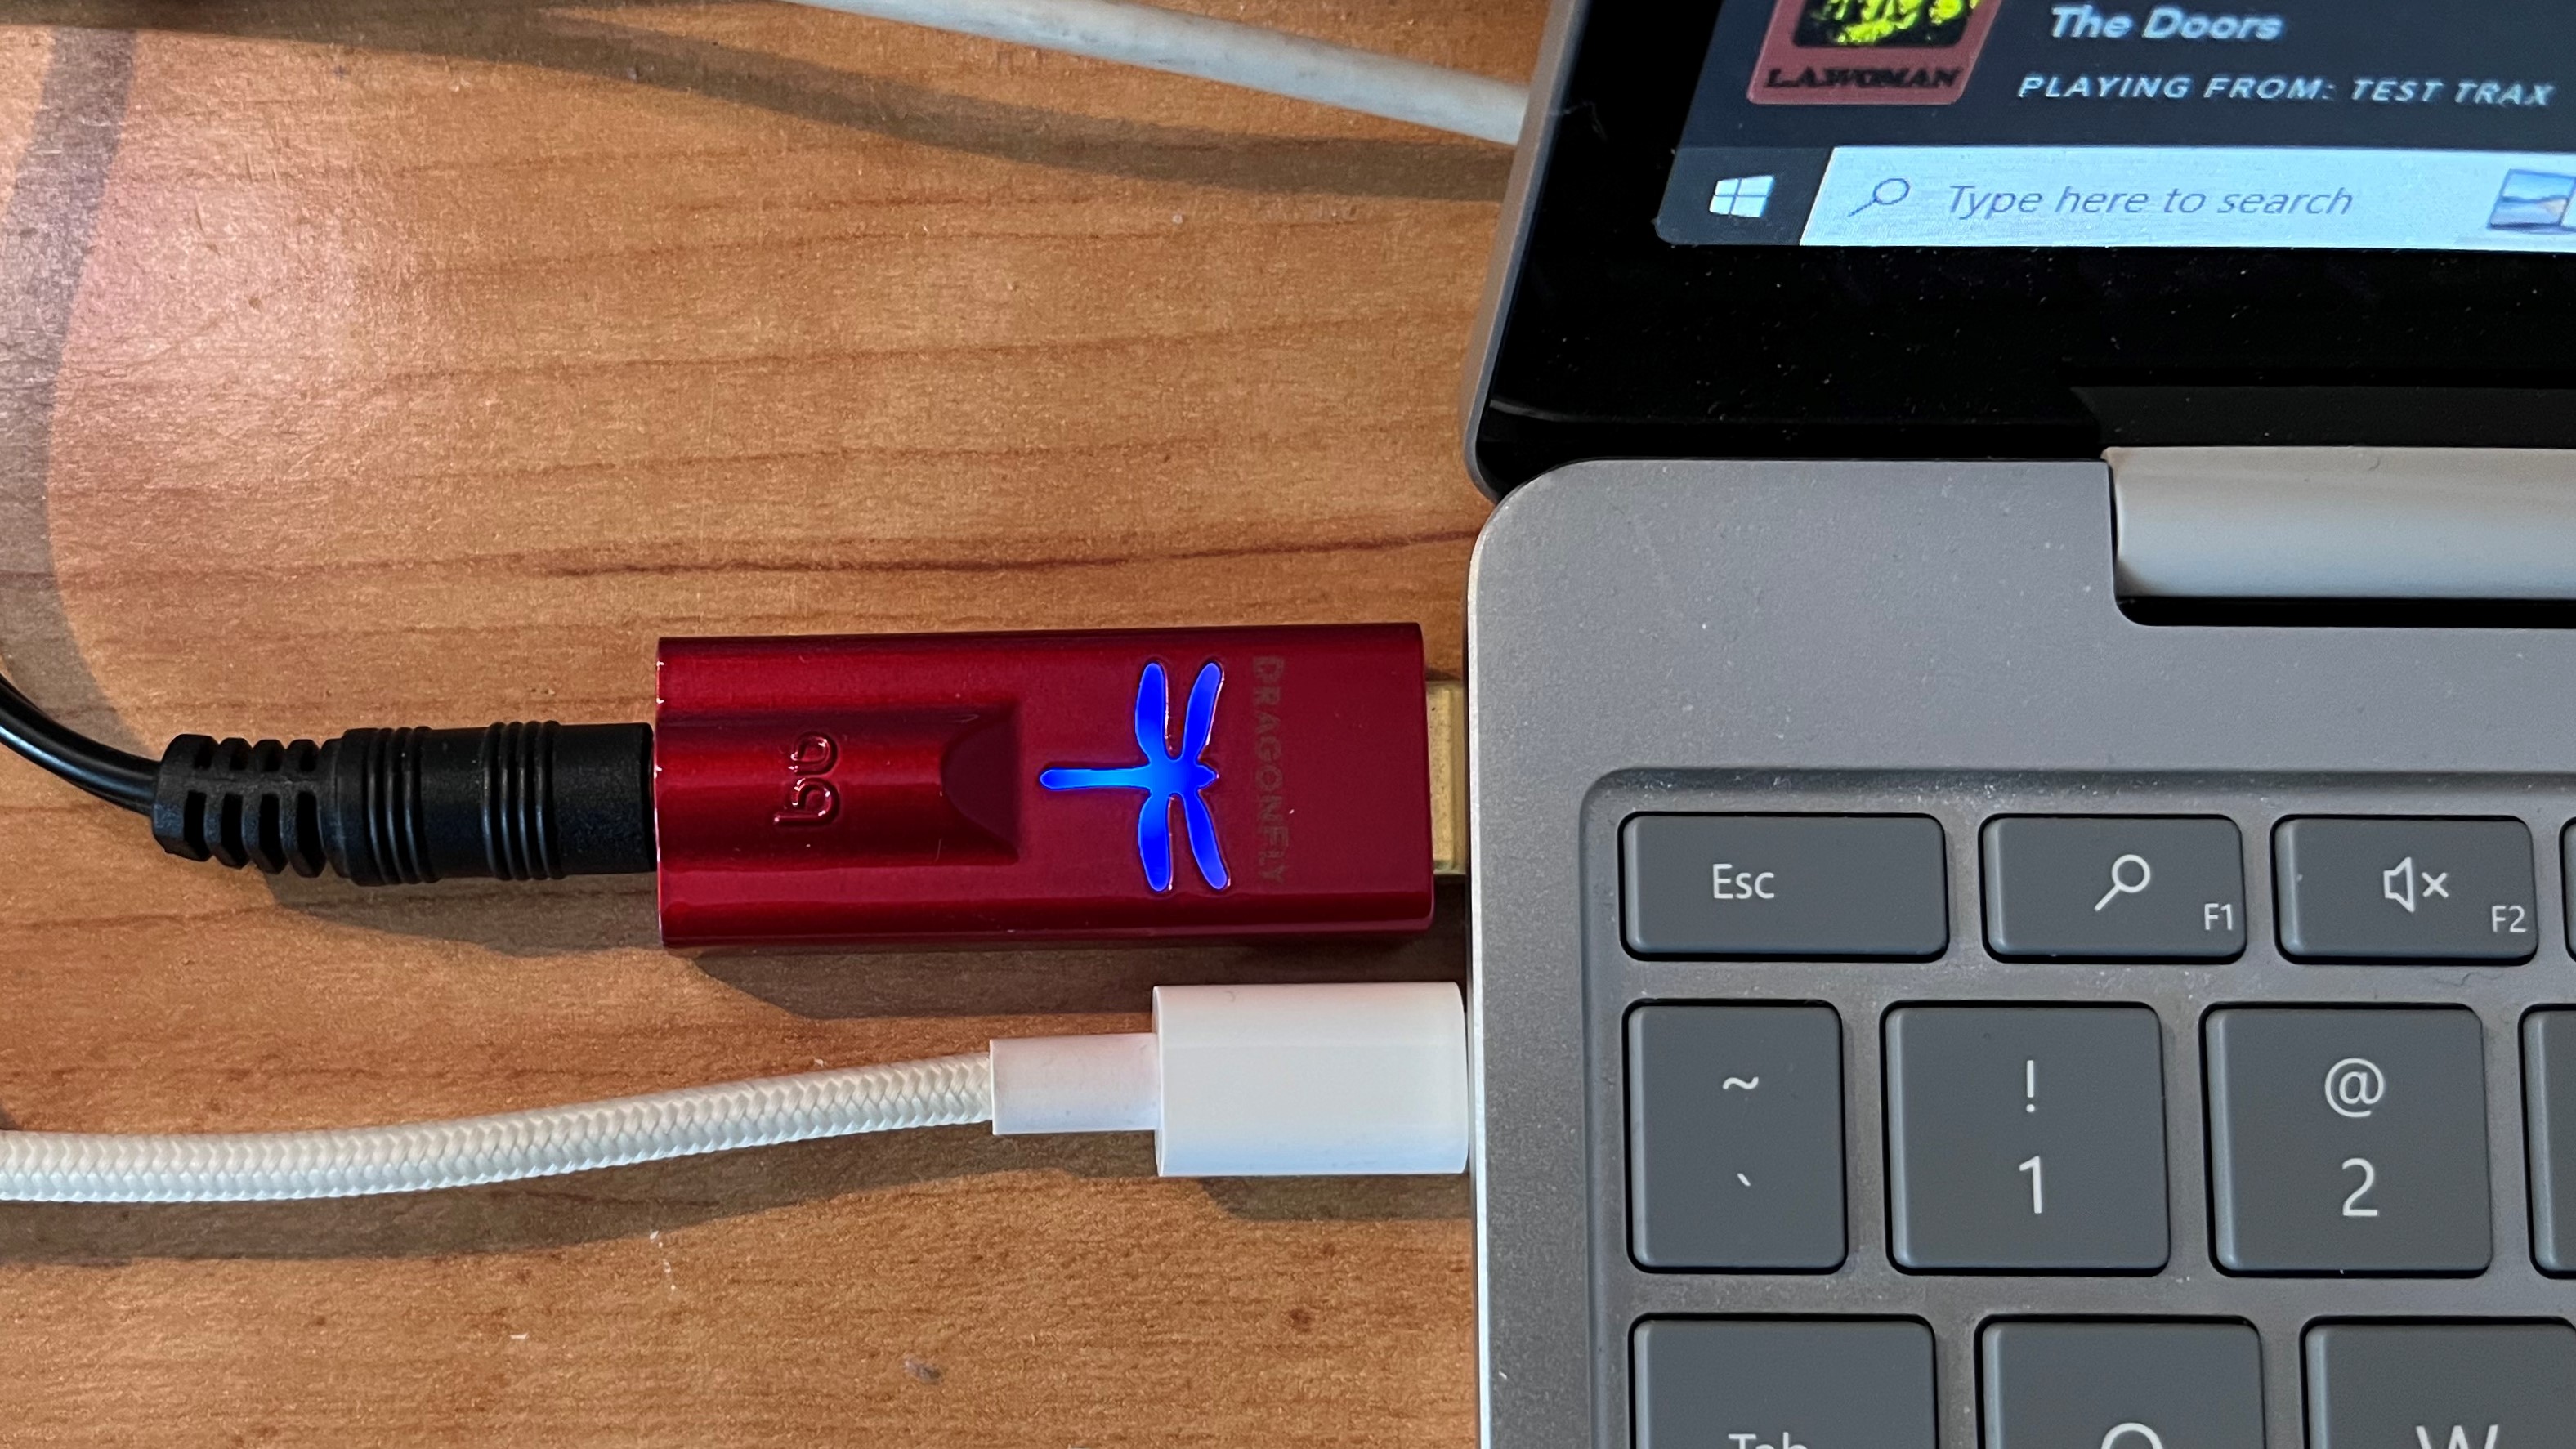
4. Use a high-res external DAC/Amp
Now that I’ve mentioned high-res audio, there’s another computer-based music playback system tweak we need to discuss: external digital-to-analog converters (DACs). While you can easily get sound by making a connection between your computer’s analog audio output and the computer speakers’ analog audio input, you’ll get a big boost in sound quality by using an external DAC/Amp.
External DAC/Amps used for computer audio playback are compact devices that plug directly into your PC or Mac’s USB port and have an analog output for connecting to the speakers’ analog stereo input. What the DAC basically does is isolate the flow of audio data from the computer’s digital clock, as well as isolate the analog audio output from electronic noise. For music fans. it's really a no-brainer upgrade.
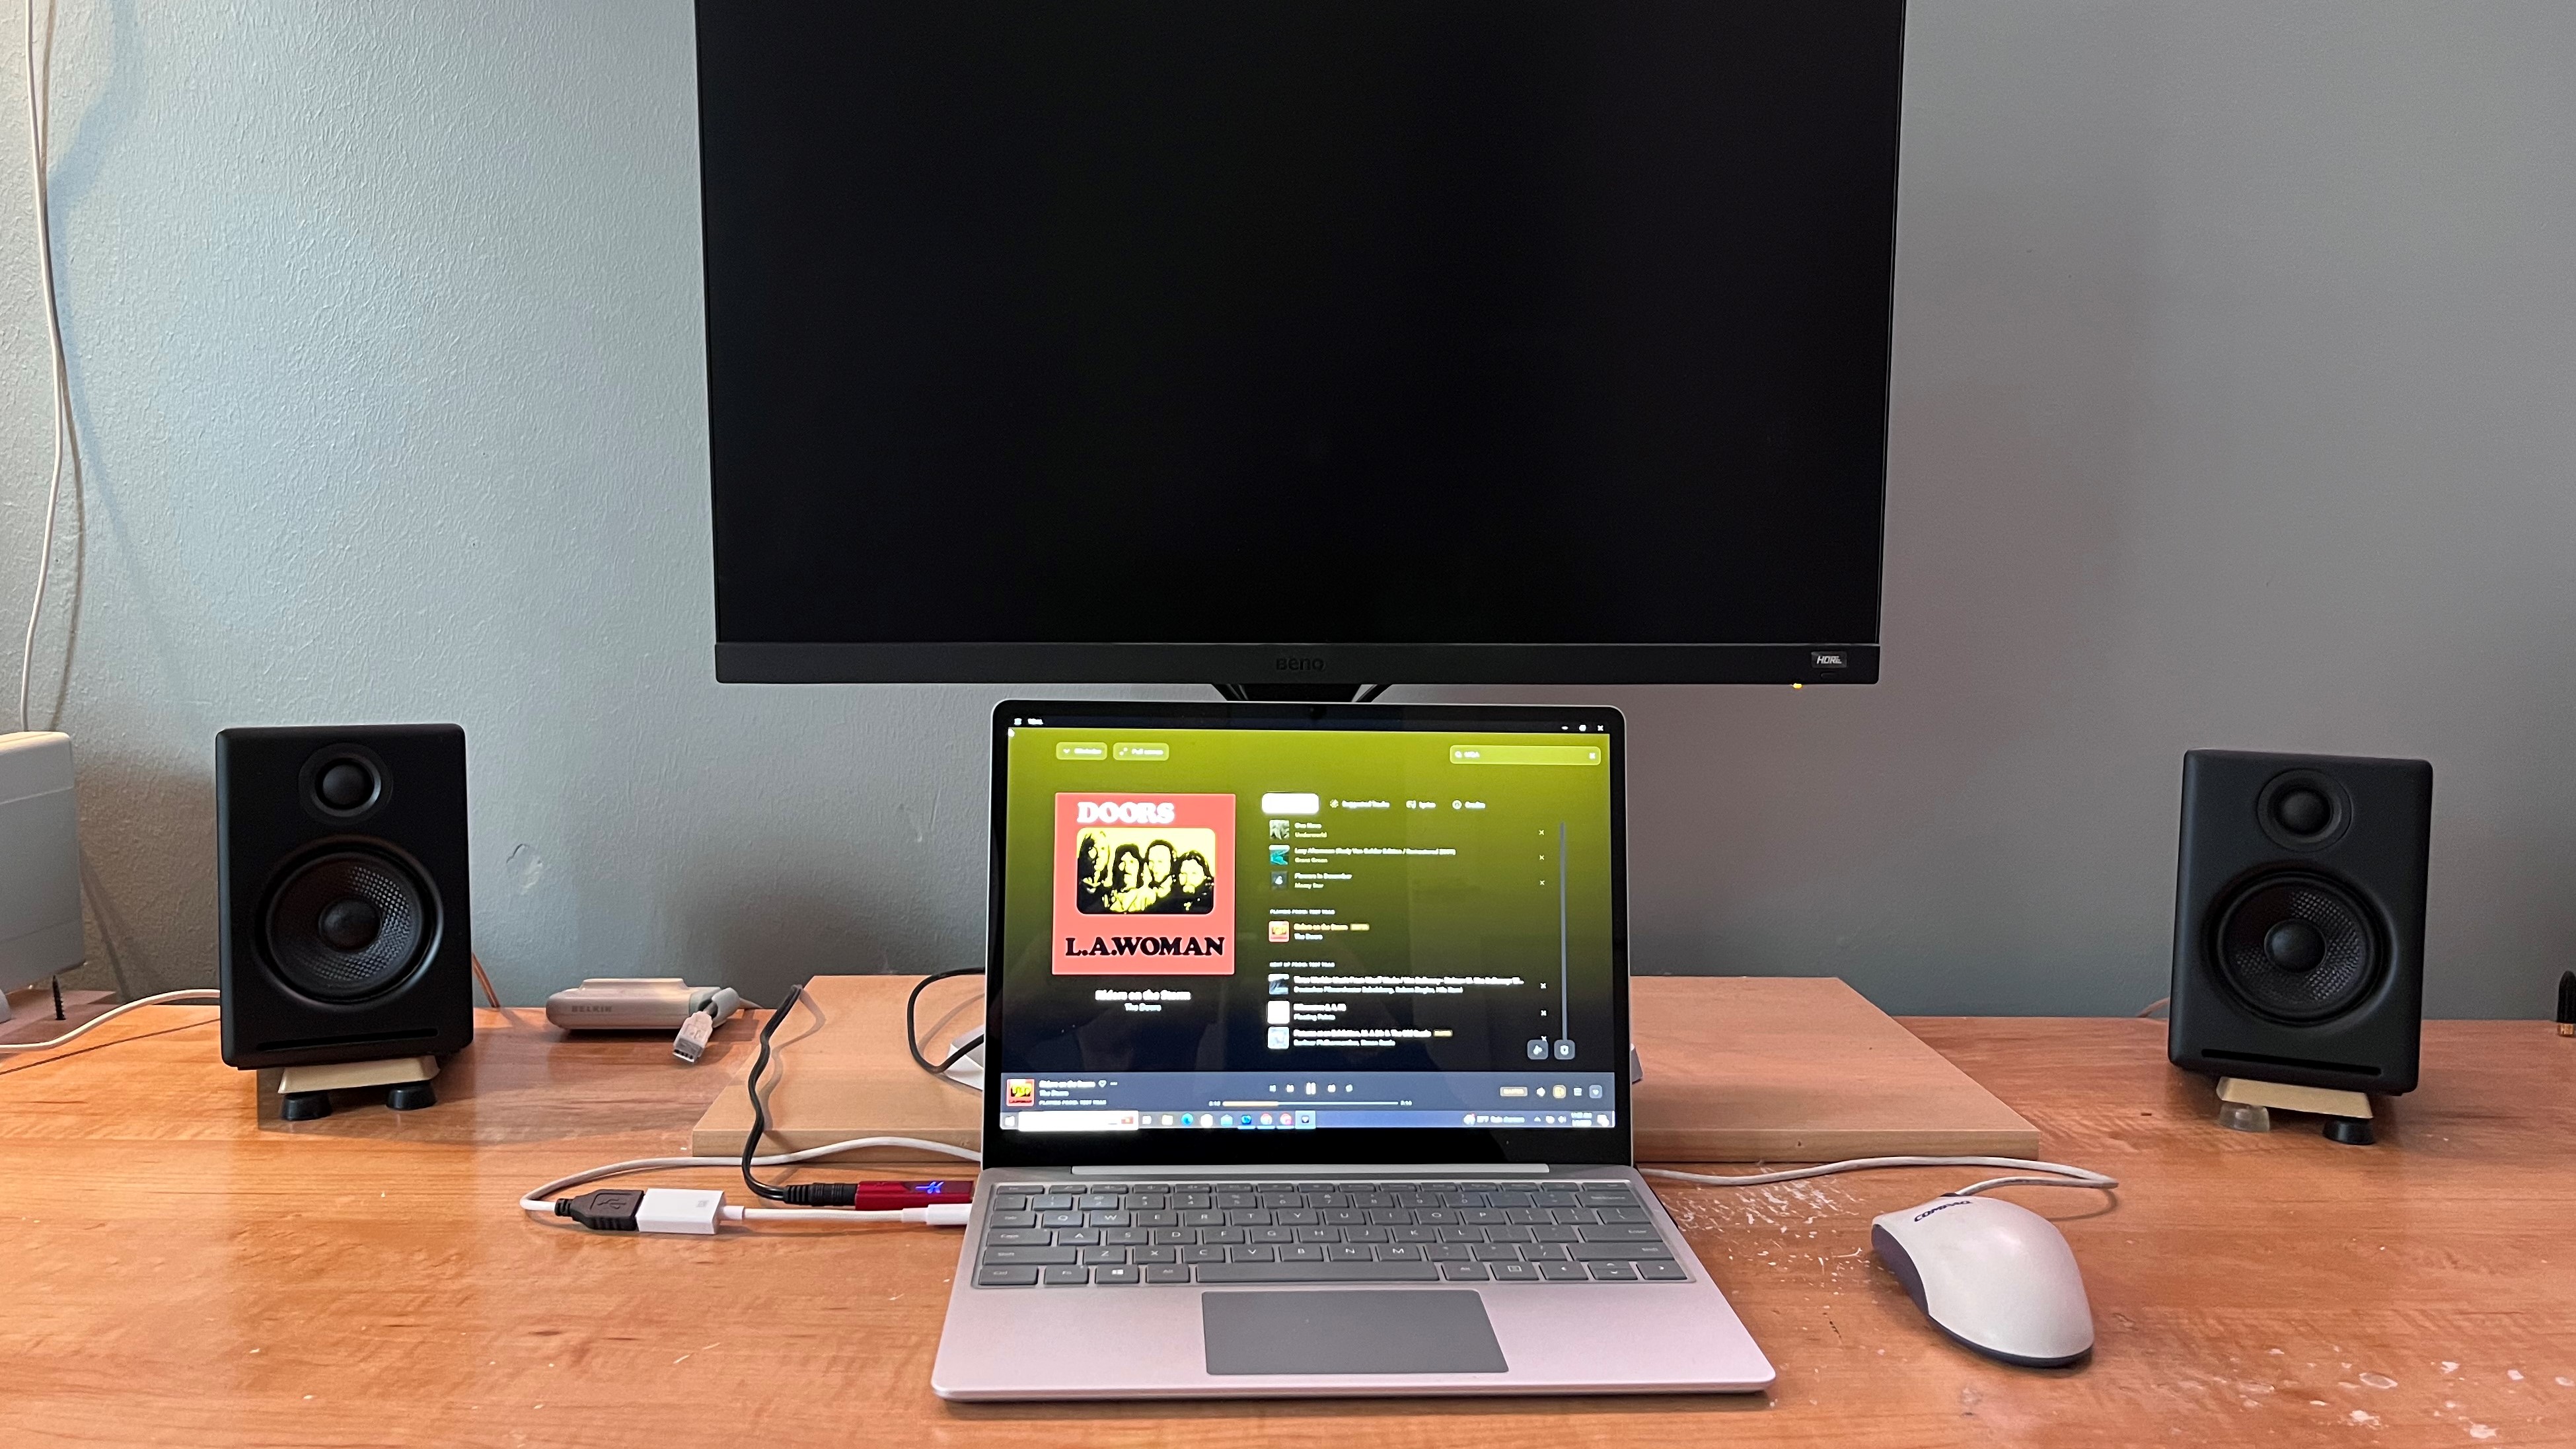
Most DACs support 24-bit/96kHz or higher high-res audio formats, and some also support the MQA format used by Tidal for high-res delivery – the AudioQuest DragonFly Red shown above, for example. The DragonFly Red costs $229 (around £182 / AU$343) , but you can buy similarly featured DACs like the Helm Audio Bolt for as little as $119 (around £95 / AU$178).
Another bonus to external DAC/Amps? They can also be used to power the best headphones.

Al Griffin has been writing about and reviewing A/V tech since the days LaserDiscs roamed the earth, and was previously the editor of Sound & Vision magazine.
When not reviewing the latest and greatest gear or watching movies at home, he can usually be found out and about on a bike.