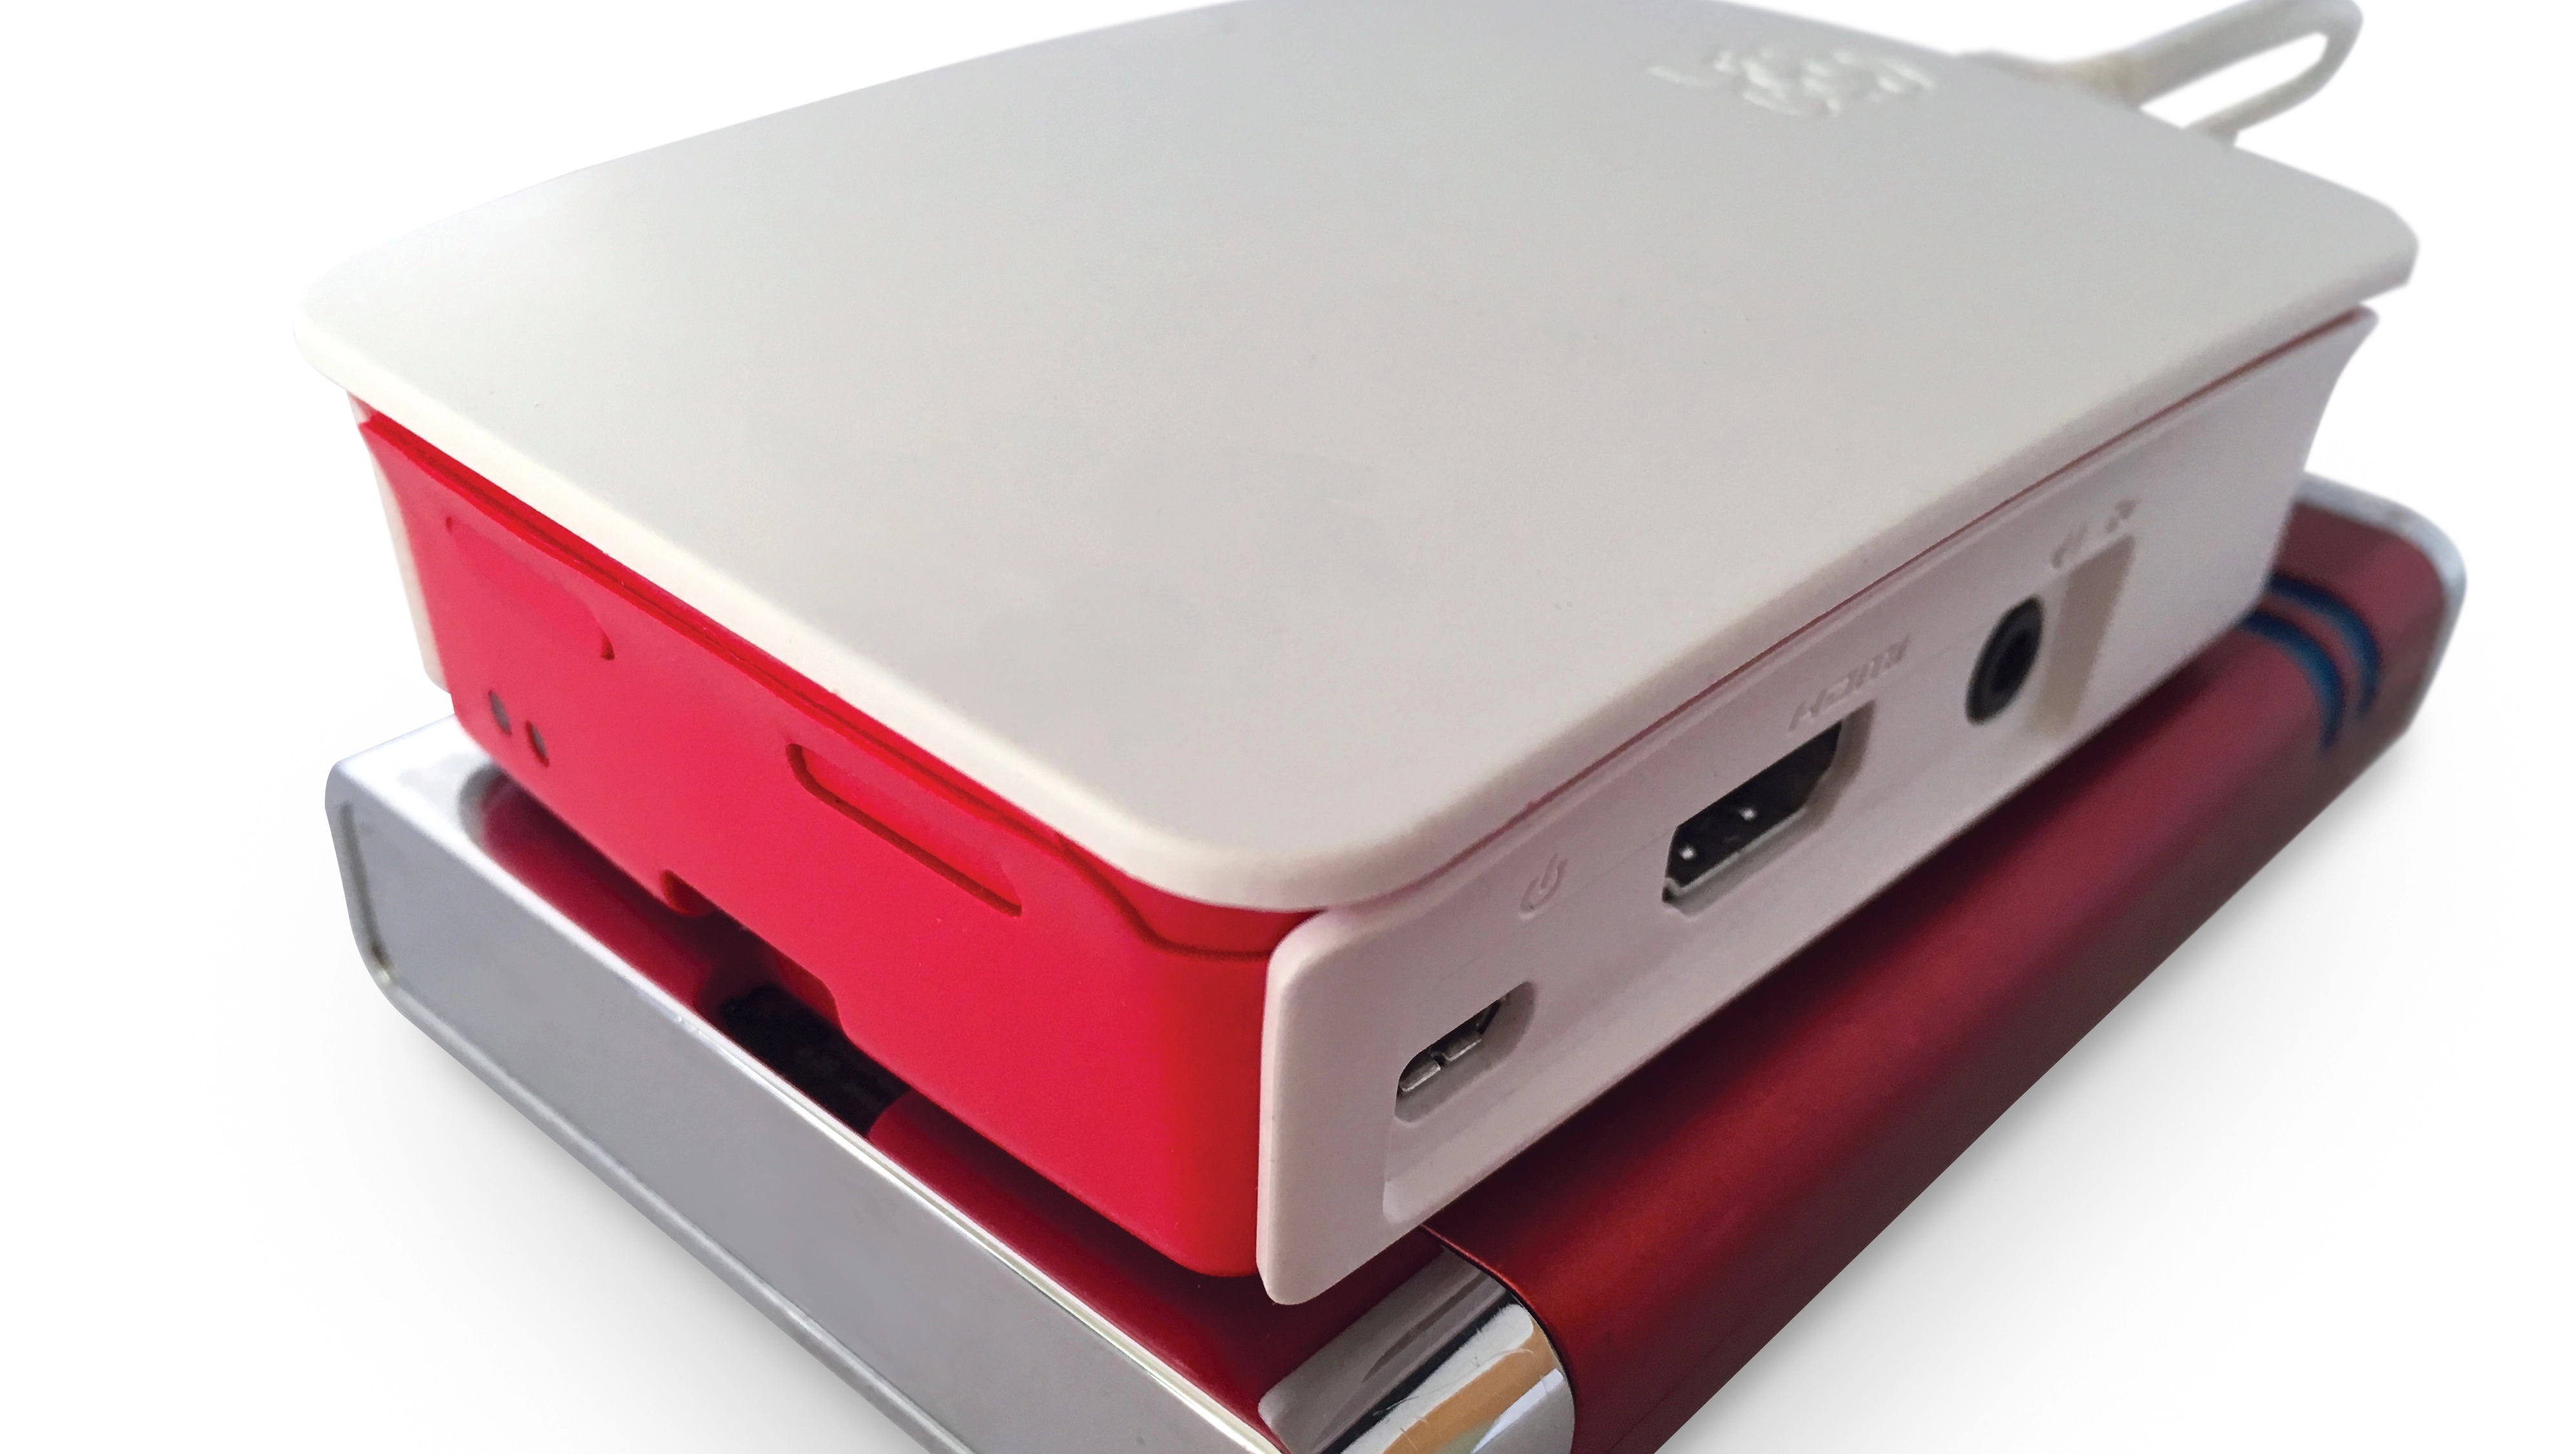
We're big fans of the Raspberry Pi. This tiny and inexpensive computer packs enough power to run Linux and can be used for many fun projects. We're going to make a Time Capsule using a Raspberry Pi 2 and an external hard drive.
You'll need to download and install some extra software so the Raspberry Pi can use a Mac-formatted drive and talk to Time Machine on your Mac. Note, because this is an unofficial method, you shouldn't rely on it as your only backup.
Article continues belowWith your hardware ready to go and Raspbian's desktop in front of you, choose Menu > Accessories > Terminal, which is similar to the Mac app of the same name. At its command line, enter sudo apt-get update && sudo apt-get upgrade to make sure your installation is up to date.
You'll see lines of text filling Terminal's window. This process will be finished when the scrolling stops and you see another coloured line of text that ends with a $. Now we can get down to business with the various bits of required software.
How to get the Raspberry Pi to read a Mac disk
First, download the tools Raspbian needs to work with Apple-formatted drives. Still in Terminal on the Raspberry Pi, enter sudo apt-get --assume-yes install hfsprogs hfsutils hfsplus to download them.
To check where the drive is connected in the system, enter sudo /sbin/parted then, at this tool's own command line, enter print to get info about your external drive. The command's output will include a line that starts with 'Disk /dev/sda' followed by the drive's capacity.
Below that, a table should have two rows: find the one that refers to the partition named 'Time Machine' on the external drive – all being well it should be 2. This tells us /dev/sda2 is the location of the Time Machine partition. Enter quit.
We need Raspbian to mount the drive so we can use it. First, create a folder by entering sudo mkdir -p /media/time_machine. The last parameter there represents where the partition's file system will be mounted, much like the /Volumes folder in OS X.
Next you'll use a text editor, Nano, to edit a file that contains a list of all file systems we want the system to mount at startup. Enter sudo nano /etc/fstab. This file will contains several entries already. Below them (but above the lines starting with a # symbol), add the following text as a single line (here you see a gap in the text below, press the Tab key exactly once, rather than the Spacebar.)
/dev/sda2 /media/time_machine hfsplus force,rw,user,auto 0 0
Press Ctrl+O and then Return to save your changes to the file, then press Ctrl+X to quit Nano. Now you're back at the command line, enter sudo mount -a to ensure the partition is mounted.