
 Become a TechRadar Insider


You can’t beat the impact of a proper home theater set up on your movies and boxsets. Not only will it help you to feel fully immersed in whatever you’re watching, it’ll also get you much closer to the director’s original intent.
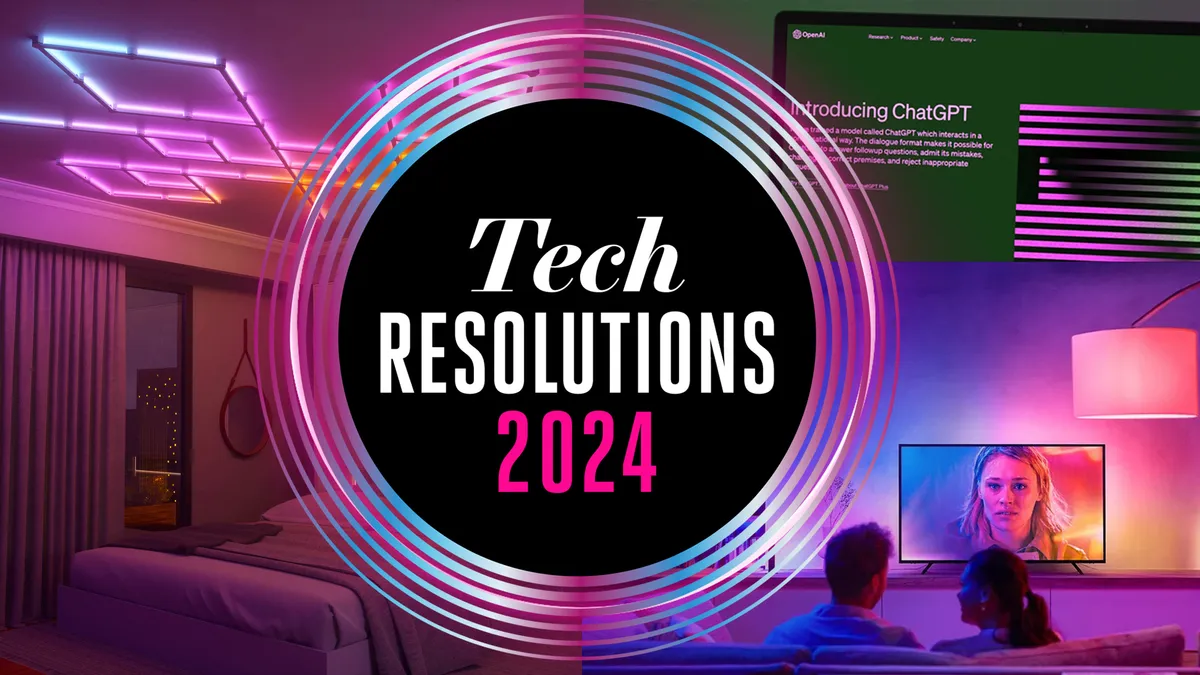
This is part of a series of articles exploring all the ways we're using tech to thrive in 2024. Read them all here.
Now we’re no AV snobs here at TechRadar. Sure, we love a high-end set up as much as the next home theater fan, but home cinema is what you make it – so whether that’s a full surround sound set up and flagship telly or a soundbar and something more mid-range, there will be things you can do to make sure your system is performing at its best.
From simple settings tweaks to ways that’ll help your products work better in your room, read on for our top tips on getting the most out of your home theater set up in 2024.
Tip 1: Perfect your settings

1. Energy-saving or eco mode
While eco modes are there for good reason, the fact remains that they do absolutely nothing for your TV’s picture quality, and will push down brightness that you may prefer to hang on to. Look out for Eco, Energy or Power saving settings in the menu, occasionally highlighted by a leaf icon, and switch off when you want picture performance to be its best.
2. Edge enhancement or sharpness control
While having sharper edges to your images might sound good, added processing pretty much always takes away more than it provides. By switching this on or upping the sharpness in the settings, outlines will be unnaturally accentuated, and true fine detail will be masked. You might even notice a sort of halo appearing around the edge of objects. Avoid like the plague.
3. Motion smoothing or judder reduction
Another setting that sounds helpful that usually creates more issues that it solves. In trying to reduce the stuttering that can occur in movement like camera pans — particularly with 24Hz film content — this technology uses frame interpolation to insert made-up frames to smooth it all out. The result is an unnatural-looking “soap opera effect”, that makes movies in particular look plain weird.
It’s fair to say that TV menus can be pretty daunting, but if you haven’t delved into them since you fished your TV out of its box, we would really encourage you to do so.
A lot of manufacturers have tried to help here, by simplifying the options and offering more visual ways of understanding what changing a setting might do. That’s a good starting point, but there will likely be other settings hiding in the full menu that are well worth your attention.
For the most accurate picture, you will either want to look for Filmmaker Mode on more recent TVs, or Cinema/Movie mode elsewhere. To many people, who are used to poorly set up TVs, this can look quite warm to begin with, and sometimes lacking in ‘punch’ too.
Stick with it a while, and allow your eyes to adjust to the new picture. If you really can’t enjoy it as it is, steer well clear of Vivid or Dynamic settings and give the Standard mode a whirl. This will usually add the punch that some people miss without being overly saturated and cartoonish. Just be aware that pictures will be cooler in tone than is considered accurate, and you may sacrifice things like black level and contrast performance for that brighter overall picture.
Once you get past the picture mode, cast your eye over the full settings to ensure everything is configured well. As a rule, we would suggest turning off (or to low/minimum) all additional processing, and then slowly adding it back in if you spot any issues you think it could fix.
In particular, switch off any eco modes for the best picture performance, and pay close attention to motion processing, which will often be ramped up unnecessarily. The result is an overly smooth picture with a loss of detail – something that is called the “soap opera effect”. In fact, motion processing can sometimes do more harm than good, so don’t be afraid to turn it off completely if you spot distracting wiggly lines around moving objects.
Tip 2: Consider speaker placement

Whether you’ve got a proper surround sound setup, a soundbar and sub, or even wireless satellite speakers, where you have your speakers in your room can make all the difference to how they sound.
While it can be tempting to tuck speakers away to keep things looking neat, they generally need a bit of space to sound their best. Place them too close to a rear wall and bass can be overemphasized to a point of boominess. Look up the manufacturer’s recommendations for how far from a back and side wall they should be placed – a general rule of thumb is 2-3 feet. Pull them out of the corners and you’ll hear the sound open up immediately.
That’s also the case with a subwoofer. Tucking an ugly black box into a corner may be preferable from an aesthetics perspective, but you will get the best performance if it is in line with your front speakers, so make room for it. Haven’t got a sub? Buy one, it’ll throw some much-needed welly behind those all-important movie action scenes.
A lot of soundbars don’t deal too well with being tucked away in TV cabinets either – particularly those with upwards-firing drivers for Dolby Atmos sound. For this reason, Atmos-capable bars in particular should be placed on top of any TV rack with no restriction, so you can hear the spatial sound effect in full.
Finally, if you have standmount speakers or wireless satellites sitting on low TV racks and tables, consider investing in proper speaker stands. These will lift your speakers to ear level, which will ensure you hear them at their very best.
Once there, it's also worth experimenting with "toeing in", or angling your speakers inwards — just slightly — towards your main seated position. It won't be necessary for all rooms or all speakers, but it can help to improve focus and imaging. Check your speakers' user manual for any manufacturer recommendations too.
Tip 3: Rearrange your room

How much you can lug furniture around to optimize your home theater setup will be somewhat down to the size and shape of your room. But there are a few things you could consider if you want to get the best from your kit.
Firstly, bringing your sofa away from any back wall will help with surround sound setups. If you can imagine drawing a line between your speakers, they should make a circle, with your viewing position at the center — sitting equidistant from each one if at all possible. If not, your AV receiver will help to account for this in its calibration, but not having a rear speaking blasting directly into your ear at close range is the aim here.
The sofa should ideally be directly in front of a TV too, with as few side-on viewing positions as possible. Even the very best TVs can suffer with a loss of picture saturation and black level off-axis, so ensure as many people as possible can view it from front on.
This also matters when it comes to wall mounting your TV, which should be done at eye level. The trend for placing TVs above fireplaces has done nothing for neck aches or picture quality, so make sure you mount it lower if you want your TV looking its best. If there really is no other place for it, consider adding a tilt to your mount, to improve the viewing angle from your sitting position and relieving that front-row-at-the-cinema feeling somewhat.
These things matter more than being a specific distance from your TV, these days. As long as your TV is a 4K set, you have much more flexibility with how far you sit from it than you did with full HD, as the pixels are so small they’re almost unnoticeable. Still, a good rule of thumb is to account for a viewing distance of 1 to 1.5 times the size of your screen if you can.
Finally, moving a lamp or lighting source behind your TV will create something called bias lighting. This helps to reduce eye fatigue when watching TV in low light, without it being too distracting or creating reflections — just one of the reasons we love Ambilight TVs so much.
Tip 4: Run your calibration

Now that you've moved things around, you will want to re-run the auto-calibration process built into your AV receiver or soundbar — something you’ll want to do any time you make changes in your room or speakers. And if you didn’t do this in the first place, then it’s well overdue.
This process will usually fire a series of strange-sounding tones into the room, to understand its size and shape, and how sound reacts within it. More thorough setups will use a calibration mic as well, to pinpoint the main sitting position, and how this relates to any speakers in the room.
This is usually over and done with in a matter of minutes, with automatic tweaks being made to your kit to improve the sound afterwards.
Now your home cinema setup is optimized, it will be ready to perform to the very best of its abilities at your next movie night. What a way to kick off 2024.
You might also like
