How to recreate any DSLR photography effect with your iOS or Android phone
The perfect apps for clever photography trick shots
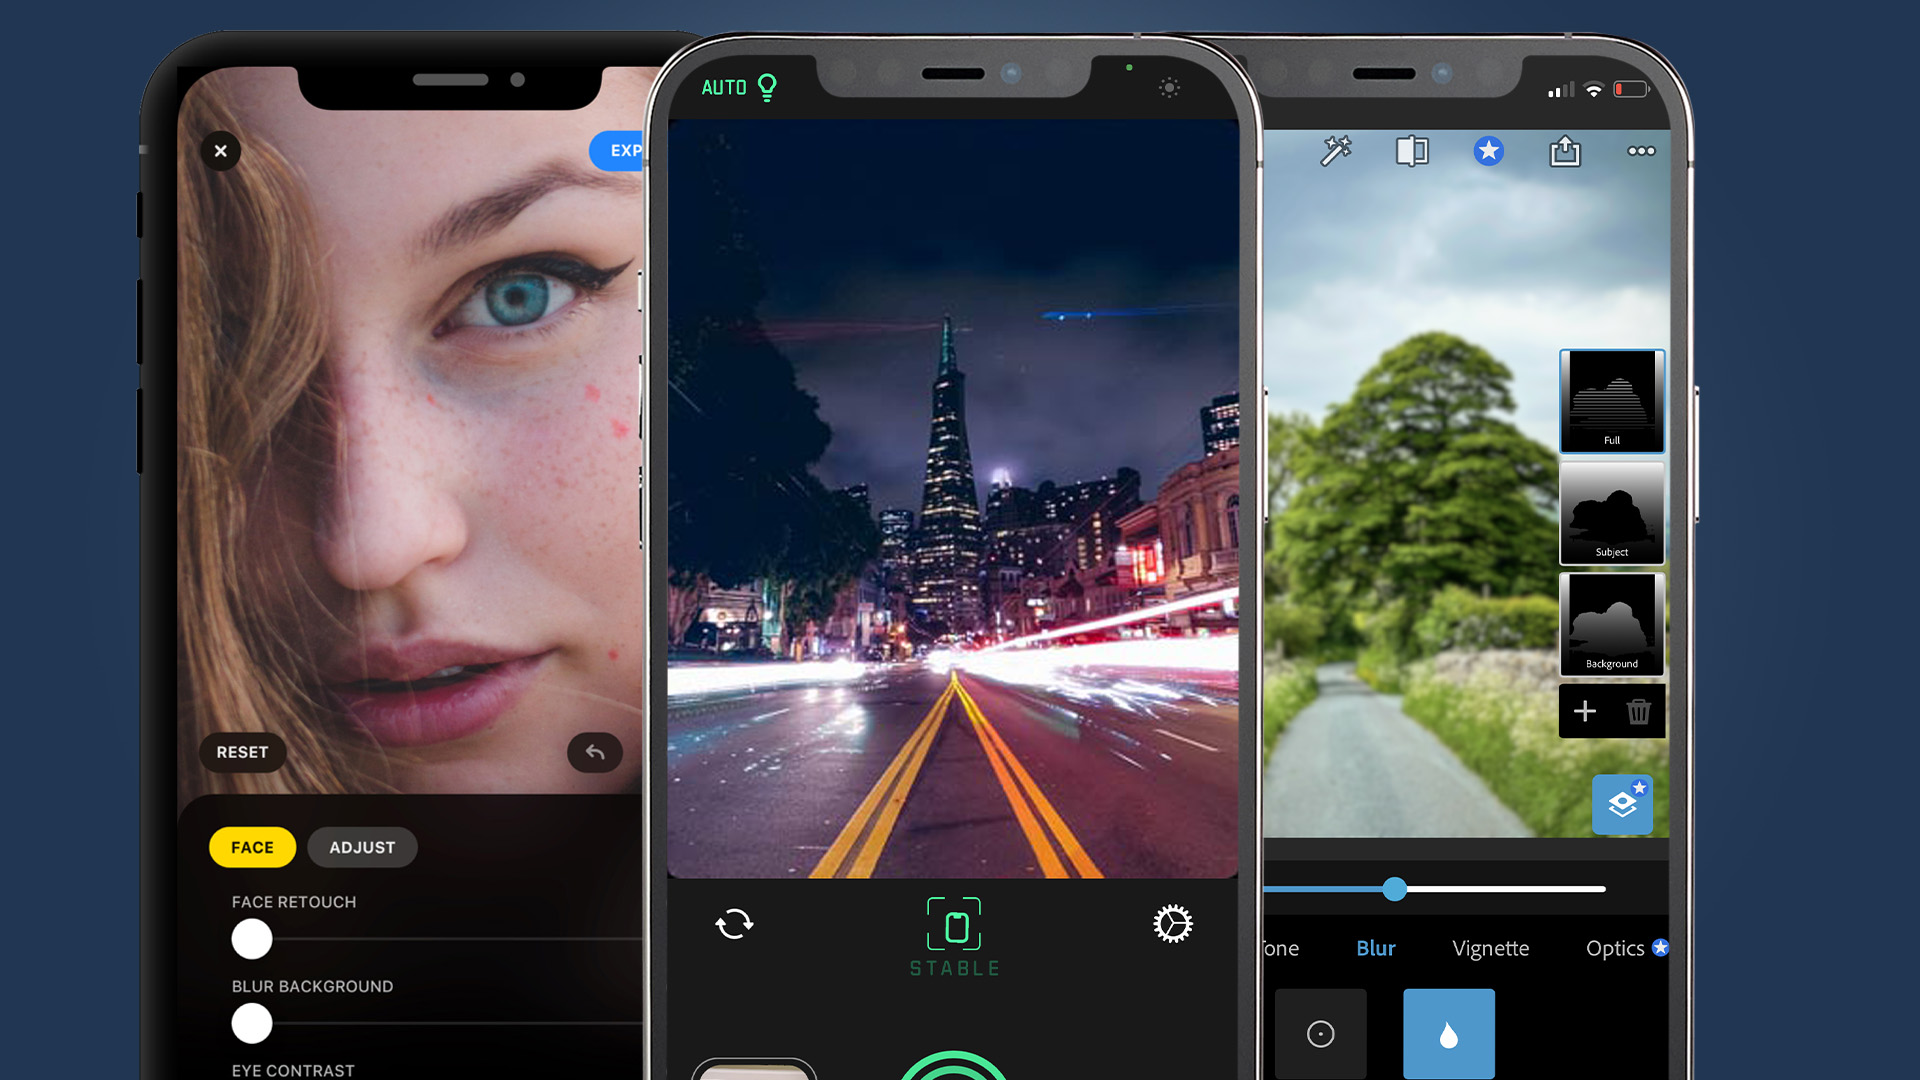
Phones are seen as point-and-shoot cameras, with DSLRs and mirrorless cameras the bywords for more creative photography. But is that still true?
Not necessarily – thanks to some clever apps that let you do everything from long exposures to intentional camera movement (ICM) and infrared-style photography, your iOS or Android phone can show you a creative world beyond the 'accuracy' of your camera app's default settings.
Of course, you don't necessarily need a specialist app to get creative with your smartphone photography. Using things like composition and exposure adjustments in your main camera app can also produce some unique results.
But here we're talking more about the professional DSLR-style effects that have traditionally been considered beyond the smartphone – things like light painting, tilt shifts and The Orton Effect.
Ready to give these a spin on your iOS or Android phone? We’ve rounded up some of the top ways to get more ambitious with your photography, as well as the apps you need to adopt these styles with a phone, whatever phone you own.
The Orton Effect
The Orton Effect is a technique developed in the 1980s to enhance landscape photography. Its name derives from its creator, Michael Orton.
Some purists turn their noses up at this style of photography. It is a trick, of sorts, but one you should definitely check out.
Sign up for breaking news, reviews, opinion, top tech deals, and more.
The Orton Effect involves merging a photo with a slightly blurred version of the same image. Its final effect is often described as ‘dreamlike’, and you’ll also see a major enhancement of color, if the process is performed correctly.
We recommend using Photoshop Express for Orton Effect images. On an iPhone, you can do the whole thing in the app. Android owners will need Photoshop Express and the Photoshop Mix app.
If you're using the latter, open up Photoshop Express and tap the tab that looks like a pair of control sliders. Select Blur, then ‘full’ in the blur style control. Use the slider to blur the image enough that it looks indistinct and save it.
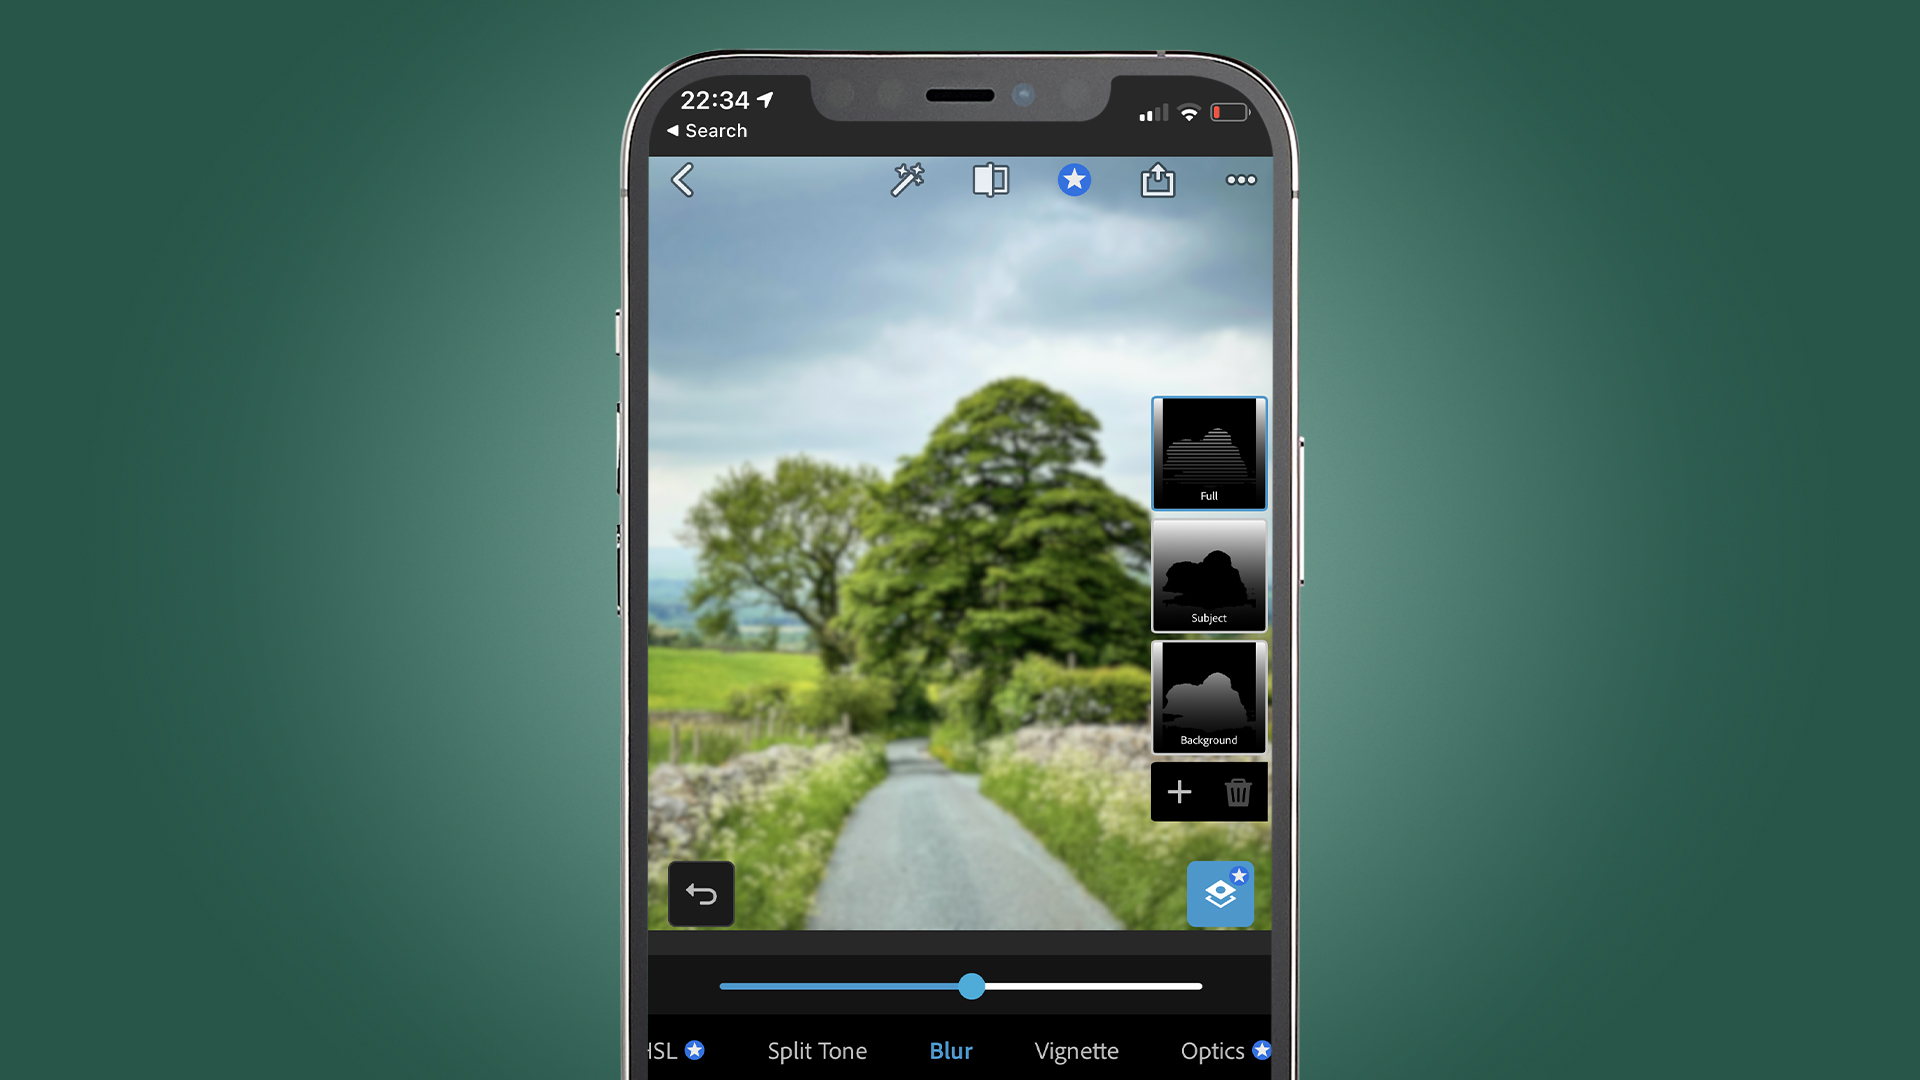
Then, open up Photoshop Mix and load the original non-blurred image. Use the ‘+’ button to add the blurred version and press the Blend button. Choose Screen as the blend type, and then play with the slider to tune the picture.
You may be tempted to go too far at the outset, but a more reserved approach generally yields better, or at least more convincing, results. Experiment with the level of blur in the first step, too.
The process is similar on iPhone, but the Mix app’s features have been merged into the main Photoshop Express app. You should see a ‘mix’ shortcut on the app’s front page.
Don’t want to pay out for an Adobe CC subscription, which is required for full use of Photoshop? Snapseed’s Glamor Glow, found in the Tools section, has an Orson-like effect, but you do get much better control through the Photoshop method.
Tilt Shift
Tilt Shift photography is an interesting one. In its traditional form, tilt shift involves tilting and moving the lens so that it no longer sits straight in front of the camera sensor. Cameras from the 1800s could do this by design, but today you’d have to buy a specialized lens like the Canon EF TS-E 24mm f/3.5 L II to get the same effect from a modern DSLR.
Whether you’re using a full-frame mirrorless camera or a phone, it’s much simpler to use software to emulate the effect these days.
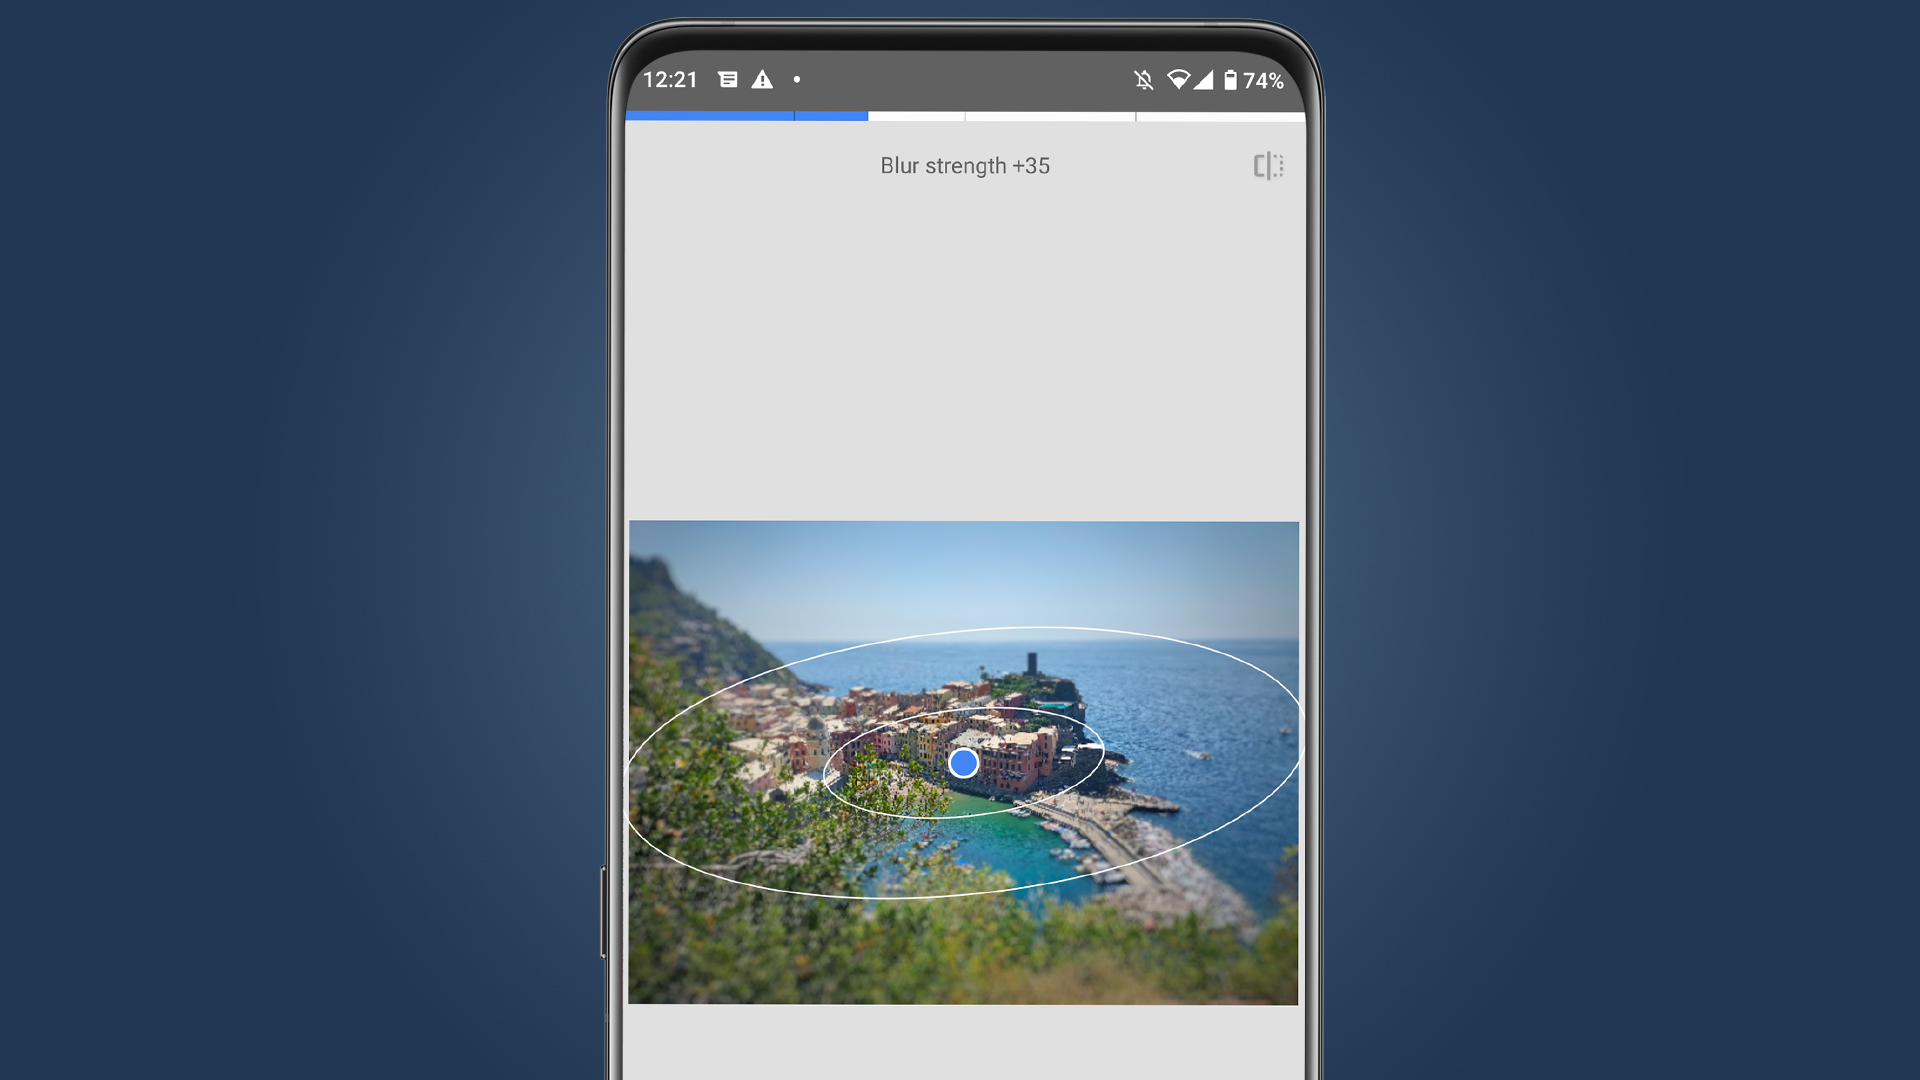
The primary use case is to dramatically narrow the depth of field. This offers a background blur bokeh effect in landscapes with a character you’d normally associate with a close-up shot taken with a wide aperture lens. It’s why a tilt shift image can make cities look like miniature villages.
Lots of apps offer tilt shift, but we primarily used Google’s Snapseed, available for Android and iOS. You need the Lens Blur feature in the Tools pane. There are linear and circular tools to let you choose the shape of the in-focus area, and the ‘circle’ can be deformed into an oval with finger gestures. Play around with these shapes, the strength of the blur and the size of the transition area, where the image shifts from in-focus to blurred, to get the tilt shift effect you’re after.
Long exposures
- Spectre (iOS) $3.99/£3.49
Exposure time, or shutter speed, is arguably the most important element of control in any camera. ISO? Most of the time you want it as low as you can get. Color temperature? We can change that later.
Shutter speed is fundamental. We want it fast for action photography, and a long exposure is perhaps the first thing to play with when you want to get creative with your photography. Shoot moving water and it becomes smooth. The lights of passing cars turn into neon trails. And low-light image quality improves dramatically.
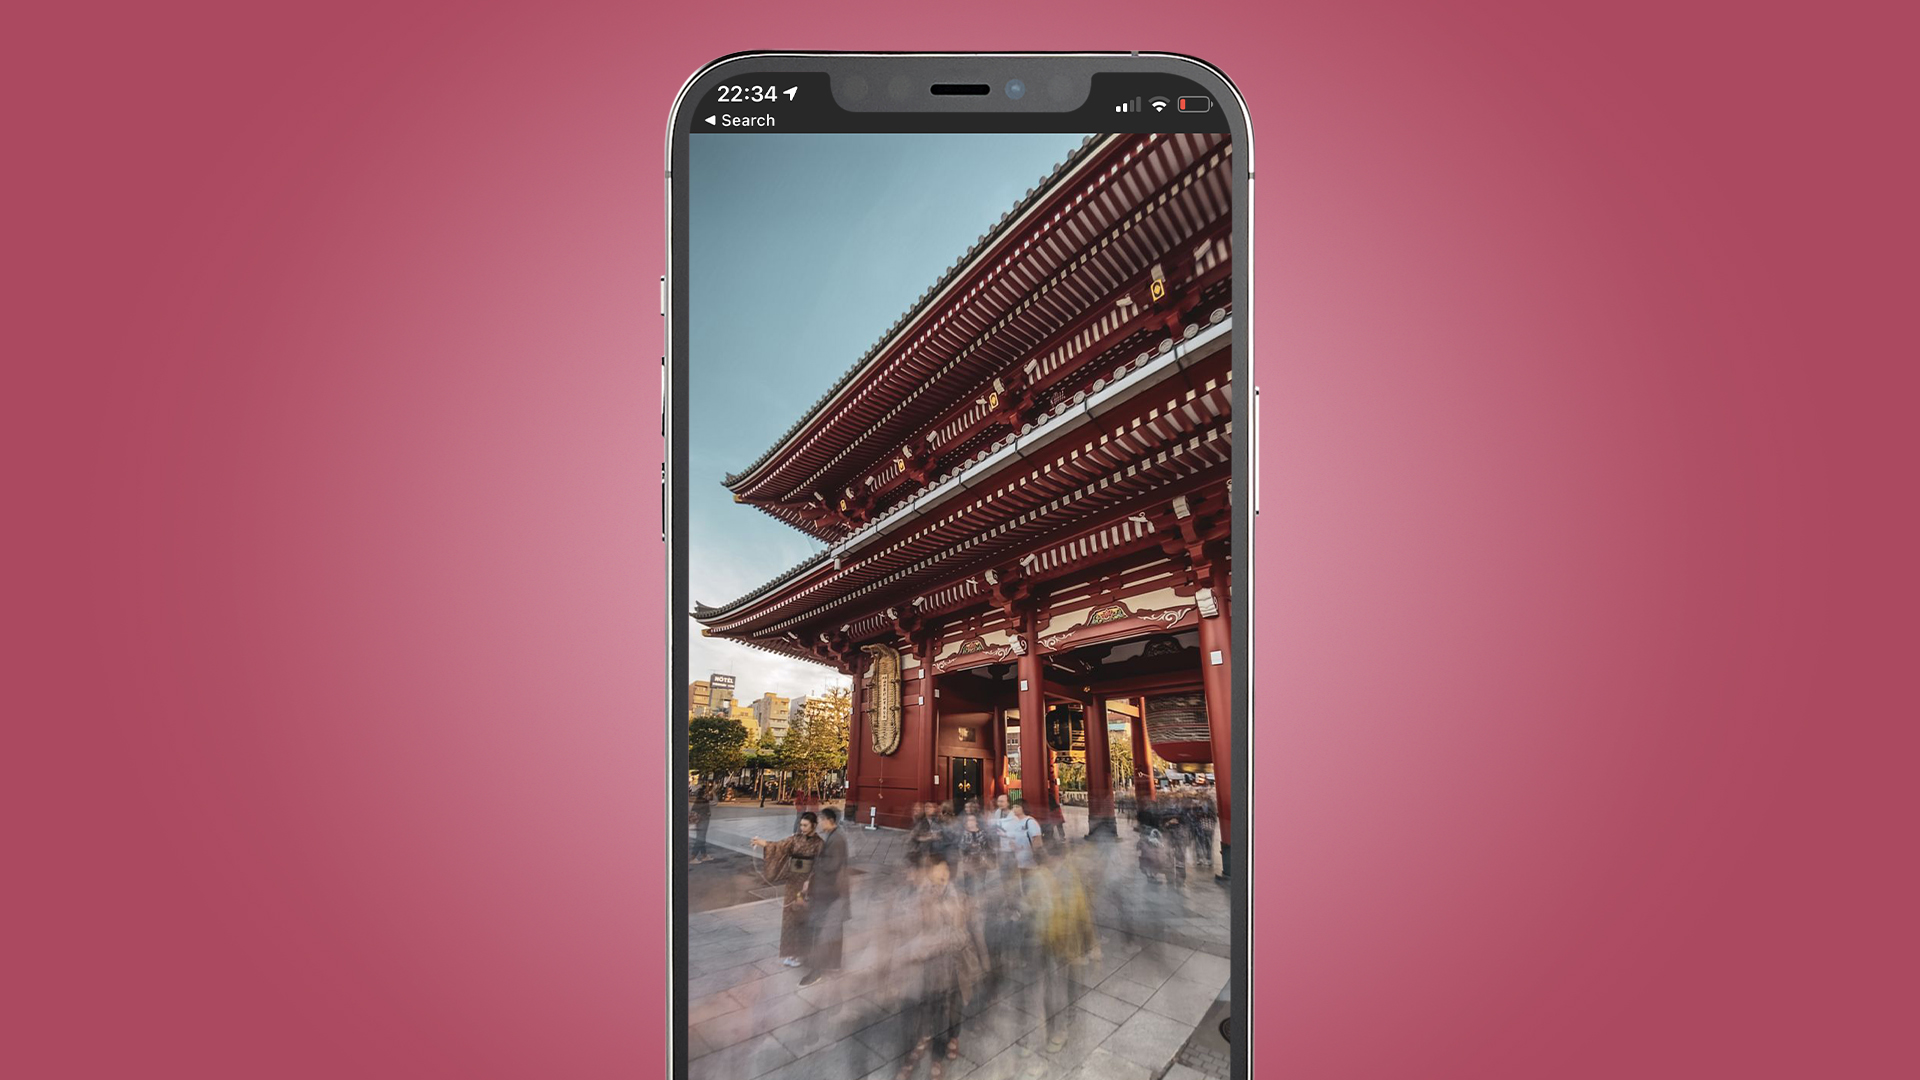
You can perform a classic long exposure with the built-in camera apps of most Android phones. Just use the manual/pro mode and slow down the shutter. The downside here is that you’ll need to keep the phone perfectly still using a tripod. Cameras with great OIS (optical image stabilization) can be used at around 1/4 of a second, when handheld.
A good way to experiment here is to use a tripod and a very long exposure for low-light photography to see how the results compare to your phone’s ‘night’ mode. They will often look more natural, and flat-out better all-round in lower-end phones.
There is an alternative, an app that merges frames instead of using a true long exposure. Spectre for iPhone (above) has built-in software stabilisation that lines up frames even if you move a little between them, which is always going to happen with handheld photography.
Infrared
A classic infrared camera setup uses specialist infrared film and a filter over the lens that blocks out non-infrared light wavelengths. What you end up with is a representation of a scene based on light we humans cannot actually see.
‘Near-infrared’ 700nm to 900nm wavelengths are the standard domain of infrared photography, where our eyes see from 400nm to 700nm. Don’t confuse it with thermal imaging cameras, though, which can dig far deeper into the mid-IR wavelengths.
The result? Infrared photography maps a shallower palette of wavelengths onto blue, red and purple tones, which can make images look charmingly otherworldly. But the result is more refined, and less clumsy-looking, than a color wash filter applied to an image.
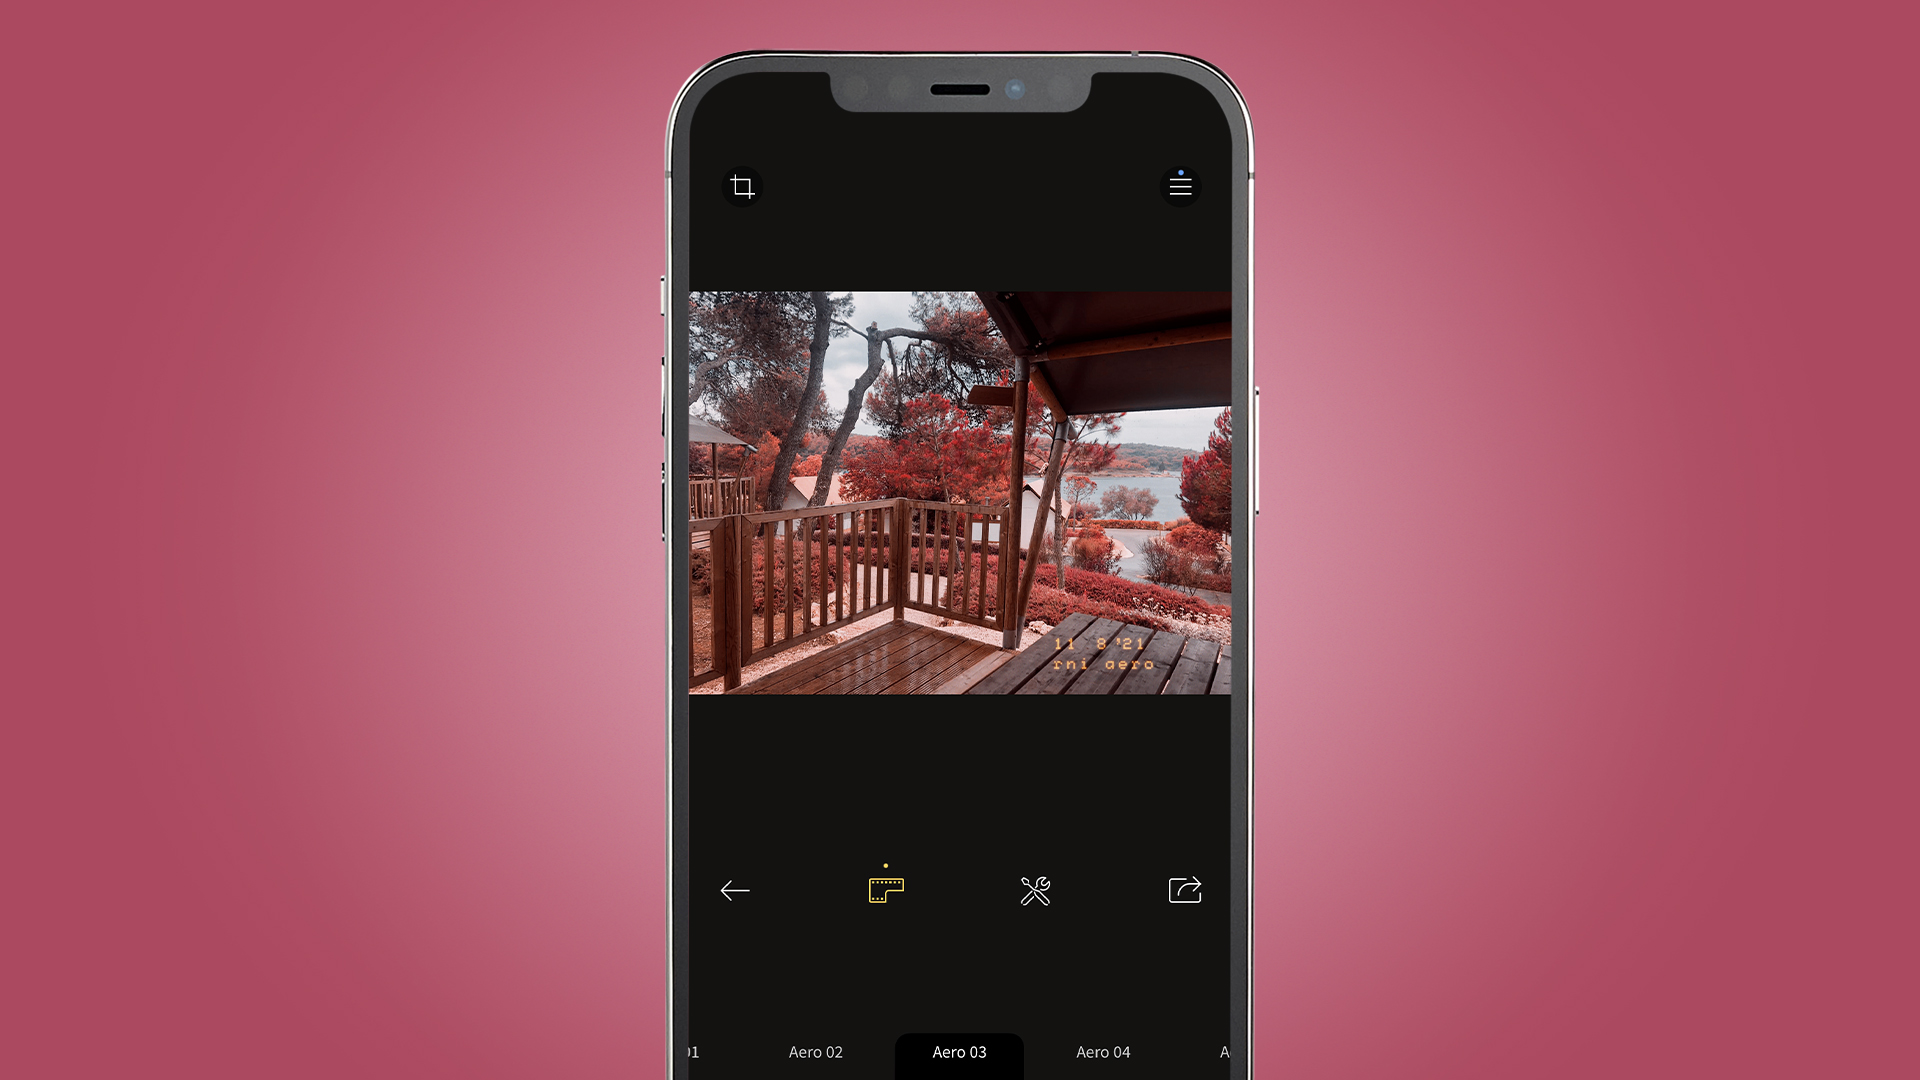
Of course, in an IR app on a phone we’re dealing with a color-swapping filter that simply emulates the look of infrared photography. However, it can produce great-looking results for landscape and nature photos. The greens of foliage become purples or pinks, reminiscent of autumnal scenes and Japanese gardens, but tweaked beyond the realms of the normal.
RNI Aero is probably the best iPhone app for this sort of experimental photography. It’s a piece of image editing software rather than a swap for the iPhone’s camera app, and offers 18 filter types that run the gamut from the ‘autumnal’ vibe mentioned earlier to those with more of a martian look.
Android does not seem to have a comparable standalone IR photo app, but we did find Lightleap’s FLM2 filter provides an IR-like look if you want to try it out. It’s found in the ‘film’ section of the app’s filters.
ICM (Intentional Camera Movement)
- Slow Shutter Cam (iOS, $1.99/£1.79), Camera FV-5 (Android, £free or $3.95/£2.49)
ICM stands for intentional camera movement. It’s a technique that goes against what is usually considered best practice for photography – you move the camera during capture, resulting in intentional blur.
This is one you’ll have to experiment with, as the results can look awful. But you can use a whole series of apps, including the ones baked-in to most Android phones as long as they have a ‘pro’ or ‘manual’ mode.
We used Slow Shutter cam for iOS and Camera FV-5 on Android. The key parts you need to get right, other than the movement itself, are the shutter speed and ISO sensitivity.
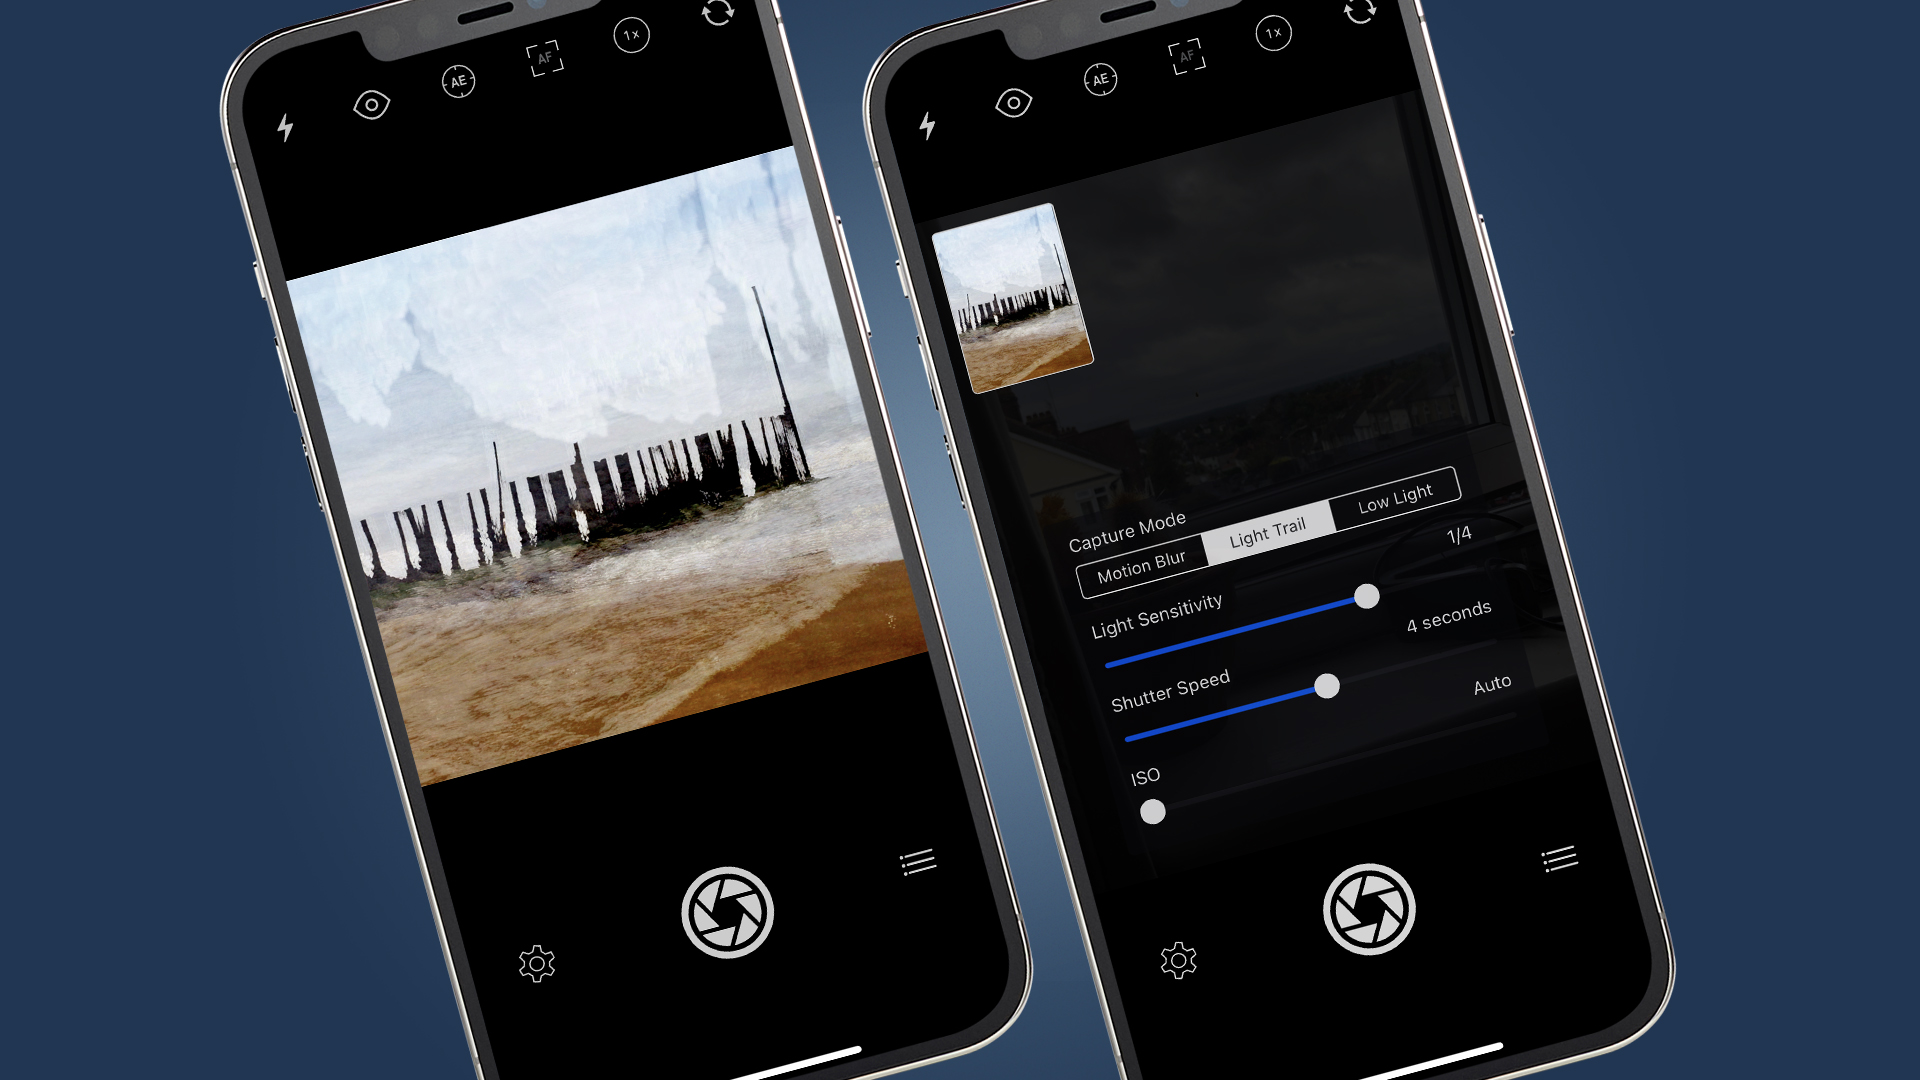
Shutter speed controls the window of time you’ll have to make the moment, starting when you tap the shutter button. And unless you are in quite a dark or dull environment, you’ll want to keep ISO sensitivity low to avoid major overexposure. Unless that’s an effect you want, anyway.
Camera FV-5 is a classic DSLR-style manual camera app. Slow Shutter Cam for iPhone is a little different. It lets you create ICM images using a composite of multiple exposures, which the app does automatically through its Motion Blur, Light Trail and Low Light modes. We chose this instead of a true manual control app as we found it easier to generate neat-looking blurred images. It’s more forgiving. If you want to go full manual, try Yamera. This offers shutter speed control.
Styles to try include a rotary blur, where you turn the phone to make the centre of the image look sharper than the sides for an aggressive sense of motion. And when moving the camera in-line with the geometric features of the scene, you might shift the camera horizontally to match the horizon, or up/down when pointing the camera at a row of trees. Done right, ICM can have a painterly effect.
Light Painting
- Spectre (iOS, $3.99/£3.49)
- Long Exposure Camera (Android, £free)
Light painting is a neat photography technique that has no-doubt been used in a stack of advertising campaigns. You use a camera in a dark scene with a long exposure time, and move a light source across the frame. If you want to get really creative with this, you can write or draw in the air, and use coloured neon-style lights to subtly illuminate objects that would otherwise look dark.
You can emulate this sort of photography with a simple long exposure available in most good Pro’ camera apps, but some phone apps also offer a synthetic take where frames are merged to let you use this style of shooting, even if the light level is higher.
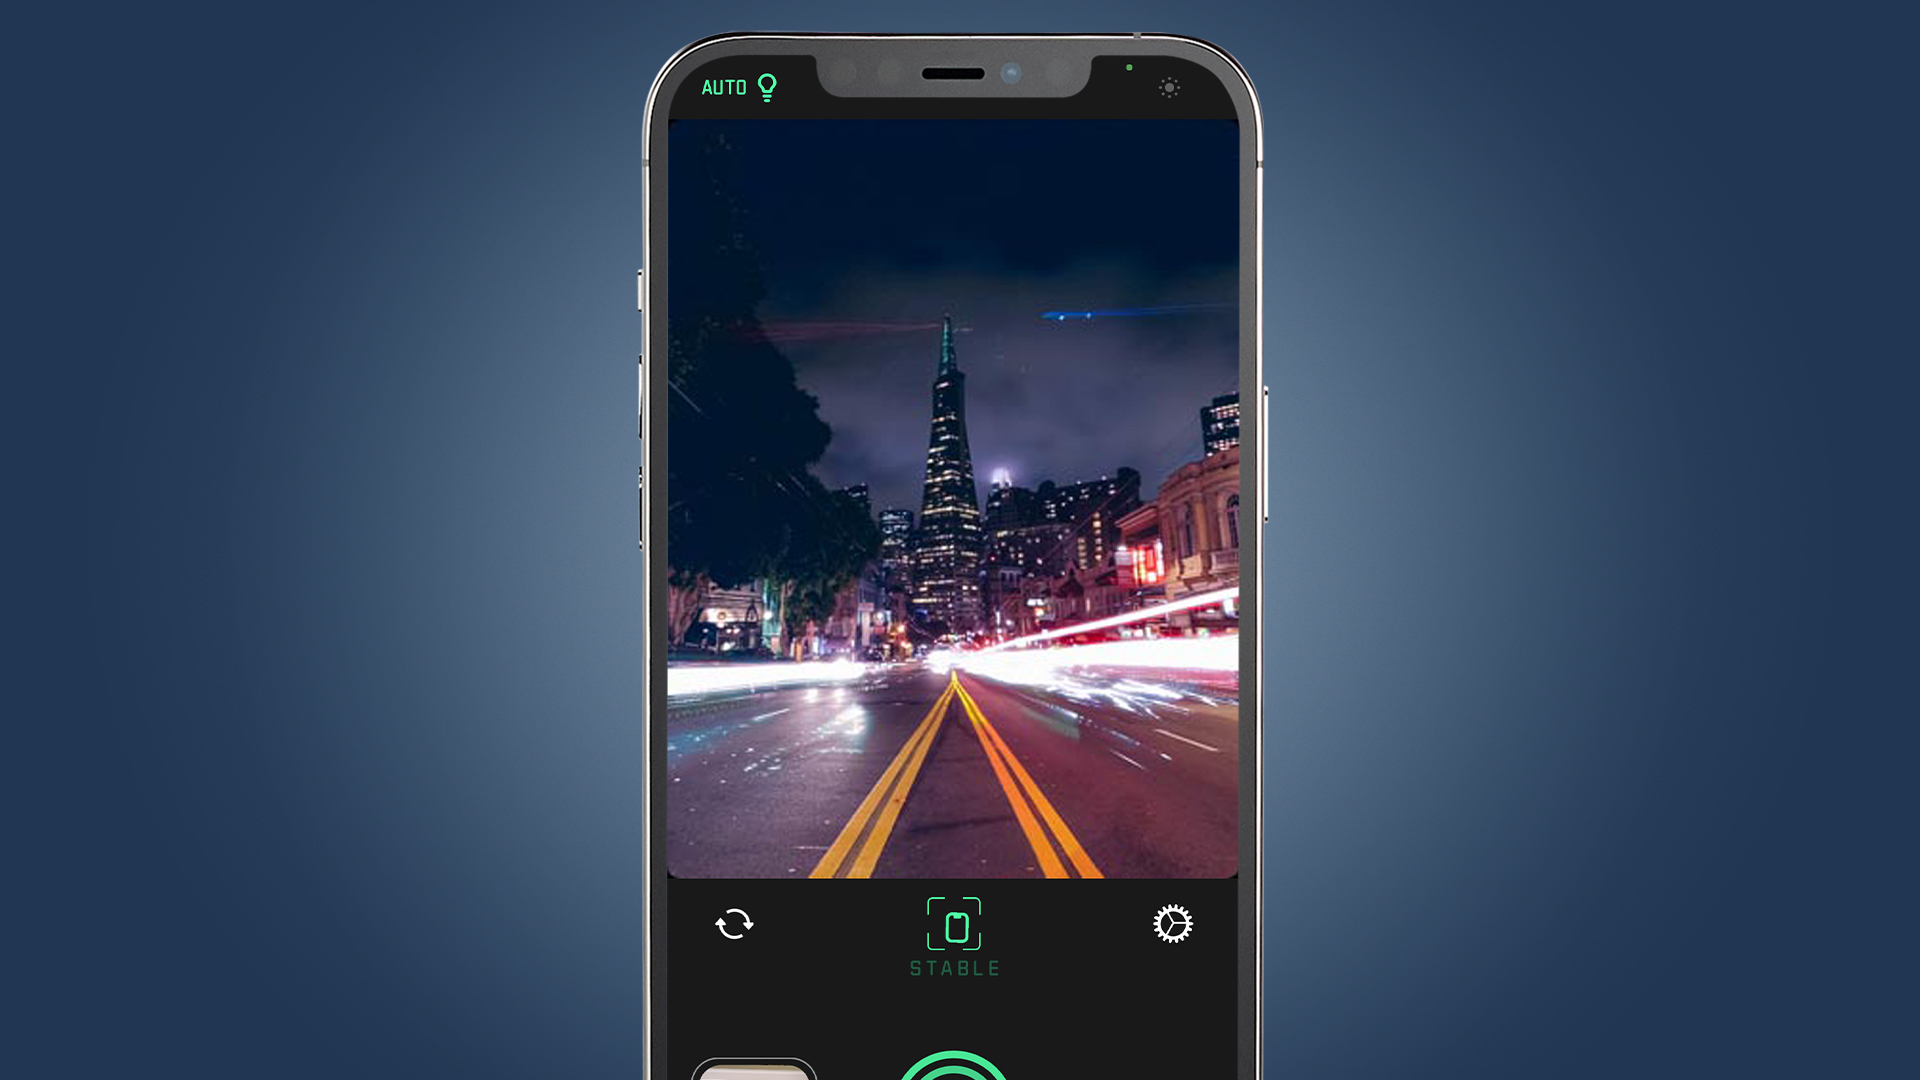
The effect isn’t quite as ‘pure’ as the classic slow shutter approach, because there are naturally slight temporal breaks between the merged frames. However, it is far more practical because these scenes would otherwise really require the use of a neutral density filter. This is something you screw onto the end of a camera lens to reduce the amount of light that makes its way to the sensor. Otherwise, you may end up with blown out, overexposed areas.
Spectre is probably the best iPhone app to use to try this out. Unlike most apps of this kind, it uses AI-assisted image stitching for better results when used handheld, compensating for hand movements. You just have to choose how long you want the virtual ‘shutter’ to remain open.
There isn’t something quite as effective as Spectre on Android, but Mobilephoton’s new-for-2021 Long Exposure Camera does a good job. You get separate modes for light trails and motion blur, but it just doesn’t compensate for hand motion as much as iOS’s Spectre, so a tripod of some description is recommended.
Double Exposures
Digital photography makes some effects much easier to achieve, like double exposure. It’s a cinch when post-processing images in an app like Snapseed, available for both Android and iOS.
With a traditional film camera, you end up shooting a photo twice onto the same negative. The process is much more flexible with digital photography.
You’ll find a Double Exposure feature in the Tools pane in Snapseed. There’s a ‘Plus’ button at the bottom of the screen, which adds a second image as another layer.
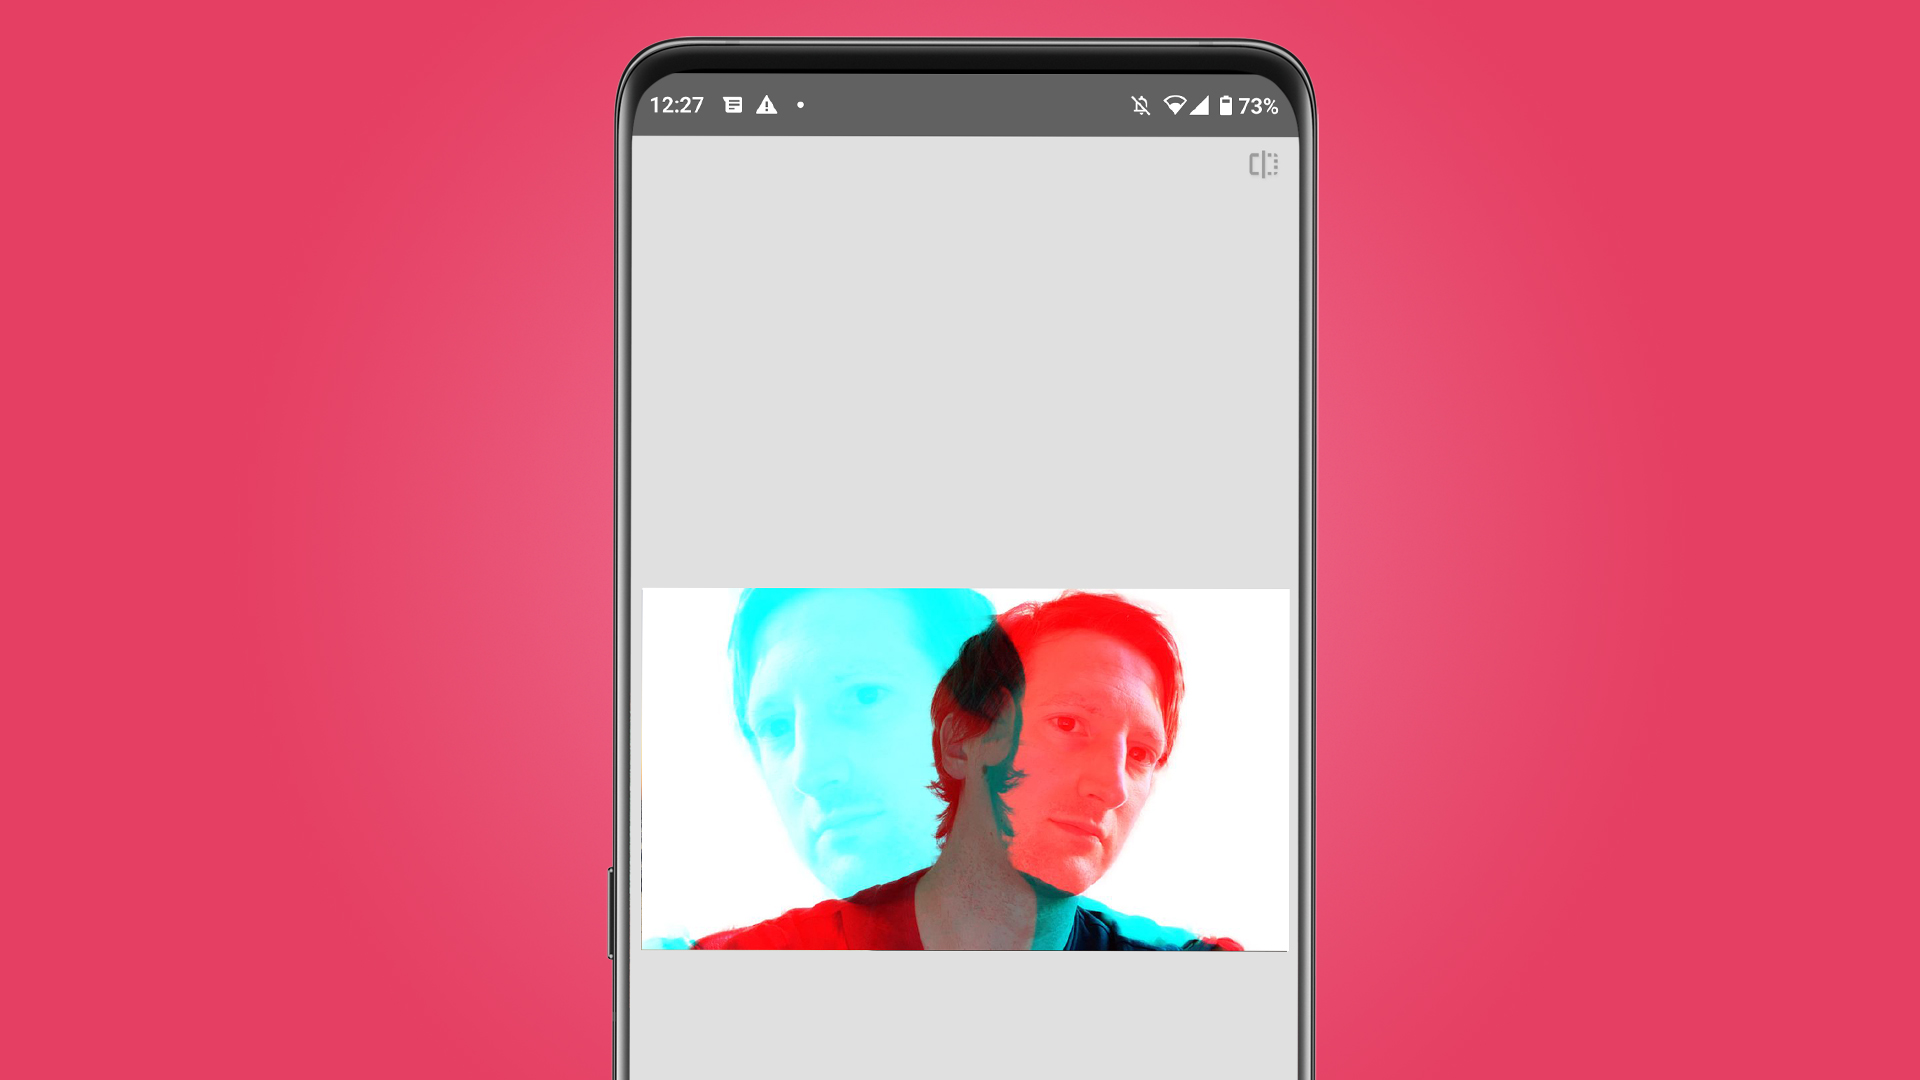
The app lets you move this second layer around, zooming it in and out. But to change the effect, you’ll want to get a handle on the other two controls on this mode.
One alters the transparency of this second layer, the other changes the kind of effect it has on the original layer. Lighten, Darken, Add, Subtract and Overlay will be familiar to those who create layered images in Photoshop regularly. Each establishes a different relationship between the two layers. Play around to see which works, but for a more traditional double exposure look, try Default, Overlay and Add.
Film stock simulation
- Emulsions / Fuji X Weekly (iOS, £free with IAP/$8.99/£7.99)
- Ektacam (Android, £free)
Back in the old days of film photography, the film stock you chose had a big effect on the character of the final images. They all had different approaches to color and contrast. You might be sold on one particular type for its neutral appearance, its rich skin tones or its high contrast pictures.
People who would wang on about film stocks a couple of decades ago might complain about photo filters today, but these were filters of a sort. You simply chose your filter before you even went out to shoot images.
Fuji made some of the most venerated film stock types, so it is no surprise you get digital versions of their effects as presets in Fujifilm’s mirrorless cameras.
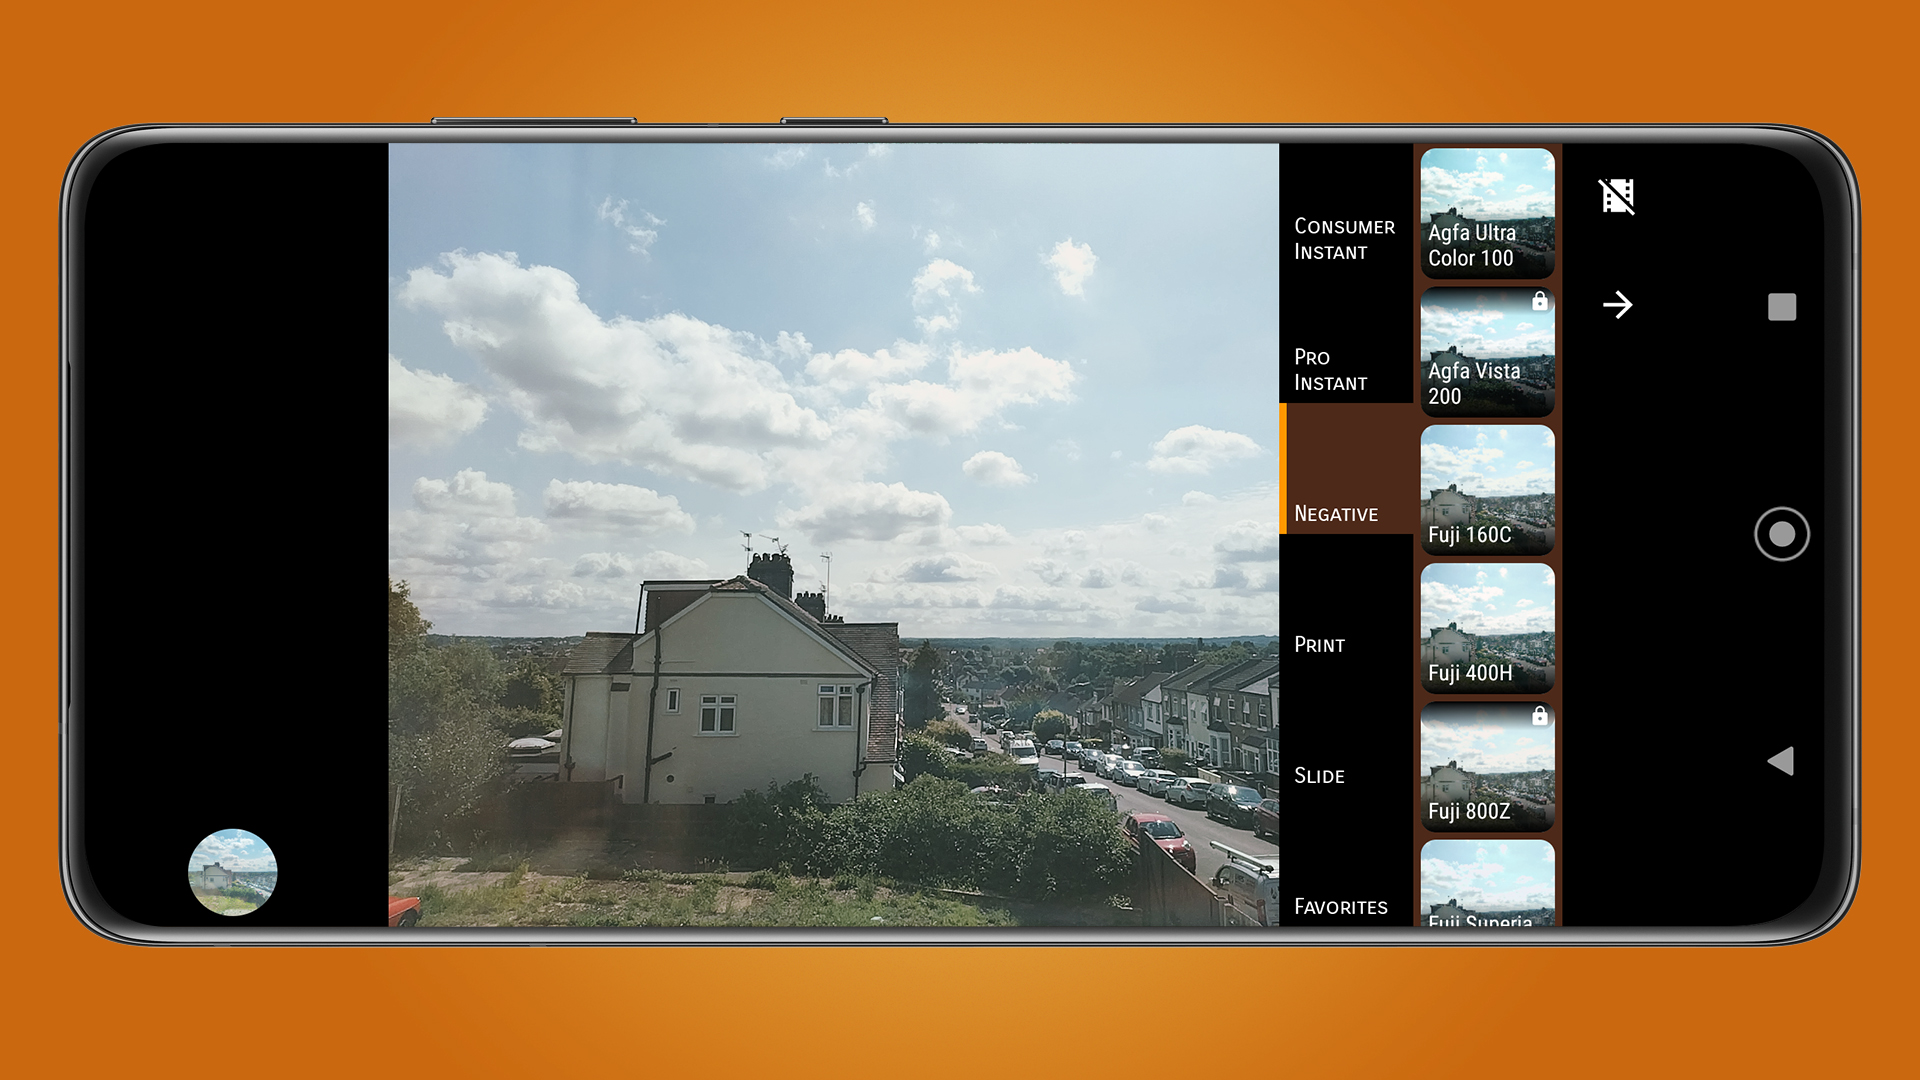
You can get the same effect for your phone with an app. Ektacam for Android is a great little app that comprises film stock emulations from many of the classic names. These include Fuji, Polaroid, Agfa and Kodak.
Ektacam acts as a camera app and can save the original unedited version as well as the film stock’d one, for a non-destructive approach.
Top film stock emulation apps to try on iPhone include Emulsions and Fuji X Weekly. Contrary to what the name suggests, the latter includes non-Fuji emulations, too. We recommend trying that first, as it’s a free download.
Bright prime lens
Most phones now offer a background blur mode. Some use AI, others use a secondary camera to create a depth map to separate nearby objects from far-away ones. But what if you forget to use this mode when you actually take the photo? Apps can help.
Lensa uses a software algorithm to make out the outlines of people, and will blur out the background to make portraits pop that bit more. You can only use this app for images of people, mind, because otherwise there’s nothing for the software to work with.
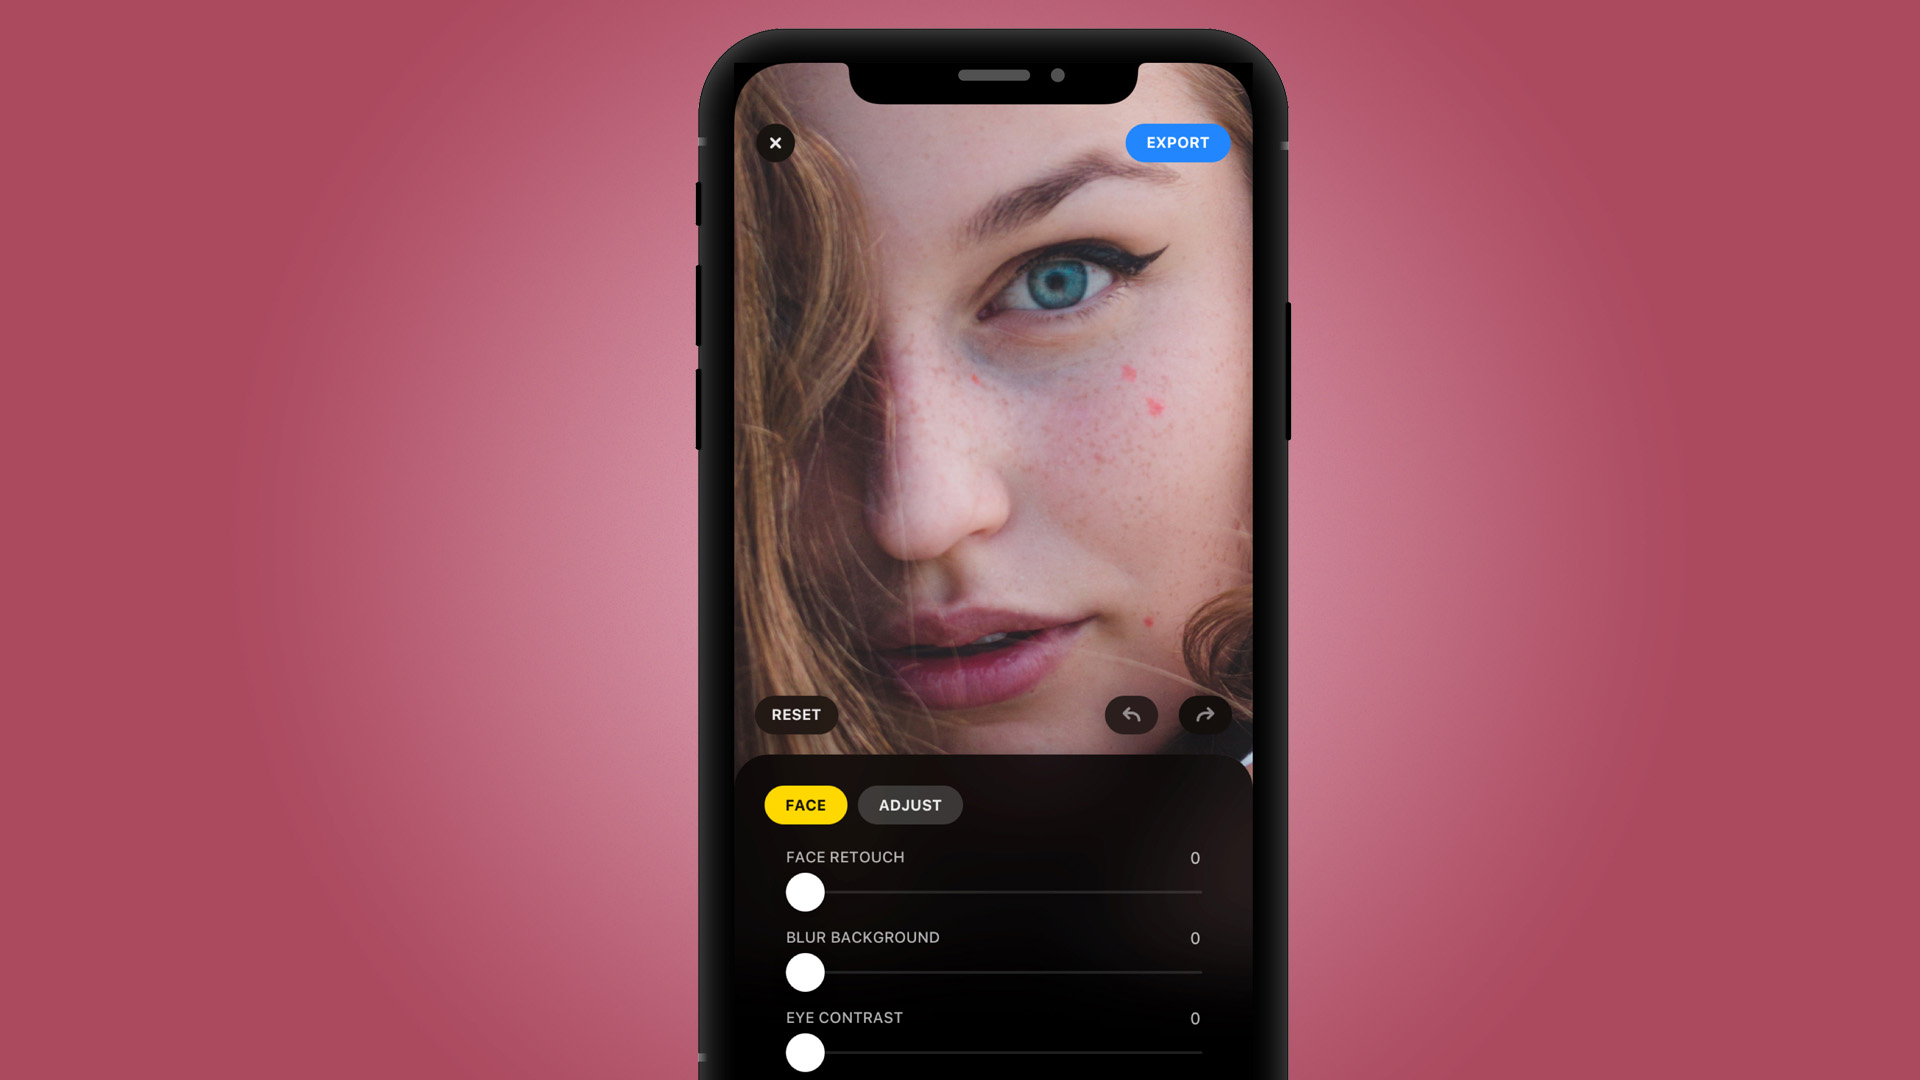
You select a picture of a person in the app, let Lensa analyze it for a few seconds and then are shown a slider to alter the background blur effect. This is something of a portrait studio, complete with controls to change hair color, remove eyebags and improve cheekbone prominence. But go easy on these if you don’t want your photo to look fake.
We are emulating the effect of a wide aperture DSLR lens, here, and Lensa does a surprisingly good job.
- These are the best photo editing apps you can download right now

Andrew is a freelance journalist and has been writing and editing for some of the UK's top tech and lifestyle publications including TrustedReviews, Stuff, T3, TechRadar, Lifehacker and others.