HomePod tips and tricks: what can Apple's smart speaker do?
The HomePod is far more than just a nice-sounding speaker

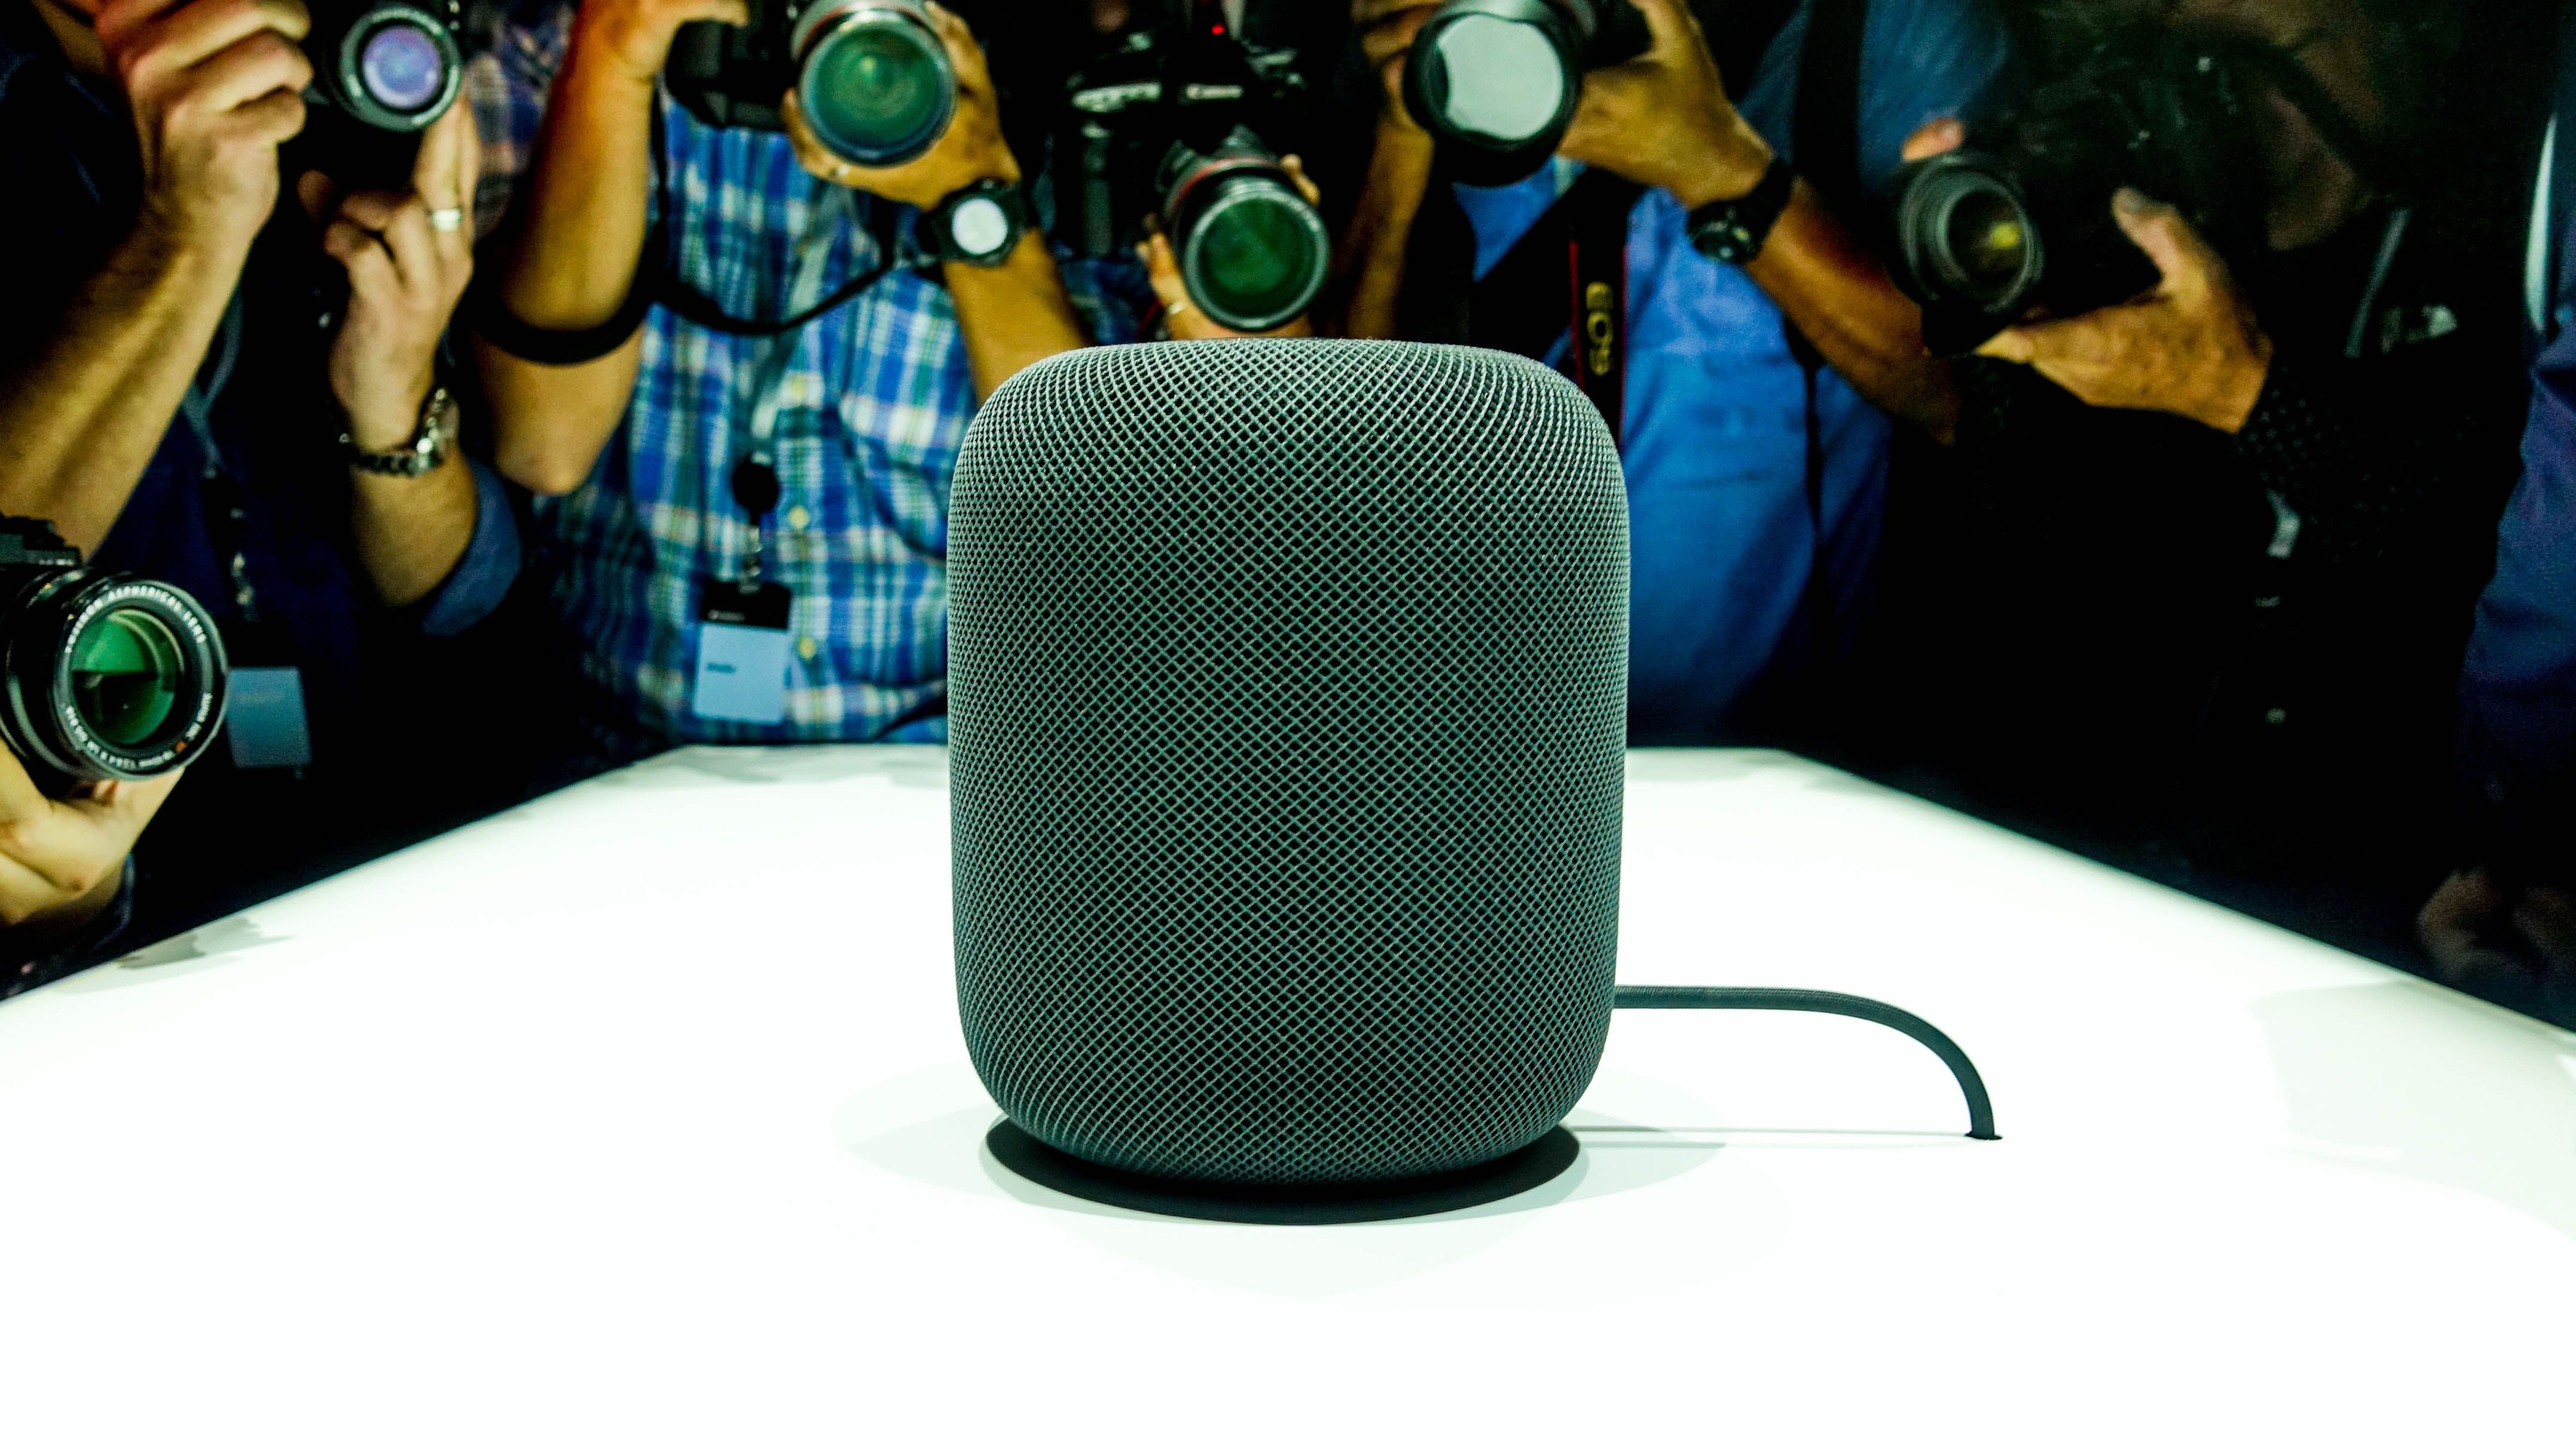
Apple’s HomePod is an audio behemoth, a Siri-equipped smart speaker that offers some of the best sound quality around.
If you've decided to invest in the HomePod, you're probably going to want to know what you can do with it – and there's a fair amount that you probably aren't aware the HomePod can actually do.
So whether you want to be able to change your smart lighting or just get a bit of privacy, we've pulled together a list of HomePod tips to help you get the most out of your gadget.
What’s great about Siri is that Apple has clearly put a lot of work into its natural language processing, so you can phrase a request pretty much however you want and Siri will get to work.
1. Set a timer with HomePod
Now, we know this is a basic one (don’t worry, they won’t all be), but as setting a timer is the most popular skill across all smart speakers at the moment, it would be remiss of us not to start with it.
Setting a timer is blissfully simple, you simply say: “Hey Siri, set a timer for [insert time]”.
Once your timer is up and running, you can ask how much longer there is on the timer by simply asking: “Hey Siri, when does the timer finish?”
Sign up for breaking news, reviews, opinion, top tech deals, and more.
It's worth noting here that you can only have one timer running at once – other speakers can do more, so you'll need to be more discerning with the HomePod.

2. Control your smart home products with HomePod
If you’re the owner of smart home products like Philips Hue lights, or a Tado heating system, you’re in luck, as the HomePod allows you to control a vast array of connected products just using your voice. This is made possible using Apple’s HomeKit platform; and to help you out, we’ve put together a list of some of the best products that are HomeKit enabled.
As the range is pretty broad, we’re just going to make a few suggestions that you can use as a starting point here:
“Hey Siri, turn the light in [name of room] on.”
“Hey Siri, make the light in [name of room] red.” (this one will require a light that can change color)
“Hey Siri, turn the heat up in the [name of room]”
“Hey Siri, lock the back door.”
3. Send text messages with HomePod
This tip is being seen as a bit contentious at the moment because HomePod isn’t able to differentiate between voices, so anyone that has access to your home (while your iPhone is connected to the same Wi-Fi router as the HomePod) can send text messages and listen to your most recent messages.
If you’re lucky enough to live with people that you trust and don’t have to deactivate this feature it’s another one that’s incredibly easy to use.
You simply say: “Hey Siri, send a message to [person’s name].”
As long as that person is in your contacts, HomePod will ask what you want the message to be, read it back to you, and then send.
One thing worth noting is that Siri doesn’t automatically add punctuation to pauses, so if you wanted to say: “Hello my friend, I’m about five minutes away. Get the kettle on.”
You’d actually have to say: “Hello my friend comma I’m about five minutes away full stop get the kettle on full stop.”
What’s more, because you can’t see the preview message and Siri’s robotic voice still isn’t totally natural, you do slightly gamble that it’s got the message right.

4. Change Siri’s voice on HomePod
Depending on your region you’ll have a different preset voice for Siri, but that doesn’t mean you’re stuck with it. You’ve got a choice of male or female, British, American and Australian.
To change the voice, open the Home app on your iOS device, and long-hold the HomePod icon. You’ll see a couple of buttons, one to manually set alarms, one labelled ‘details’. Tap 'details'.
You’ll see there are a few different options here, you want ‘Siri voice’. Once you’ve tapped on that, you’ll see the options with ticks next to what’s currently selected.
Simply tap the options you want.
5. Set location specific reminders with HomePod
This isn’t an exclusive feature of HomePod but is an incredibly useful one. If you want a reminder based on a specific location, like a reminder to double lock the door when you leave the house, or to talk to one of your colleagues about something when you get to work, you can set that up using HomePod.
Just say “Hey Siri, remind me to lock the door when I leave the house.”
As long as you’ve got the location of your home (or work, or wherever else) saved it’ll be able to remind you when you need it.
You can also set reminders for set times, if that’s more convenient for you. Any reminder set will work across all devices connected to your Apple ID.

6. Activate scenes with HomePod
One of the things that Apple’s HomeKit does best is create scenes, a chain of different smart home commands that all activate at the same time.
Say you’re heading off to bed and want all your lights to turn off, your doors to lock, and your heating to turn down, you can do that with a single command.
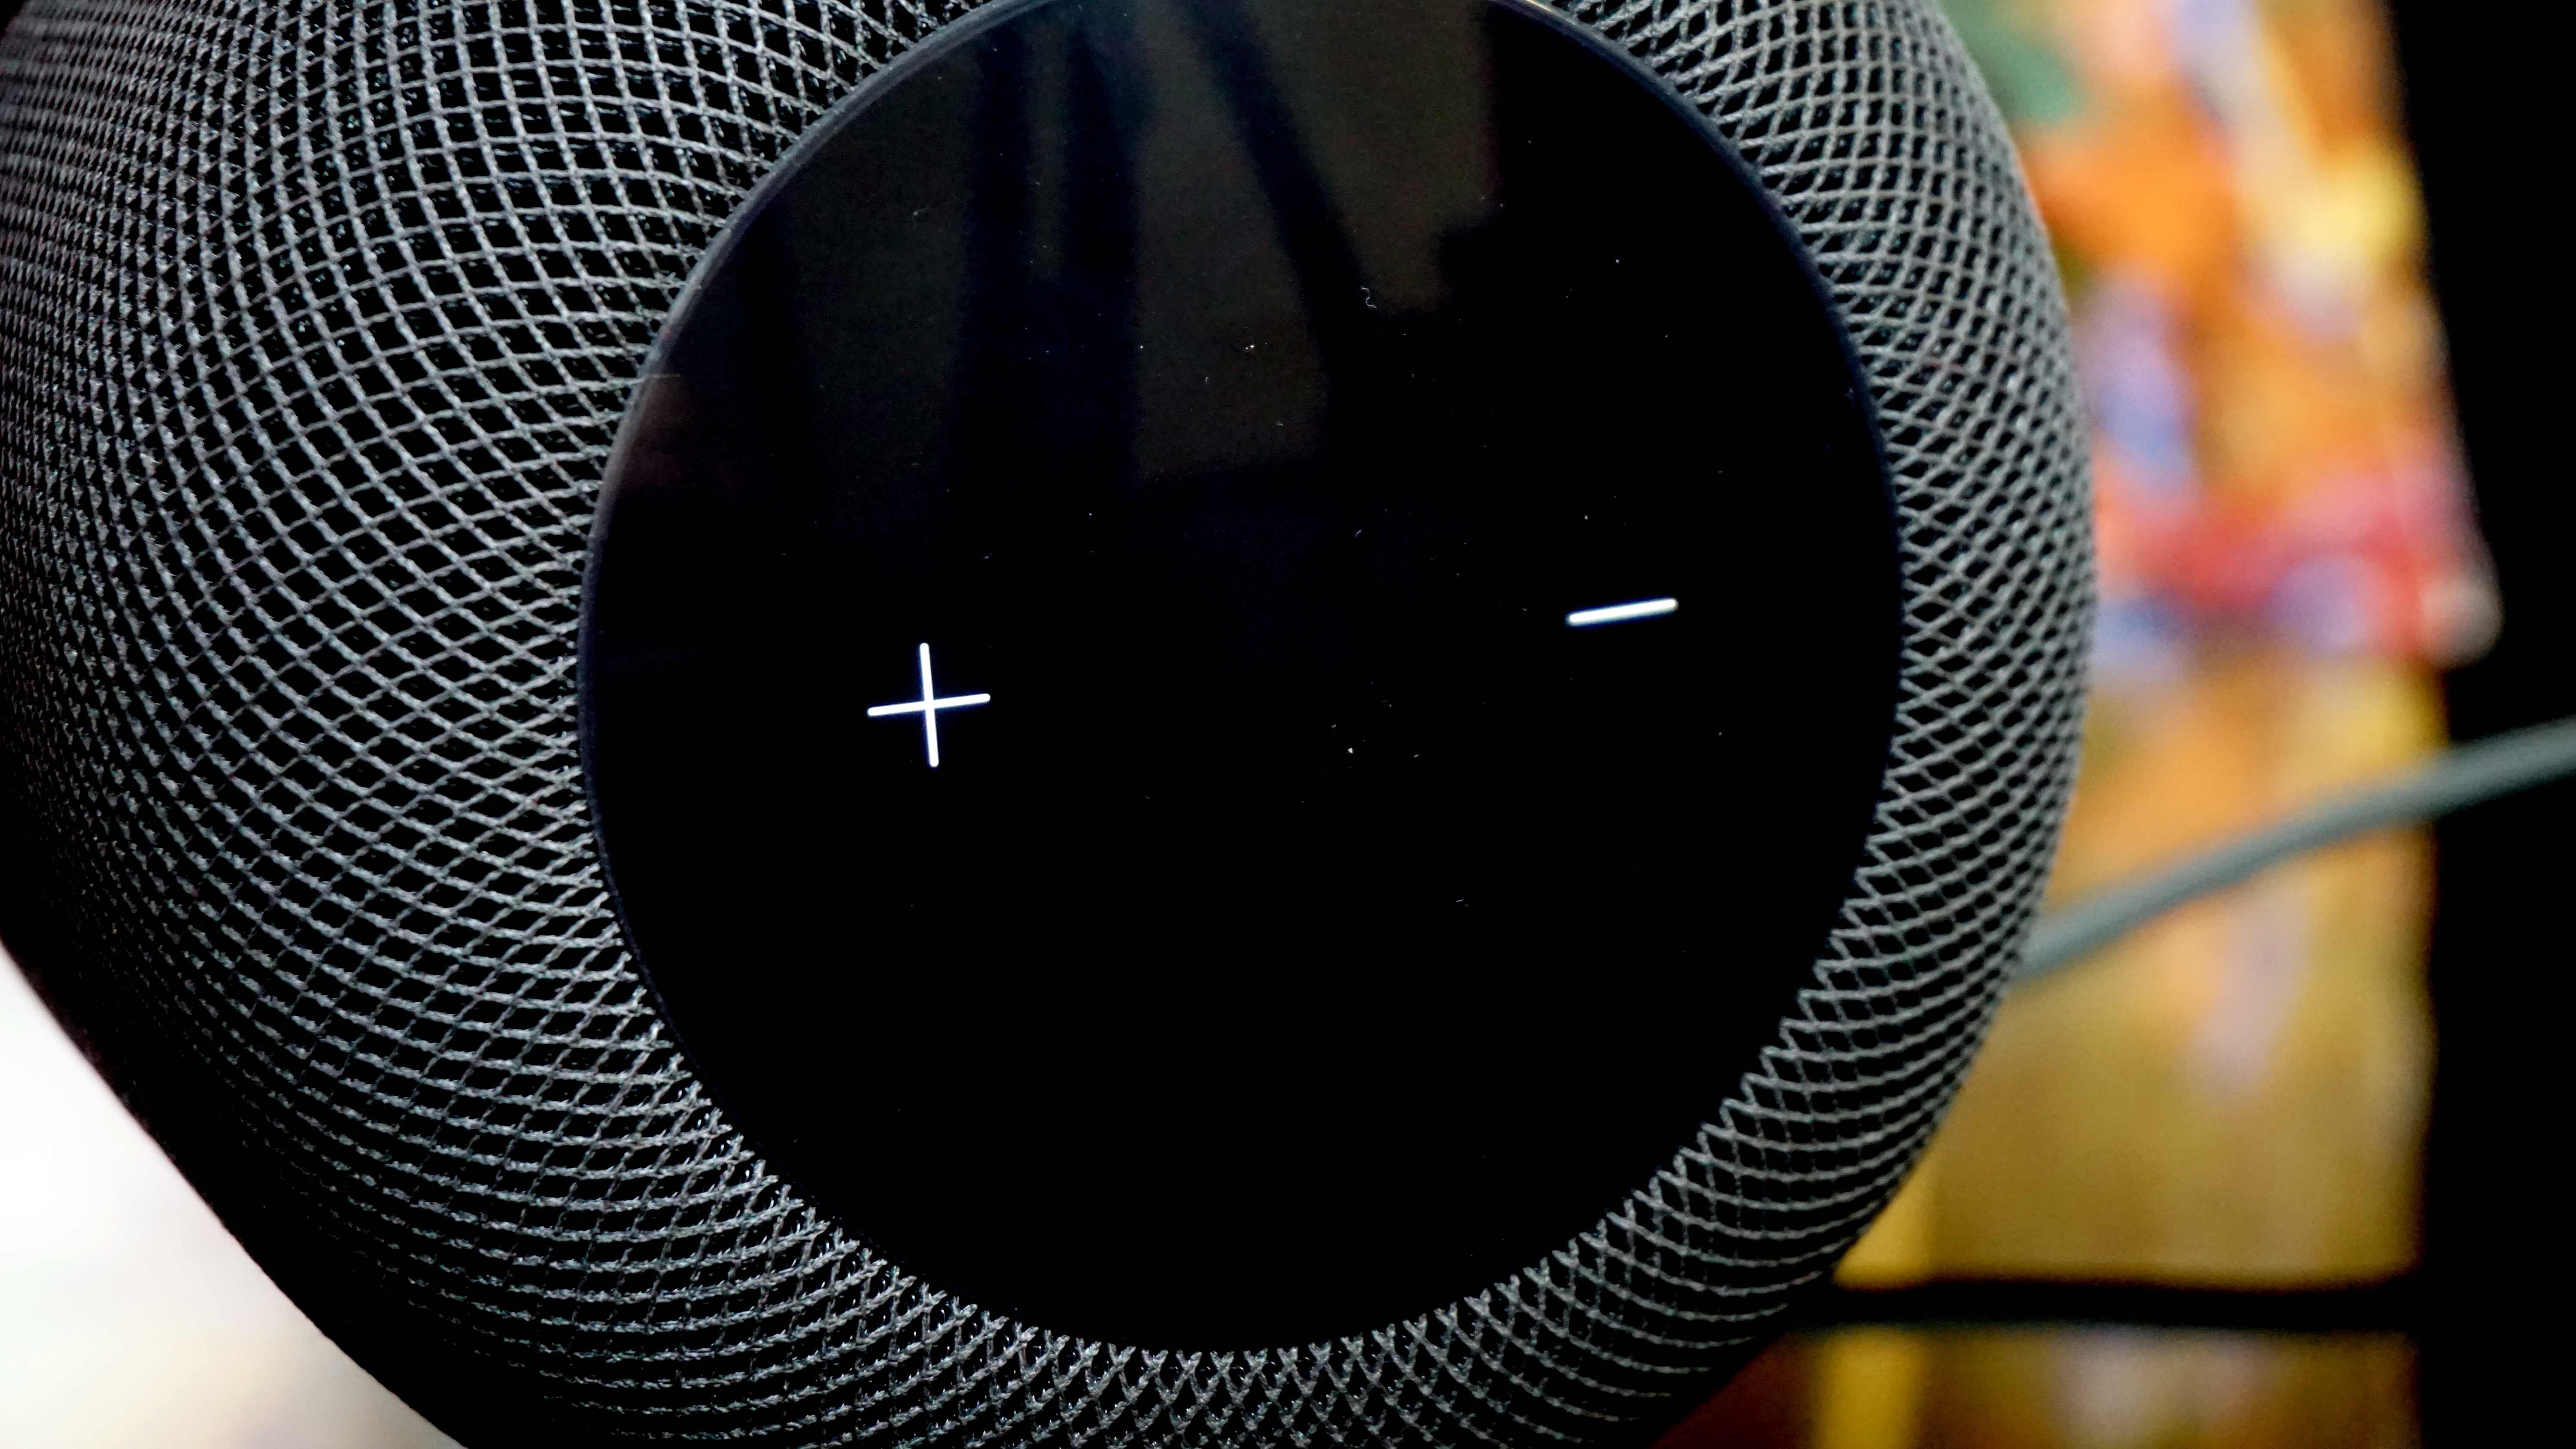
All you have to do is open the Home app, tap on the ‘plus’ symbol, then ‘add scene’, then you have a choice to either go with a suggested scene or a custom one. You add the devices to the scene, and what you want them to do, then save it.
Once it’s set and named, all you have to do is say is say: “Hey Siri, activate [your chosen name for the scene]”.
7. Make (and alter) notes with HomePod
This may seem like a fairly insignificant skill, but at the moment it’s one that actually sets the HomePod apart.
In order to create a note just say: “Hey Siri, create a note.”
If you don’t give it a title, one will auto-generate from the first line of text.
You can also add to existing notes by saying: “Hey Siri, add [what you want to add] to my [title of the note] note.”
You have to be pretty precise with this command, and we found HomePod struggles if the note you want to add to was made using HomePod, but it's a good place to dictate to if you have a blinding thought and can't write it down.

8. Use the HomePod for calls
While the option to actually make calls on the HomePod isn’t possible (yet), you can use it as a speakerphone, and control the call once it’s being routed through the smart speaker.
Once a call is in progress on your iPhone, tap ‘Audio’, then select the HomePod icon. When the call is finished, a single tap on the HomePod’s ‘screen’ will end the call.
As an added bonus, if you’re already in a call and another call comes through, you can either tap the green light on top of the HomePod to put your current call on hold while taking the new call, or long hold to hang up your current call.
9. Get the news with HomePod
Don't have time to watch the news first thing in the morning but want to keep abreast of what's happenning in the world? No problem.
Just say: "Hey Siri, what's the news?"
Siri will give you an update pulled from multiple sources. If you've got a specific source you'd rather Siri gather your news from, you can customize that too.
Just say: "Hey Siri, change the news source to [your preferred news source]."

10. Stop Siri from listening
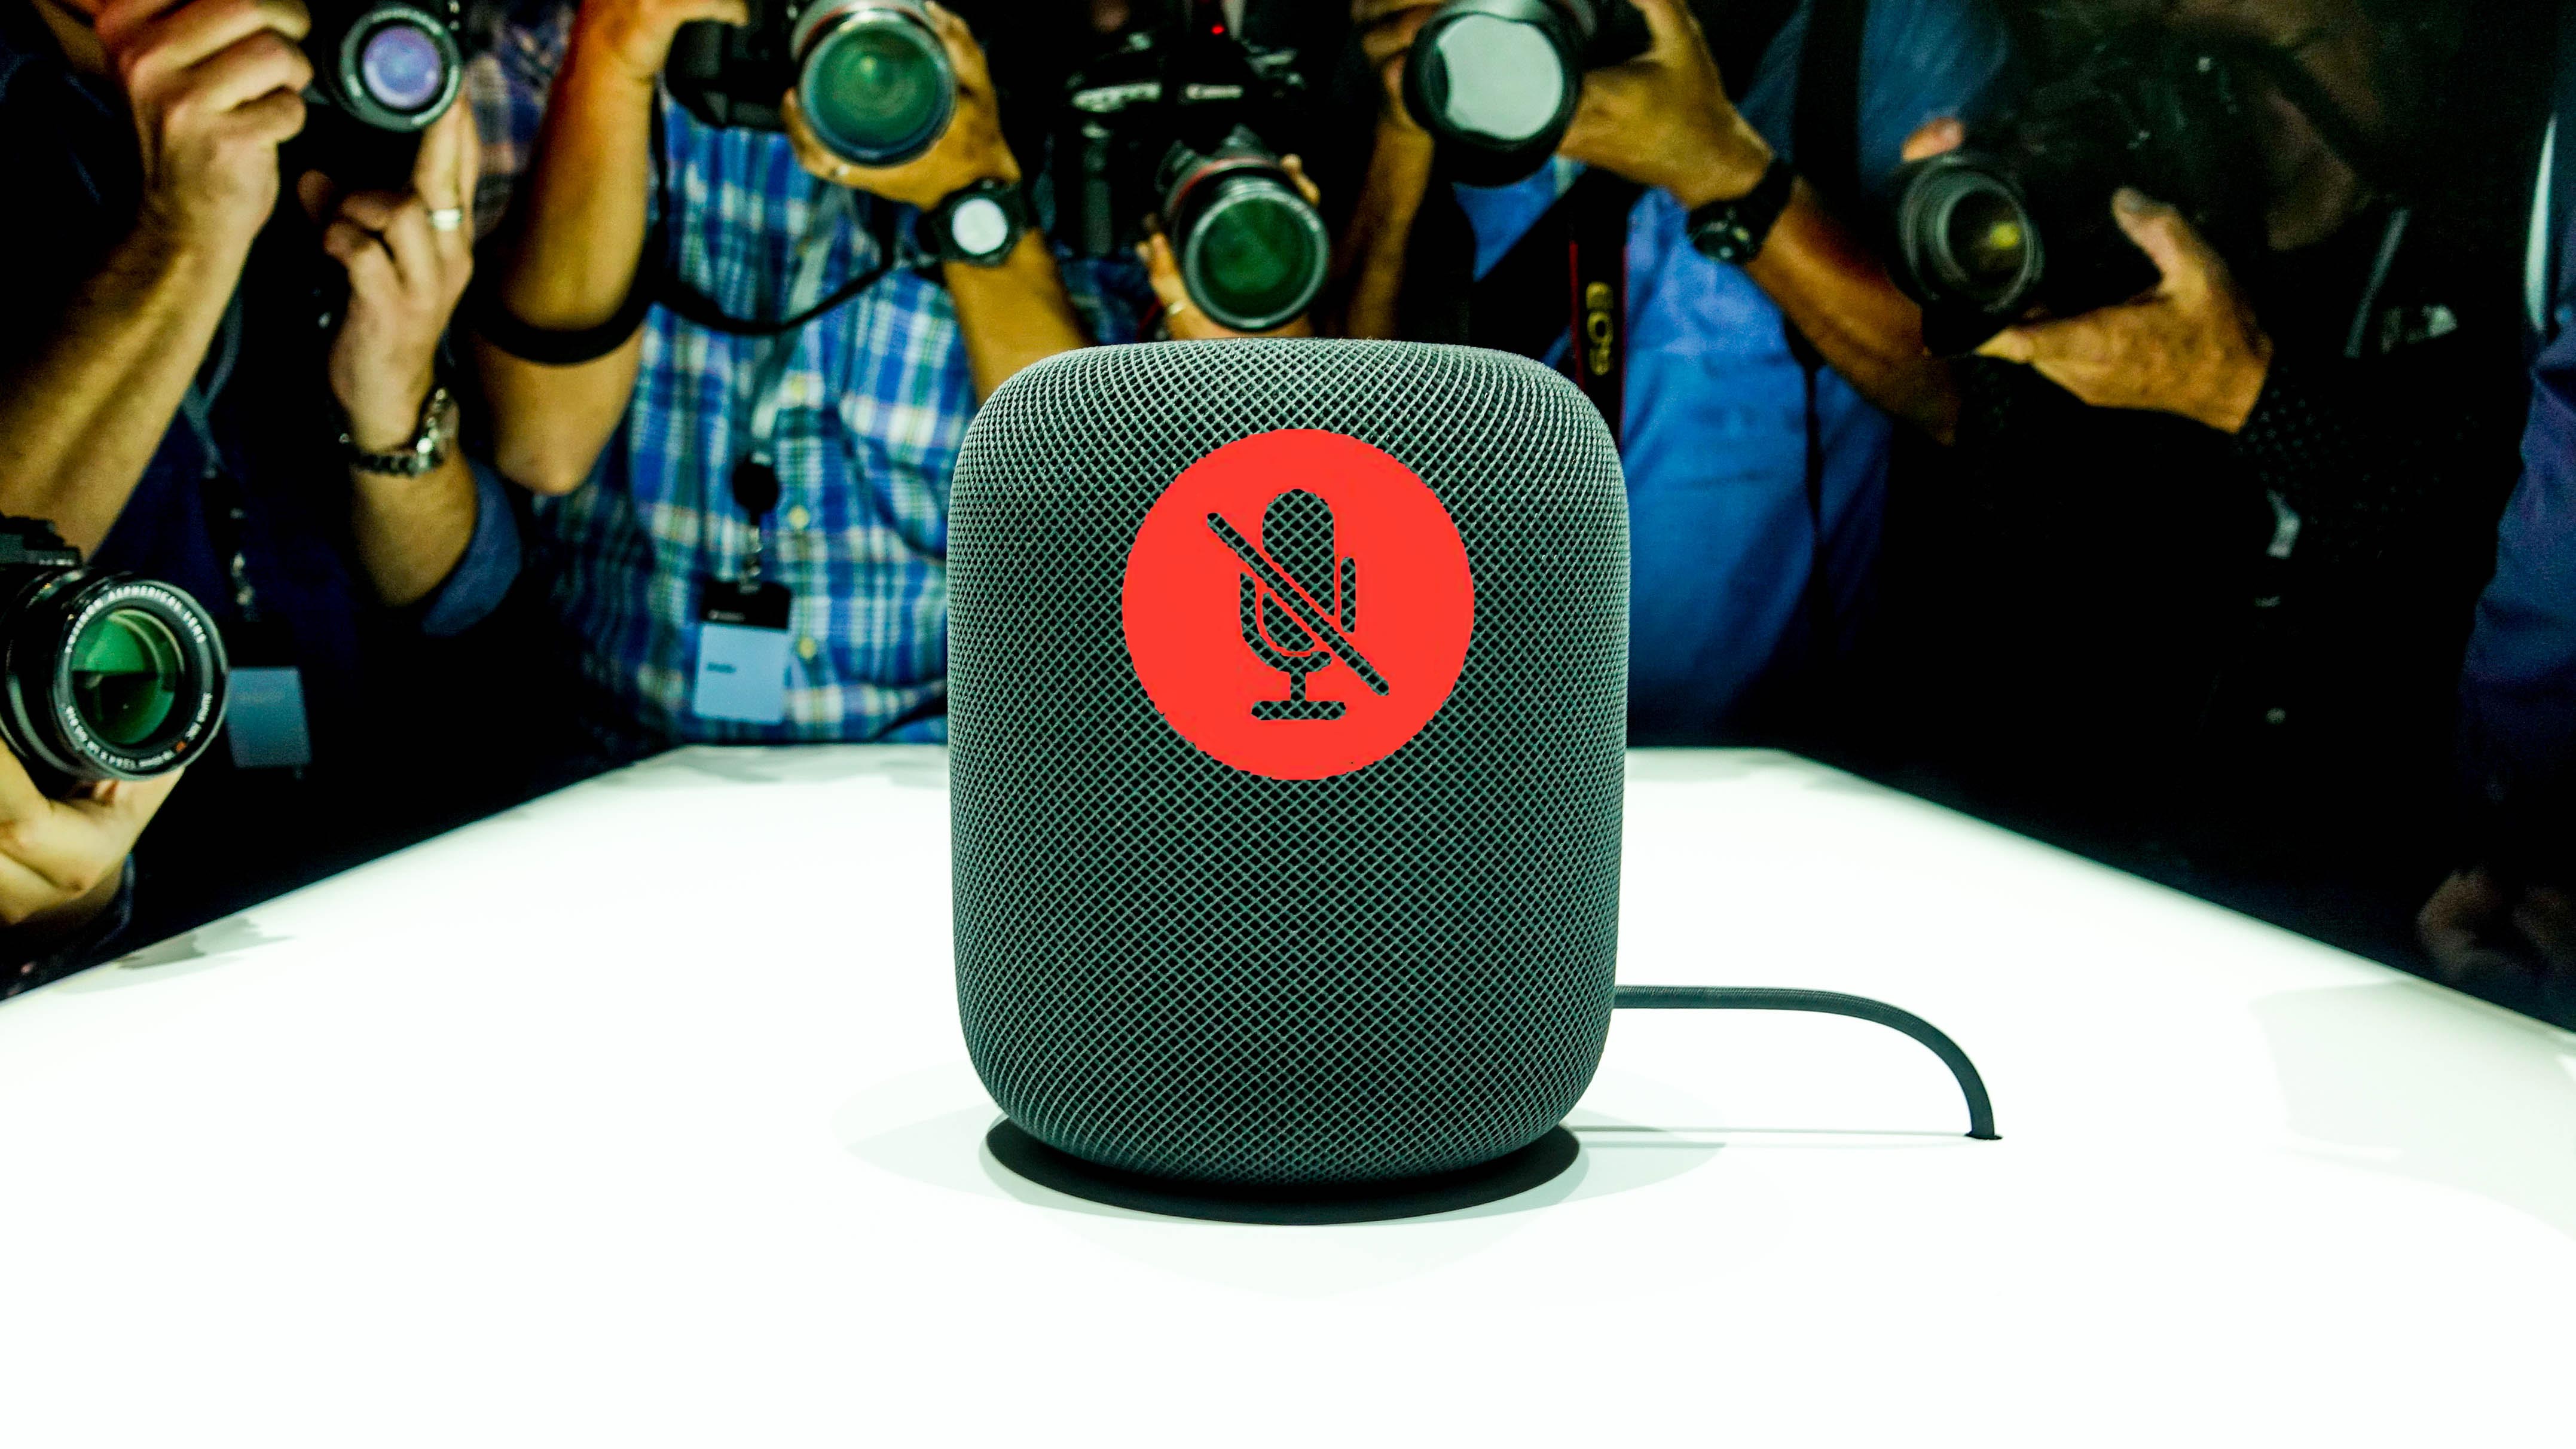
While it's the inclusion of Siri that makes this speaker 'smart', that doesn't mean you always want it to be listening. There are a couple of different options for how do deactivate Siri.
The simplest is by saying: "Hey Siri, stop listening."
Siri will then ask you to confirm, you reply with: "Yes."
Siri will then be deactivated. To turn it back on using your voice, tap once on the display, it will light up, and then simply say: "Hey Siri, start listening."
The other method included the Home app we mentioned earlier. Open the Home app on your iOS device. Long-hold the HomePod icon then tap on 'details' to bring up the HomePod menu screen. You'll now see a toggle next to 'Listen for "Hey Siri". Toggle this on/off to deactivate and reactivate Siri on your HomePod.
11. Change the HomePod's Wi-Fi network
If you're anything like us you'll have a couple of different Wi-Fi networks in your home. This means the Wi-Fi network that you originally set your HomePod up with may not always be the best network for it.
Changing the Wi-Fi network on the HomePod is incredibly easy. Connect your iOS device to your preferred network, then hold it over your HomePod.
That's it. Done.
- Want to know every device that HomePod can control? Check out: Apple HomeKit devices: great smart home appliances that work with iOS

Andrew London is a writer at Velocity Partners. Prior to Velocity Partners, he was a staff writer at Future plc.