Macro photography: five ways to focus your close-up shots
Get pin-sharp macro shots every time

Sign up for breaking news, reviews, opinion, top tech deals, and more.
You are now subscribed
Your newsletter sign-up was successful
Close-up photography is an exciting way to give photographic prominence to tiny subjects. From insects to flowers to household objects and much more, close-up and macro photography reveal a miniature world often unseen by the naked eye.
True macro photography shows subjects at a 1:1 ratio or greater, which means the subject is the same size on the camera sensor, as it is in reality. Although, close-up photography that shows at least a 1:2 ratio is generally considered as being macro.
There are some macro lenses that can achieve an incredible 5:1 ratio meaning the subject appears on the sensor five times larger than it is in reality – pretty amazing really. To go beyond this you’d have to venture into microscope photography, which is quite different to using a standard macro lens.
Regardless of the macro lens you’re using, there are a number of focusing methods that can be used. And the subject combined with personal preference will often play a key role in determining which you opt for. None are perfect for every close-up subject, so knowing the options will help you to make the best focusing decision.
Macro focusing method no.1: autofocus
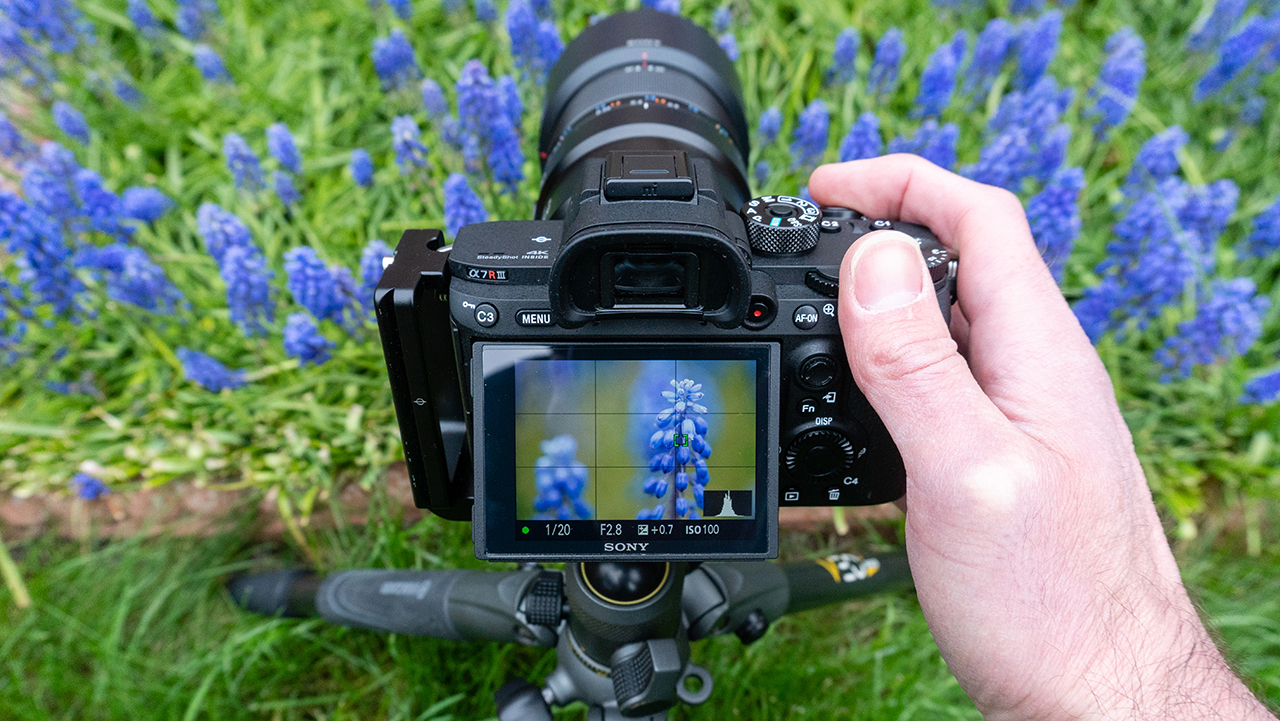

The first and most obvious way to focus macro shots is to use autofocus as you would with many other subjects. This can work well but it can also be one of the less effective methods, so you have to consider this when approaching a macro subject.
The most common problem with autofocus is that it can hunt for focus, which means it can’t lock onto the subject successfully. Using the focus limiter on the lens can help to remedy the problem as this reduces the focusing distance of the lens, but if this doesn’t work you’ll need to switch to manual focus and one of the other methods.
Macro focusing method no.2: manual focus
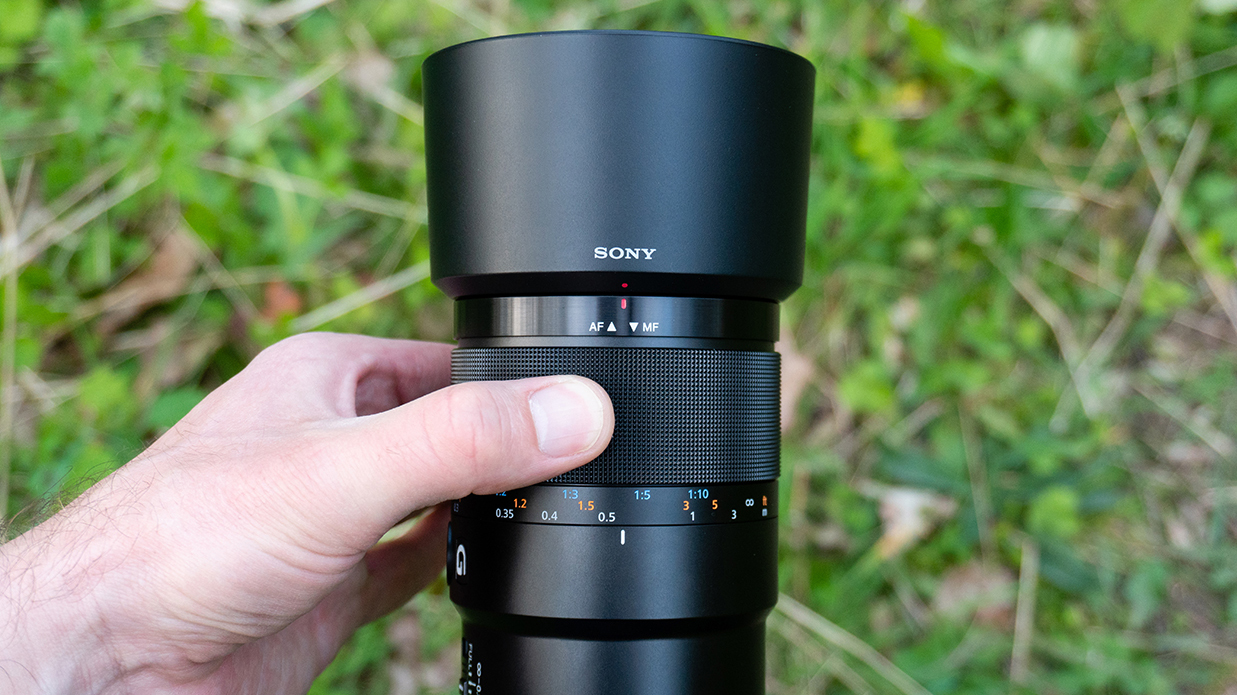
As the name suggests, manual focus is when you switch the lens to the relevant mode and manually turn the focus ring to achieve a sharp subject. The advantage of this method is that you can see exactly what’s sharp through the viewfinder or using Live View on the LCD screen.
Sign up for breaking news, reviews, opinion, top tech deals, and more.
The main advantage of manually focusing using Live View is that you get a larger and sometimes clearer image of the subject. Plus, you can zoom into the on-screen image for precise focusing on the exact part of the image you wish to be in focus. Another advantage is that you don’t have to lay on the ground or stoop down as you would if you were looking through the viewfinder.
Macro focusing method no.3: focusing plate
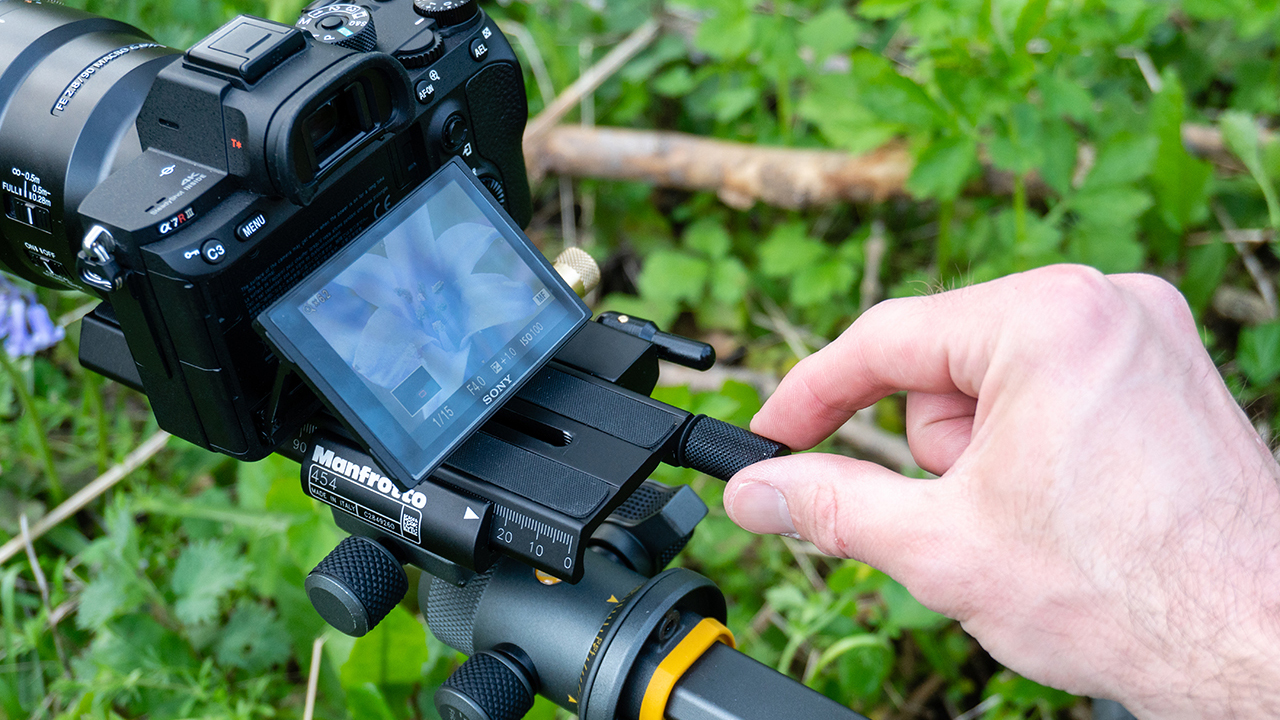

A focusing plate is a device that you attach to a tripod head with your camera on top of the focusing plate. You then set your lens to either 1:1 or the rough subject distance of the subject based on your composition and rotate the dials to move the camera backwards or forwards.
By moving the camera backwards or forwards with the focusing plate you change the point of focus. The advantage is that it’s more precise than rotating the focus ring on the lens when manually focusing. One of the best, and indeed most cost-effective focusing plates is the Manfrotto Micro Positioning Sliding Plate 454.
Macro focusing method no.4: rocking technique
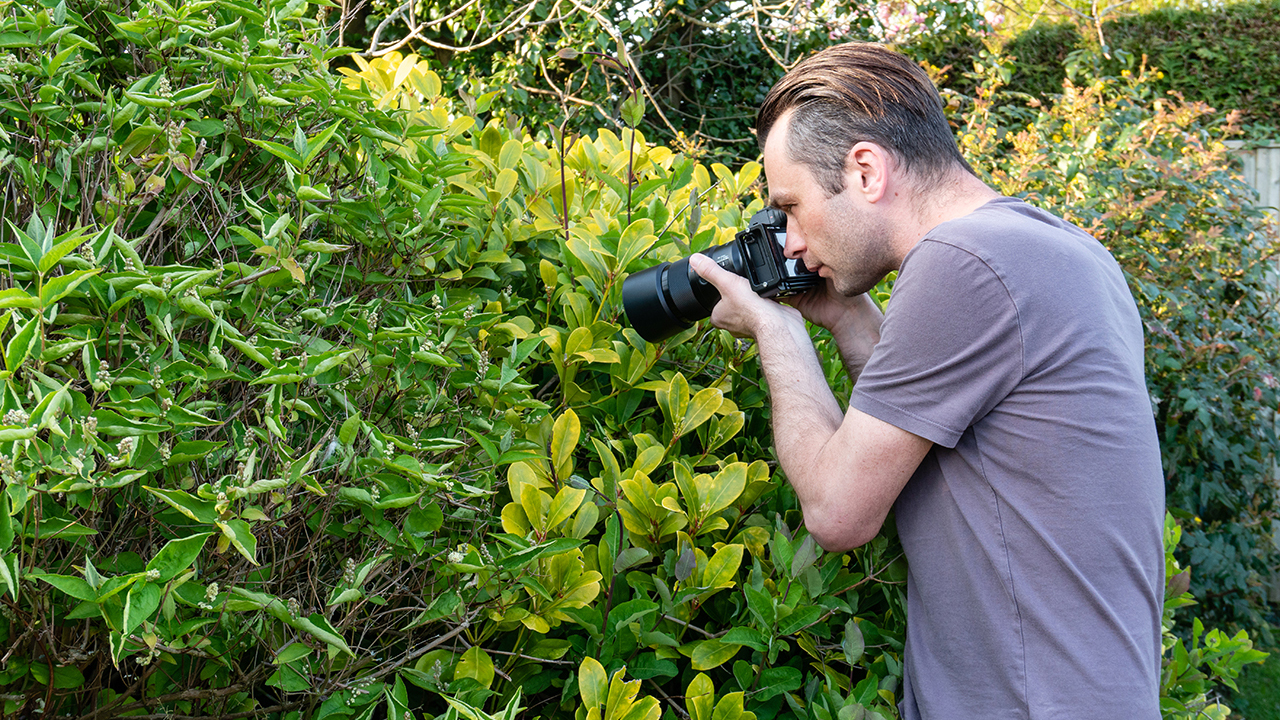
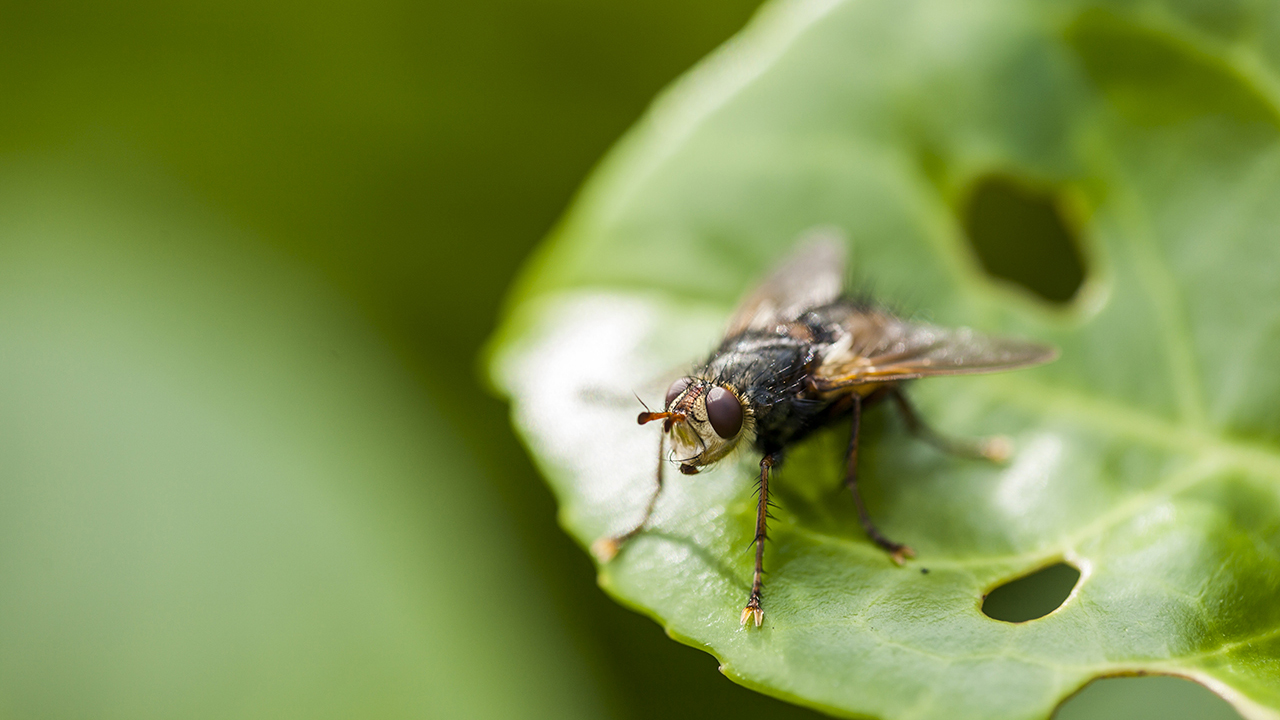
While the name sounds strange, the rocking technique is ideal when shooting handheld or with the camera resting on a beanbag for stability. It’s a tiny back and forth movement that’s essentially a more manual version of using a focusing plate.
When shooting at a 1:1 ratio, a macro lens is set to its minimum focus distance so turning the focus ring will only set the focus distance further away from the subject and lose the 1:1 ratio. When gently rocking, you wait for the subject to appear sharp in the viewfinder and release the shutter at this point. Shooting in continuous shooting mode can also improve your hit rate.
Macro focusing method no.5: articulating centre column
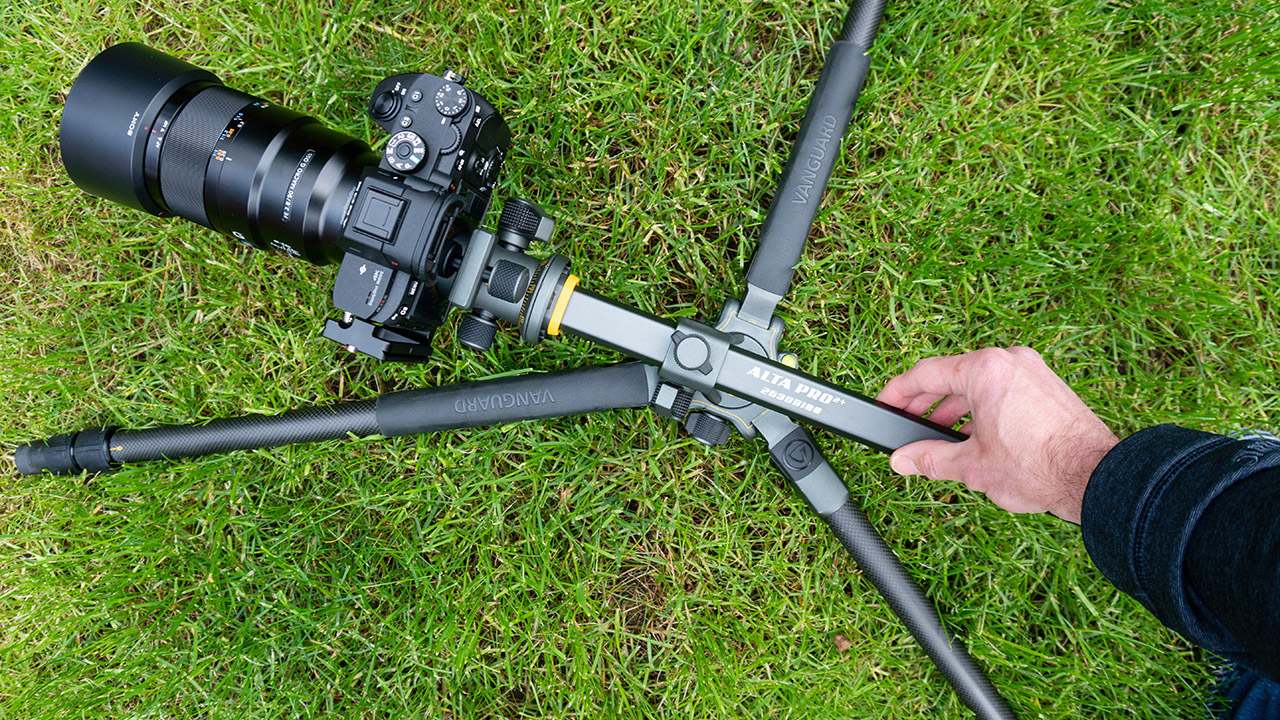

Many tripods these days have an articulating centre column, such as the Vanguard Alta Pro 263 CB, and this means the centre column can be set to a horizontal position to support the camera in a wider variety of positions.
For macro photography this has two clear advantages: the first is that it makes getting the camera close to subjects, both low to the ground and higher up, much easier. But the second and equally useful reason is that you can use the centre column in a similar way as a focusing plate to achieve focus at a 1:1 ratio. Admittedly, it’s not as precise but it does work.
Image Credits: James Abbott

James Abbott is a professional photographer and freelance photography journalist. He contributes articles about photography, cameras and drones to a wide range of magazines and websites where he applies a wealth of experience to testing the latest photographic tech. James is also the author of ‘The Digital Darkroom: The Definitive Guide to Photo Editing’.