How to code your own game on the BBC Micro Bit
Learn to code

The BBC micro:bit has finally dropped into the hands of many Year 7 students across the UK and there's already a wealth of tutorials and resources out there to help both students and teachers get started.
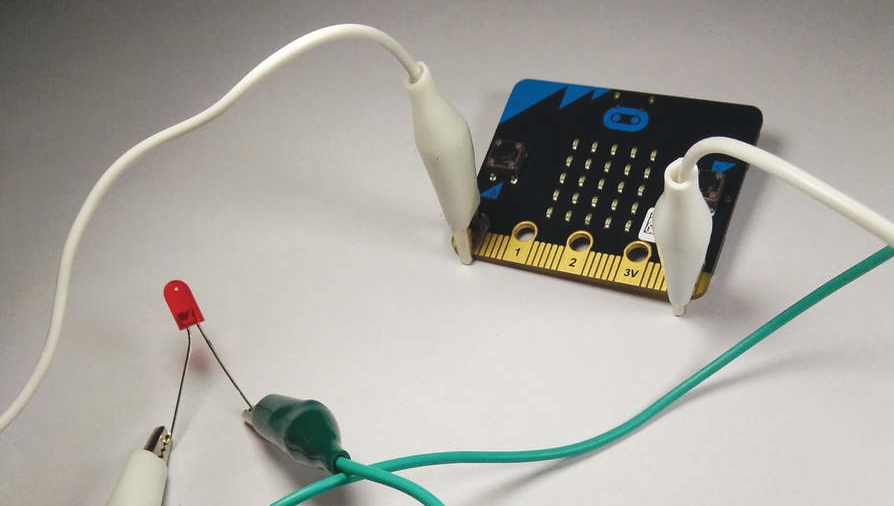
Those projects are great at the basics, introducing you to what the micro:bit is, the coding languages that you can use, and how to connect physical inputs and outputs such as LEDs and motors to it.
Once coded and wired up there's plenty of options and fun to be had, but as ever if you really want to get the most out of a new piece of technology then you have to find a good fun way that both demonstrates what the technology can do and also gives enough scope that your starting project can be easily adapted and improved upon.
In this project we're going to make a brain training game, although it shouldn't stretch you too much. The idea being that you have to memorise commands, such as push a button or shake the board when an LED is illuminated on the micro:bit.
This will create a starting point for a larger project that can become more advanced as time, code, hardware and knowledge increases.
This project will demonstrate how to use the official coding areas that are available at the time of launch, but, of course, the basics of this project can easily be adapted for use with MicroPython or any other languages that the micro:bit supports.
We'll also take a progressive look at the code areas available on the micro:bit website, starting with the incredibly easy Block Editor and then moving on to a far more familiar coding environment in the form of Touch Develop.
Sign up for breaking news, reviews, opinion, top tech deals, and more.
Once the code is written and tested we can then look at connecting our hardware, albeit a simple push switch. Remember that the micro:bit is designed as an educational aid rather than a rival to the Arduino or the family of Raspberry Pi boards, so although in its own right it's a powerful development tool, if you want to take projects to the next level then the design of the board does enables full and easy integration with these alternatives and other microprocessor boards.

To get started make sure that you have your micro:bit plugged into your machine through USB, once done it should appear in your list of drives. Once we write and compile the code the firmware file will download to your computer.
At present this file must be manually dropped from the Downloads folder onto the micro:bit as there's no automatic uploader for Linux distros, but a few have started to appear for Windows.
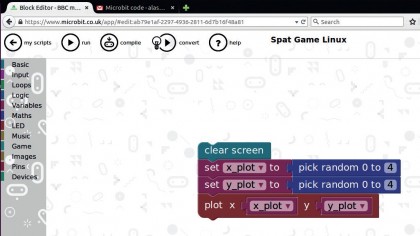
In your chosen browser open the micro:bit website and then in the navigation across the top select the 'Create Code 'option, then 'Block Editor'. Don't worry we're only going to stay in this environment briefly just to give you a demonstration of what it's all about and you'll also find that the layout is a great way to reference code as you're learning the micro:bit.
Alastair is a photographer, filmmaker and tech writer who has been working in the publishing industry since the late 1990s. For more than 25 years he has covered photography, video and technology across Future's photography, technology and gaming brands. He runs a photography and video production company and lectures in TV and film. He can usually be found testing mini PCs or prototyping and prop building with the aid of 3D printing.