How to Create a Photo Collage
Collect and share your photos by creating a collage in Pages
We all know how easy it is to share photos online with iPhoto or via iCloud’s Photo Stream, but what about when you want to get back to the old school and print them? iPhoto offers some great photo printing options and you can even create your own printed photo books, but don’t overlook Pages because it also has a few tricks up its sleeve.
One such use is to drag and drop your photos onto a blank Pages document and arrange them in a collage. Just like sticking physical images to a piece of card, Pages allows you to arrange and crop the images as you wish. But unlike analog collage creation, the application also offers more detailed features such as adding borders and resizing your images. You can even adjust the layout of your images at any time without the hassle of peeling glued photos from your collage and repositioning them. So not that old school after all.
In this tutorial, we’ll show you how to turn a blank Pages canvas into a colorful collection of your photos that can then be printed at a size that suits you. Having a decent photo printer will obviously benefit you here, as will selecting quality photo paper and beginning with well-taken photos in the first place. But remember that a black and white collage is always an option if you don’t have the required tools available. Higher resolution images will also make for a better outcome, especially if you intend to print your collage at a bigger size than A4 or you are using a handful of images at a larger size on the page.
To follow this tutorial, start by gathering your favorite photos into a folder on your Mac or an album in iPhoto. Once you’ve done that, launch Pages to begin creating your own photo collage.
And if you'rd rather a photo book than a collage, make sure you check out our best photo book guide.
What You’ll Need:
>> Pages '09
1. Orientation
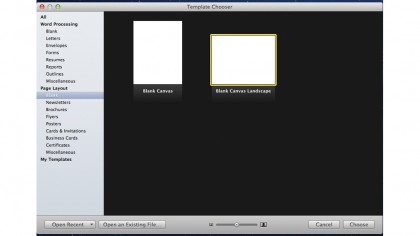
Start by launching Pages and selecting a blank page layout document from the Template Chooser in either portrait or landscape orientation, depending on your preference. Landscape orientation is best when using primarily landscape photos and vice versa.
2. Set the size
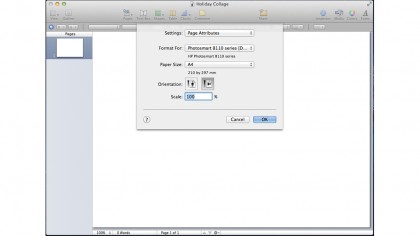
Click File > Page Setup and select a paper size from the drop-down menu. By default the page size is A4 but you can make it smaller or larger. Before you set the size, make sure you have the right sized paper and that your printer can print at this size.
3. Media browser
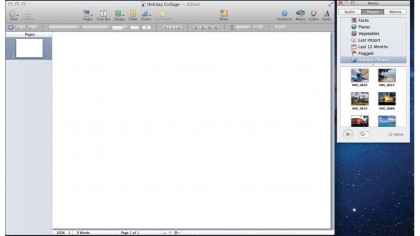
Click the Media button at the top-right of the interface and locate the photo album or iPhoto event in which you have stored the photos you want to use in your collage. Alternatively, you can open a folder in the Finder containing your photos if you wish.
4. Place an image
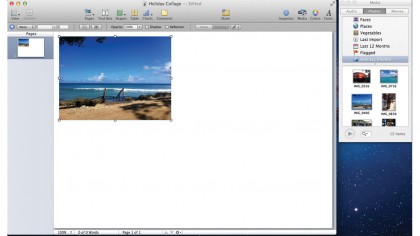
Drag an image you want to use from the Media Browser or Finder onto your document. Select the image you have added and use the boxes at the corner of the image to resize it as you wish. Click and drag the image to a new position on your document.
Sign up for breaking news, reviews, opinion, top tech deals, and more.
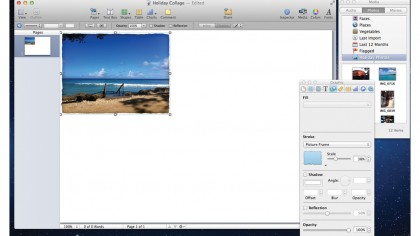
5. Add a frame
With the image selected, click the Inspector button at the top-right of the interface then click the Object tab (fifth from the left). Select Stroke > Picture Frame and choose a picture frame style to apply to the image and adjust the frame size as needed.
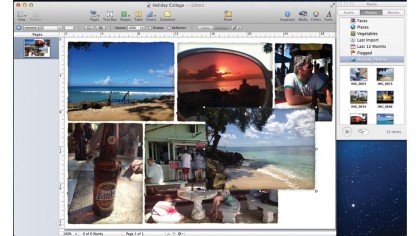
6. Guidelines
Add more images to your document in the same way as step 4 and select View > Show Rulers to place rulers around it. Position the images evenly across your document using the ruler as a guide. A grey line appears on the X and Y axis rulers as you move an image.
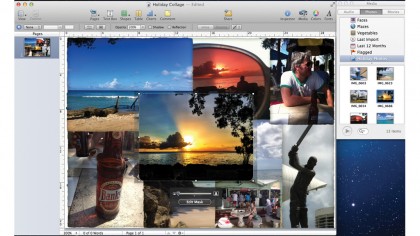
7. More images
Add more images to your collage, adjusting the size of each until you’ve filled the canvas. If you need more room, use the Mask With Shape feature from the Format menu, or overlap images using the Arrange menu’s Bring Forward and Send Backward options.
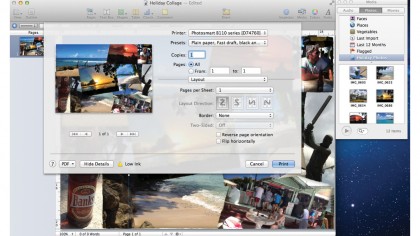
8. Print it out
When you’re happy with your collage you can print it out from Pages using File > Print or you can export your collage from the Share menu. Exporting the collage as a PDF file will make it easier to send it to others via email or post it to the web.