Sekiro: Shadows Die Twice beginner's guide - 5 things to know before starting
Get ready to die...a lot
Sign up for breaking news, reviews, opinion, top tech deals, and more.
You are now subscribed
Your newsletter sign-up was successful
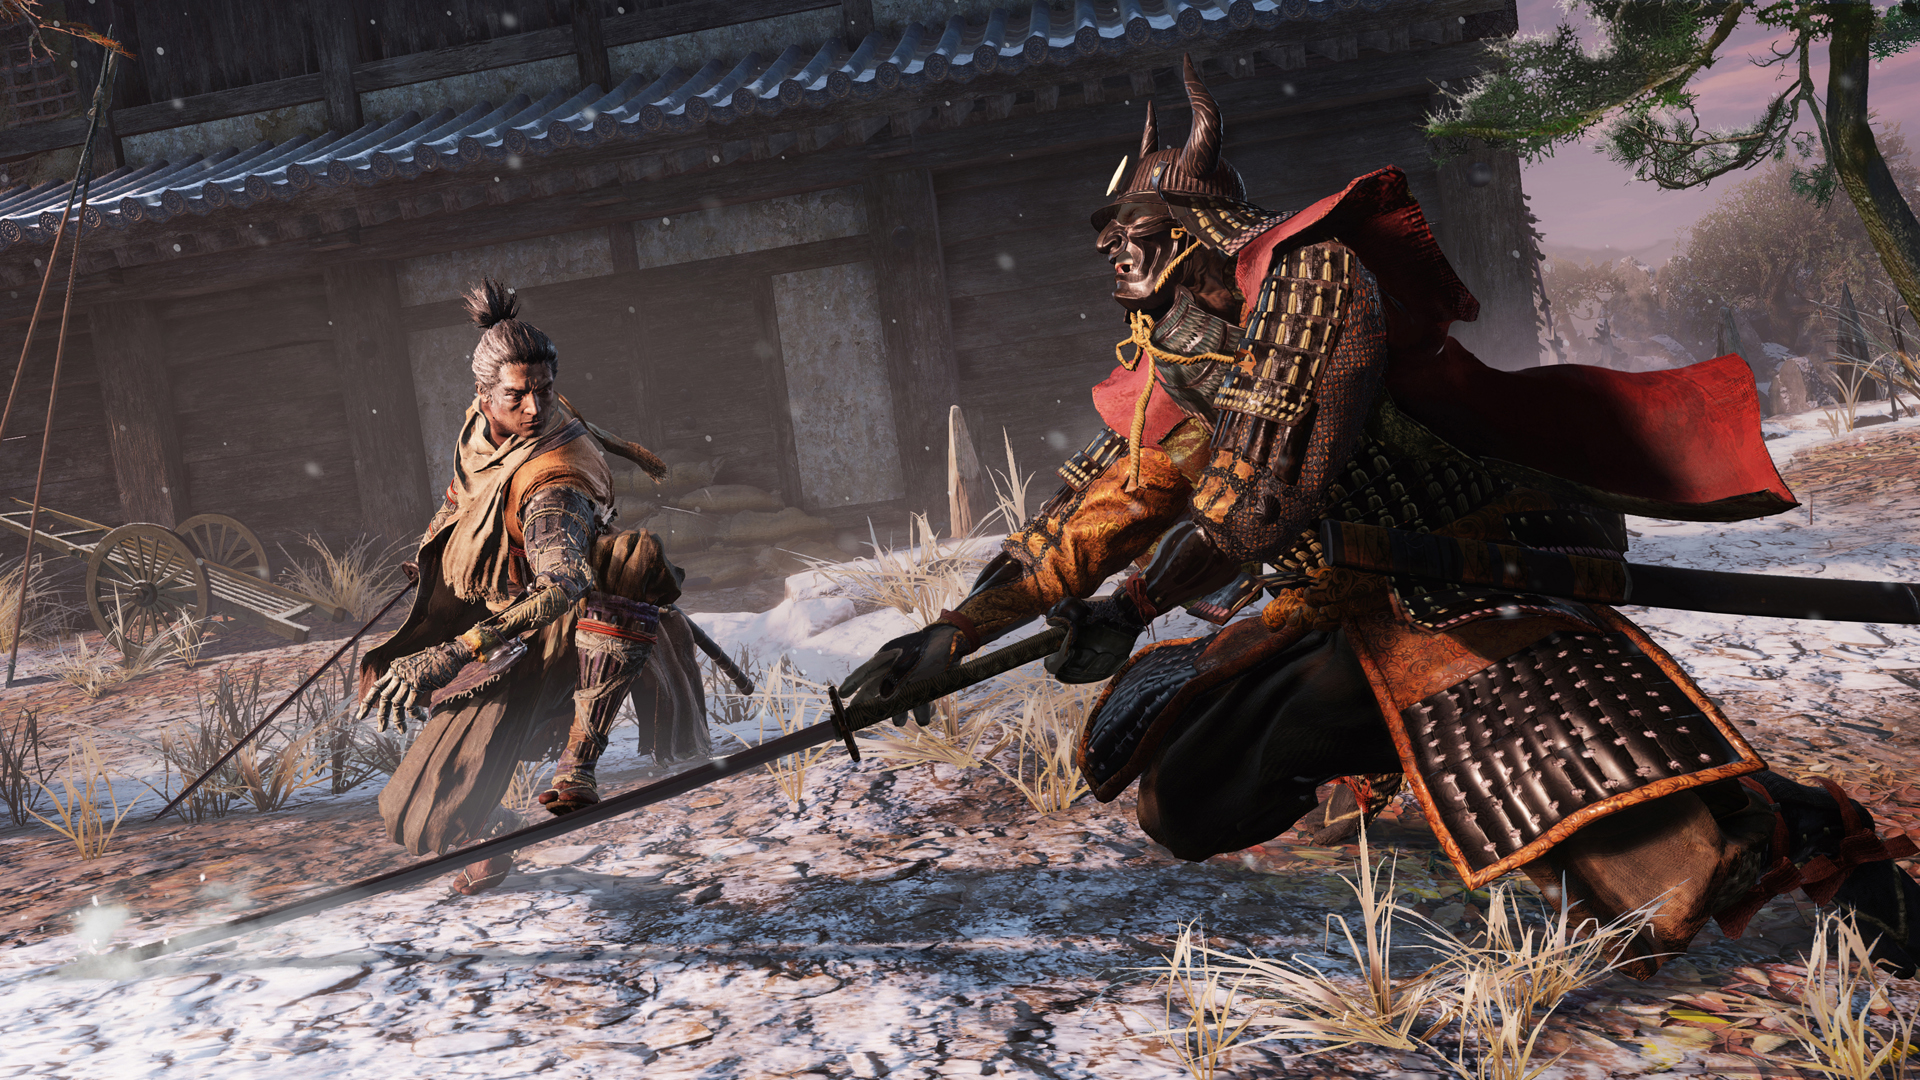
Sekiro: Shadows Die Twice is an exercise in masochism, but a more compelling one than any Soulsborne game before it. The rules are hard to parse but ultimately fair, and the adrenaline-pumping reward for mastering its many systems is a deeply rich feeling.
Yet, when you start out with the game, it can be an abrasive slog as you come to terms with the new features on the table. That’s where we come in. Here are five beginner's tips you should know before you start to avoid falling into Sekiro’s tricksy pitfalls.
Stealth is often the answer
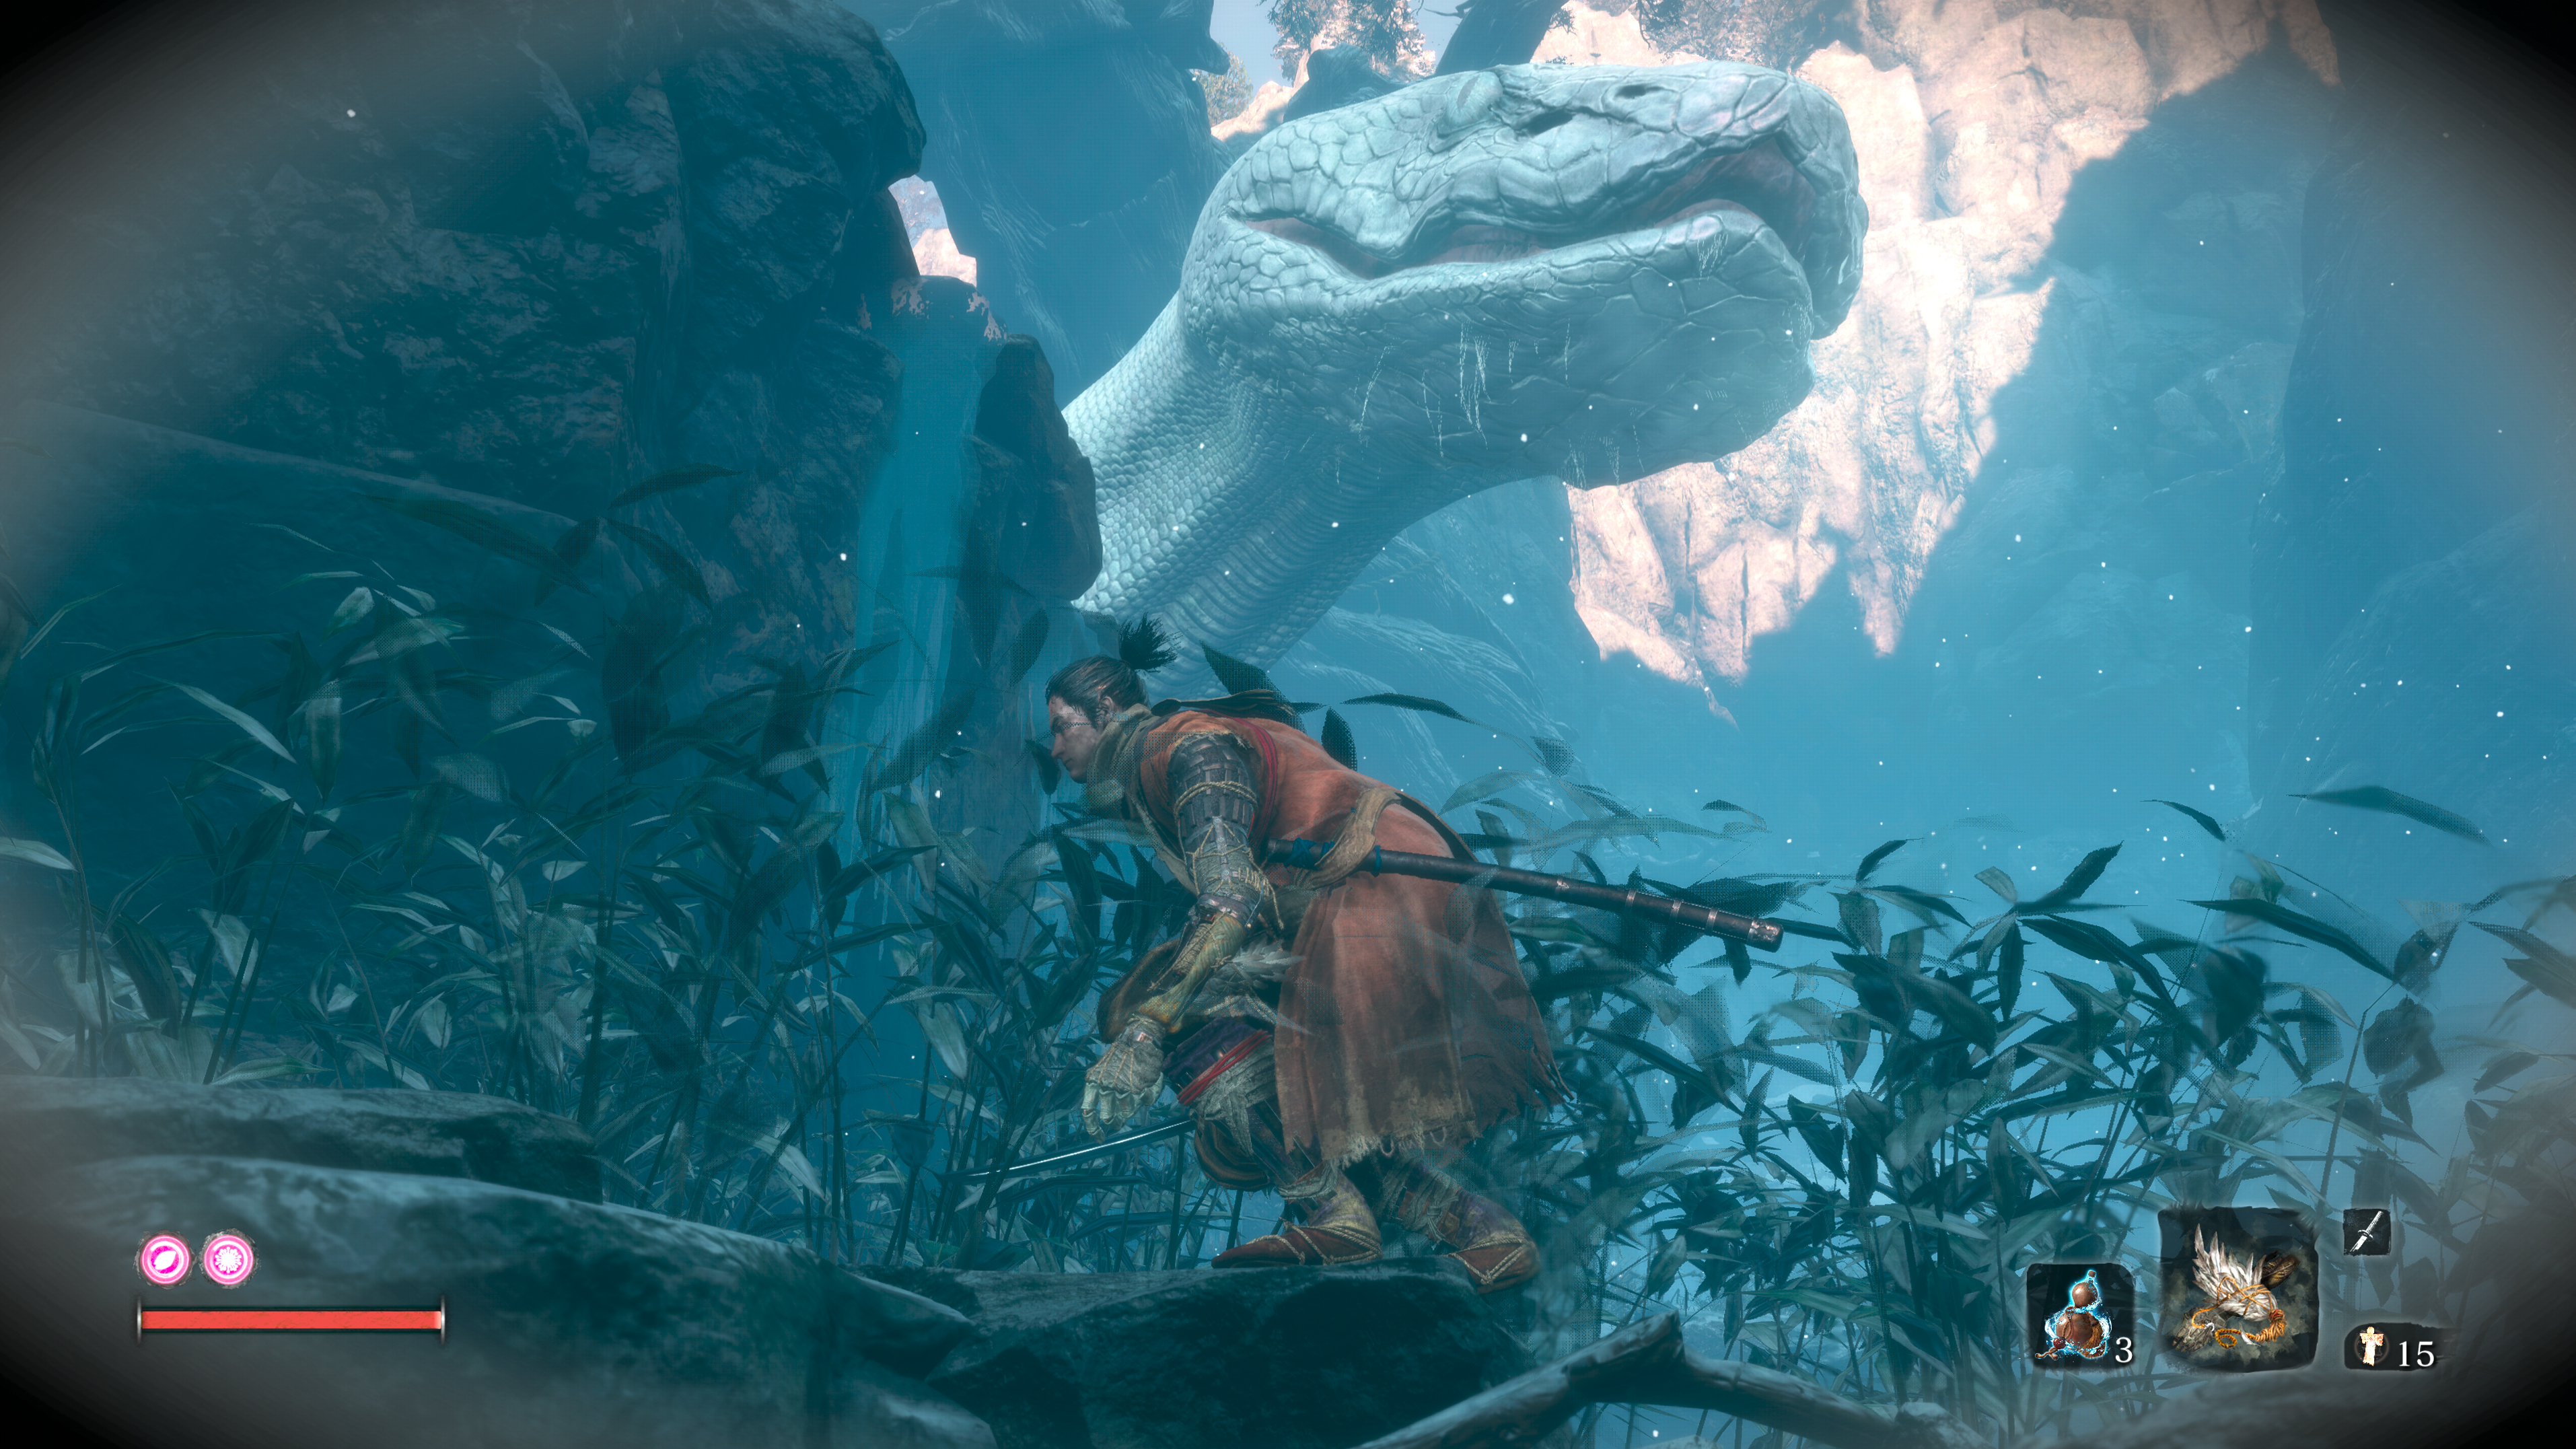
This is easily the most important thing to consider when starting out. Stealth is such a brand new dynamic in Sekiro that it can be easy to forget about it and approach all combat like its Dark Souls. Unlearn this muscle memory. Sekiro is all about using stealth to get an advantage, and this is especially important when you face off against minibosses. You’ll know who they are when you see them as they have two health bars.
Article continues belowThink about how you can shave that off with a sneaky deathblow if you find an angle on them. That’s half their health gone in an instant! Look for routes around groups of enemies or ways to scale a building and get the drop on them. Think outside of the box, don’t just race into a group of enemies, systematically stealth kill them, leave the head honcho on their own, then perform a deathblow to make the fight half as hard as it should be. There is always a way to break through battles that look like brick walls, you just have to get tactical.
Be careful with Dragonrot
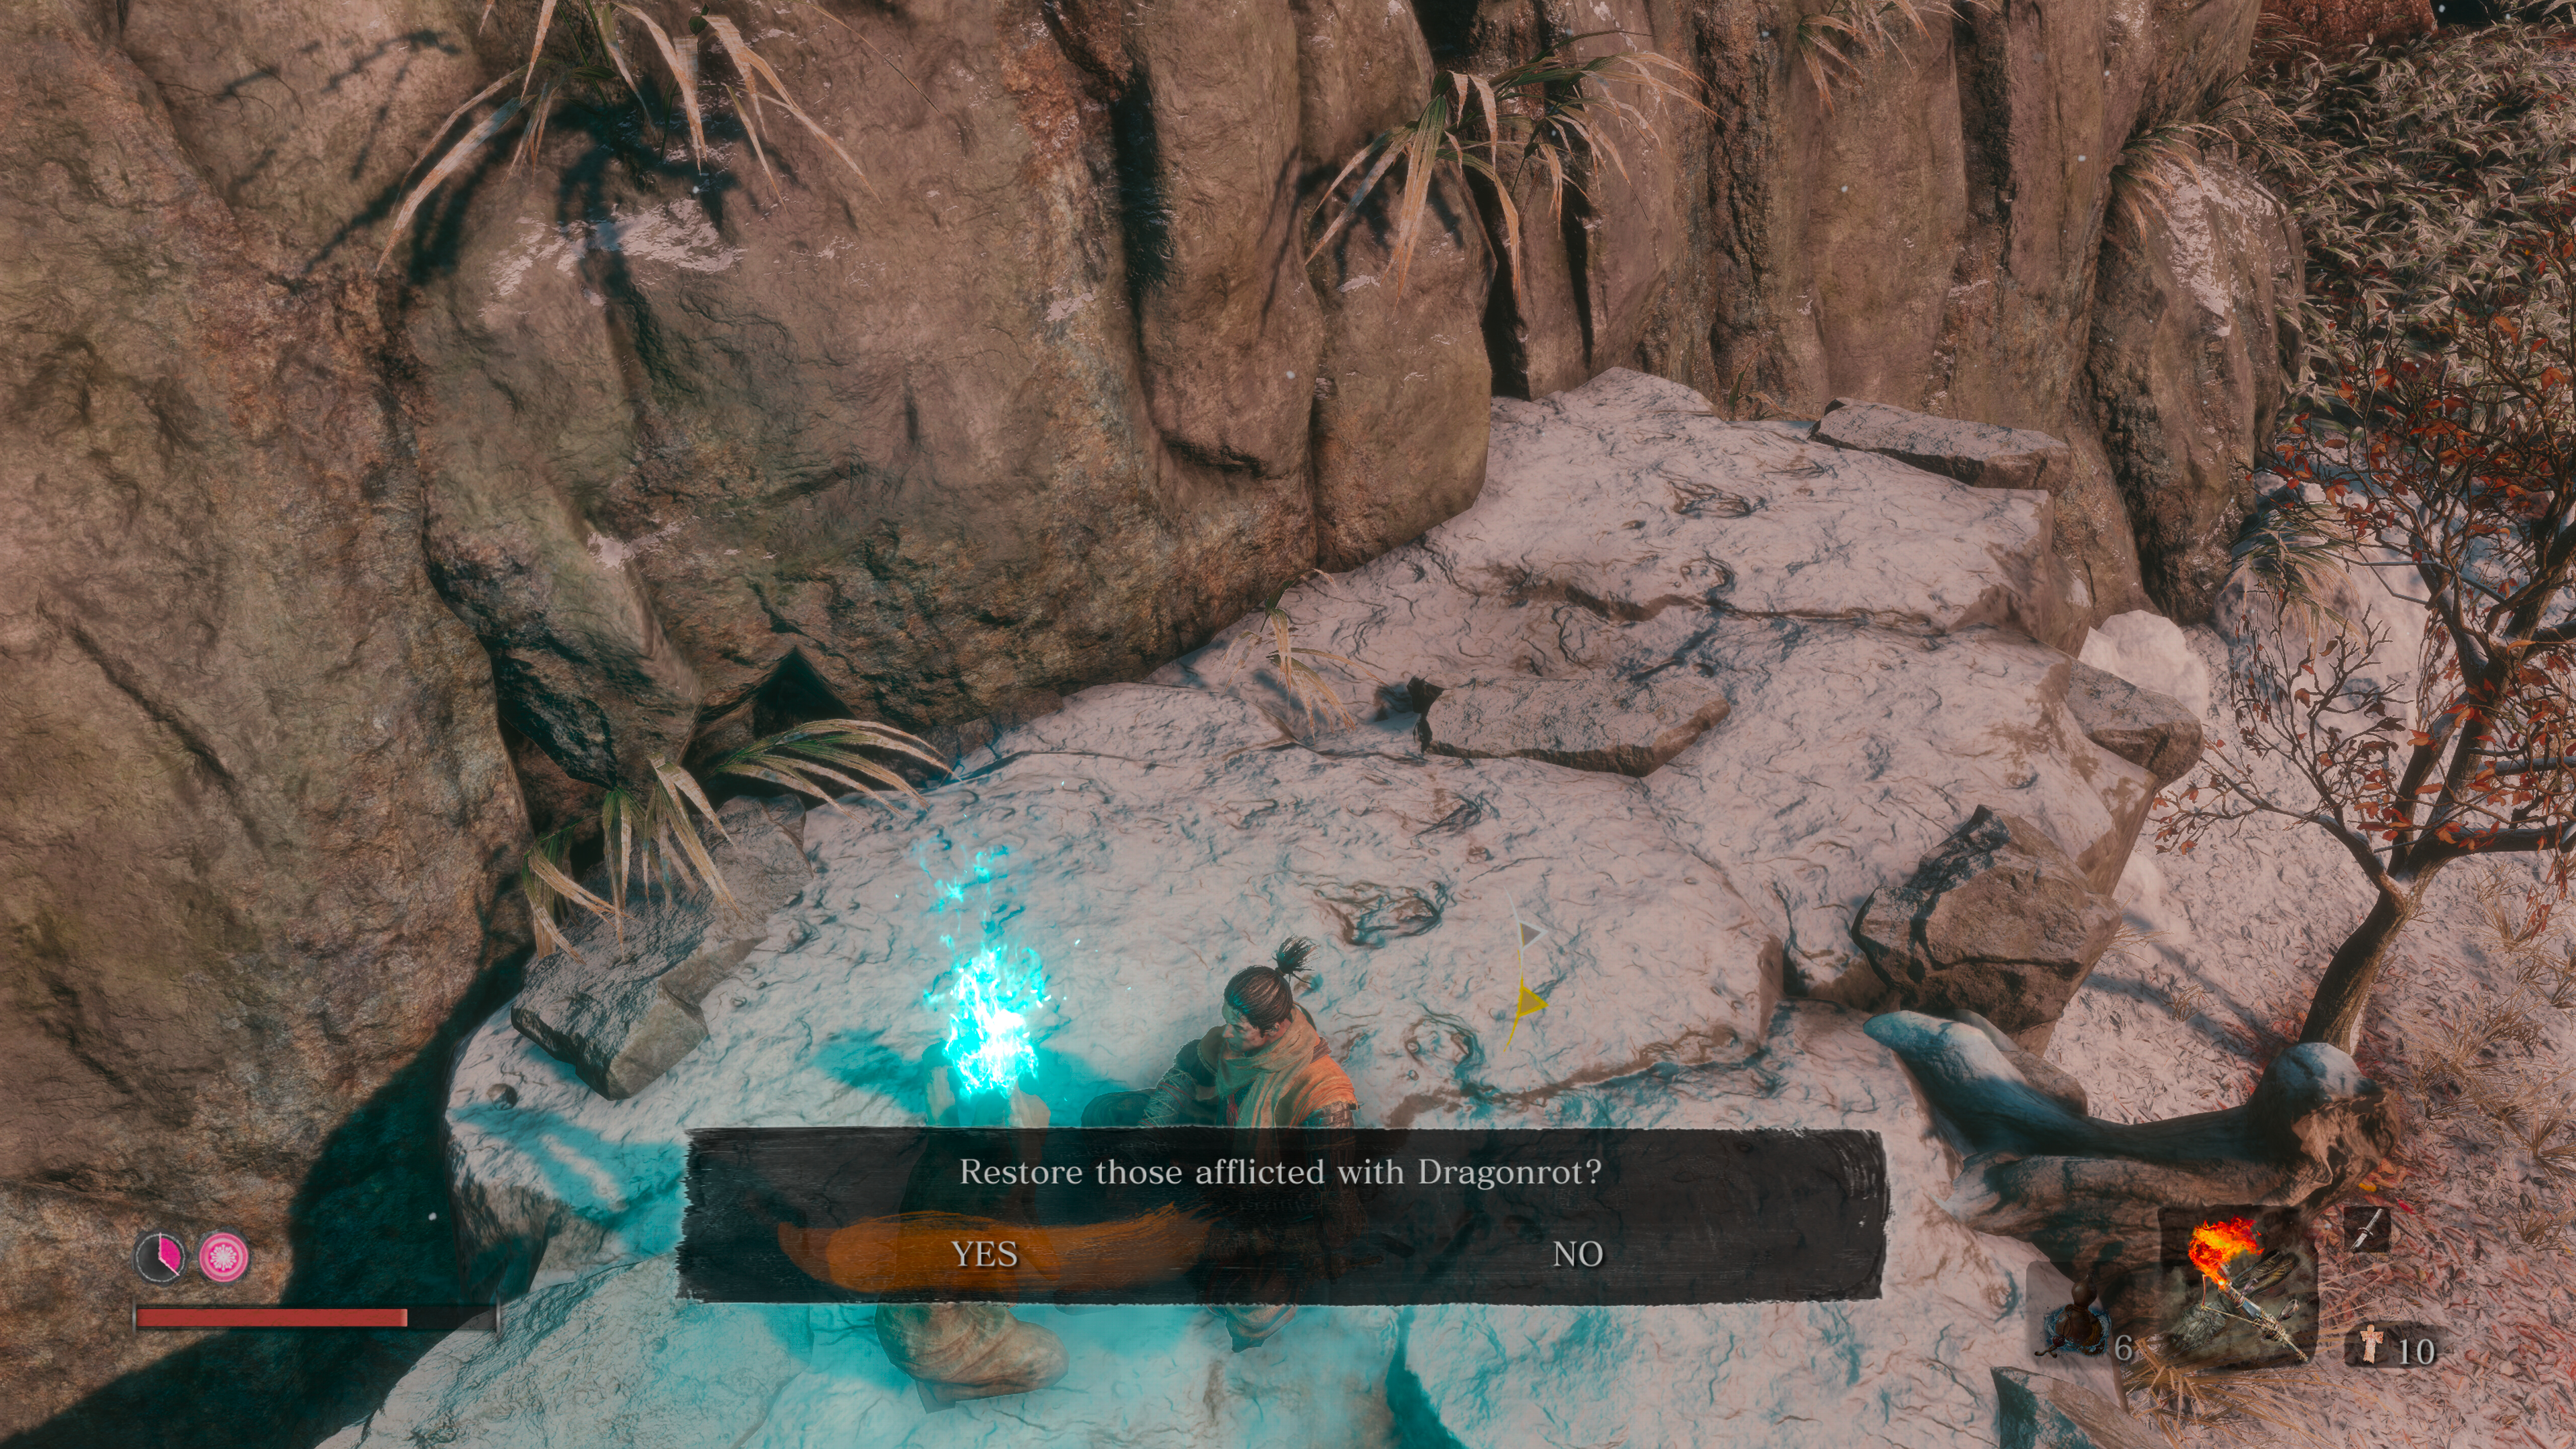
Dragonrot is a brand new mechanic in Sekiro that functions like a curse that hurts every NPC in the world when you rely on the resurrection mechanic to win battles. This also takes away a mechanic called Unseen Aid, meaning you’re less likely to recoup your fiscal and XP losses when you die. Follow the early Dragonrot questline by collecting a blood sample for Emma at the Dilapidated Temple and she will give you your first Dragon’s Blood Droplet.
You can crush this at any Sculptor’s Idol to restore the entire world to health and continue the questlines of the afflicted NPCs. However, be careful about this. Dragon’s Blood Droplets are a finite resource. You can buy most of them from the world’s vendors, but outside of that, only a few are found in the wild. Crush them only when you’re sure you’re not going to hit a brick wall and be forced to rely on resurrection.
Conserve your cash
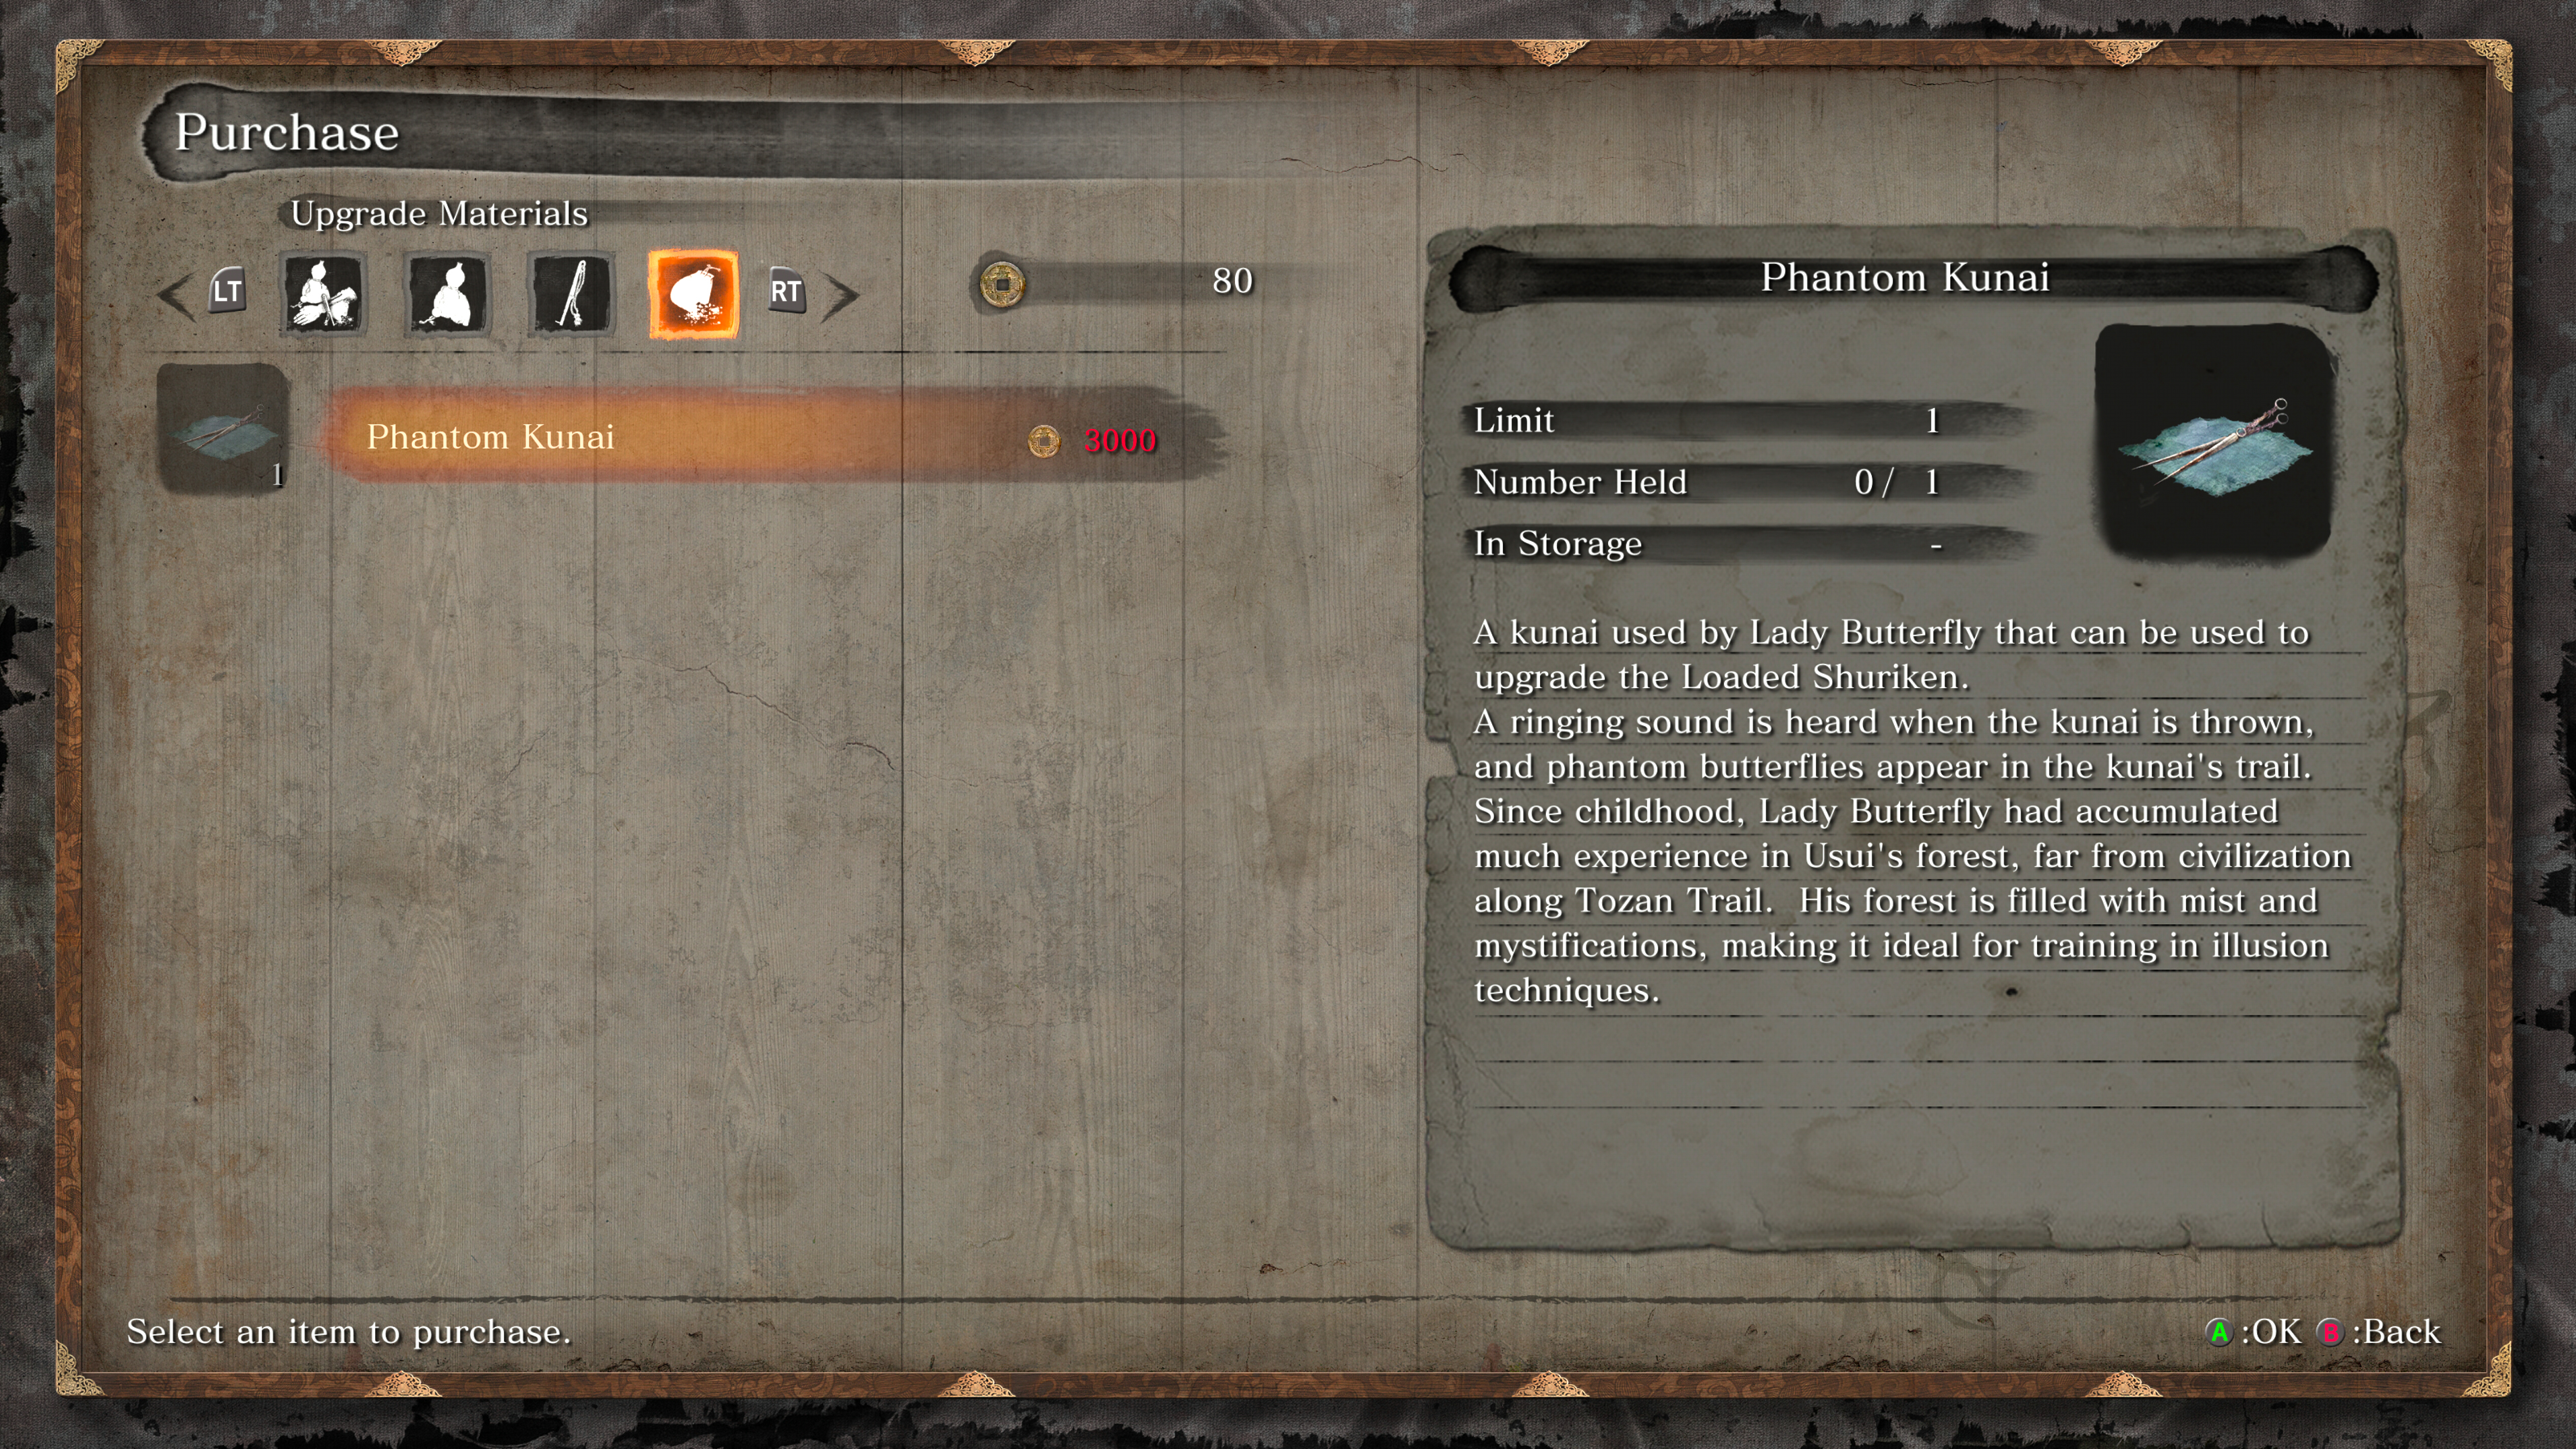
This is another one that can easily ruin your playthrough if you don’t consider it. You may see vendors selling coin purses for a slightly inflated price. 110 sen for a coin purse that holds 100 sen, for example. You may scoff at this, but if you think about it, it makes total sense.
Sign up for breaking news, reviews, opinion, top tech deals, and more.
You lose money when you die in Sekiro, but you don’t lose collected items. If you ‘bank’ all of your earned money by purchasing coin purses, you can redeem it when you want like the collectable souls in the Dark Souls series.
If you find yourself with lots of money in your pocket, always find a way to bank it so you can have some vital cash when you need it most. Heed this warning, as if you’re dead broke in the mid-game, it’s hard to claw your way back. Crucial items like Gourd Seeds and Prayer Beads can be purchased to give you an extra edge when you’re struggling, so always keep your mind on your money.
There’s always another way
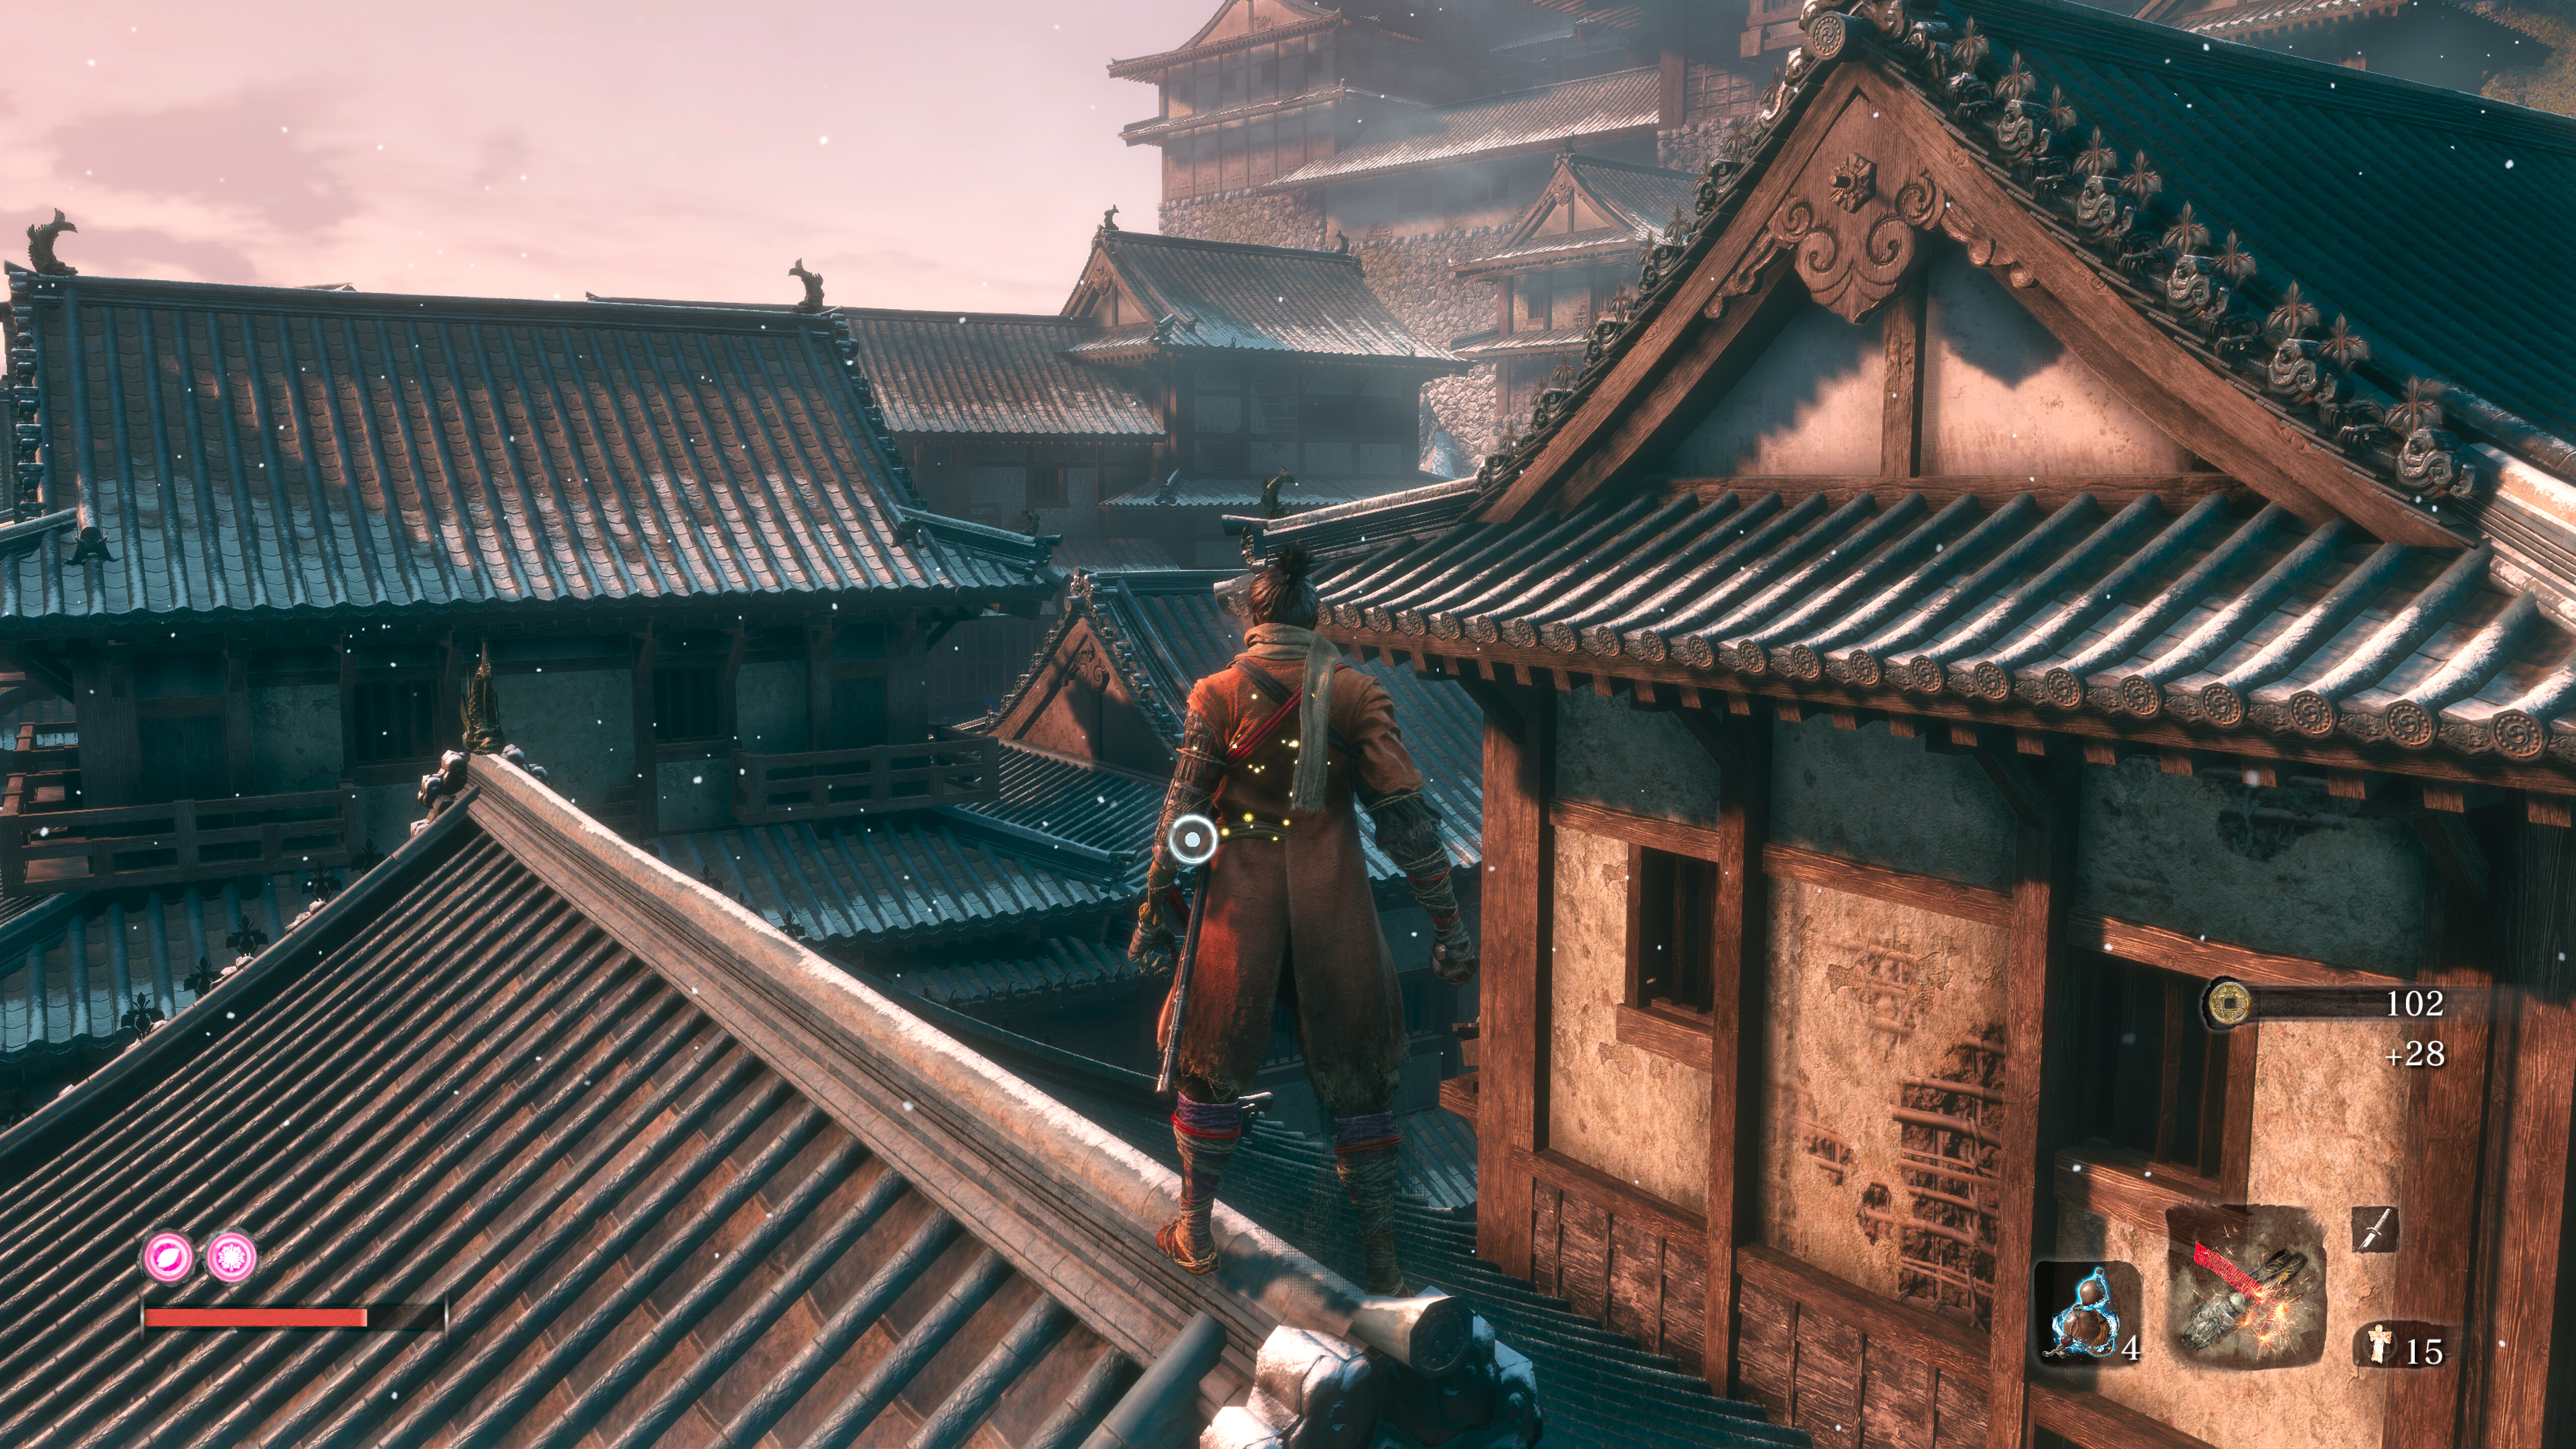
Sekiro’s linearity is deceptive, in that it plays out like a cohesive story but is still a branching open-world game like Dark Souls. The benefit of this is that you can fast travel between Sculptor’s Idols (basically bonfires) from the start of the game. When you’re struggling to succeed in one location, I’d urge you to try another area.
From what I’ve played there is always a secondary area to visit when you’re going through the ringer with a certain boss. That path may also lead you to a new Gourd Seed so you can bolster your health, or enemies that offer a refreshing pace that might help you train and unlock better skills so when you return to the egregious boss, you can wipe the floor with them.
Don’t slam into the brick wall ad nauseum if you know you’re not up to it, go somewhere else and cool off!
Don’t forget about prosthetics
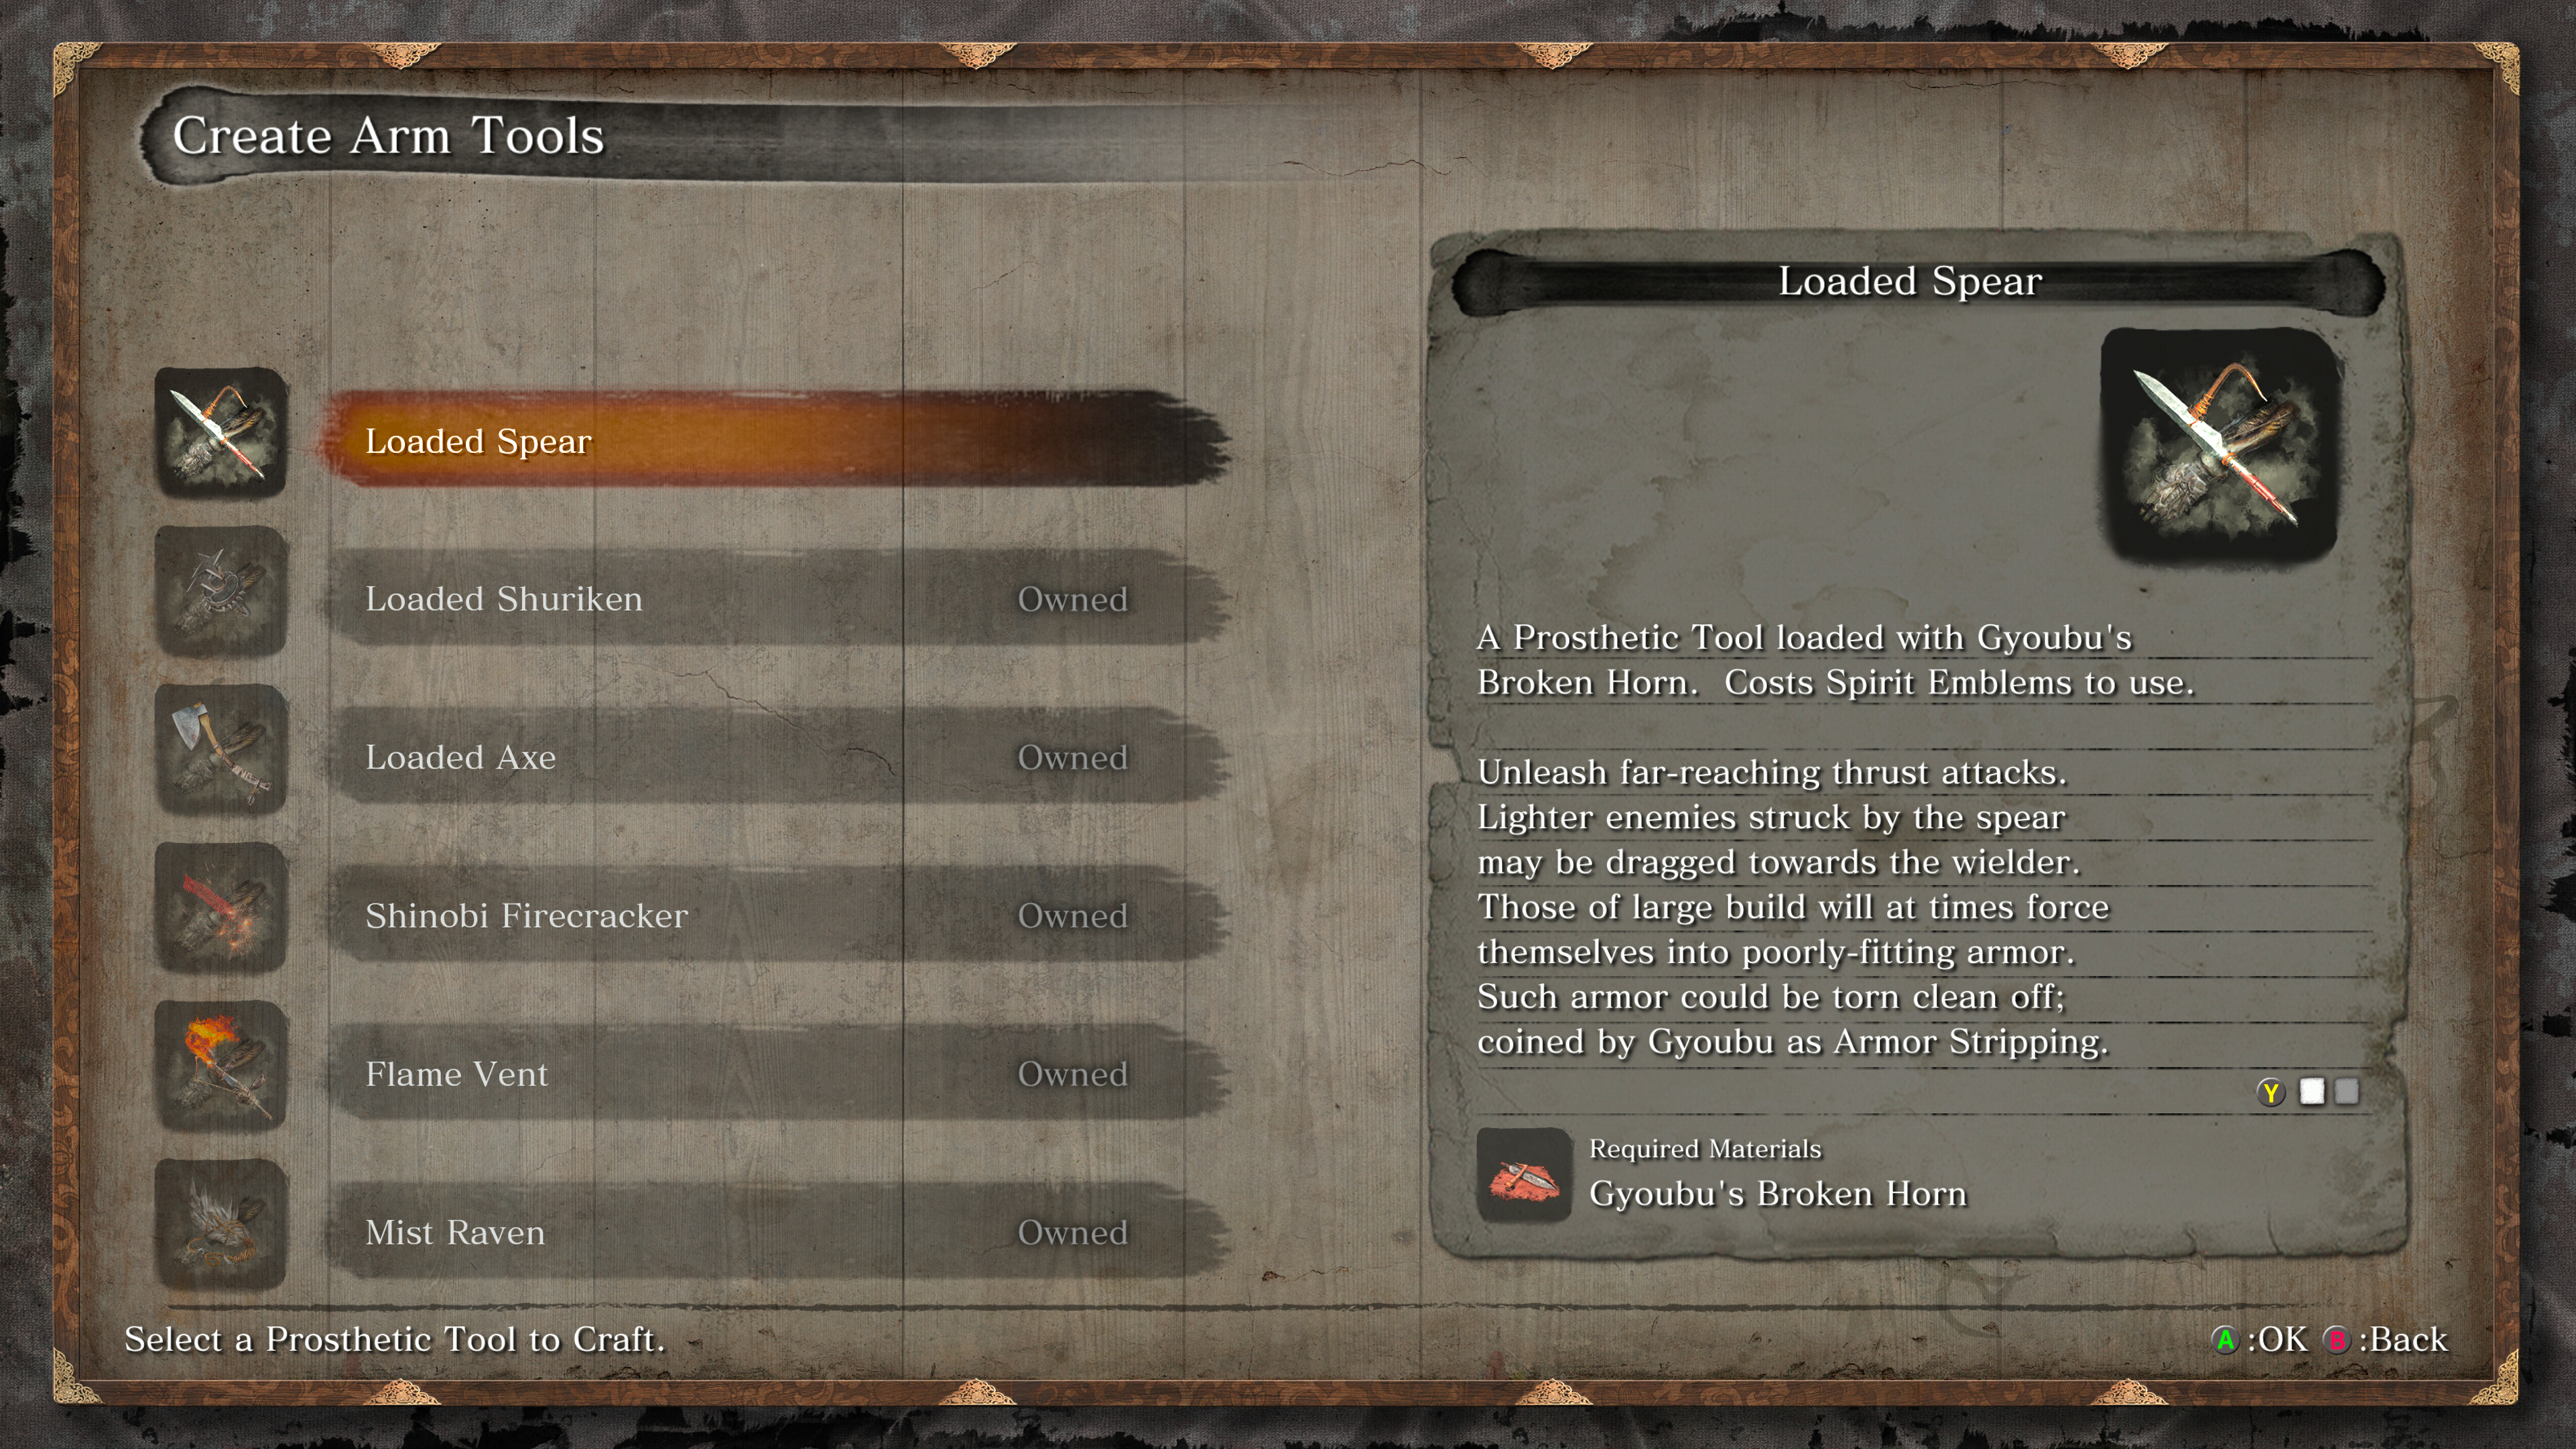
Ah, the Shinobi Prosthetic. The bane of the one-armed wolf’s life, but also his greatest tool! Seriously, don’t forget to use this when the going gets tough. It can be easy to forget about it and let the spirit emblems that charge it pile up in your inventory. You will find these emblems everywhere in the world, so don’t treat the prosthetic like a last resort.
As you explore and find more materials and fit new tools, you will open up new avenues for success. The Loaded Axe makes short work of enemies with high posture bars and shields, and the Flame Barrel combined with a pot of oil can decimate a miniboss when you’re struggling, especially if they’re susceptible to fire.
Other prosthetics like the Firecracker can be used as a reliable stun, and the Loaded Umbrella is essentially an impenetrable shield! Experiment and look out for Shinobi Materials in order to bolster your arsenal and have an answer to every difficult question that the game seeks to pose.
(Image Credits: FromSoftware/Activision)
Jordan Oloman is a journalist and documentarian with experience across the pop culture/tech spectrum writing reported features, reviews. news, guides, op-eds and more for a wide variety of outlets. He is also an affiliate streamer on Twitch and have previous experience in scriptwriting, podcasting, game consultation and creating video content.
