Exploring the more advanced Windows tools is a great way to begin taking control of your PC. Learn about Task Manager, for example, and you'll soon be able to detect, and importantly, close down failing processes that might be slowing down your computer.
Relying on the standard applets presents all kinds of problems, though. You have to manually launch them every time you want to do something. Then you're forced to work your way through the interface, perhaps choosing the same settings and options, over and over again. And even after all this, the applet might not do exactly what you need.
Fortunately, there is another way. PowerShell is a powerful scripting language that enables you to take full control of every aspect of your PC. Whether you need to watch running processes, monitor the file system, tweak the registry, download files, analyse web pages, create reports or do just about anything else on your local PC or any other networked system, PowerShell can help you get the job done, as precisely as you require, and as quickly as possible.

What's more, while it can sometimes be complicated, you don't have to be a programmer to begin learning a few scripting basics. In fact, if you work at the Windows command line, even occasionally you could be carrying out useful tasks in PowerShell with just a few minute's study.
Command prompt
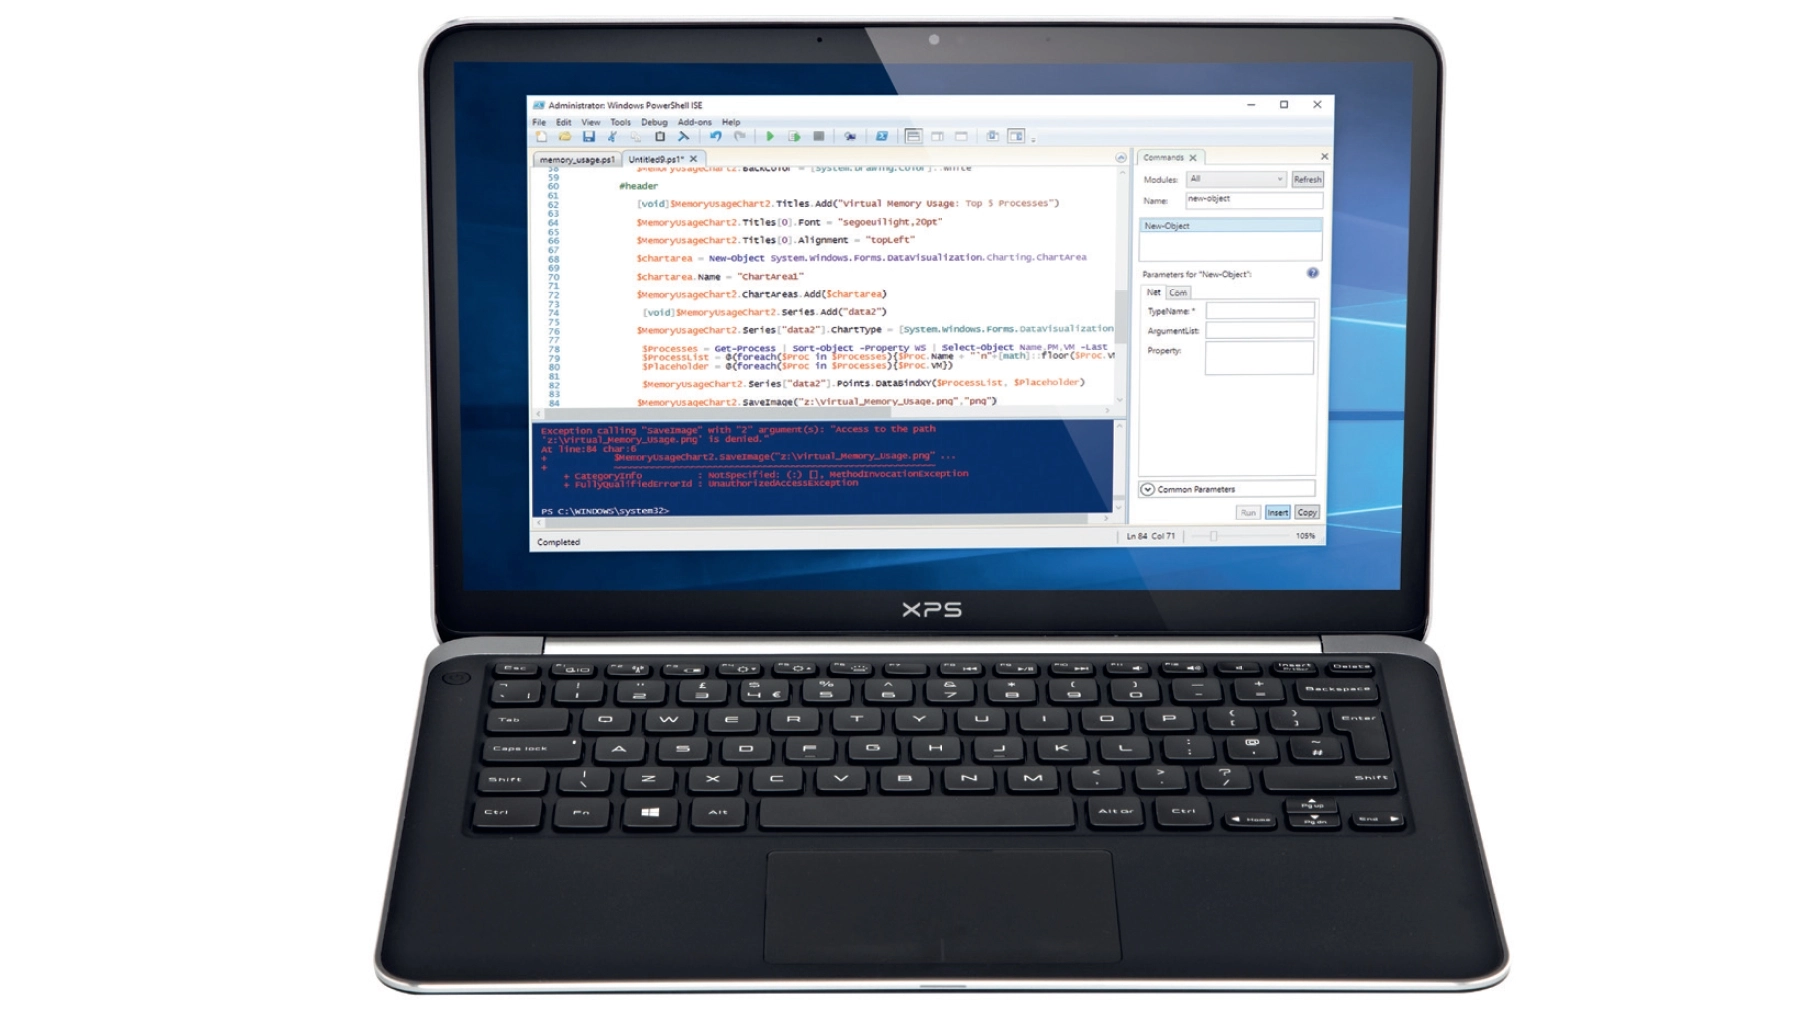
To launch PowerShell, type 'powershell' into the Search box, then right-click the Windows PowerShell entry and choose 'Run as administrator'.
As you'll see, the PowerShell interface looks and feels almost identical to the standard command line. And in many ways, this is a good thing, because it means you can use all the commands you know already.
Enter DIR to list the files in a folder, for instance, cls to clear the screen, or IPCONFIG to list your network adapters; everything works as you'd expect.
What you do get, though, is many new commands – or cmdlets (pronounced 'command-lets') in PowerShell-speak – and, fortunately, there's a cmdlet to list them all. Type get-command and press [Enter] to take a look.
For now, ignore the functions and look only at the cmdlets. As you'll see, cmdlets have a clear verb-noun naming structure: Start-Process, Clear-EventLog, Get- ComputerRestorePoint, Restart- Computer, and so on. This makes them quite easy to understand but, of course, you'll often need more detail.
Enter Update-Help to download and install the documentation, then use the Get-Help cmdlet, like this, to find out a bit more about PowerShell:
Get-Help Start-Process
Get-Help service
Get-Help clock
The first line displays specific help on Start-Process; the second lists cmdlets with 'service' in the name; and the third just searches the help system for any items containing the word 'clock' – great when you know what you want to do, but just aren't sure which cmdlet to use.
Quick queries
Enough of the theory; it's time to do some real work. Let's start by using PowerShell to collect some data on our system, like this: Get-Process.
As you'll probably guess from the cmdlet name, this gets a list of processes currently running on your system (just the same as you would see in Task Manager), and displays their CPU and RAM use, along with some other statistics.
That's already useful, and not something you can do easily in Windows alone, but we're just getting started. Next, enter this:
Get-Process | Where-Object CPU -gt 5
As before, PowerShell is first checking your running processes. The pipeline character tells PowerShell to pass that list to the Where cmdlet. And this scans through the process list, looking for anything that matches the condition we've set – that it should have used greater than five seconds of CPU time (-gt is greater than; -ge is greater than or equal to; -lt is less than; -le is less than or equal to).
We've now filtered our original list a little, then, but there's still more to do. The next step is to enter this:
Get-Process | Where-Object CPU -gt 5 | Sort-Object handles -descending
We're still fetching your running processes and picking out the CPU hogs, but now PowerShell is also sorting the remaining processes by their number of handles (a measure of how many files, memory blocks and other objects a process has open).
Again, this is just an example, so tweak it; sort by CPU, say, or ProcessName (the column headers at the top of the Get-Process list will give you an idea of the names you can use).

Powerful reports
As you can see, there are plenty of ways to customise and filter whatever PowerShell returns, but there's a problem: we're still only getting plain text results. So try this:
Get-Process | Where-Object CPU -gt 5 | Sort-Object handles -descending | Out-GridView
Now PowerShell doesn't only filter and sort the list; it also displays the results in an interactive grid. You can hide, re-order or sort columns, and filter your data in various ways. And once you're happy, any selected rows can be copied to the clipboard, ready for using anywhere else.
This isn't bad for a single line of code and, of course, you can have as many lines as you need, but there's more. Because PowerShell cmdlets work in such a consistent way, you can take this example and reuse it almost immediately. Take a look at these examples:
Get-Winevent System | Where-Object LevelDisplayName -eq "Critical" | Out-GridView
Get-Service | Where-Object status -eq "running" | Sort-Object displayname | Out-GridView
The first gets the contents of the Windows System log, looks for critical errors and displays them in a table. The second fetches our running services, again sorting them to suit our needs. And both examples can be further tweaked and customised in many different ways.