How to deep-clean your mechanical keyboard
What lies beneath
It’s easy to turn a blind eye to what festers beneath the surface of your mechanical keyboard. Even if you’re the type of person who gives their keyboard the occasional surface wipedown (you’re better than most of us), a lot of grime slips through the cracks between your keys and builds up over the months and years.
So once in a while, you need to face up to the horror and give your keyboard a deep clean - pull off the keycaps, wash them, clean the whole thing down, and get it back into the state it deserves to be in.
Here are the things you’ll need to deep-clean your mechanical keyboard:
- Prying tool/flathead screwdriver/keycap remover
- Tweezers
- Washing-up liquid
- Microfibre cloth
- Surface cleaner/70% isopropyl solution
- Q-tips/cotton sticks
- Vacuum cleaner
Removing the keycaps
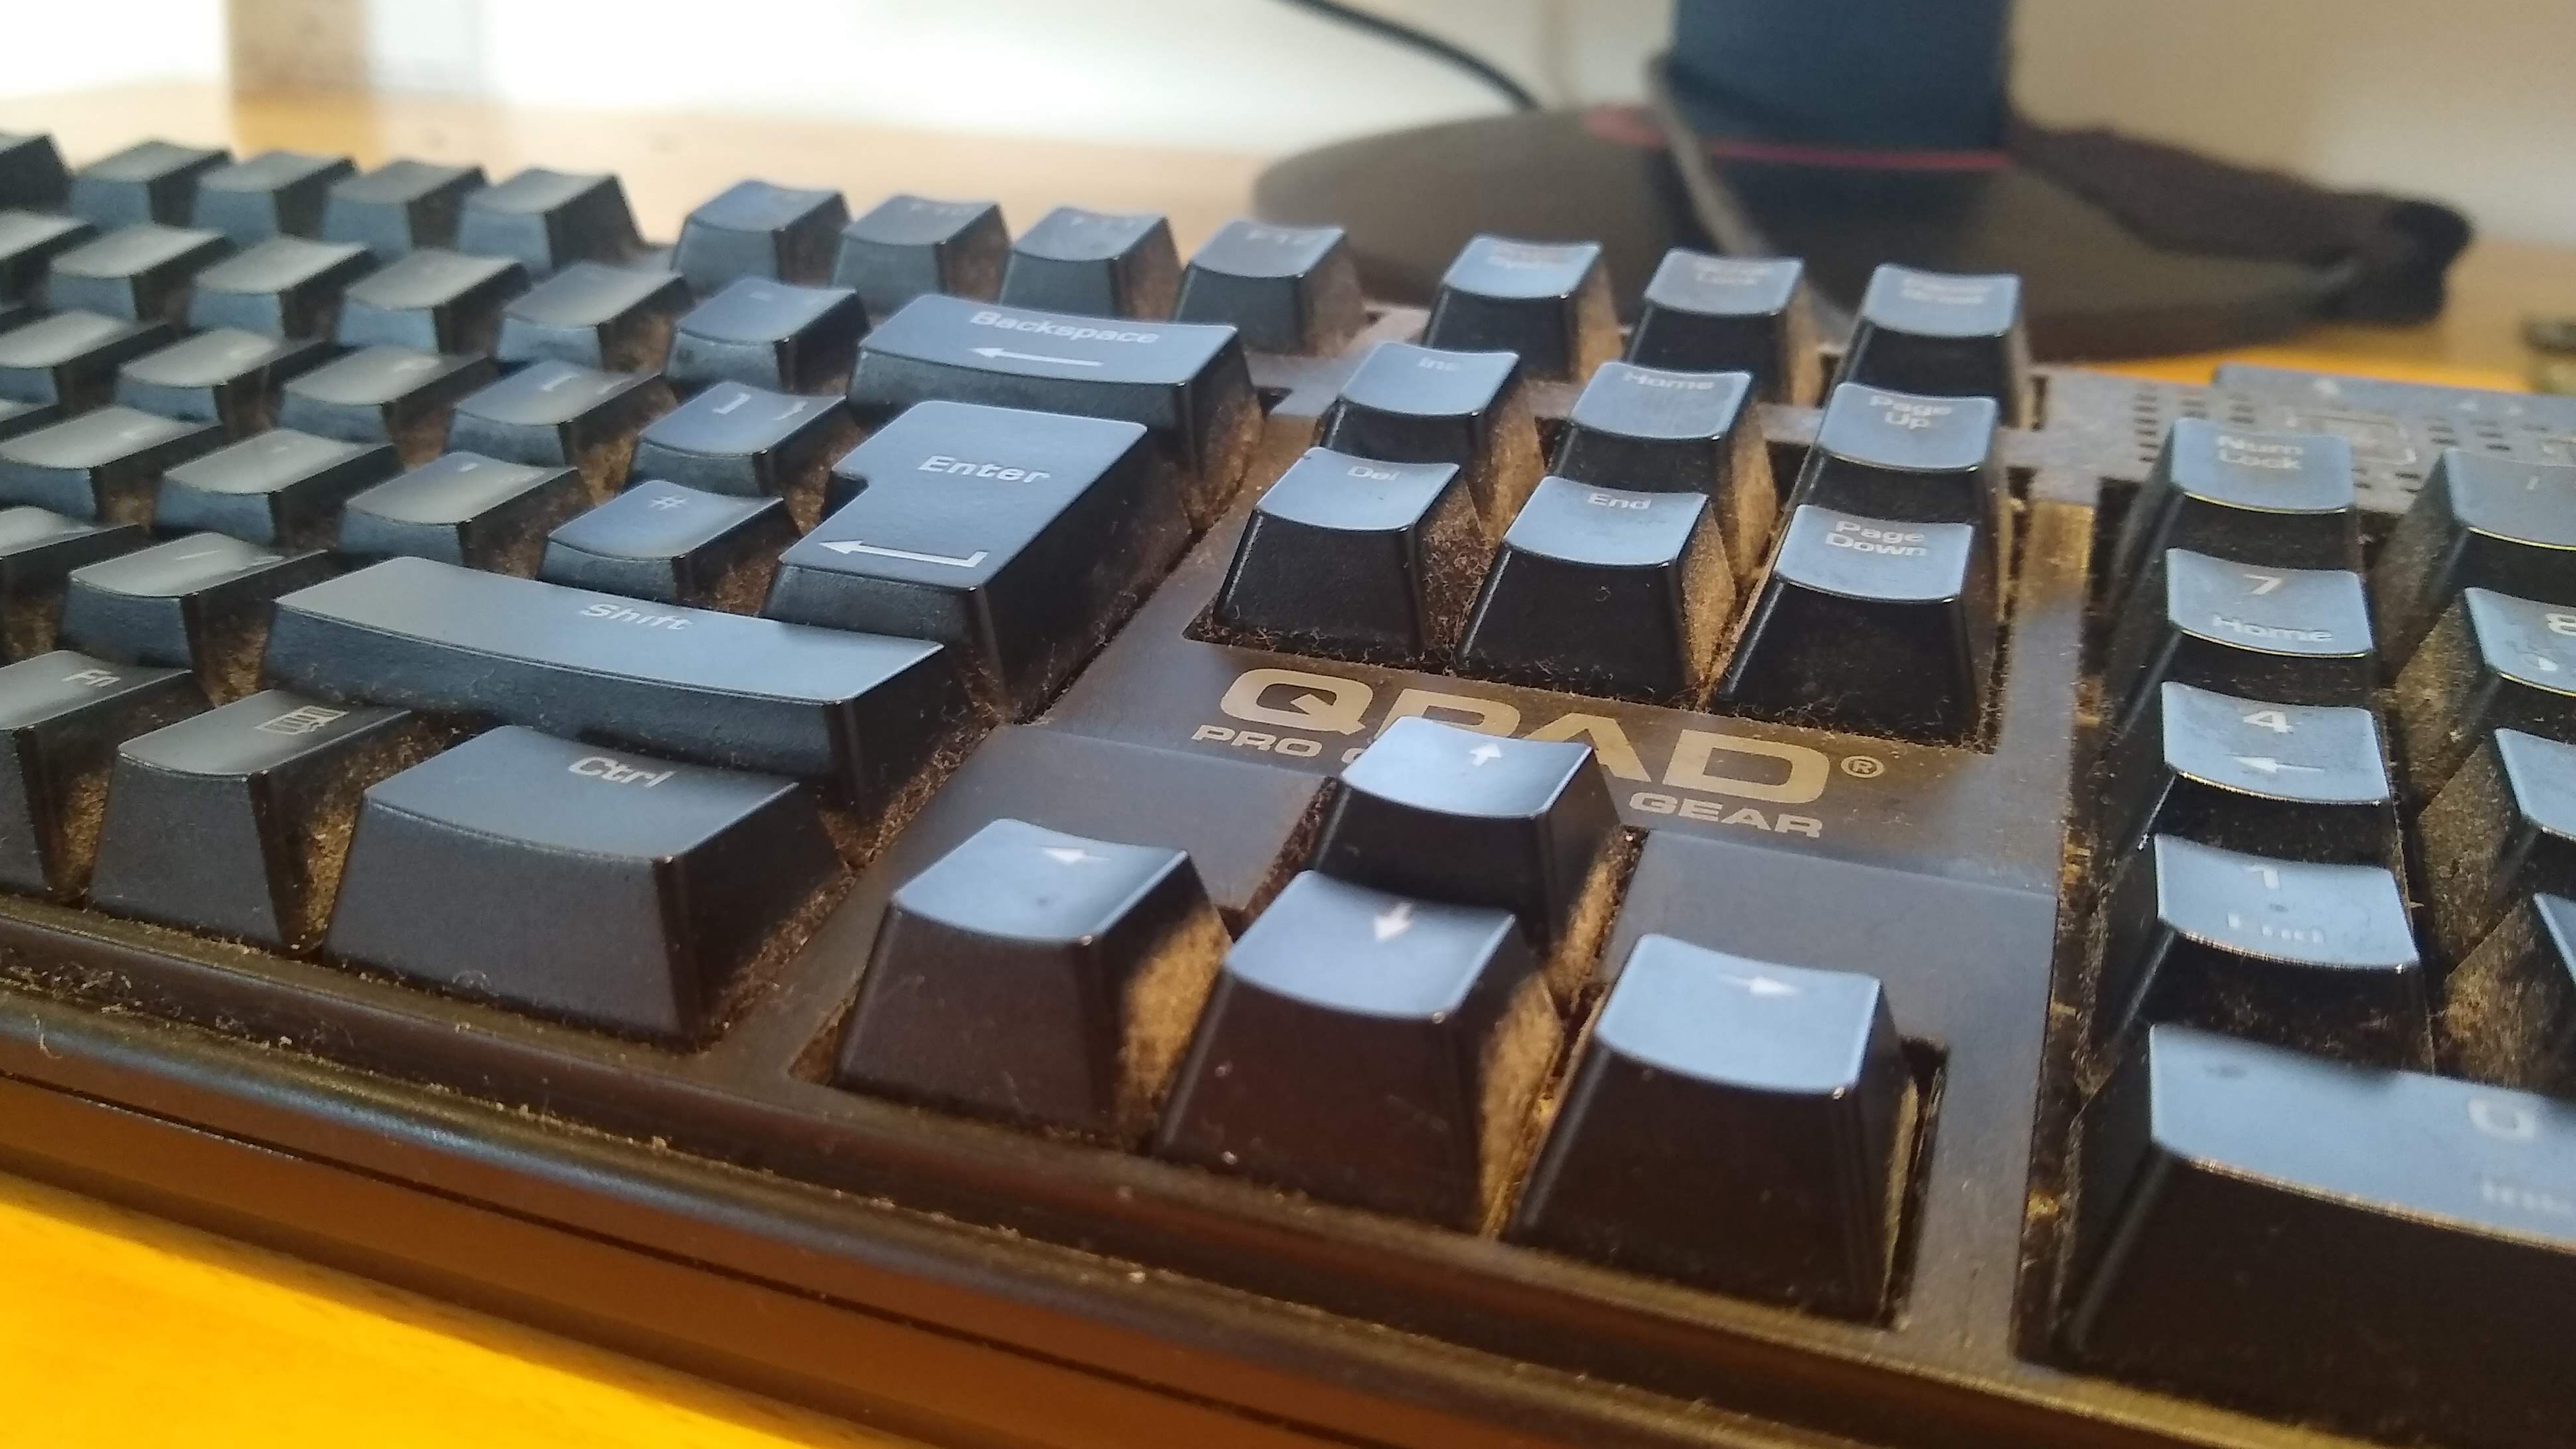
The first keycap you remove should be the space bar, because once that’s off it will be much easier to remove the keys above it.
You might not be able to pull the space bar up like regular keys, as it could be hooked onto a stabiliser - a long metal bar ensuring that larger buttons press down evenly no matter where on the button you press.
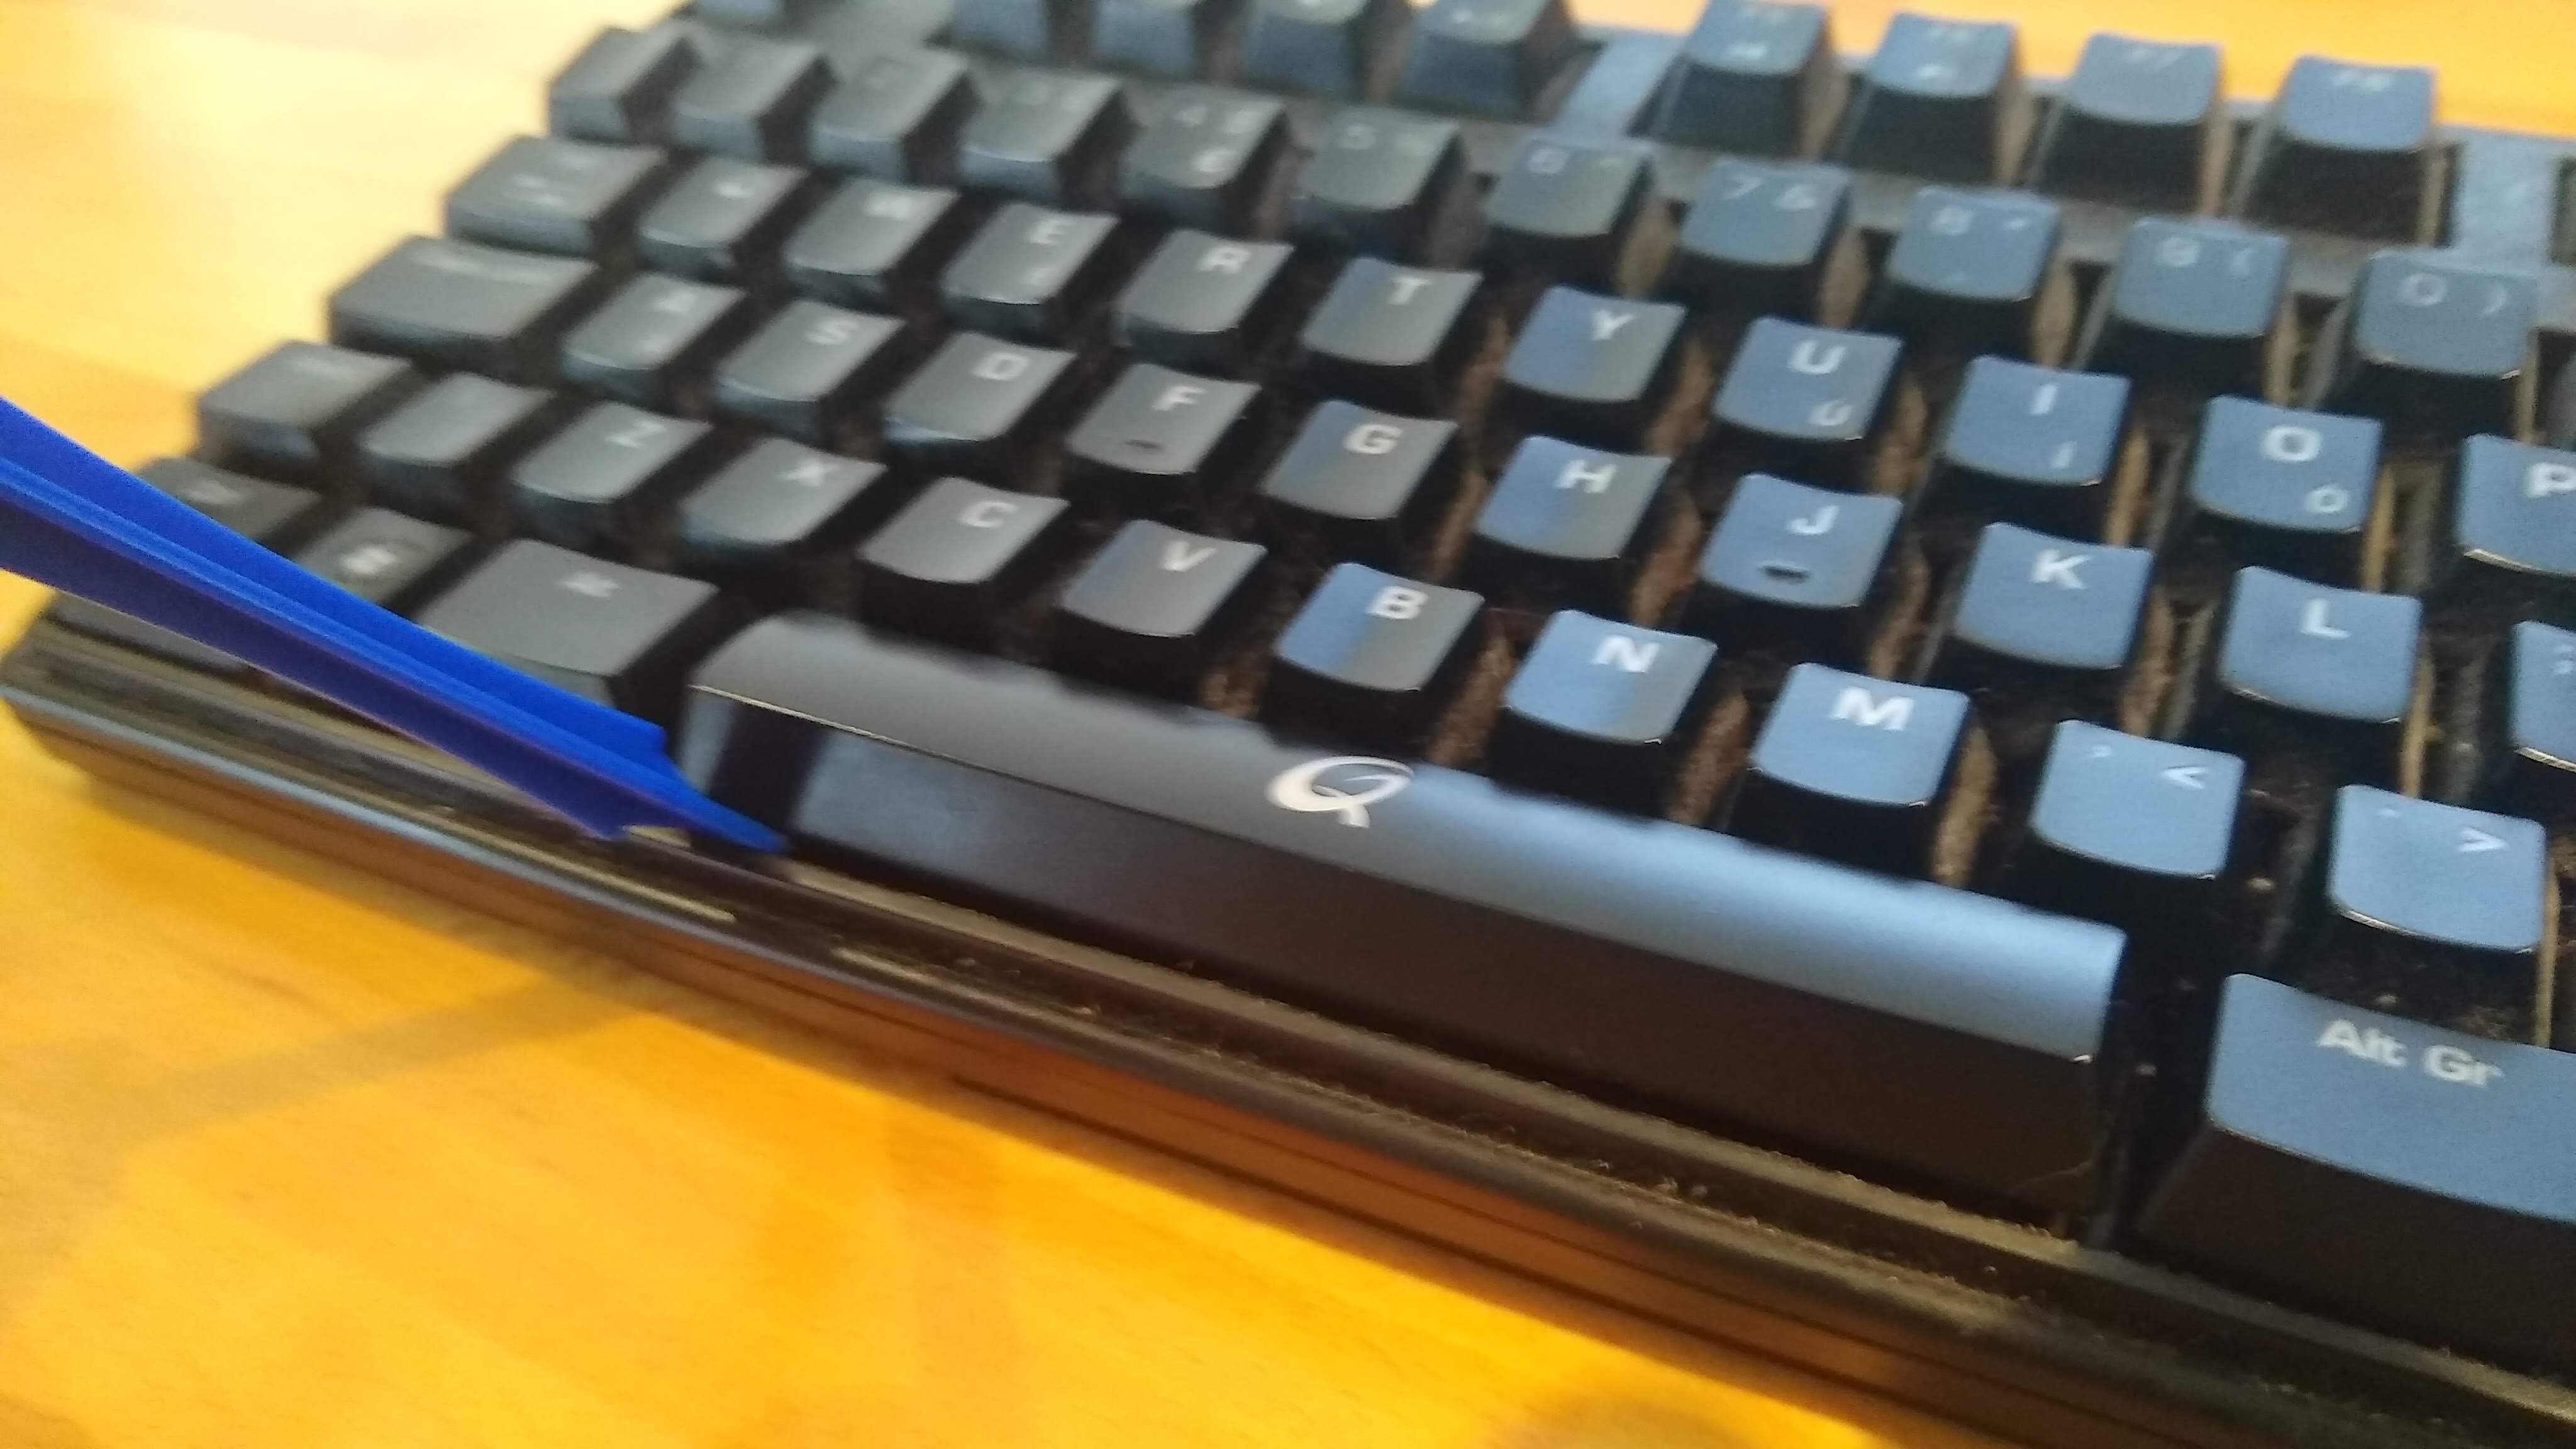
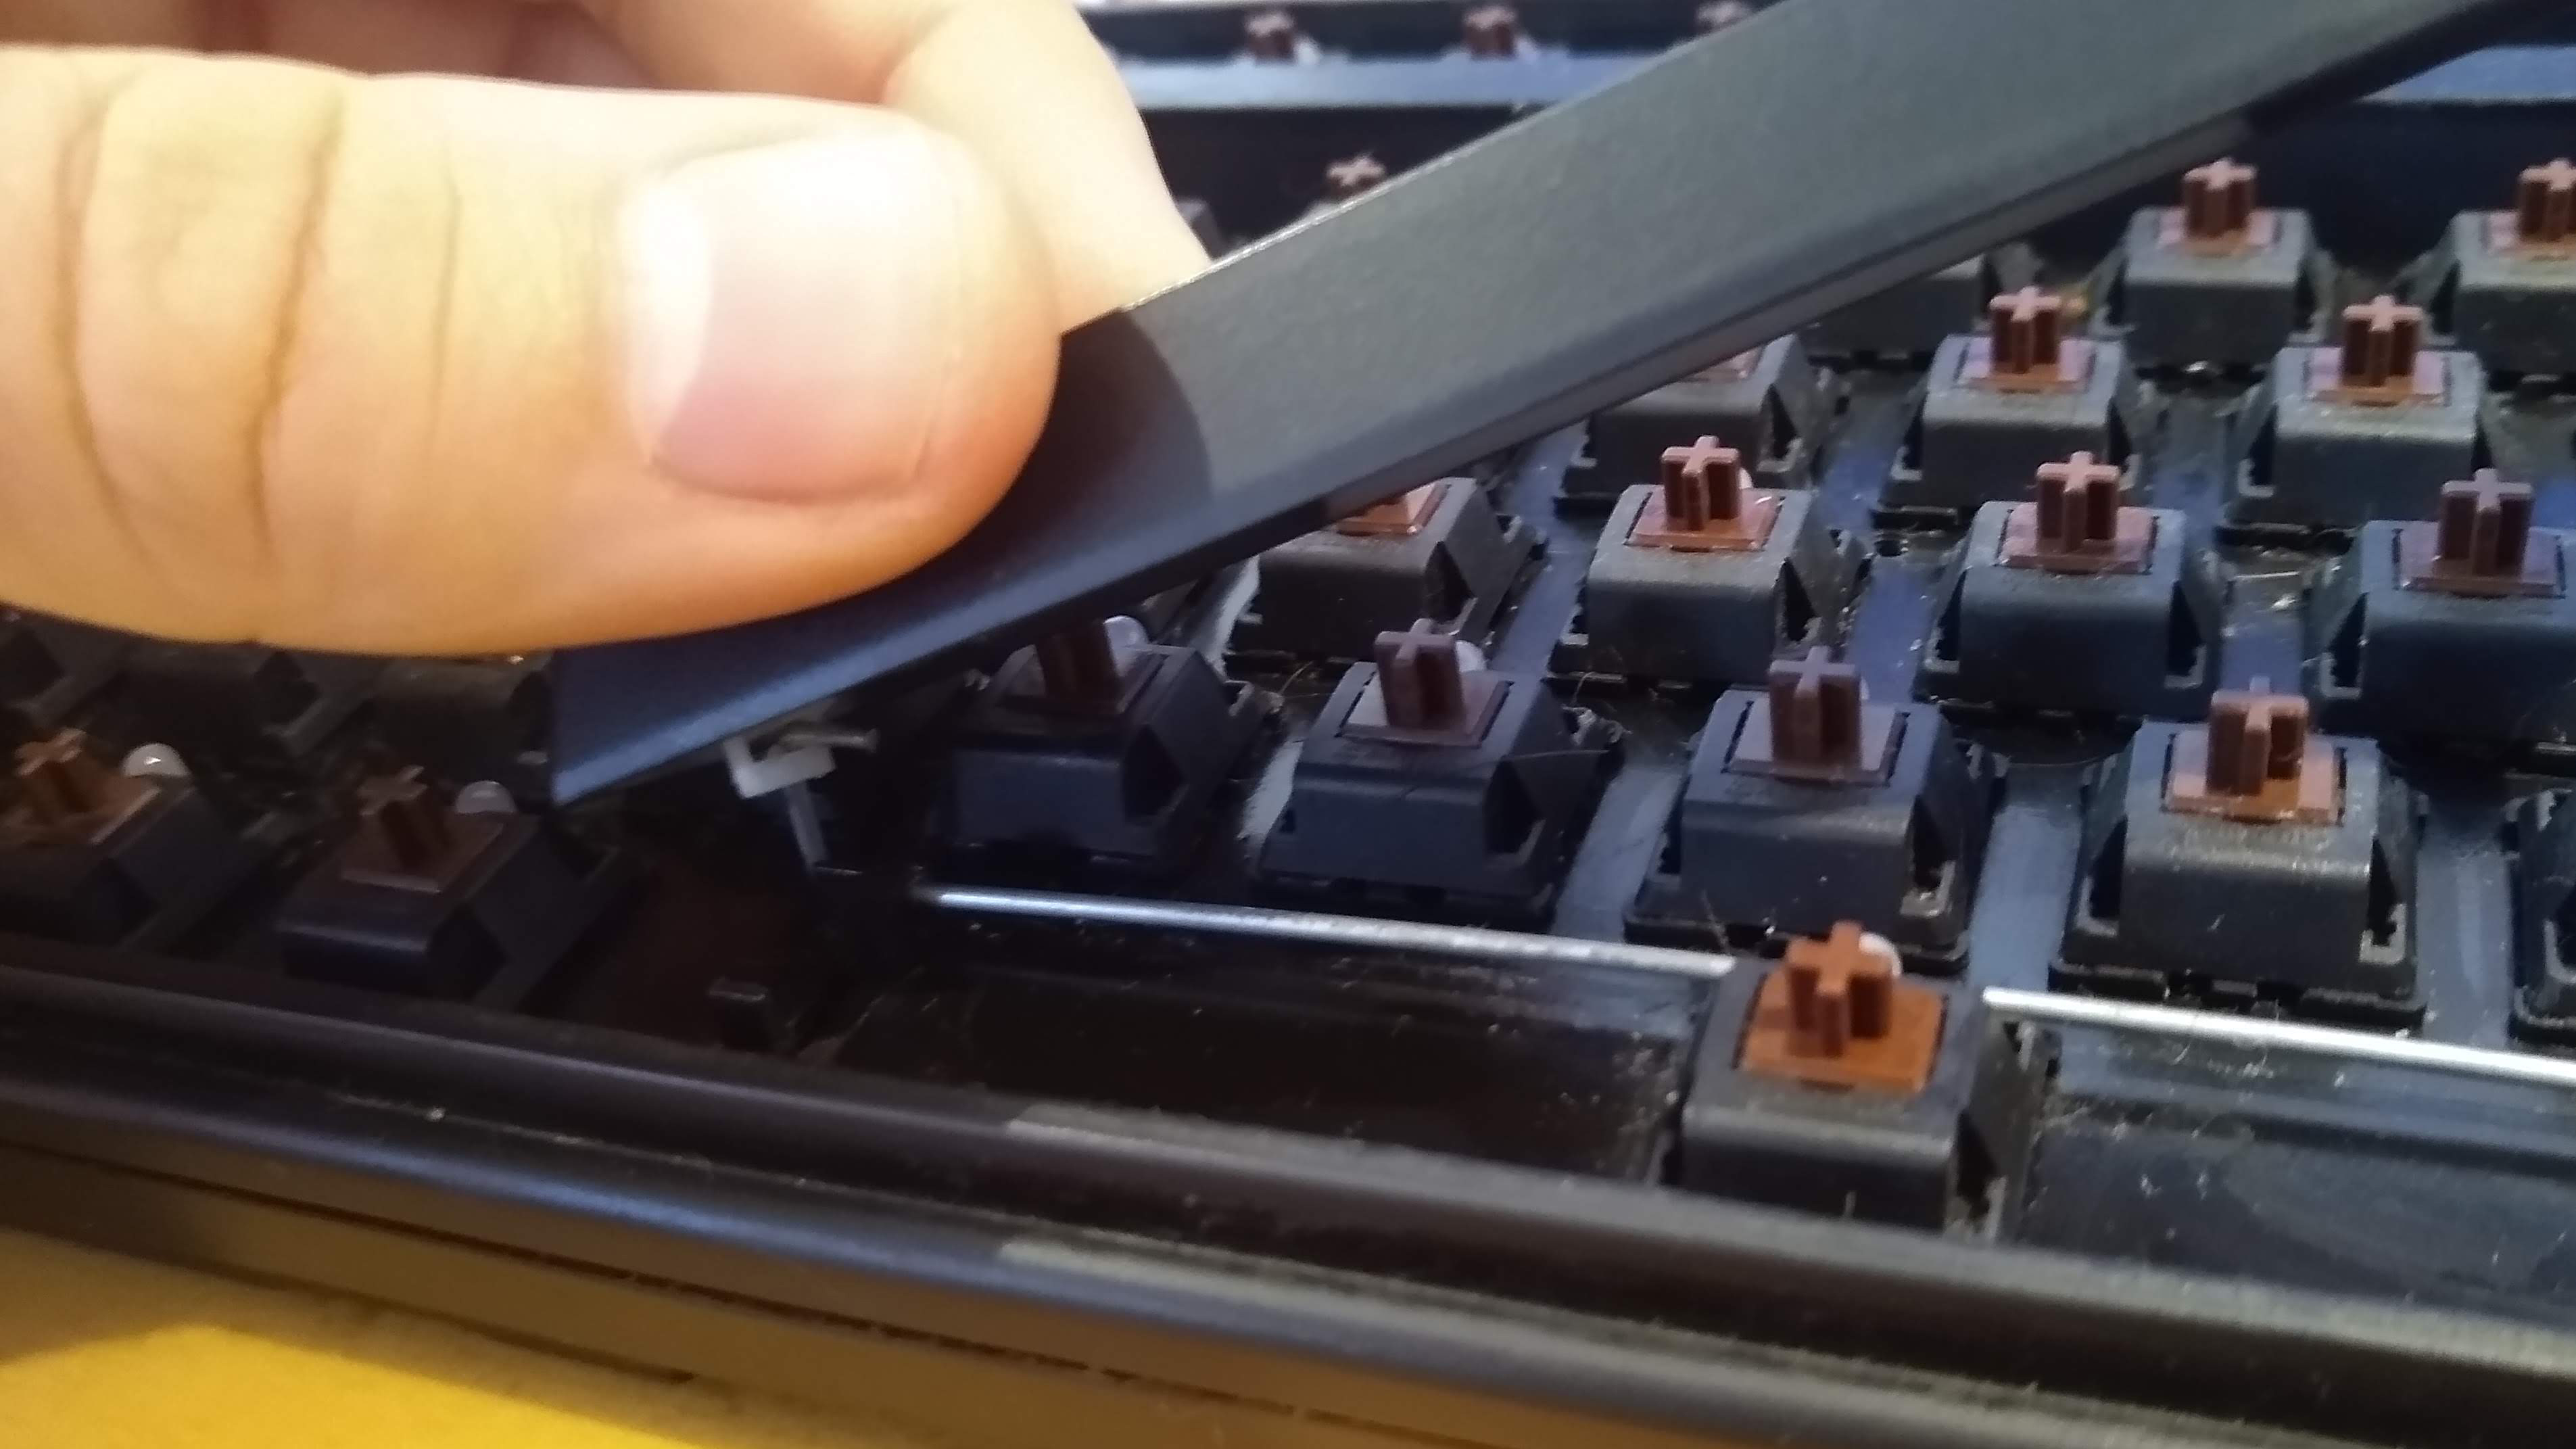
Unless you’re using a keycap puller (which makes the job quite a bit quicker), stick your prying tool of choice under the bottom side of the space bar, then run it along and gently lever it up to detach the keycap from the switch beneath (you should feel a gentle ‘pop’ when you do so).
You may need to lift the space bar slightly then pull it towards the left or right to get it off the hooks. Do all this /very/ gently.
Sign up for breaking news, reviews, opinion, top tech deals, and more.
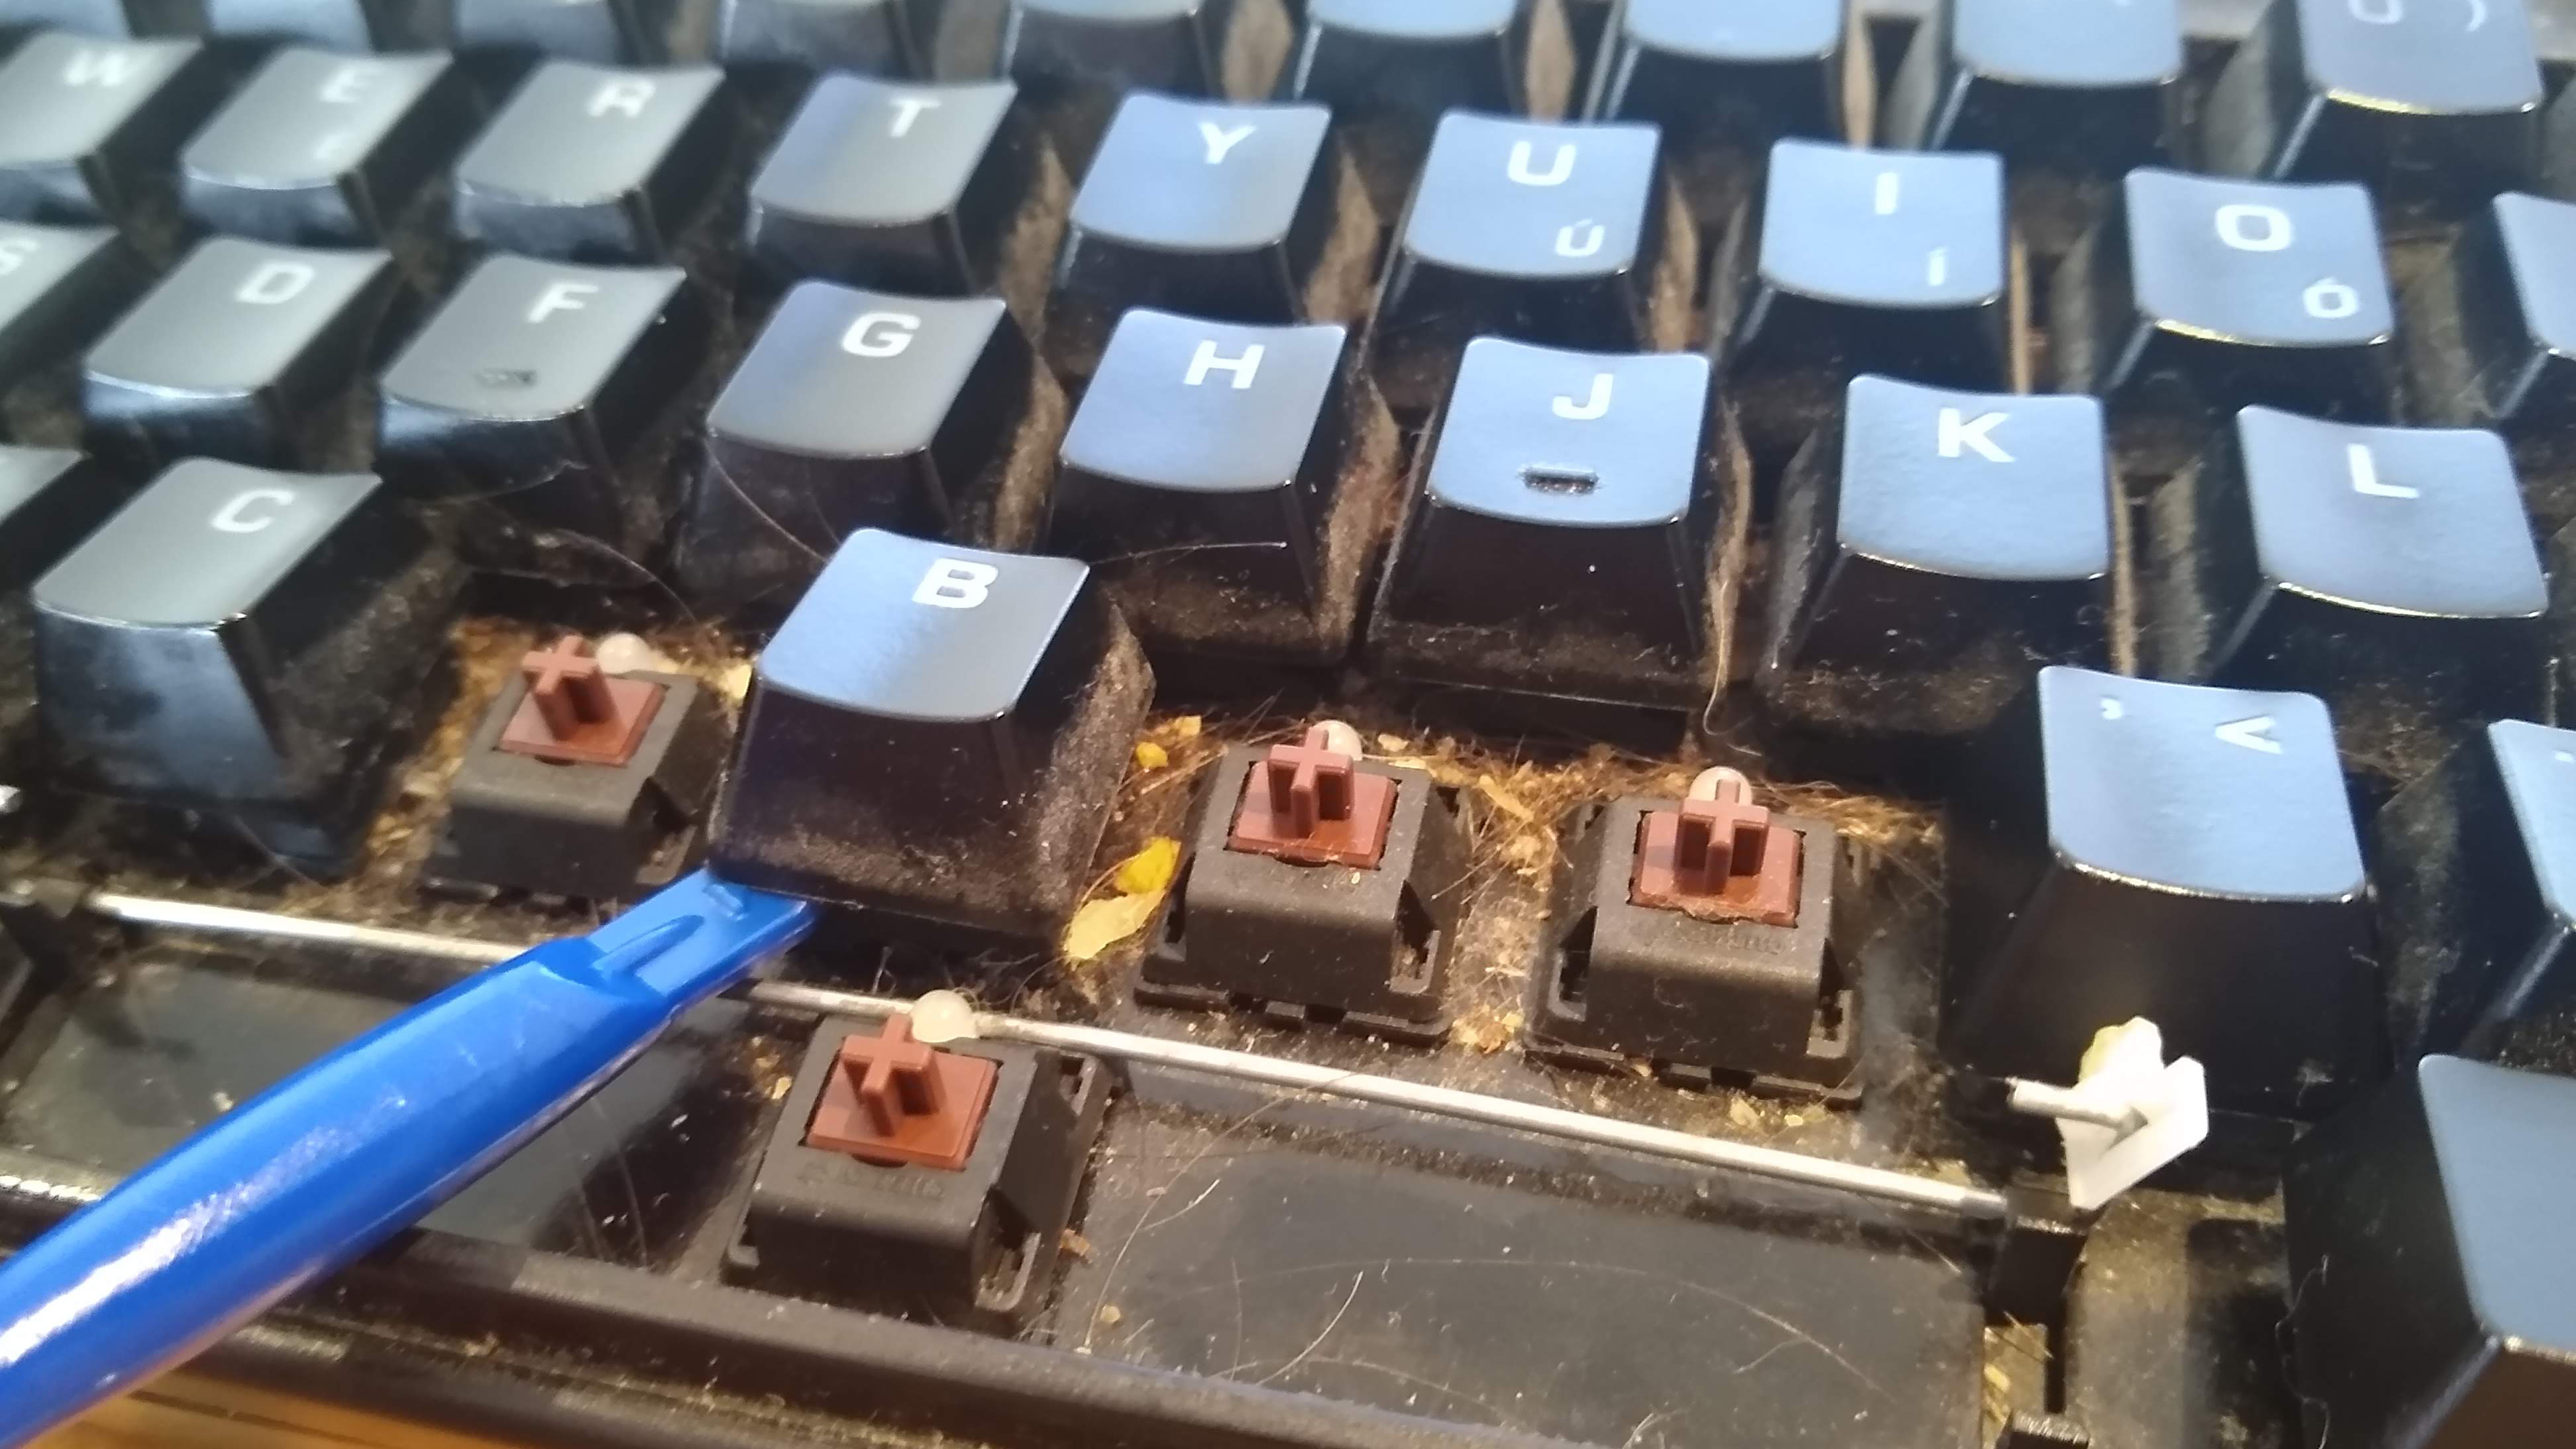
Other large keys that tend to use stabilisers are Enter, Shift, Backspace, 0/Ins and the big ‘+’ key. When you get to them, remove them with the same technique as the space bar.
After that, move onto the rest of the keys on the keyboard. Try to lever them from the underside, and chuck each key into a bowl that you’re going to wash them all in later. Some keys may come off easily, others may be a little resistant then pop into the air.
Keys surrounded by the keyboard’s chassis - like the directional arrows - might be easier to remove with a thinner tool, like tweezers.
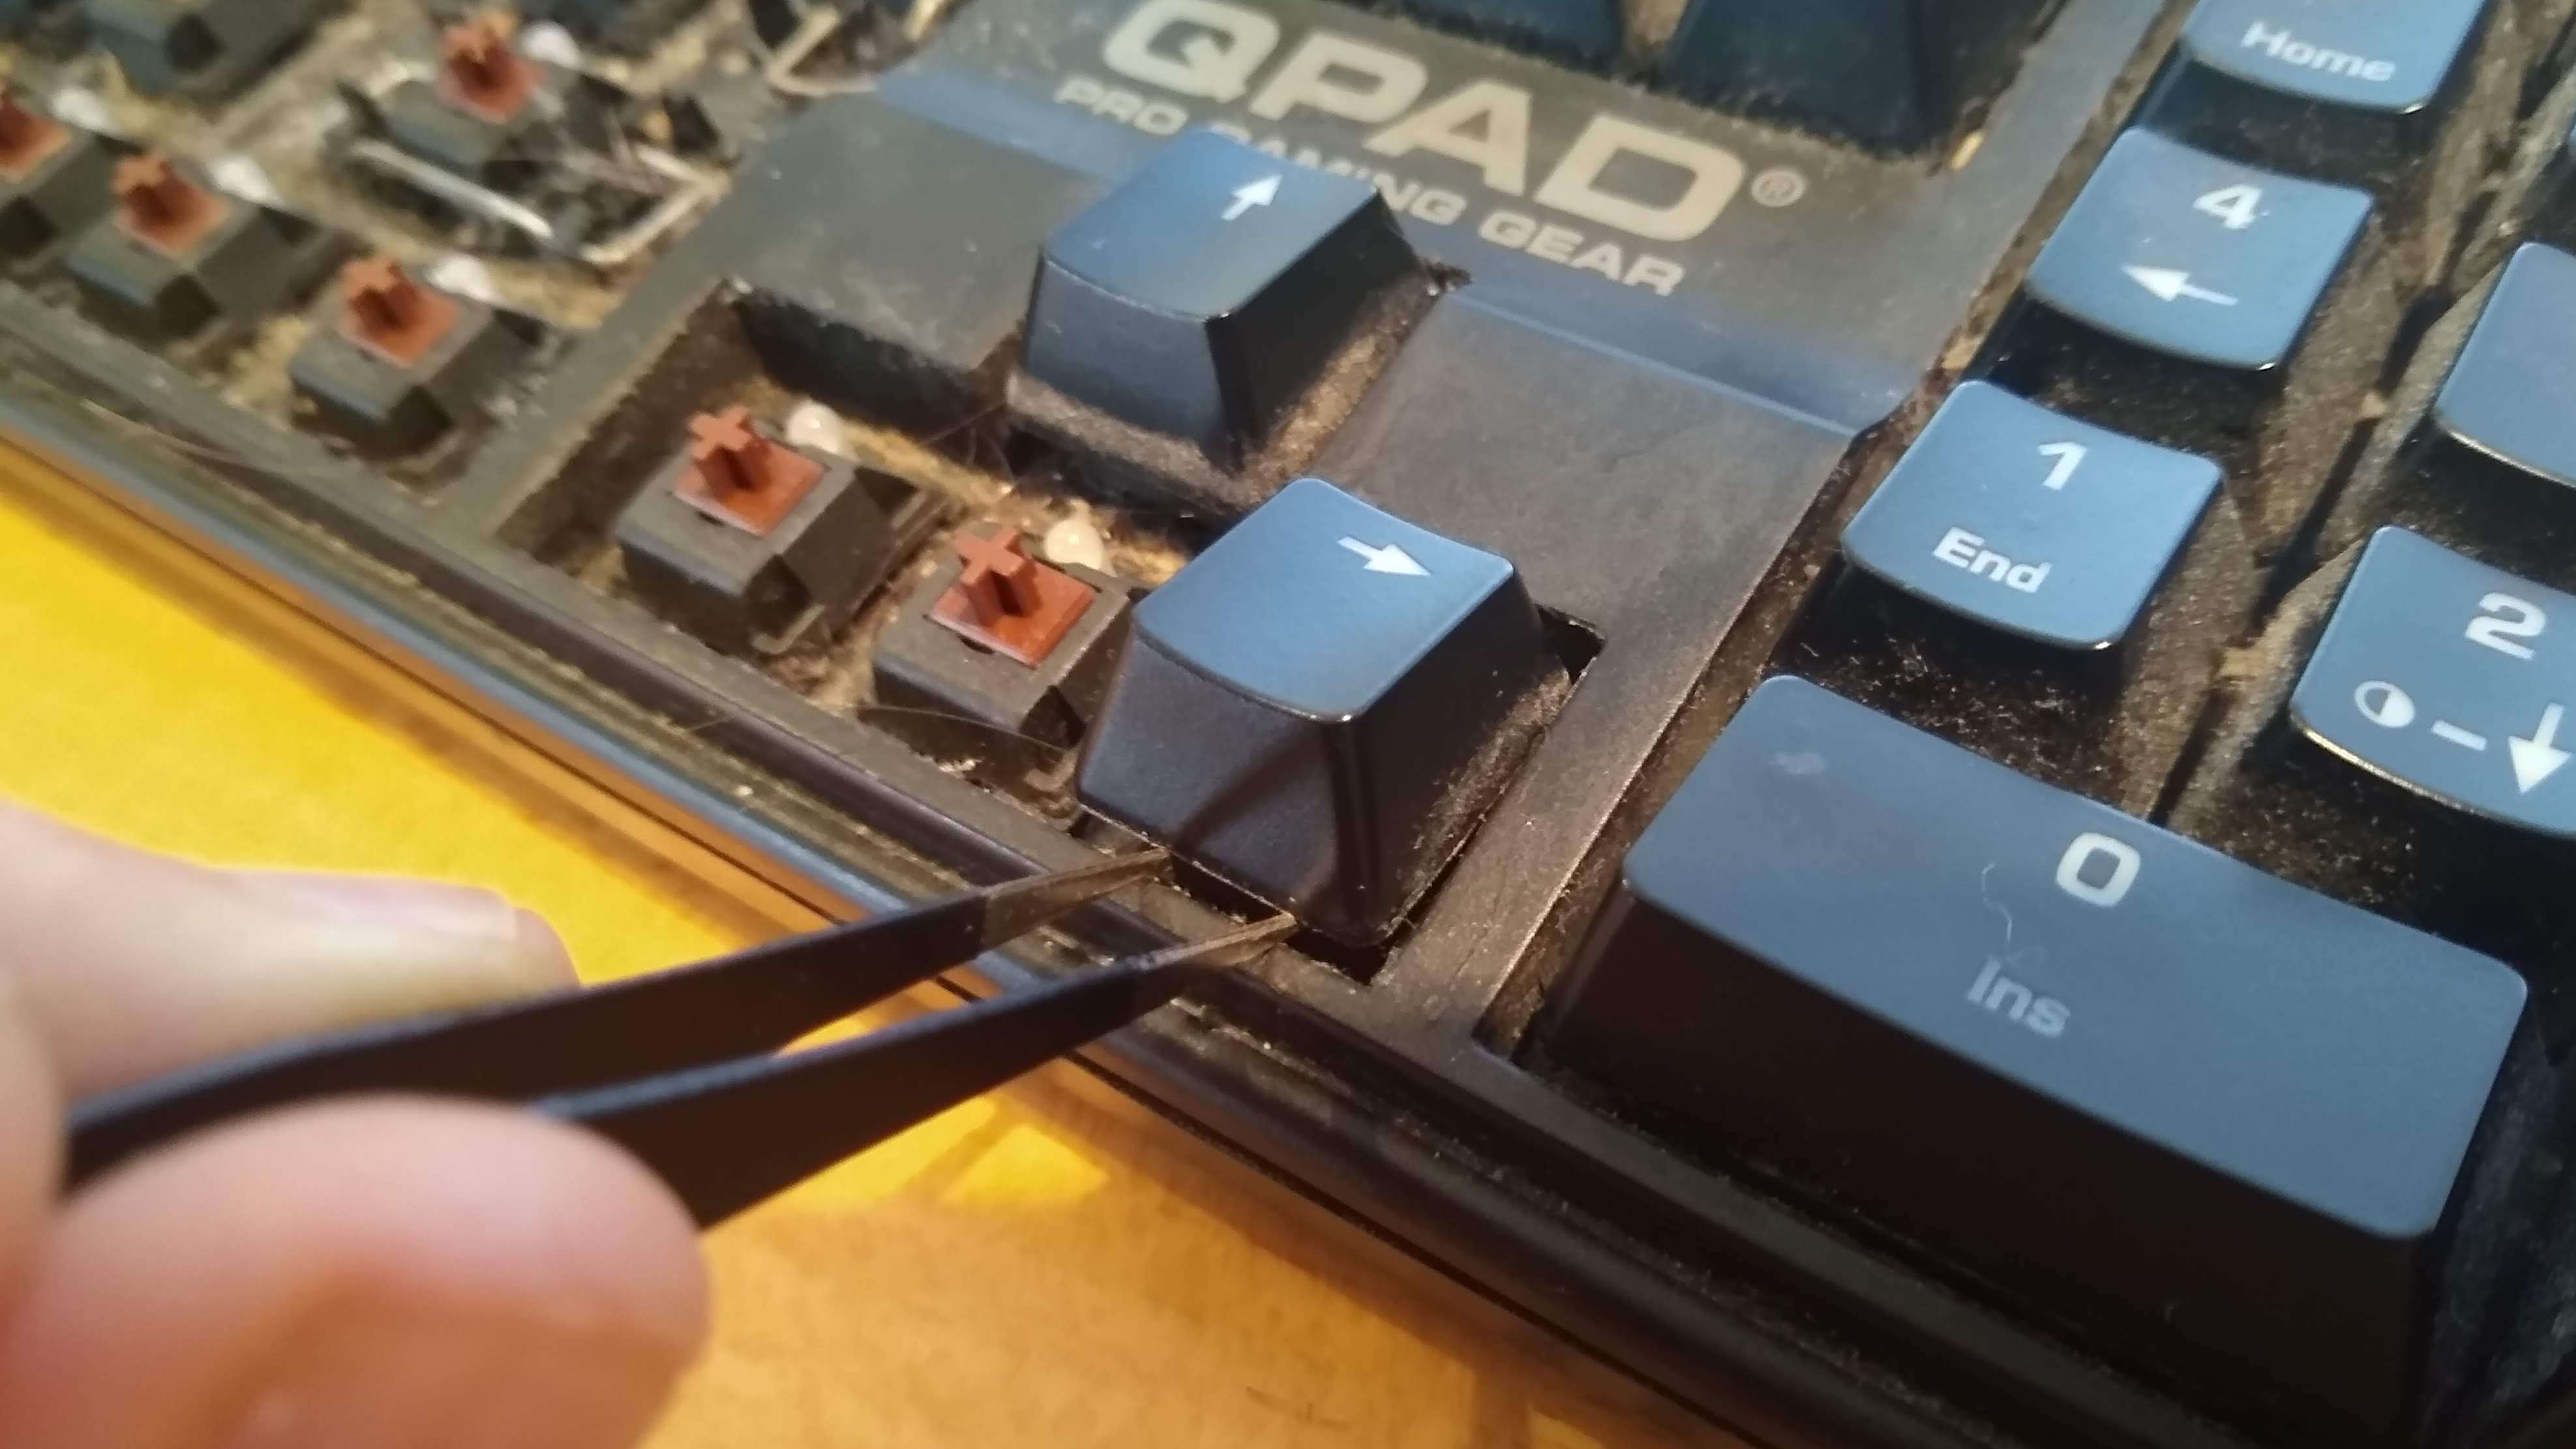
Vacuum-cleaning
Next, it’s time to vacuum-clean the keyboard. First, dislodge as much dirt as you can (and pull out a bunch of cat fur, in my case) by running the tweezers all the way along in the channels between the keys. This will loosen things for the vacuum cleaner to suck up.
Then, gently and carefully run your vacuum along your keyboard, being particularly careful to avoid contact with the glass sensors if your key switches have them.
If you have a thin enough vacuum end, focus on getting between the keys rather than the switches themselves, which should be pretty clean anyway due to having been covered by the keycaps all this time.
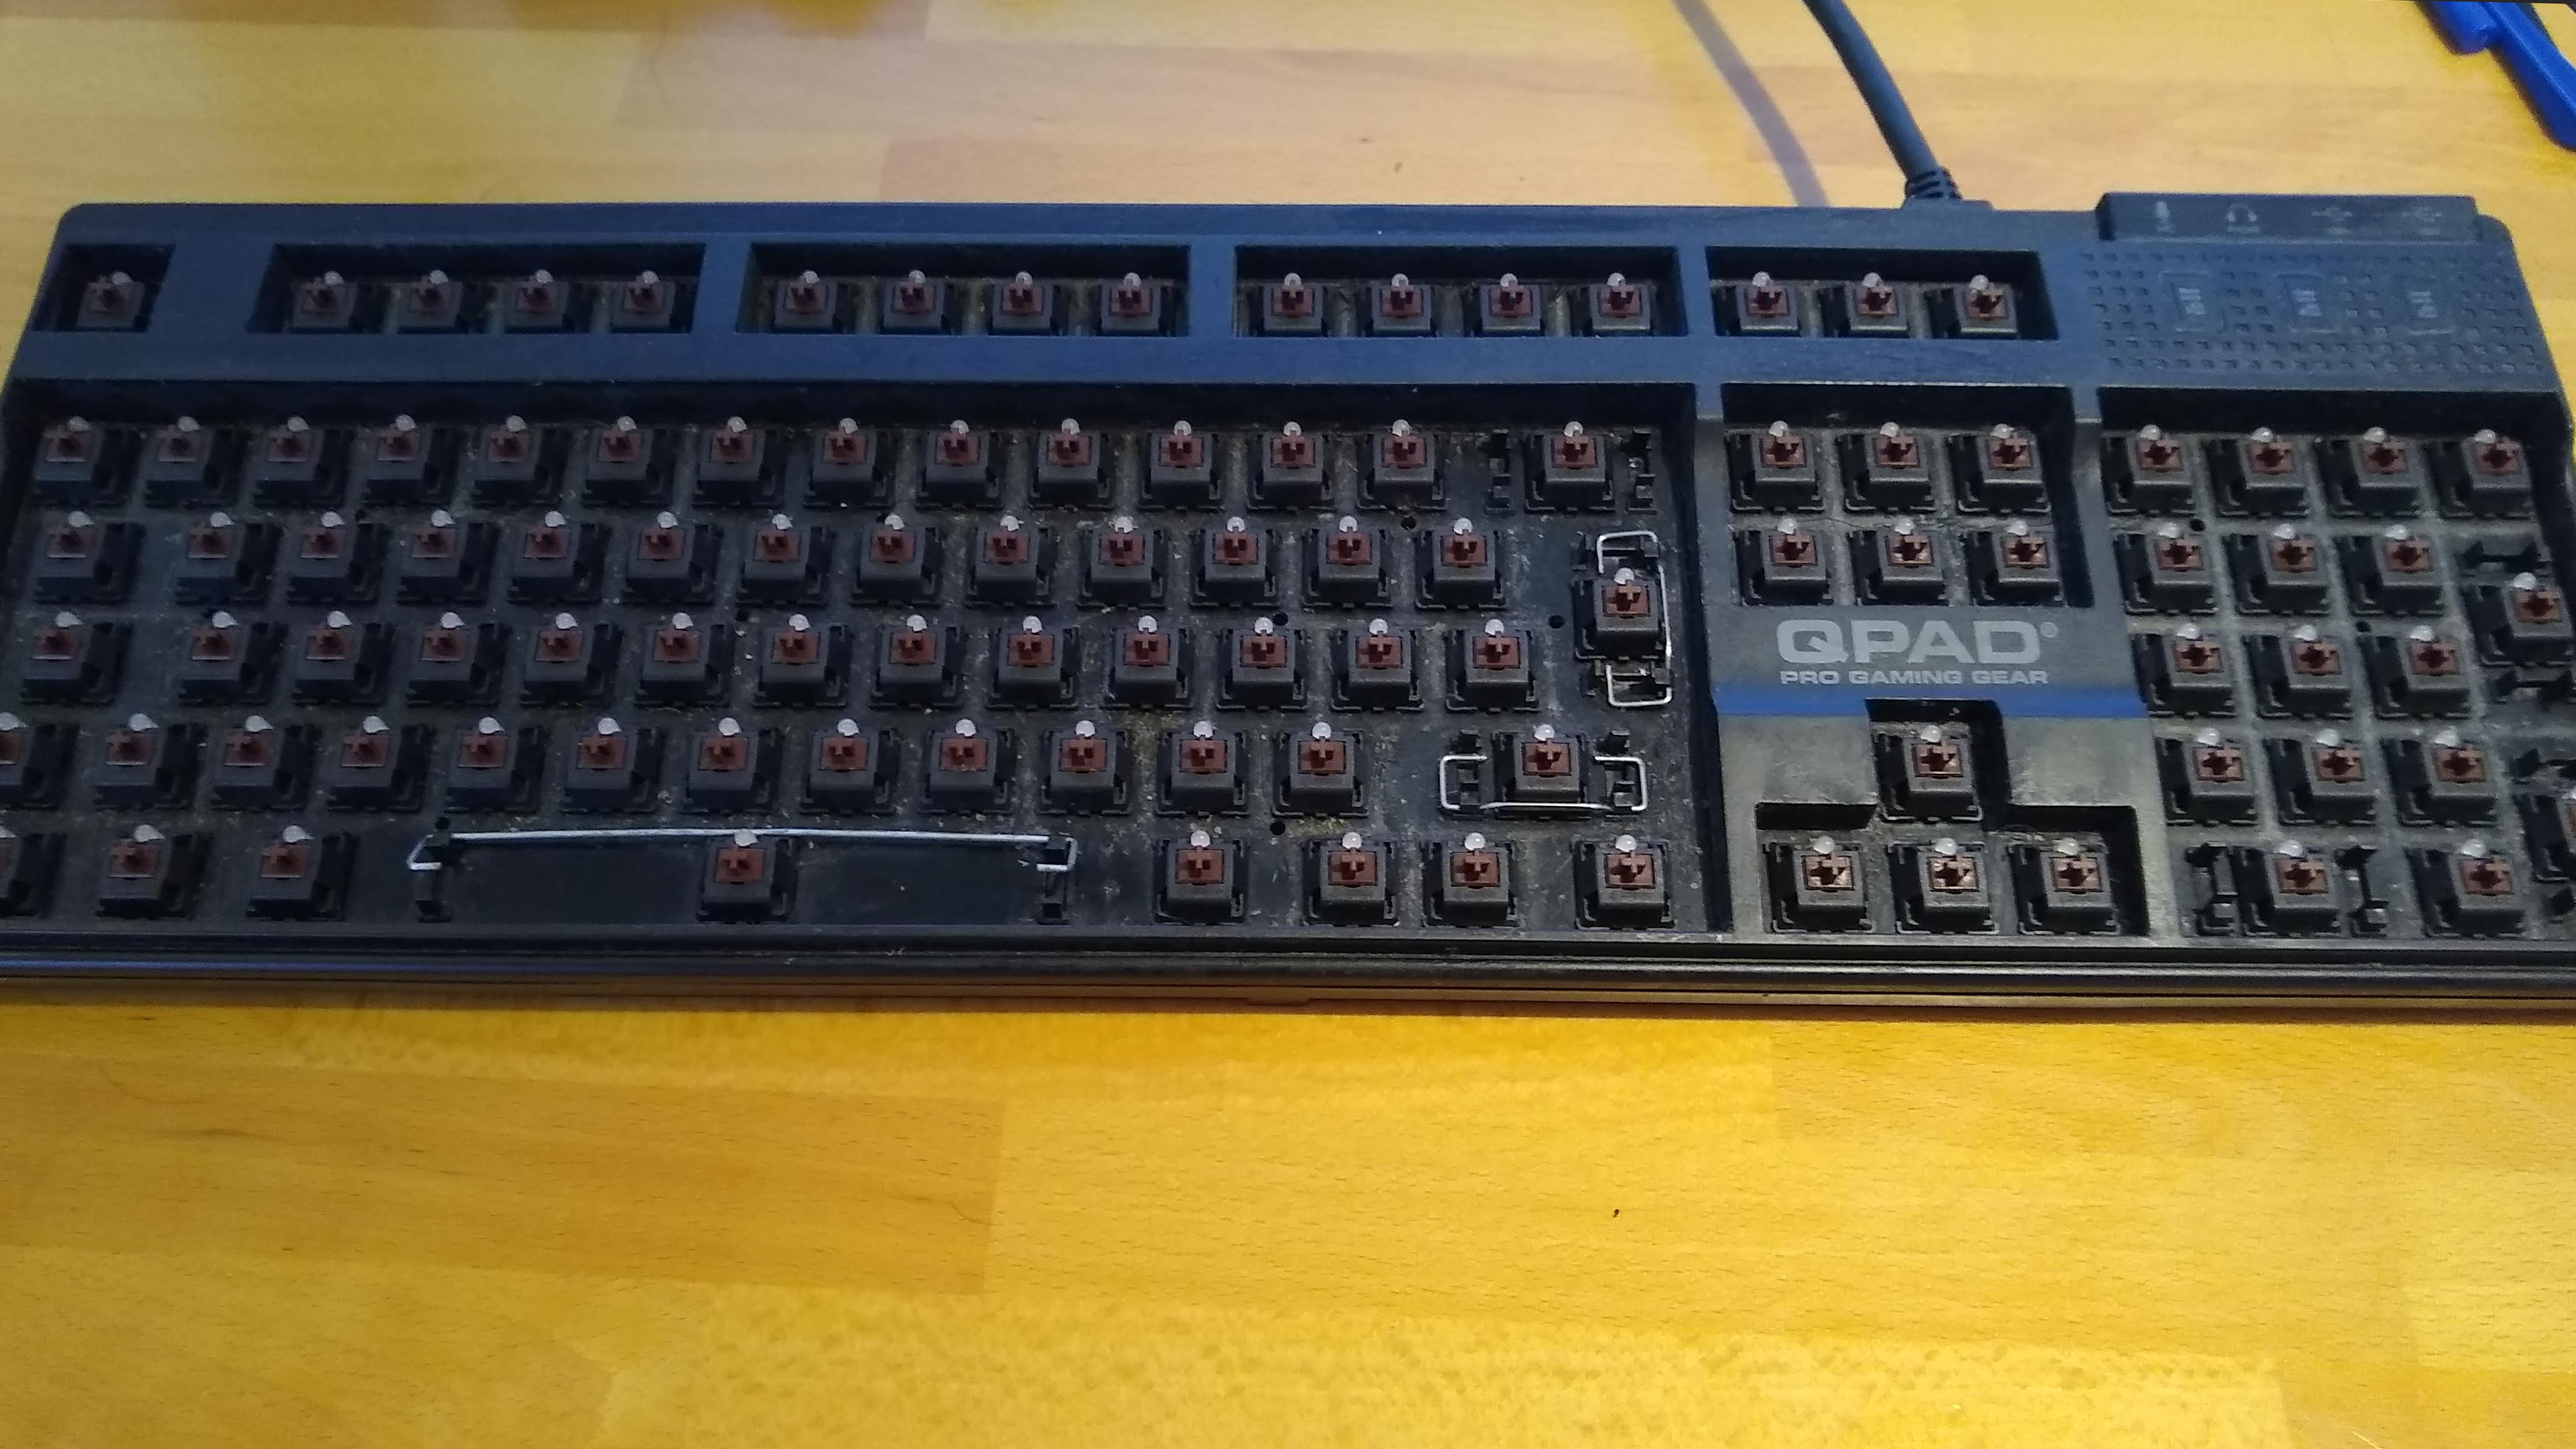
The vacuum won’t clean up the deep-seated grime, nor will it pull away fur or hair that’s tangled under the keys. If there are still big bits of dirt or hair stuck in the keyboard, run through it with the tweezers again, pluck any straggling furs, then vacuum up again.
Repeat until all the big debris from your keyboard is gone. Here’s my keyboard after vacuuming. It’s not perfect yet, but much better than it was.
Wash all the keys
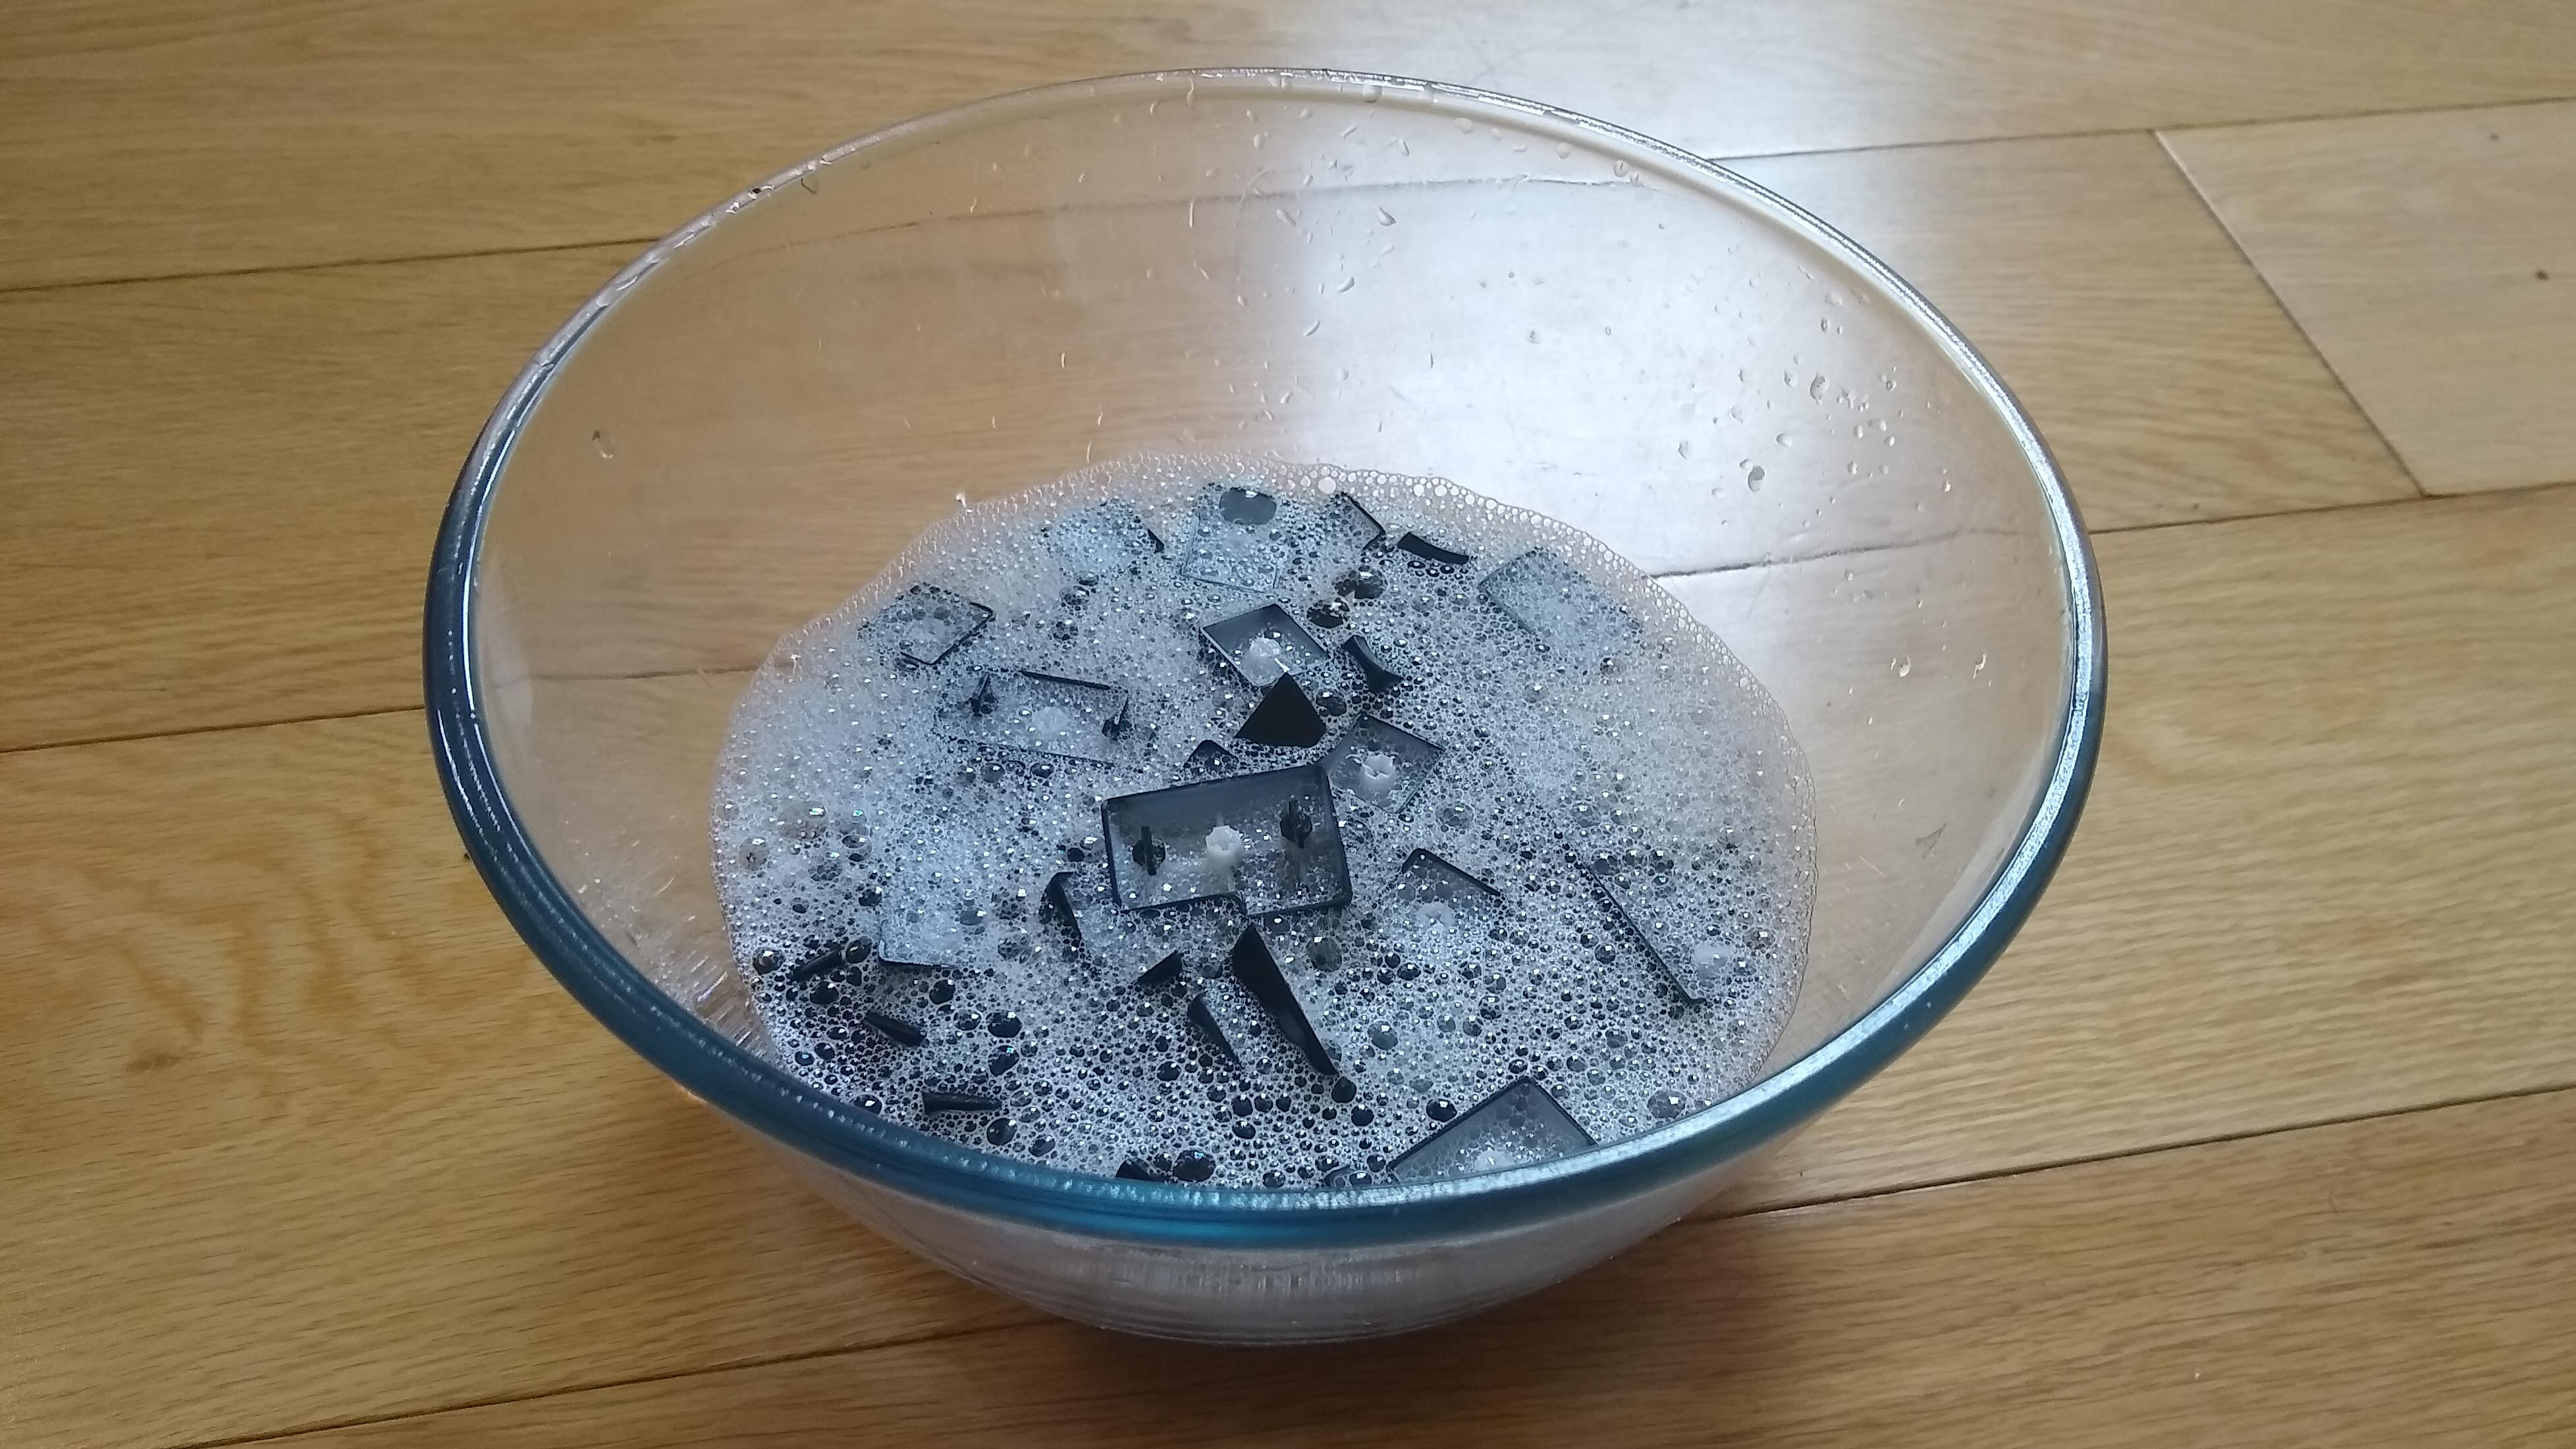
Throw all your keycaps into a washing bowl, cover them in hot water, and add a bit of dish soap. Leave them to soak for a few hours. When they’re done, rinse them in non-soap water, gently scrubbing them with a microfibre cloth to dry them and wipe off any residual grime on them.
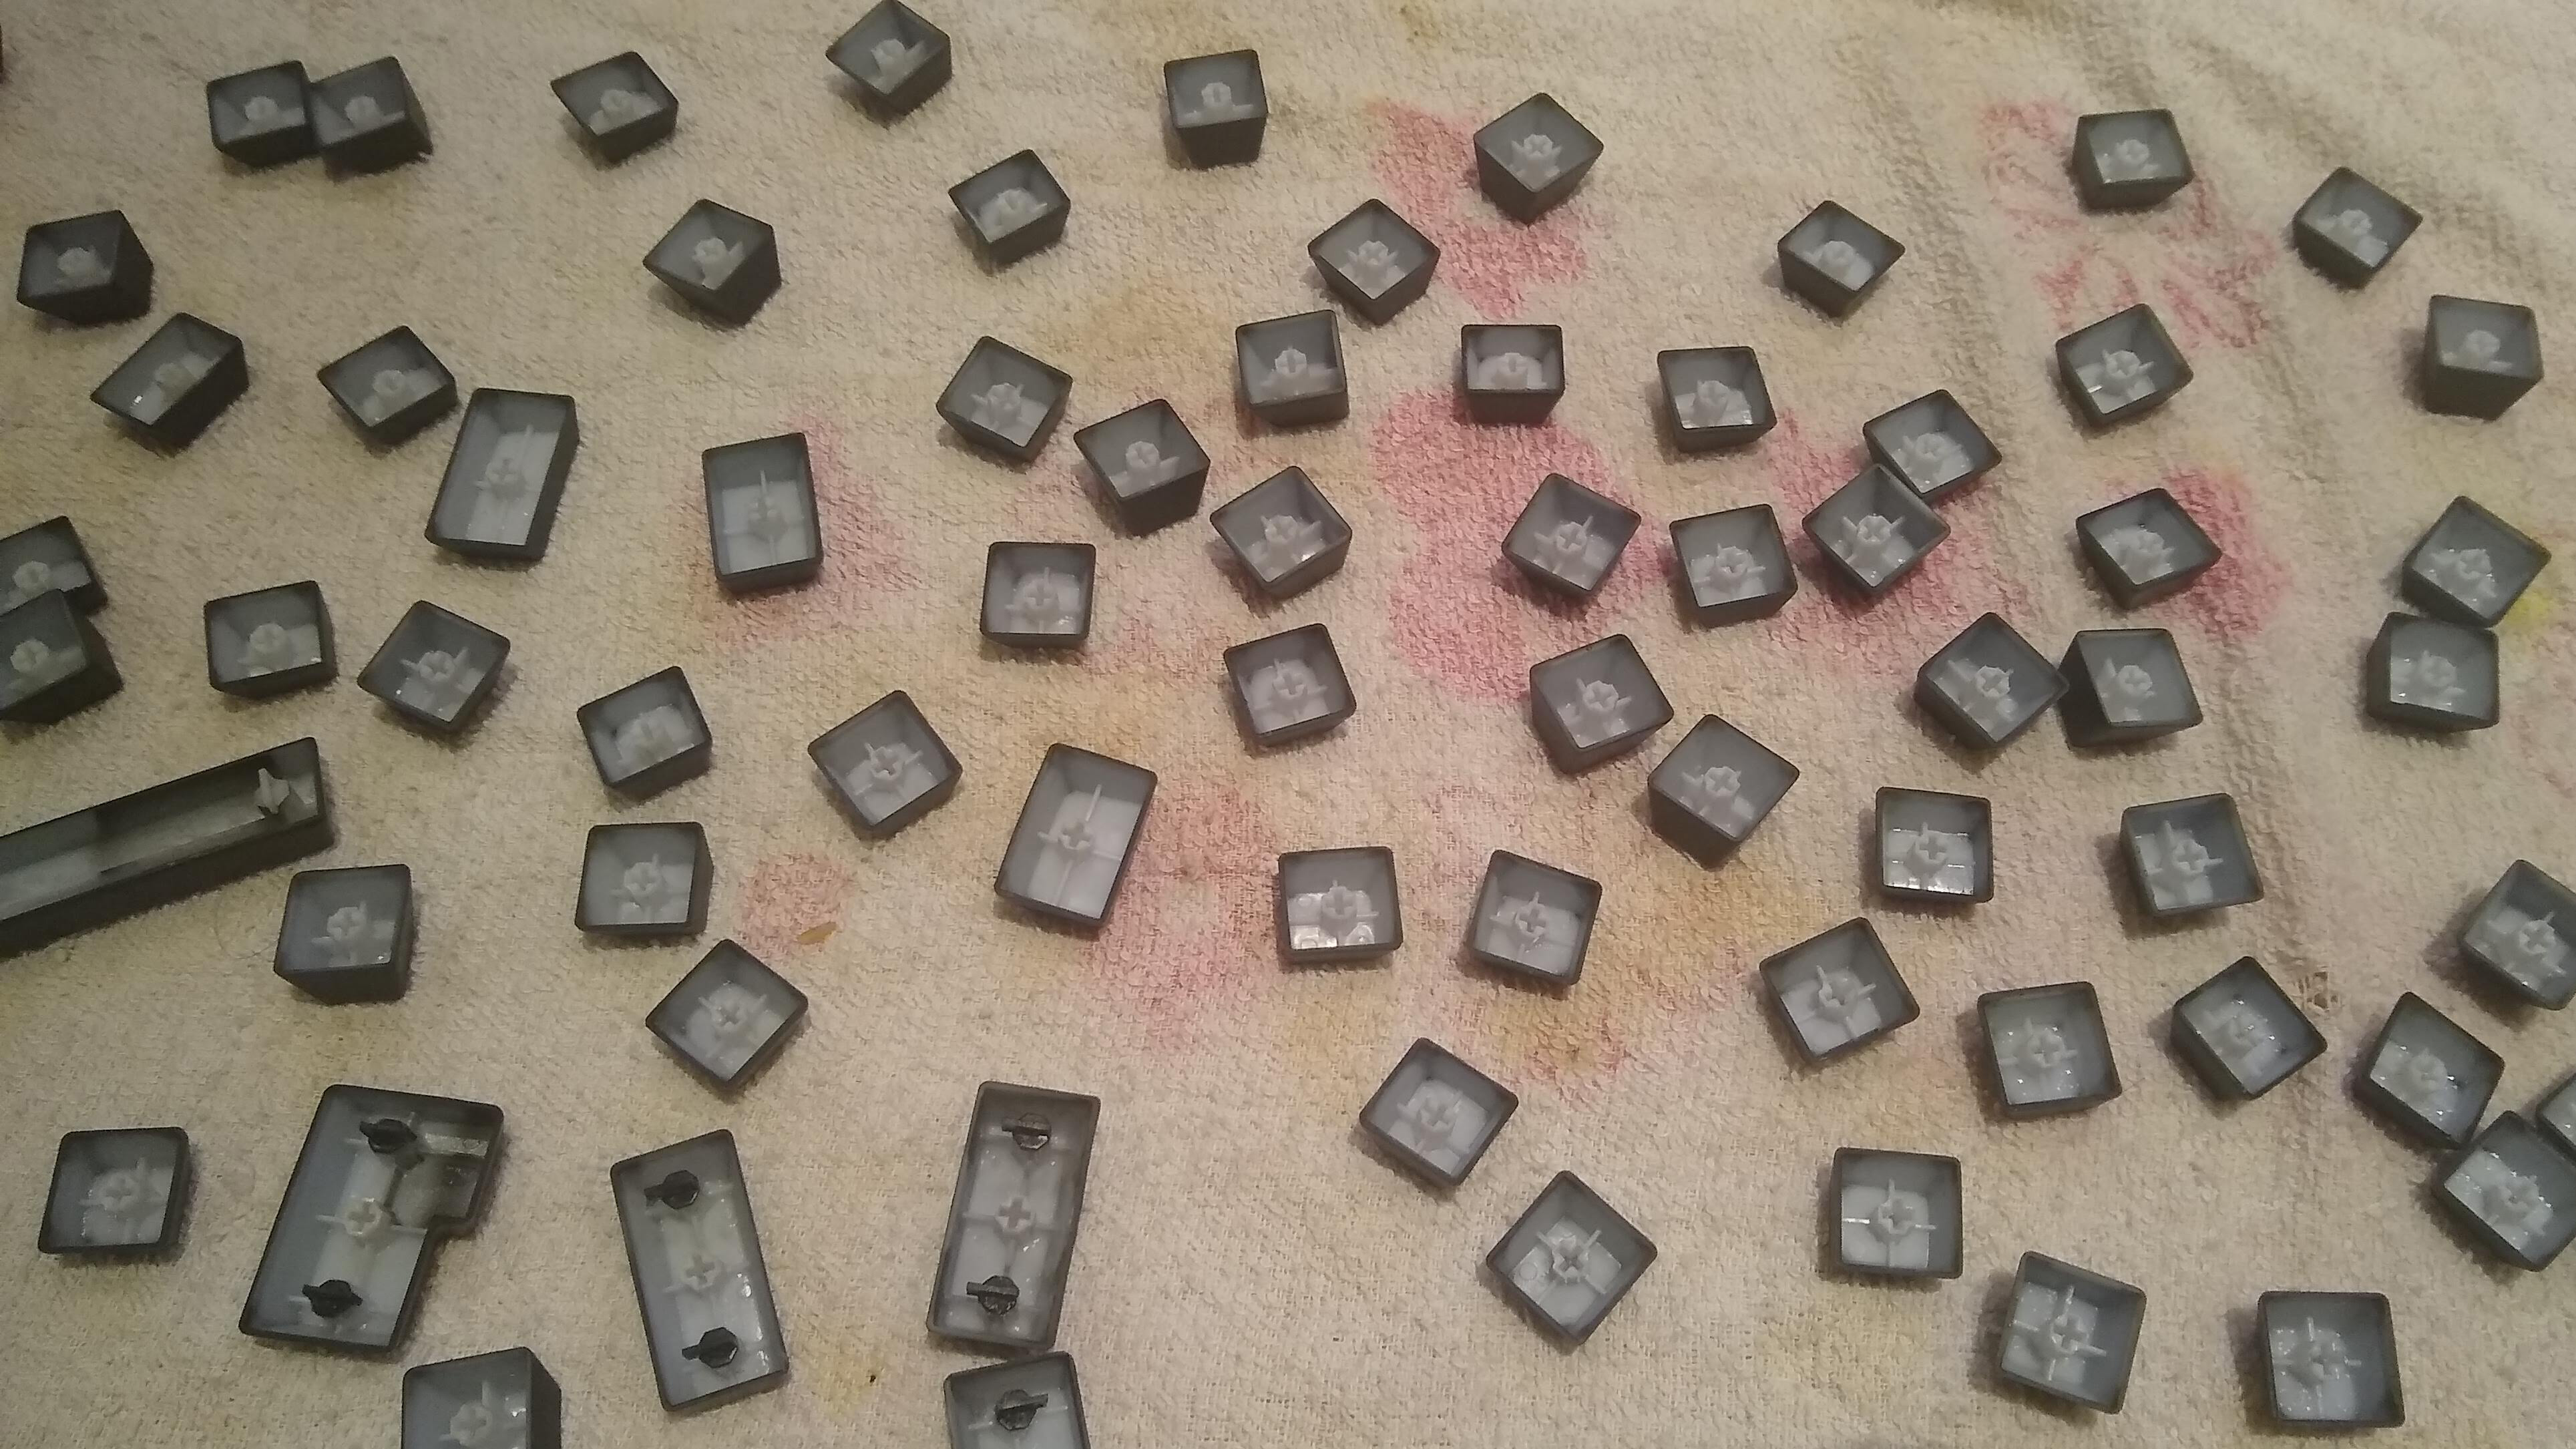
Lay out a towel, and let the keys dry on it. First leave them face up for a few hours to let the water drain from the inside, then turn them over and leave them face-down overnight - it’s very important that the underside of the keycaps dries fully, as this is the part that makes contact with sensitive components.
Cotton swab cleaning
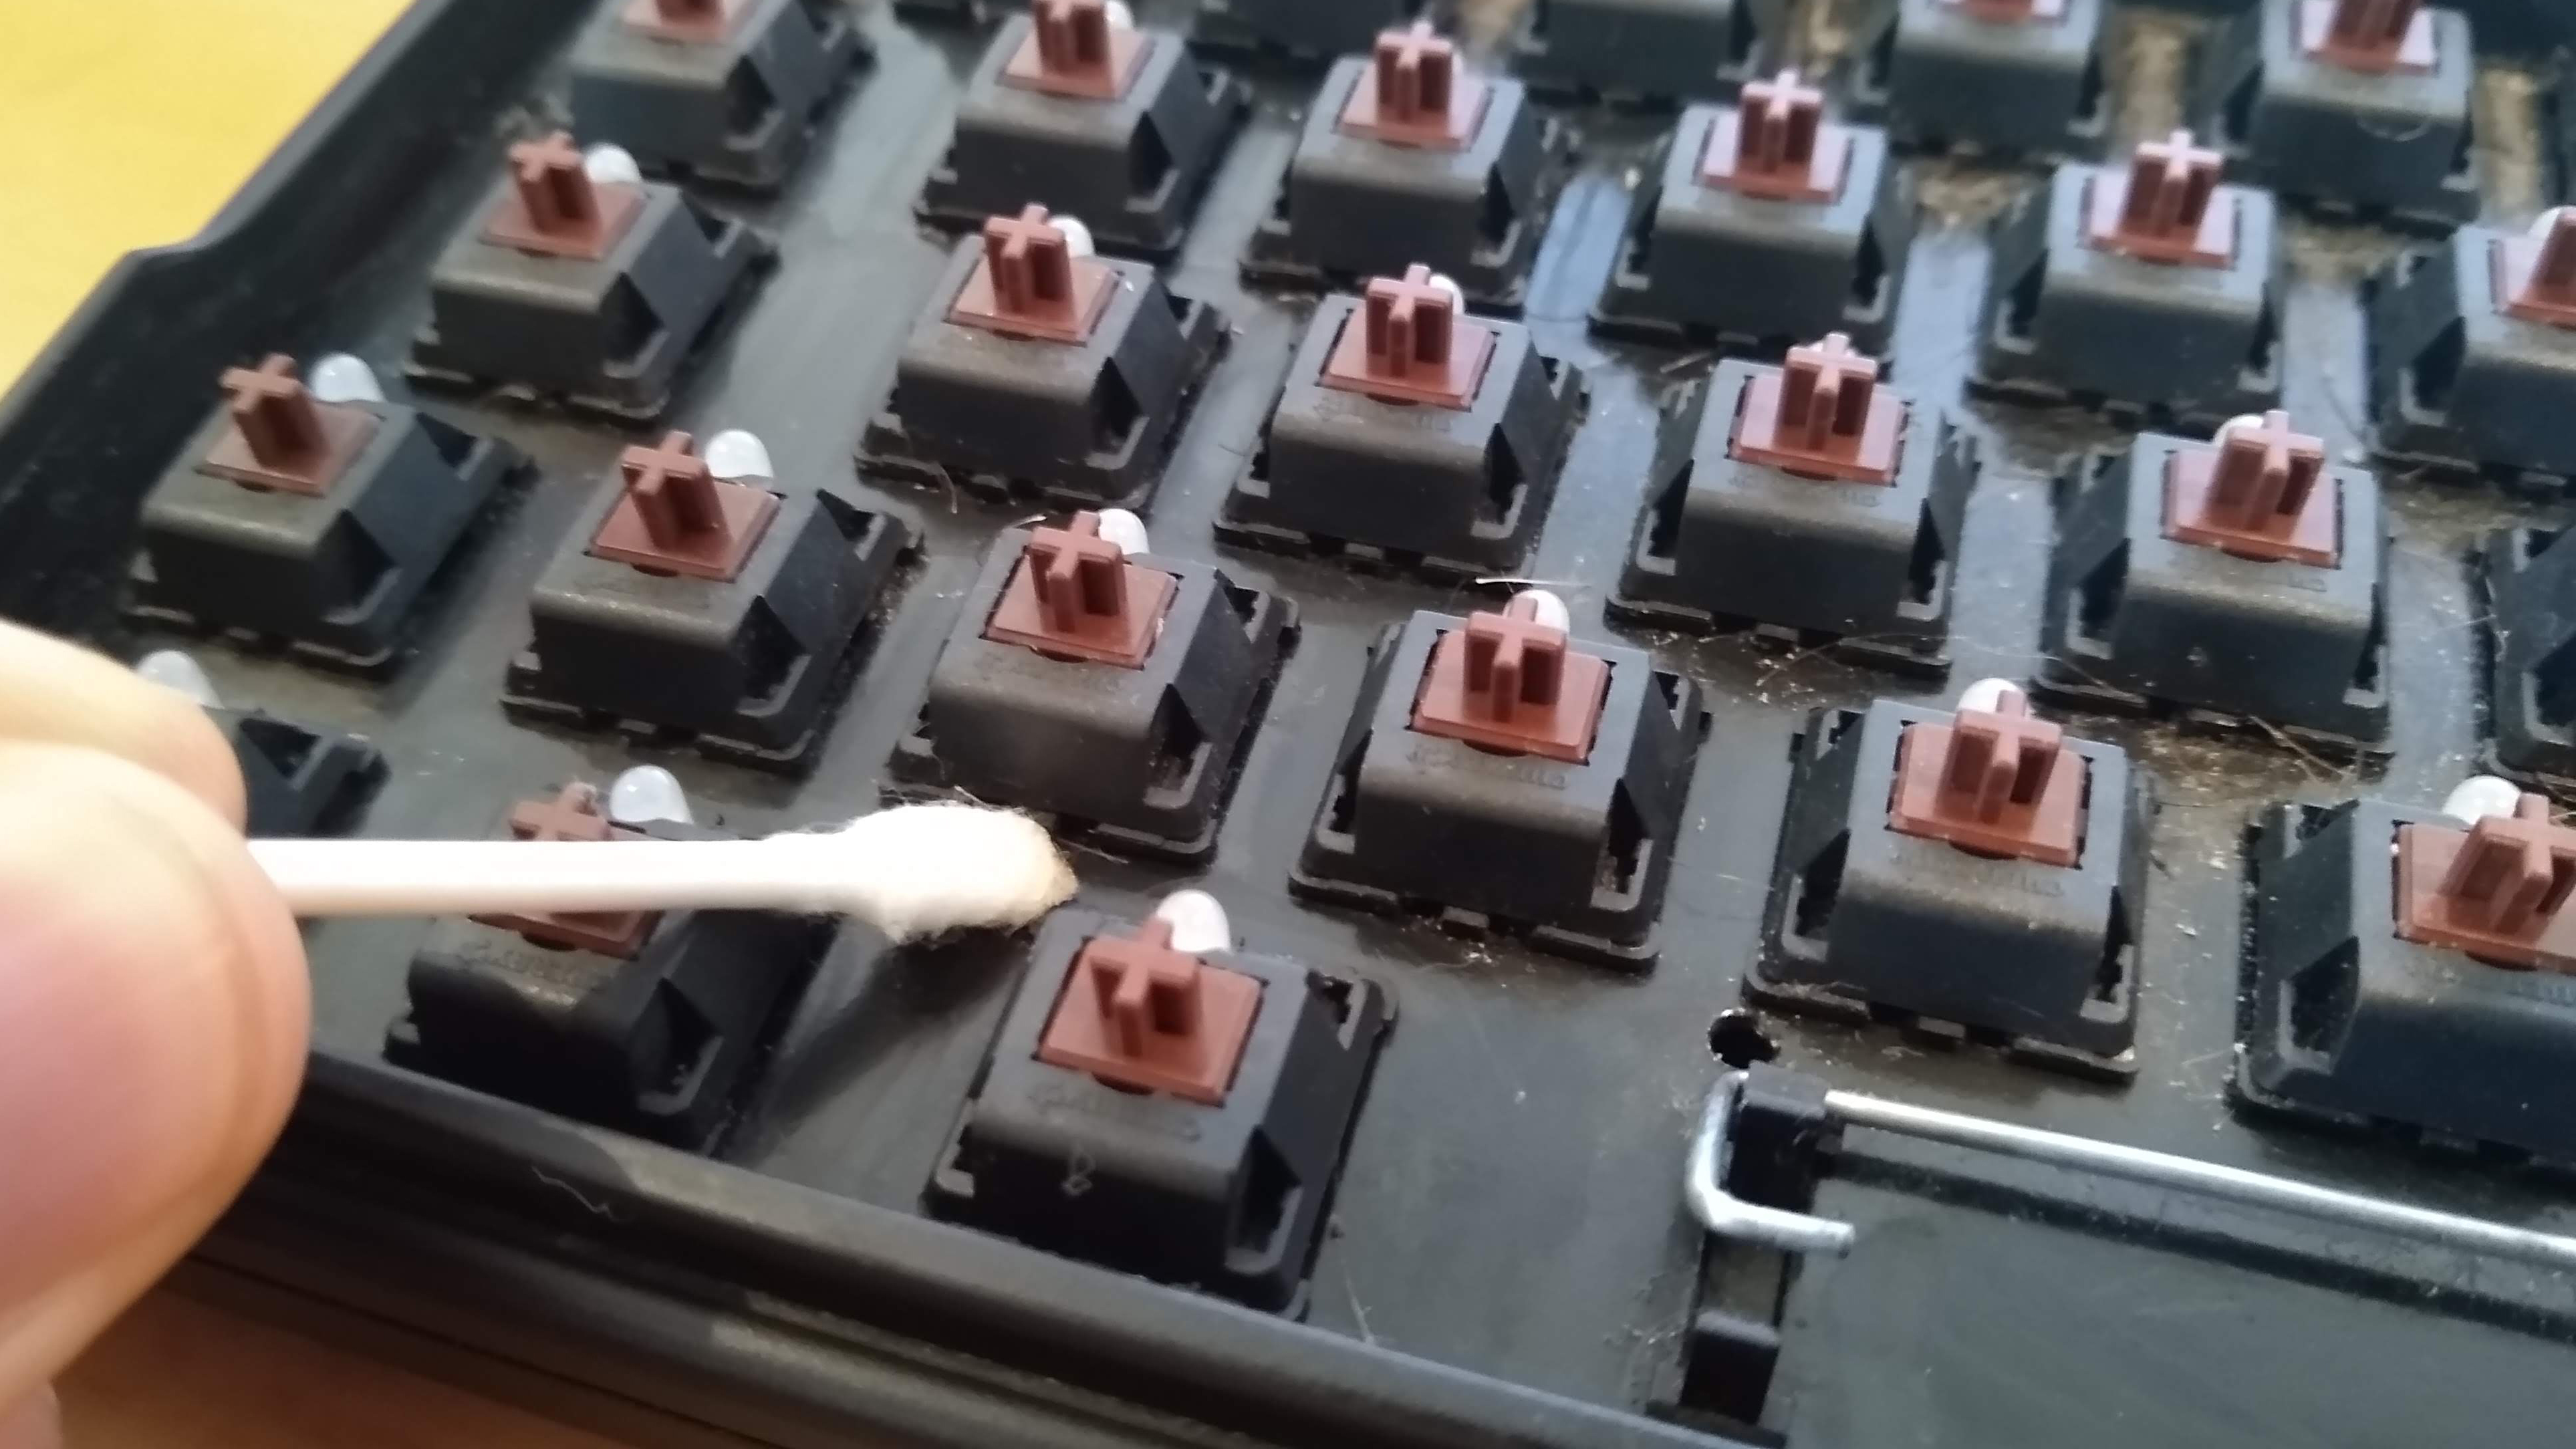
While the keys are having their bath, it’s time to get rid of the grime that’s settled between the keys. One preferred method for this is to use a cotton swab soaked in isopropyl alcohol, because this stuff cleans well, evaporates quickly, and is lethal for bacteria.
Try not to snag the cotton swab on the key switches, and move onto a new cotton swab as soon as the one you’re using starts to fray. You don’t want bits of cotton snagging on your key switches. Rub firmly with the cotton swabs, focusing on the dirty areas between the keys rather than the keys themselves - keep contact with the actual switches to a minimum.
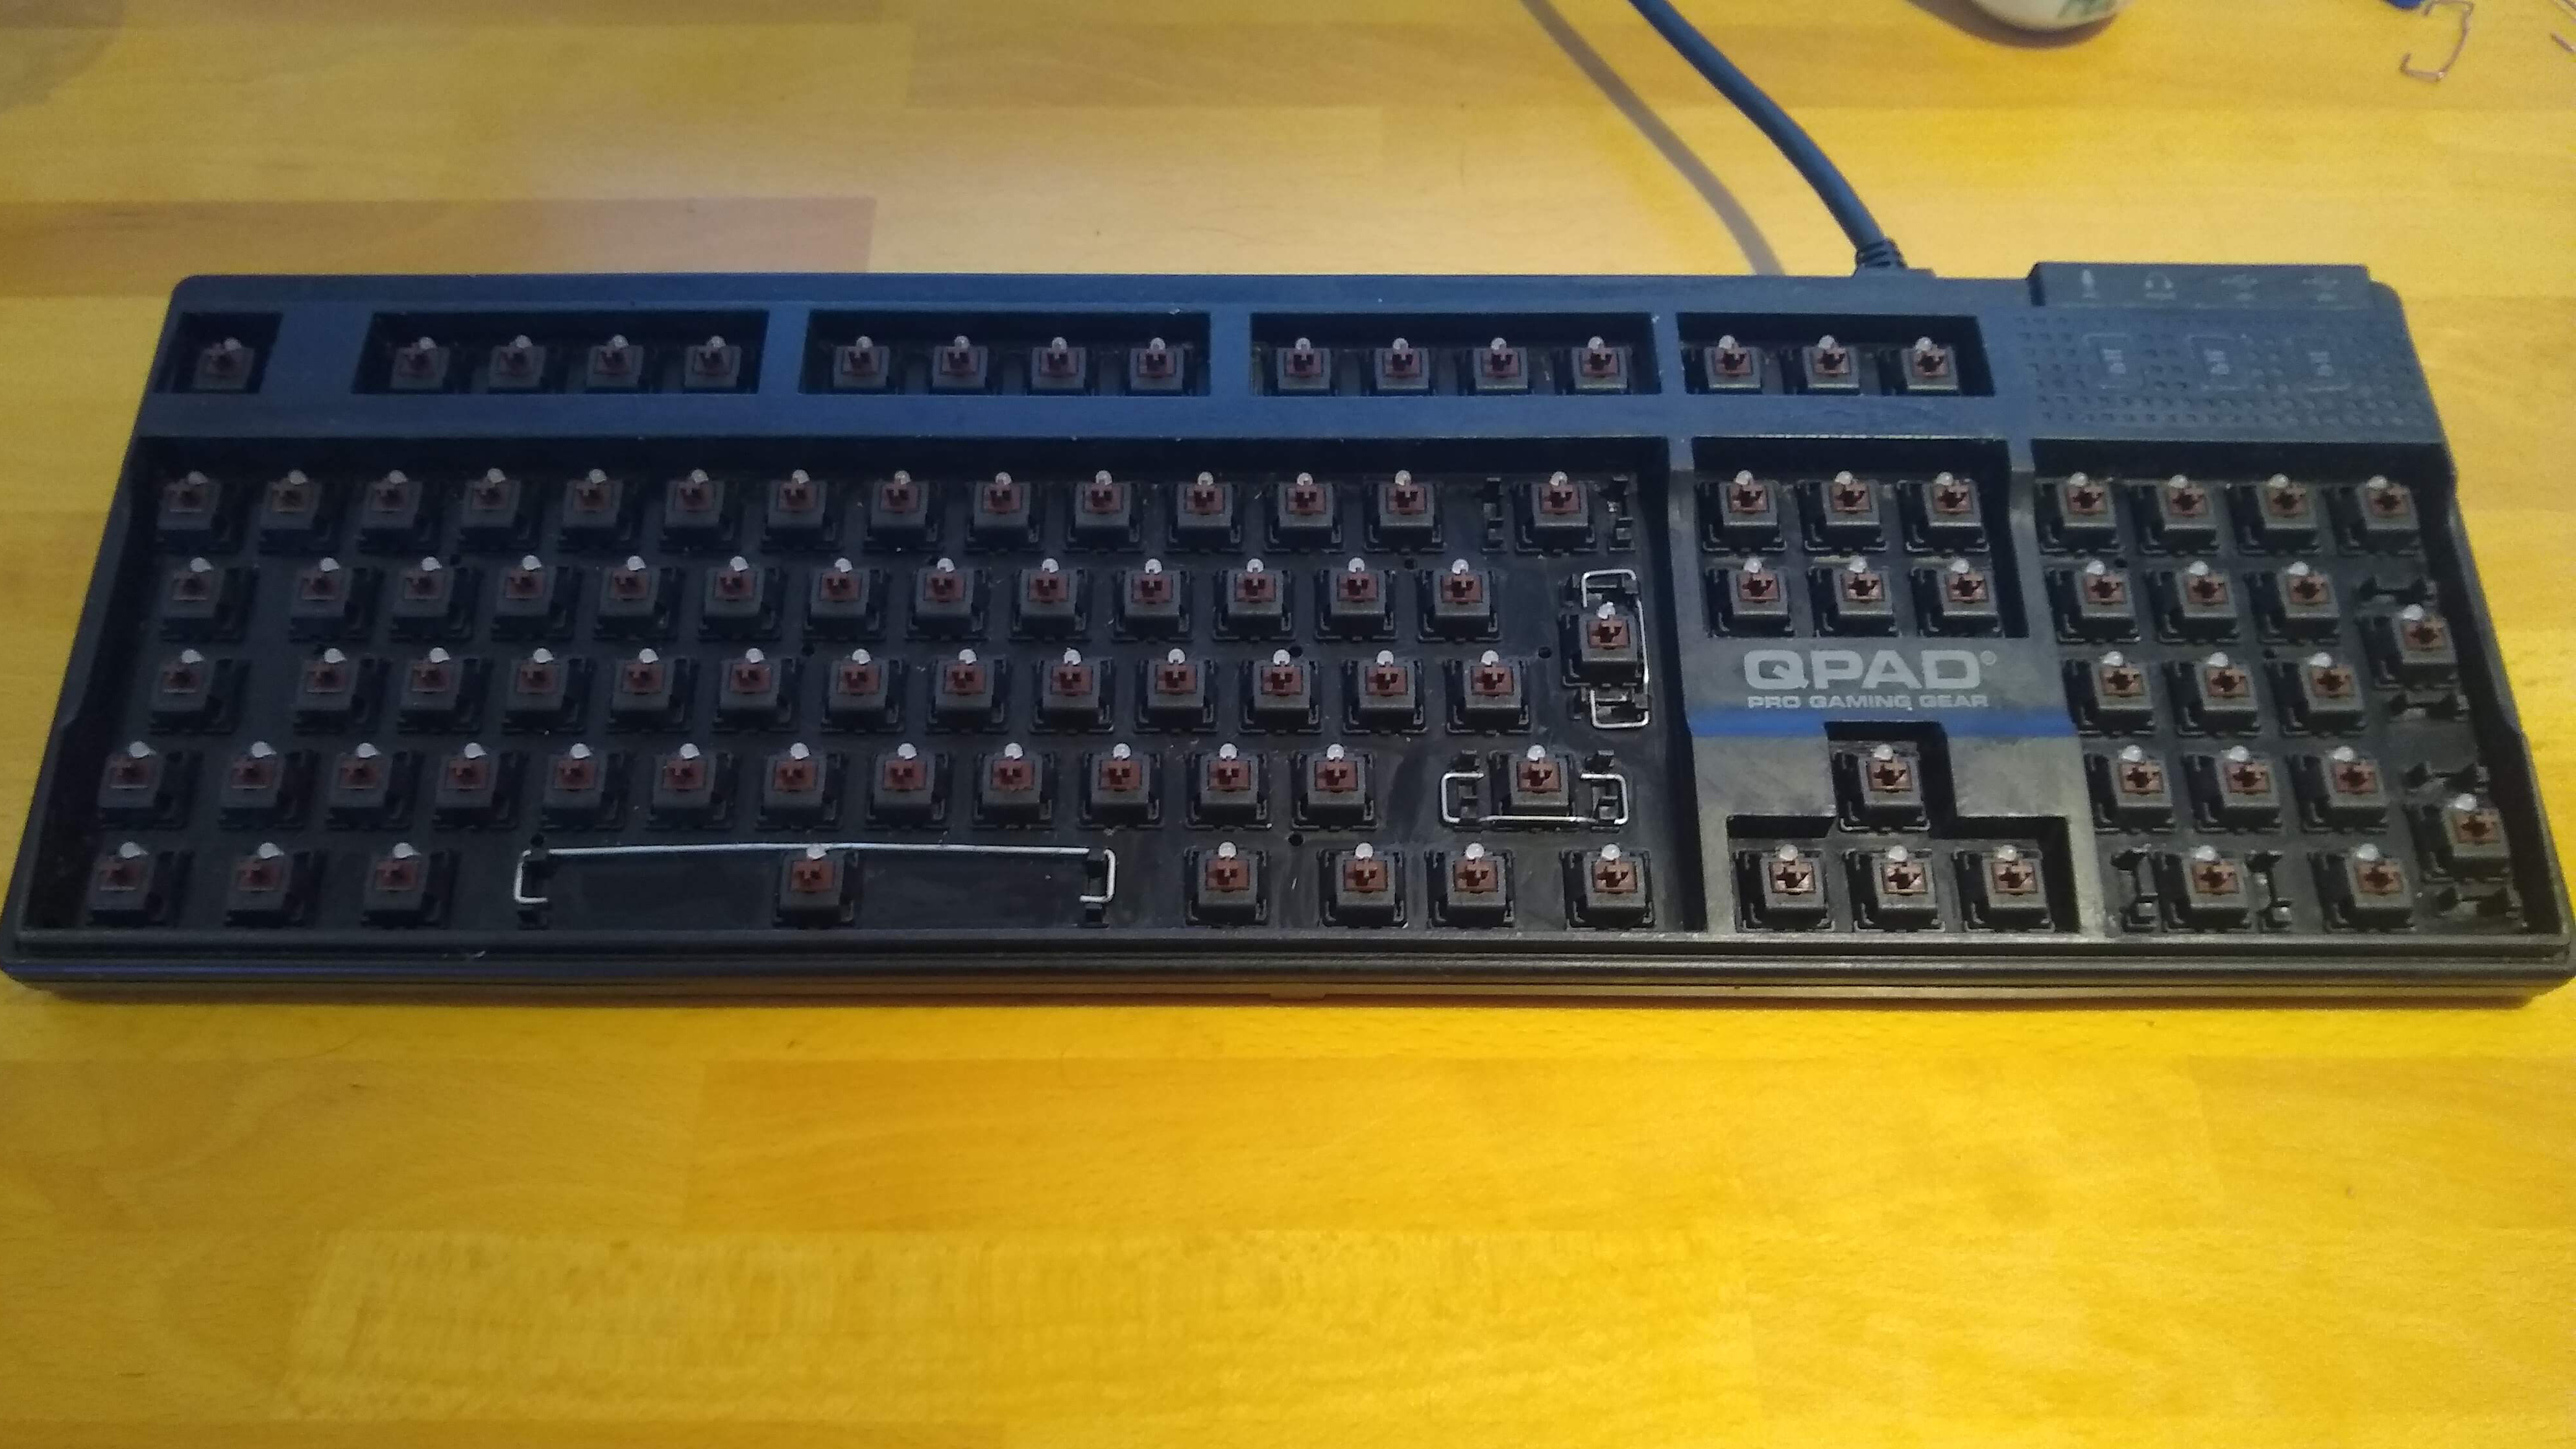
Stick the keycaps back on
Once all the keycaps are dry, stick them back on the keyboard.
This should be much simpler than removing the keys. Start with putting the keys requiring stabilisers back on, as they can be awkward to get on once other keys are around them.
We found it easiest to leave the stabiliser on the keyboard, hook on one side of the key, then get the second hook on from there.
After getting the big keys on, pop each of the keycaps back in its rightful place. This is a close-up of what our keyboard looks like after cleaning. It’s a pretty worn old thing, but it’s looking a lot more dignified now.
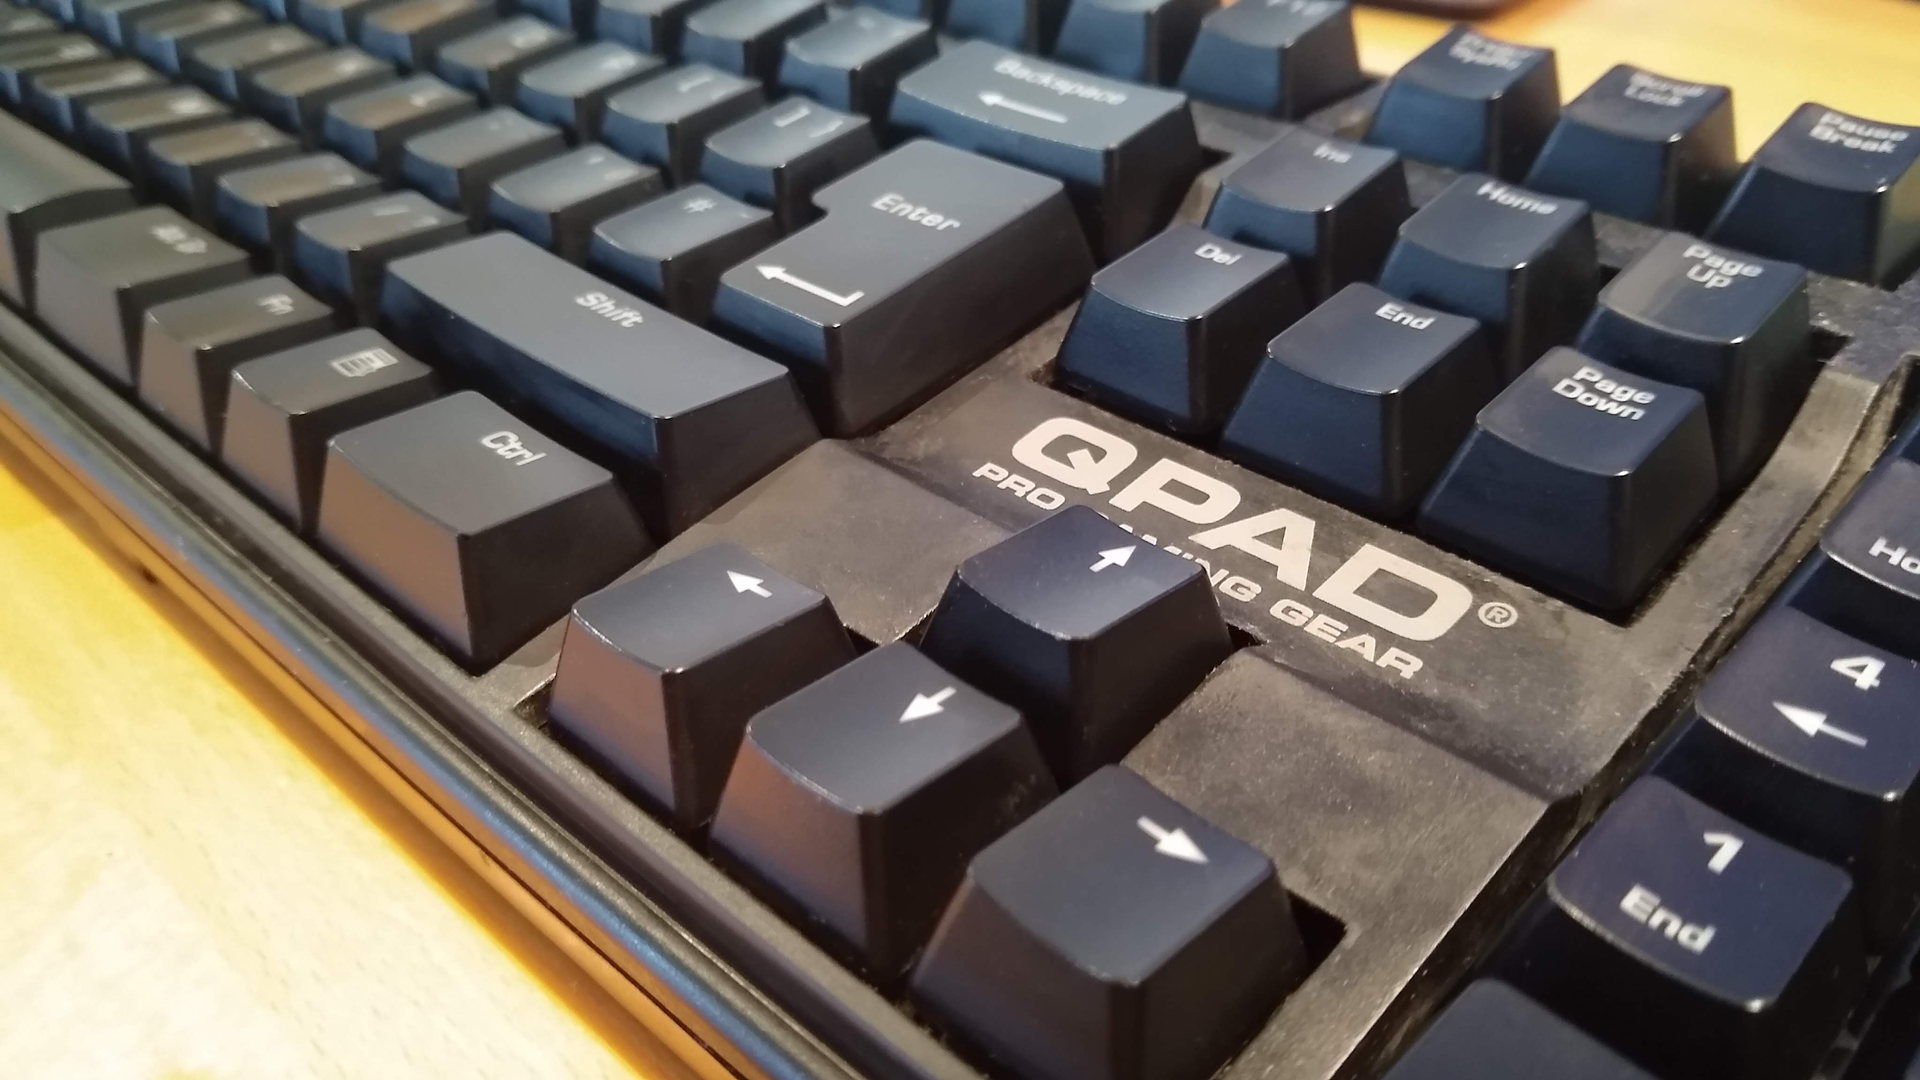
Your mechanical keyboard is now as good as nearly-new. Those keys will clack clearly now they're not cushioned by a bed of fur and filth.

Robert Zak is a freelance writer for Official Xbox Magazine, PC Gamer, TechRadar and more. He writes in print and digital publishing, specialising in video games. He has previous experience as editor and writer for tech sites/publications including AndroidPIT and ComputerActive! Magazine.