 Become a TechRadar Insider


When it comes to VPNs (Virtual Private Networks), one of the most sought-after features is the availability of servers and locations. NordVPN is one of those services that impresses in this regard, with 5,200+ servers in more than 60 countries spread around the globe.
Such wide server coverage should meet the needs of even the more demanding user, who will be able to switch between different servers and locations with a single click.
Article continues belowFirst of all, you’ll need to run the software itself, so find and open your NordVPN Windows app. Then what you do next depends on exactly what you want to achieve, as follows…
- Check out our list of the best VPN
Select a server to connect with
There’s more than one way to connect to a NordVPN server. You can select a country on the map, choose one from the list of countries, choose a specific server in one country, or choose a specialty server. Let’s go through each of these possibilities in turn.

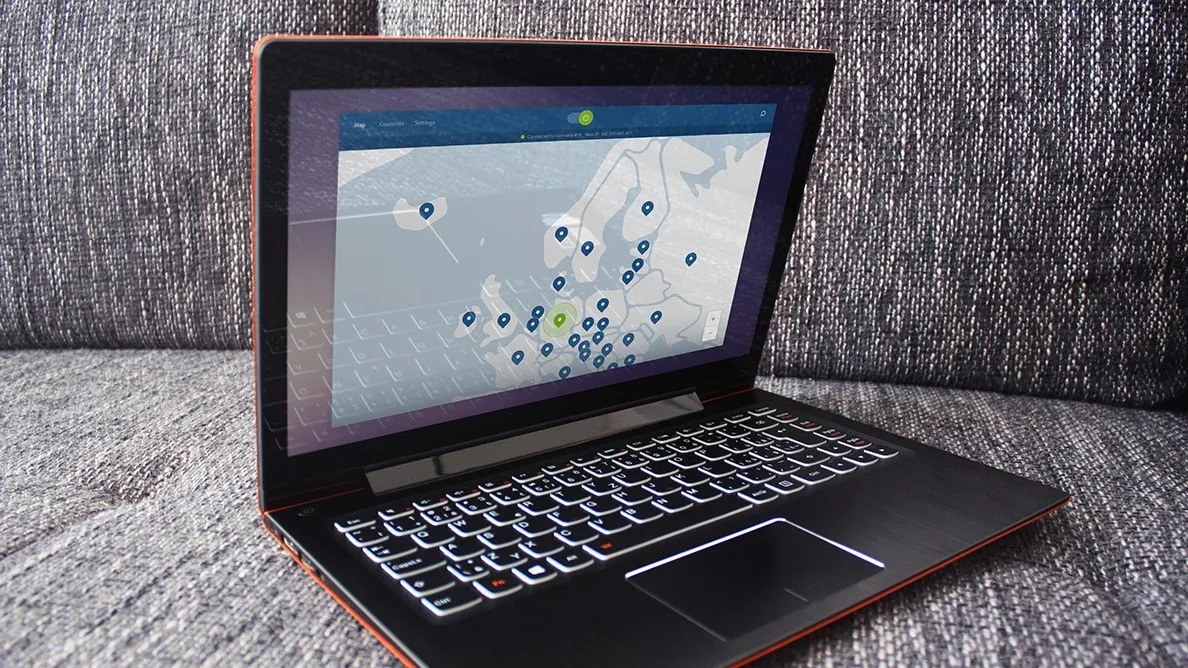
1. Choose a server on the map
You will see a map with various locations marked. These are all countries where NordVPN has servers. You can move the map around by dragging it with your left mouse button. Click on any of the locations to connect to a server there.
Let’s say you’ve chosen Thailand. Click the blue location marker icon and the app will immediately begin connecting. You will then be hooked up to a server in Thailand.

2. Choose a server on the list of countries
If you’d rather deal with a list instead of a map, you can always click on ‘All Countries’ in the top-left part of the interface. This will open a list of countries where NordVPN has servers. Click a country to launch a connection.

3. Choose a server within a country
For the full list of servers that NordVPN has in one specific country, hover your mouse cursor over a country, and click the '...' icon to the right of the name. Choose a specific server, or, if available, a city, and click Connect.

4. Specialty servers
NordVPN has so-called ‘specialty servers’ which allow users to choose between P2P (peer-to-peer) servers, dedicated IP servers, an Onion Over VPN option, or Double VPN (for extra security).
Clicking on any of these options will take you to a list of that particular type of server, where you can either choose to have a server assigned automatically, or manually select one of the best servers for you.

Auto connect
Of course, you can always take another route if you don’t want to choose a server yourself, and simply enable the ‘Auto connect’ option in NordVPN settings. To do this, just click the ‘Settings’ gear icon in the lower-left part of the app. Click 'Auto-connect' in the left-hand sidebar, and enable 'Always when the app launches' to automatically connect when the app starts, and 'Auto-connect on Wi-Fi' to automatically connect when your device accesses Wi-Fi networks.
