How to get the best projector picture: 8 top tips to improve your movie nights
How to max out your projector
Sign up for breaking news, reviews, opinion, top tech deals, and more.
You are now subscribed
Your newsletter sign-up was successful
So, you’ve bought one of the best projectors or best outdoor projectors – what next? Your first experience setting up and using any beamer could end up being disappointing – once you’re over the sheer “wow” factor of an image that’s 100 inches across or more.
Blacks might look washed out, or perhaps the picture brightness isn’t as powerful as you hoped. There’s a good chance, though, that much of this is down to the room the projector is in, rather than the projector itself.
We’re going to look at some ways you can improve the picture quality of your projector, without either having to buy a new one or create a dedicated cinema room with black walls and no windows – which won’t be an option for the majority of people.
Some of you may have budget no-brand models; others, fantastic JVC D-ILA models that can out-contrast the average cinema. These tips range from costing nothing or a few dollars, to laying out the reasons you might actually want to consider an ultra-pricey ALR projector screen. And, yes, we’ll cover what “ALR” means too.
1. Avoid keystone correction
Cost: 0/5
Effort 2/5
This initial tip is primarily for first-time projector users. Avoid using keystone correction, particularly if your projector setup is likely to be permanent.
Keystone correction is a digital technique designed to rectify a projected image that ends up a trapezoid shape, for example, rather than a nice flat rectangle. However, it involves distorting the picture. You end up not using all the projector’s pixels, which results in a softened image in all cases.
Sign up for breaking news, reviews, opinion, top tech deals, and more.
You should always try to position your projector parallel to the surface onto which it will project. A stand is a worthwhile investment if you don’t have a table, shelf or mount at the right height to do the job.
Dedicated projector stands can be found online cheaply. Those designed for studio monitor speakers work well, too, if you have a smaller projector.
2. Get blackout linings for your curtains
Cost: 1/5
Effort: 1/5
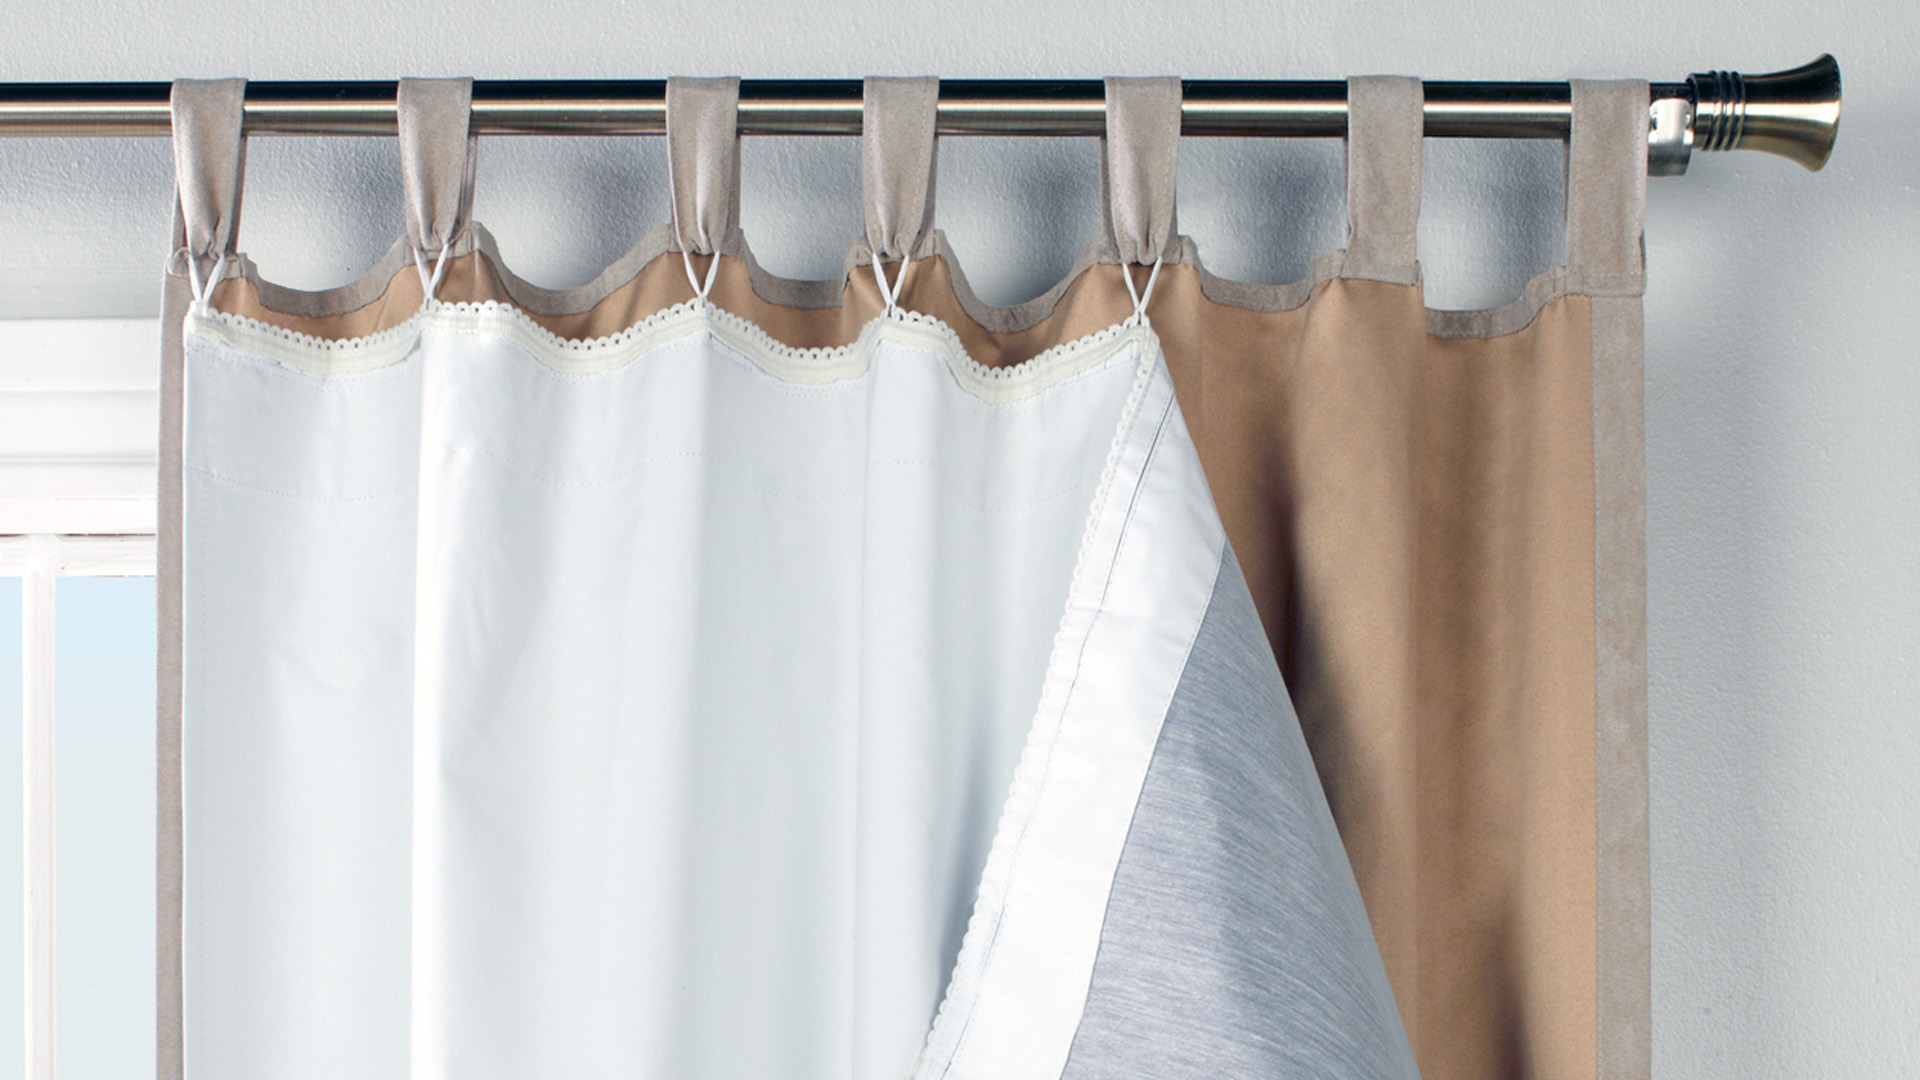
The second option to improve your projector’s image quality is to reduce the amount of ambient light in the room you’re using the unit.
If the room currently has a normal set of curtains, we recommend blackout linings. These are available in a form that simply hooks into the curtains themselves, or onto the rail if they use one. Blackout linings have added benefits, too: helping to insulate heat, meaning you can save money on your bills if you live in a country that gets cold in the winter months.
3. Use roller blinds
Cost: 2/5
Effort 2/5
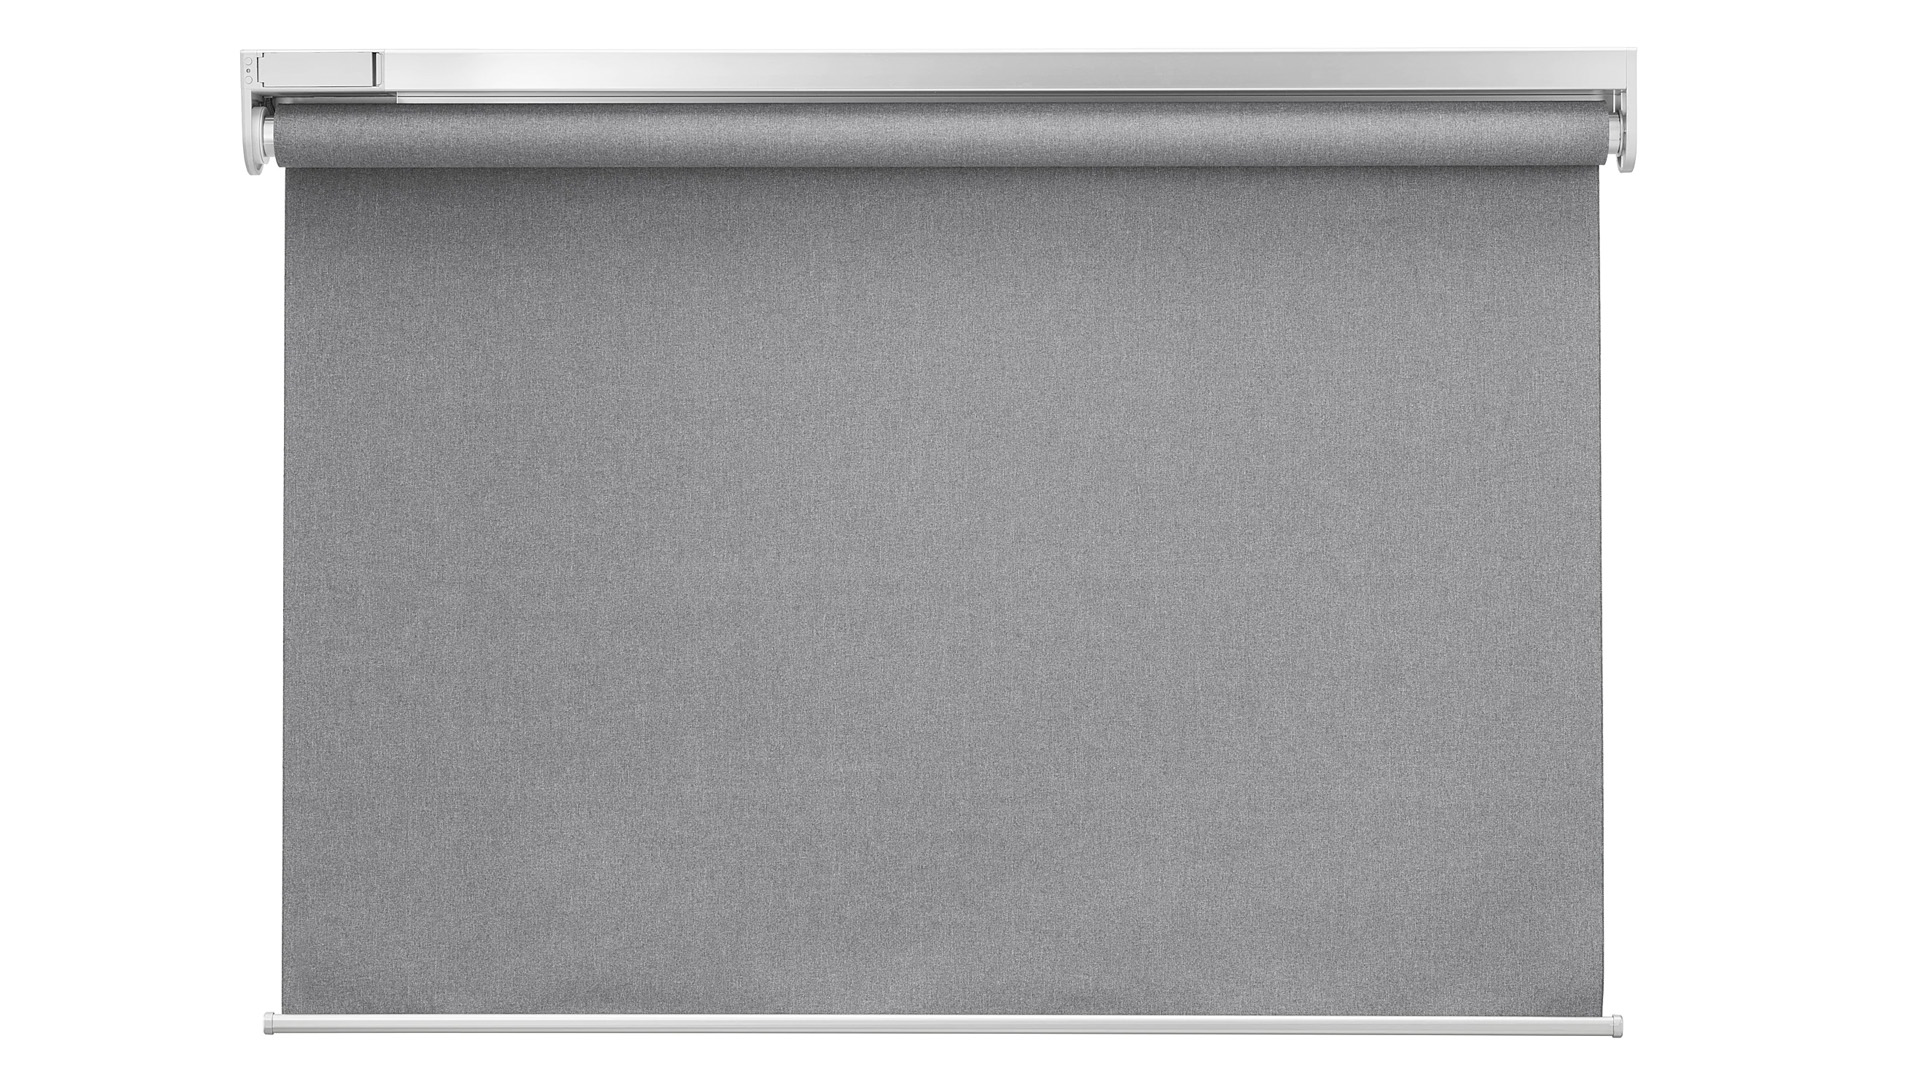
Roller blinds are also an excellent choice for blocking light, particularly if your projector is in a room with UPVC doors, which may look a little weird with a curtain in front of them.
You can pick up custom-made roller blinds at a fairly low cost online. And since they usually sit closer to or flush with the window fitting, blinds are often more successful than standard curtains at keeping light out.
Just make sure you choose blinds with blackout properties, or they will be close to useless. You can even tape the blind’s sides to the window frame with masking tape for better results, although this isn’t particularly practical, outside of those one-off, all-day Lord of the Rings: Extended Edition marathons.
4. Use a gray, rather than white, screen
Cost: 2/5
Effort 3/5
A gray projector screen is likely to be a far better solution than a white one if your projector is in a ‘less than perfect’ room. By which we mean a room with a white ceiling, light-coloured walls and windows – most rooms, in other words.
This gray projector ‘screen’ could take the form of one wall of the room being painted gray, a standard white projector screen painted gray or, if you’re slumming it, a large gray sheet that you stick to the wall for movie nights. It doesn’t have to be an actual gray projector screen – although these are available online.
We tried the second approach, painting a rollable white projector screen gray using regular house paint, and experimenting with different tones before settling on one slightly darker than the surrounding gray walls. (We also added some metallic silver paint to further improve the picture, but that part is optional.)
The resulting gray screen dramatically improved the perception of contrast, making blacks look much deeper than they would appear on a white screen. It doesn’t actually boost contrast in reality, though. A gray screen dims both the darkest and lightest parts of the picture equally. But the perceived contrast is improved because context matters, more than with a TV.
We want the blacks of your movie images to have a lower floor than the tone of the surrounding walls. Only very dim projectors won’t benefit from a gray screen in a compromised home cinema room. Aim for a neutral gray, since this will least affect the color tone of the image.
5. Paint your walls a darker color
Cost: 2/5
Effort 4/5
Here’s the home cinema edit that the majority won’t be prepared to make: painting your walls and ceiling a darker colour, to help the contrast of your image.
The ideal projector room is a “batcave”, as home cinema fans call it – a room with almost entirely black surfaces and fully blacked-out windows.
However, the further you get away from white – in walls, carpets and furniture – the less light is going to bounce around your room, lowering image contrast. This isn’t just about the light that enters through windows that aren’t fully sealed off, but the light that the projector emits.
You want the walls to absorb as much of that light as possible, which is the reason black, grey or colored walls work better than white ones, which reflect light of all colours.
6. Get dark, textured drapes for furniture
Cost: 1/5
Effort 1/5
Don’t want to paint the ceiling black? Neither do we. But covering up light-colored furniture may help. For example, in one of our testing rooms there’s a large white-topped coffee table between the projector and screen that not only increases reflected light around the room, but can be quite distracting when trying to focus on a projection image.
Buying a cheap throw for such glaring pieces of furniture may seem a cumbersome way to improve image quality, but if there’s space below a sofa where you can stash it outside of movie nights, it’s a cheap, quick-fix to improve the characteristics of your home cinema room.
Just as black walls are the best option, a black throw is the color to pick. A matte, or even velvet-like, texture will ensure minimal light reflections too.
7. Buy a higher (or lower) gain screen
Cost: 3/5
Effort 2/5
Take a step beyond the most basic projector screens and you’ll come across “high gain” models. These will be accompanied by a number, such as 1.2, 1.5 or 2.0, which denotes how much brighter they are meant to make the image. It’s the opposite of the grey screens we covered earlier, which dim the image slightly to improve perceived contrast.
Do a quick bit of research and you’ll see high-gain screens described as reflecting more light than actually hits the display, which isn’t actually possible. High-gain screens don’t generate light.
Instead, they narrow the angles at which the screen reflects light, so more of it ends up directed at the viewer when sat at the optimal point, in front of the screen. The result is a brighter-looking image, without buying a brighter projector.
Potential problems here are obvious. A high-gain screen is only a good idea if you’ll watch movies from that optimal spot in front of the screen. And very high-gain screens can result in the sides of the image looking darker and hot-spotting, where a part of the picture seems brighter than the rest.
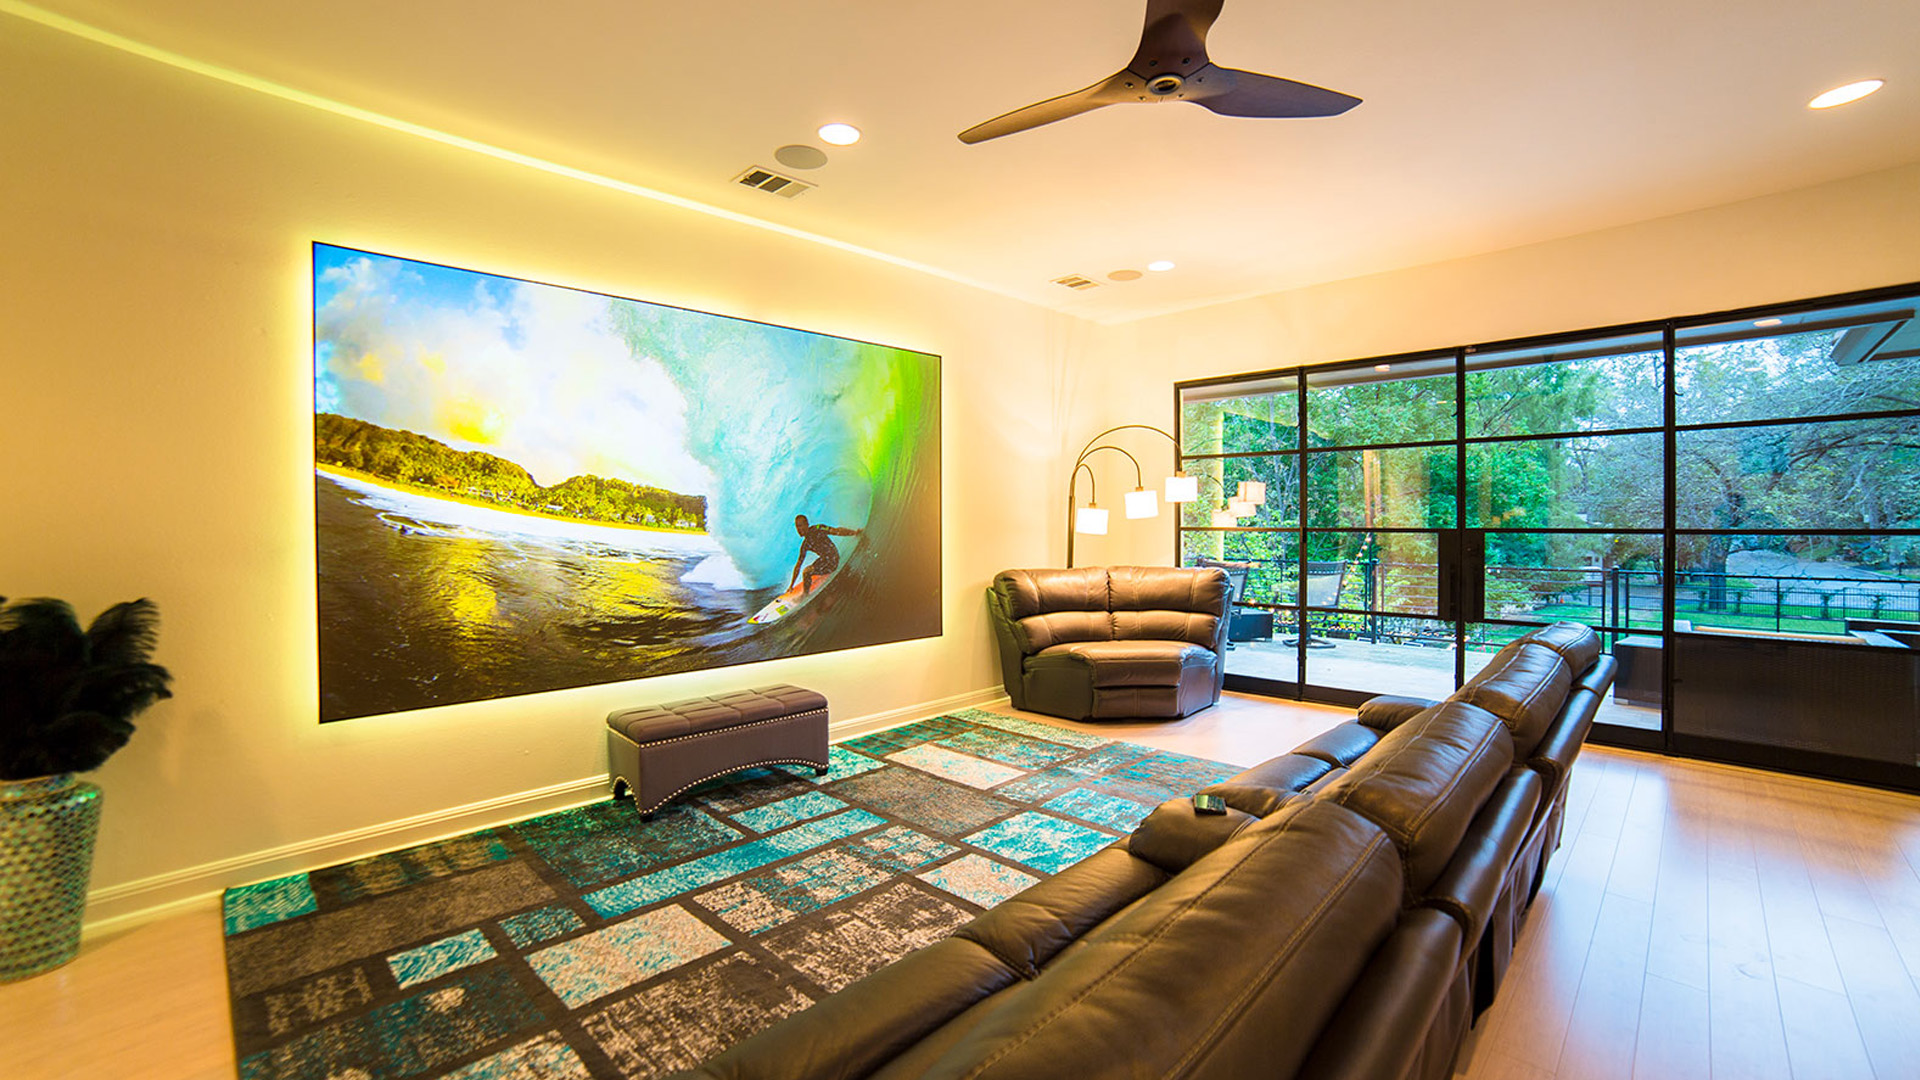
8. Buy an ALR/CLR screen
Cost: 5/5
Effort 2/5
The most advanced projector screens are called ALR or CLR – ambient light rejecting and ceiling light rejecting. If you have a normal projector, then you might want an ALR screen; CLR models are designed for ultra-short-throw projectors.
What both have in common is a deliberately micro-contoured surface. An ALR screen uses these contours to avoid reflecting light that comes from above and below the screen. The CLR blocks light from above, such as ceiling lights.
These are great for those who want the ability to use a projector in a brighter room. These screens also tend to be composed of a whole bunch of layers that maximise the light output we do want – that from the projector – and minimize the rest.
ALR and CLR screens are universally expensive. You can easily spend upwards of $1,000 on one. But they’re a great option if you want to use a great-quality projector in a normal room during both the day and night.
Top makers of ALR and CLR screens include Elite Screens, Stewart Filmscreen and Sapphire AV.
- Here are the best projectors

Andrew is a freelance journalist and has been writing and editing for some of the UK's top tech and lifestyle publications including TrustedReviews, Stuff, T3, TechRadar, Lifehacker and others.