


At WWDC in June 2022, one of the most exciting features Apple unveiled was Continuity Camera for macOS Ventura. This lets you simply place your iPhone on your Mac and instantly use it as a webcam. In true Apple style, there’s no fiddly setup – it just works, and we’re going to show you how you can use it in this guide.
Continuity Camera doesn’t just give you a new webcam and leave it at that. It uses a bunch of clever iOS features, including Center Stage, Stage Light, Portrait mode, and a nifty Desk View that shows your desk alongside your face on calls. Give it a try and it’ll soon become your favorite tool for video calls.
Tools and requirements
- iOS 16.1
- macOS 13 Ventura
- You’ll need to make sure your Mac and iPhone are connected to the same Wi-Fi network and logged in with the same Apple ID (with two-factor authentication enabled), and both have Bluetooth turned on
Steps
1. Place your iPhone close to your Mac
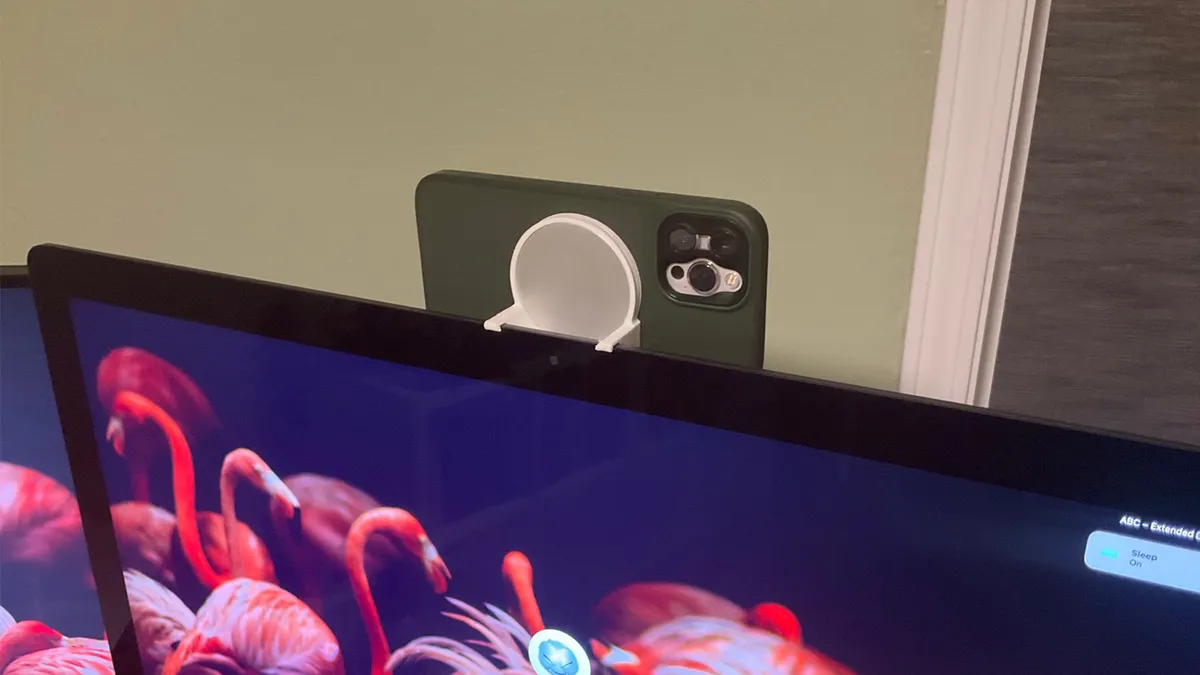
You can perch your iPhone on a stand on top of your MacBook’s screen, mount it on an external monitor, or place it anywhere else you please. As long as it’s close enough to your Mac, it shouldn’t matter.
First of all, place your iPhone on a stand close to your Mac. While Apple’s WWDC demo only showed Continuity Camera working with a MacBook, it can also work with the iMac, Mac mini, Mac Studio, and more.
2. Make sure your iPhone and Mac are connected

With your iPhone in place, open a video calling app. In this example we’re going to use FaceTime, but any other video-calling app should work.
As long as your Mac and iPhone meet the requirements, you’ll get a new overlay on your iPhone’s screen as soon as FaceTime opens.
This overlay should read 'Connected to [your name]’s [Mac name].' For example, 'Connected to Alex’s Mac mini.'
Underneath are two buttons. Press Pause to temporarily pause your video, or press Disconnect to stop it completely.
If your iPhone isn’t the default camera, open FaceTime, click Video in the menu bar and make sure your iPhone is selected under the Camera heading.
3. Change the camera to your iPhone

Your Mac will now be using your iPhone’s rear camera(s) as a webcam. You can get started with a new call straight away, if you like.
Continuity Camera gives you some other options. Click the Control Center icon and you’ll see a Video Effects button in the top left. Click it for some extra features.
4. Using Center Stage

At the top is Center Stage. This will move the focal point of your camera as you move around the room, always keeping you in the center of the frame. Note that you’ll need an iPhone 11 or later to use Center Stage.
5. Using Portrait Mode

Underneath Center Stage is Portrait mode - this adds a soft blur to your picture and is useful for hiding background details. Note that this feature needs an iPhone XR or later.
6. Using Studio Light

Next up is Studio Light, which brightens the subject of the video and darkens the background, helping you stand out. Note that this feature requires an iPhone 12 or later.
7. Using Desk View

Finally, there’s Desk View. This works a little bit of magic to show both your face and the surface of your desk at the same time. It’s great if you want to demonstrate something to your audience, such as teaching people a card trick or showing off your latest drawings.

Clicking Desk View in Control Center opens a new app, appropriately also called Desk View. This lets you control just the desk-facing footage, and it’s pretty simple. At the bottom is a slider to zoom in or out, but that’s about it.
You can check how your Desk View output looks alongside your FaceTime window. You might need to adjust your camera’s angle so that it captures both you and your desk (our standard camera setup resulted in something akin to “Shirt View” before we moved it). Play around with the zoom level in the Desk View app until it looks just right.

Continuity Camera tips
- If Continuity Camera isn’t working, open your iPhone’s Settings app, tap General > AirPlay & Handoff, and ensure the Continuity Camera Webcam toggle is on.
- If you dismiss the Continuity Camera overlay and unlock your iPhone, the video will pause automatically on your Mac. Lock your iPhone again to resume it.
- Some apps might not show the overlay straight away. In Zoom, for example, you need to create or join a meeting first. If you’re just on the main Zoom window, nothing happens on your iPhone.
- As well as your iPhone’s camera, you can tell your Mac to use your iPhone’s microphones as well. For instance, in FaceTime, click Video in the menu bar and select your iPhone under the Microphone heading. To use your iPhone’s mics, you’ll need an iPhone XR or later.

Final Thoughts
Continuity Camera combines a bunch of Apple’s existing tech, including Portrait mode and Center Stage, with the superb cameras already on your iPhone. The fact that you can use existing hardware ought to give webcam makers pause for thought, as Continuity Camera is simple to use and doesn’t require any additional devices.
It’s also a great example of Apple blending its software and hardware to create something awesome. That’s especially with Desk View, which creates two different video angles from just one device - it’s a pretty great idea.
