How to restore your old photos for free or with Photoshop
Restore your mangled family photos with these easy solutions
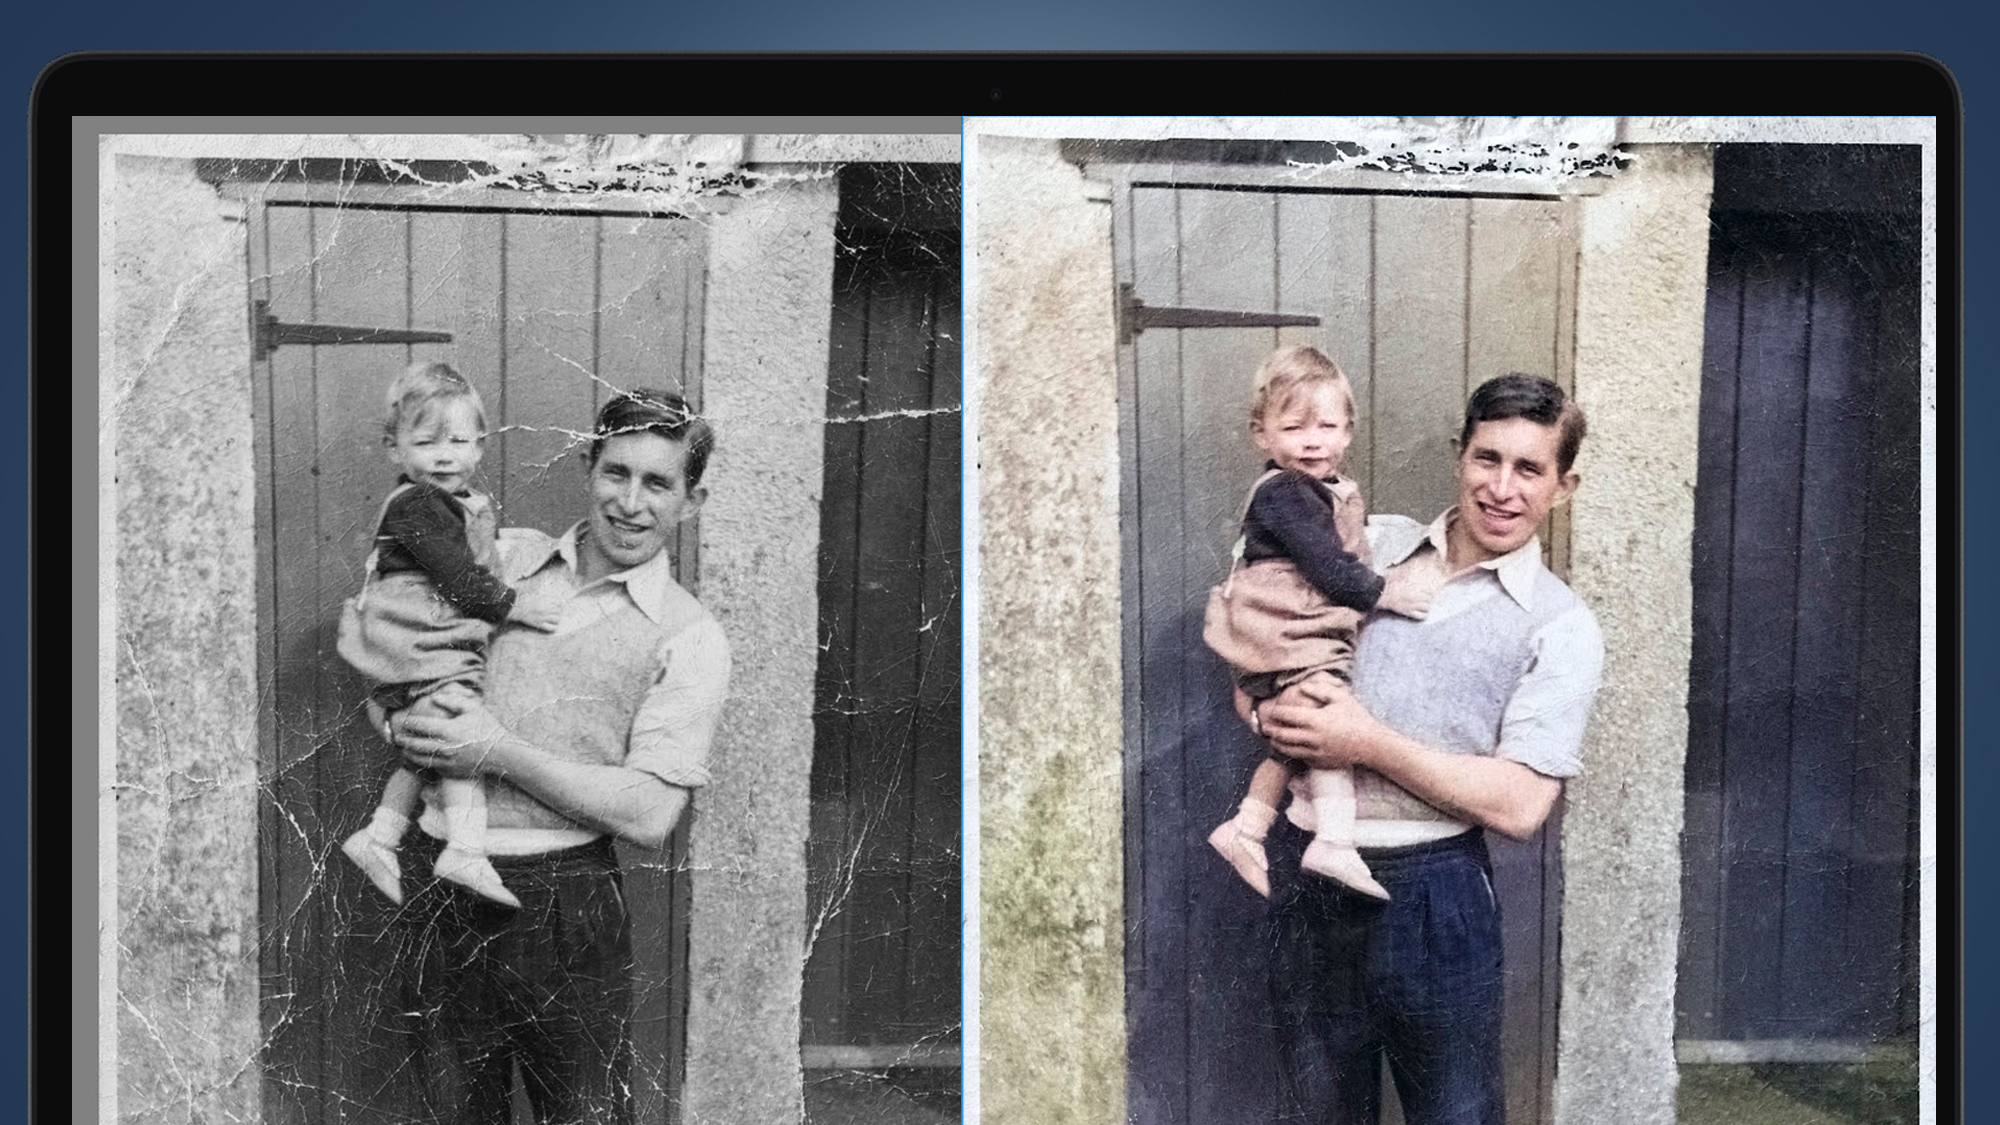
Learning how to restore old photos is a great, family-pleasing skill to have – and whether you're looking to do it for free or with Photoshop, it's never been easier. In this guide, we've picked out our favorite free options for web browsers and smartphones, detailing their strengths and weaknesses. And for Photoshop fans, we've also created a simple step-by-step guide to restoring old photos using Adobe's software.
Old family photos can help to bring our family histories back to life. But unless you’re using archival methods to store your old photos, they'll probably have been damaged to varying degrees over decades of less-than-perfect storage.
The good news is that there are now plenty of smartphone apps and websites using AI that will restore photos for you automatically, and in some cases, for free. And if you’re a Photoshop user, you can achieve professional results in just five easy steps once you’ve digitized your photos.
How do you digitize old photos before restoring them? There are three main methods, and all work exceptionally well. The easiest is to take a shot of the old photo using your smartphone using an app like Google Photoscan. Or if you’d like a larger, higher-quality version you can use a mirrorless camera or DSLR. A kit lens will work just fine, but if you have a macro lens this will be even better.
The final way to digitize old photos is to use a flatbed scanner, but since these aren’t as popular as they once were, many people no longer have access to them. Once you’ve digitized your photos, it’s time to restore them using either free AI tools or by taking a more manual approach in Adobe Photoshop. Here are the best options for both routes, so you can get your photos ready to display on your laptop, TV or the best digital photo frames.
How to restore old photos for free online
VanceAI is an AI-powered photo editing website where you can take advantage of a wide range of editing tasks including image sharpening, noise reduction, portrait retouching, photo restoration and much more.
There are limitations on its free version. Each editing task requires 0.2 credits, while downloading an image requires one credit, with three free credits available each month at a size limitation of 1996 pixels (16.9cm at 300dpi) on the long edge of the output file. A small VanceAI watermark is also added to the image.
Sign up for breaking news, reviews, opinion, top tech deals, and more.
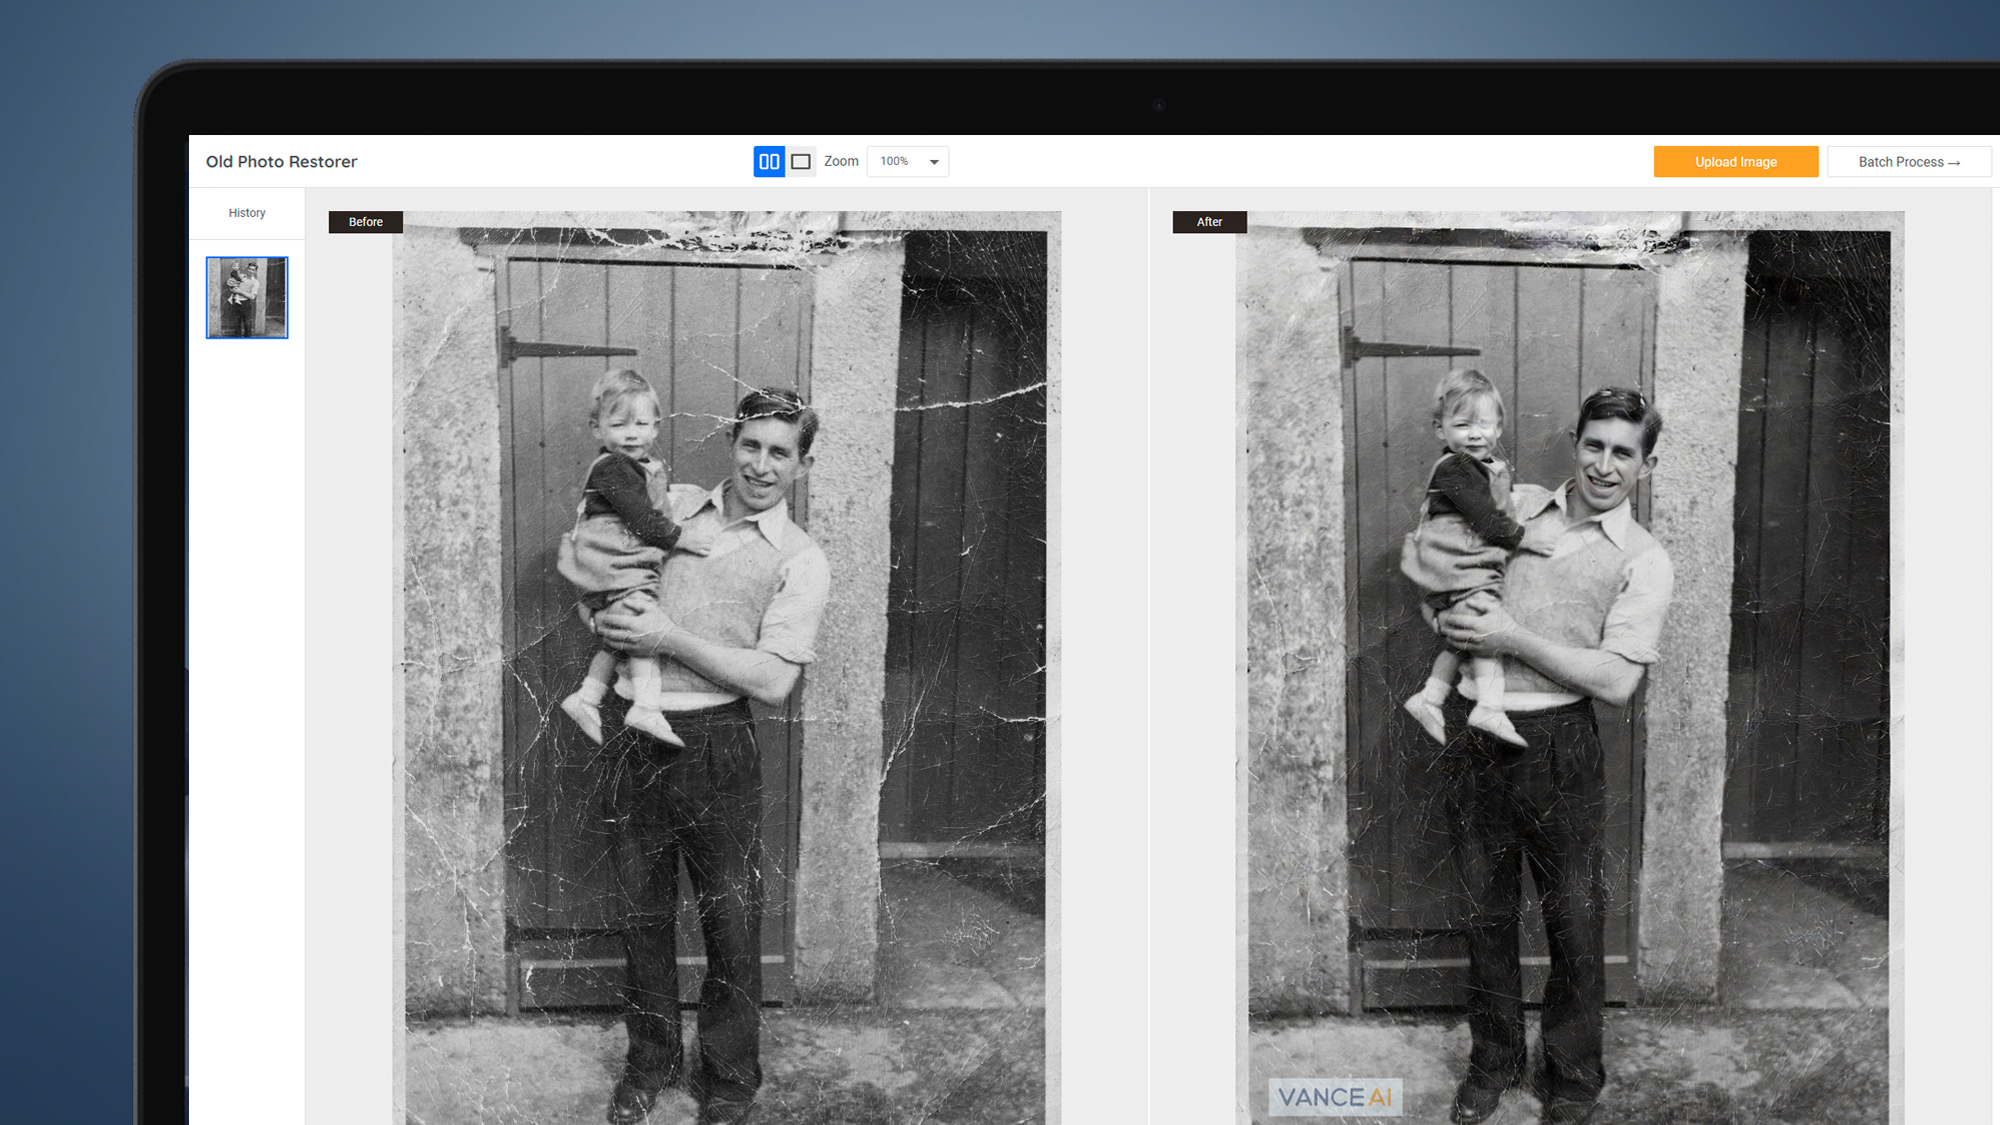
To take advantage of higher resolution output files with no watermark, you have to subscribe to a credit plan. These include a pay-as-you-go option where 100 credits cost $26.99 or a monthly plan where 100 credits cost $9.90 and unused credits roll over for up to five months while subscribed. There's also an annual subscription where 100 credits cost $5.94 with the five-month rollover. So, quite expensive overall.
Still, the results of image repair and enhancement are good overall, with a focus on enhancing faces. They’re best, as you’d expect, with less damaged photos. With more damaged photos, the AI doesn’t always clone/heal well and important features can be lost, such as one of the toddler’s eyes in one of the photos tested. Colorization didn’t work with any images tested, but using the website is extremely easy since you only have a few options to consider.
How to restore your old photos with an app
Face Restore is an AI-powered photo restoration app (available for both Android and iOS) that can repair scratches and colorize black-and-white photos. And like VanceAI, there’s a focus on faces where the AI processes faces in the image more than other areas. You can then download the whole image or download close-ups of faces detected in photos. Restoration is easy to use and you’re guided through each step.
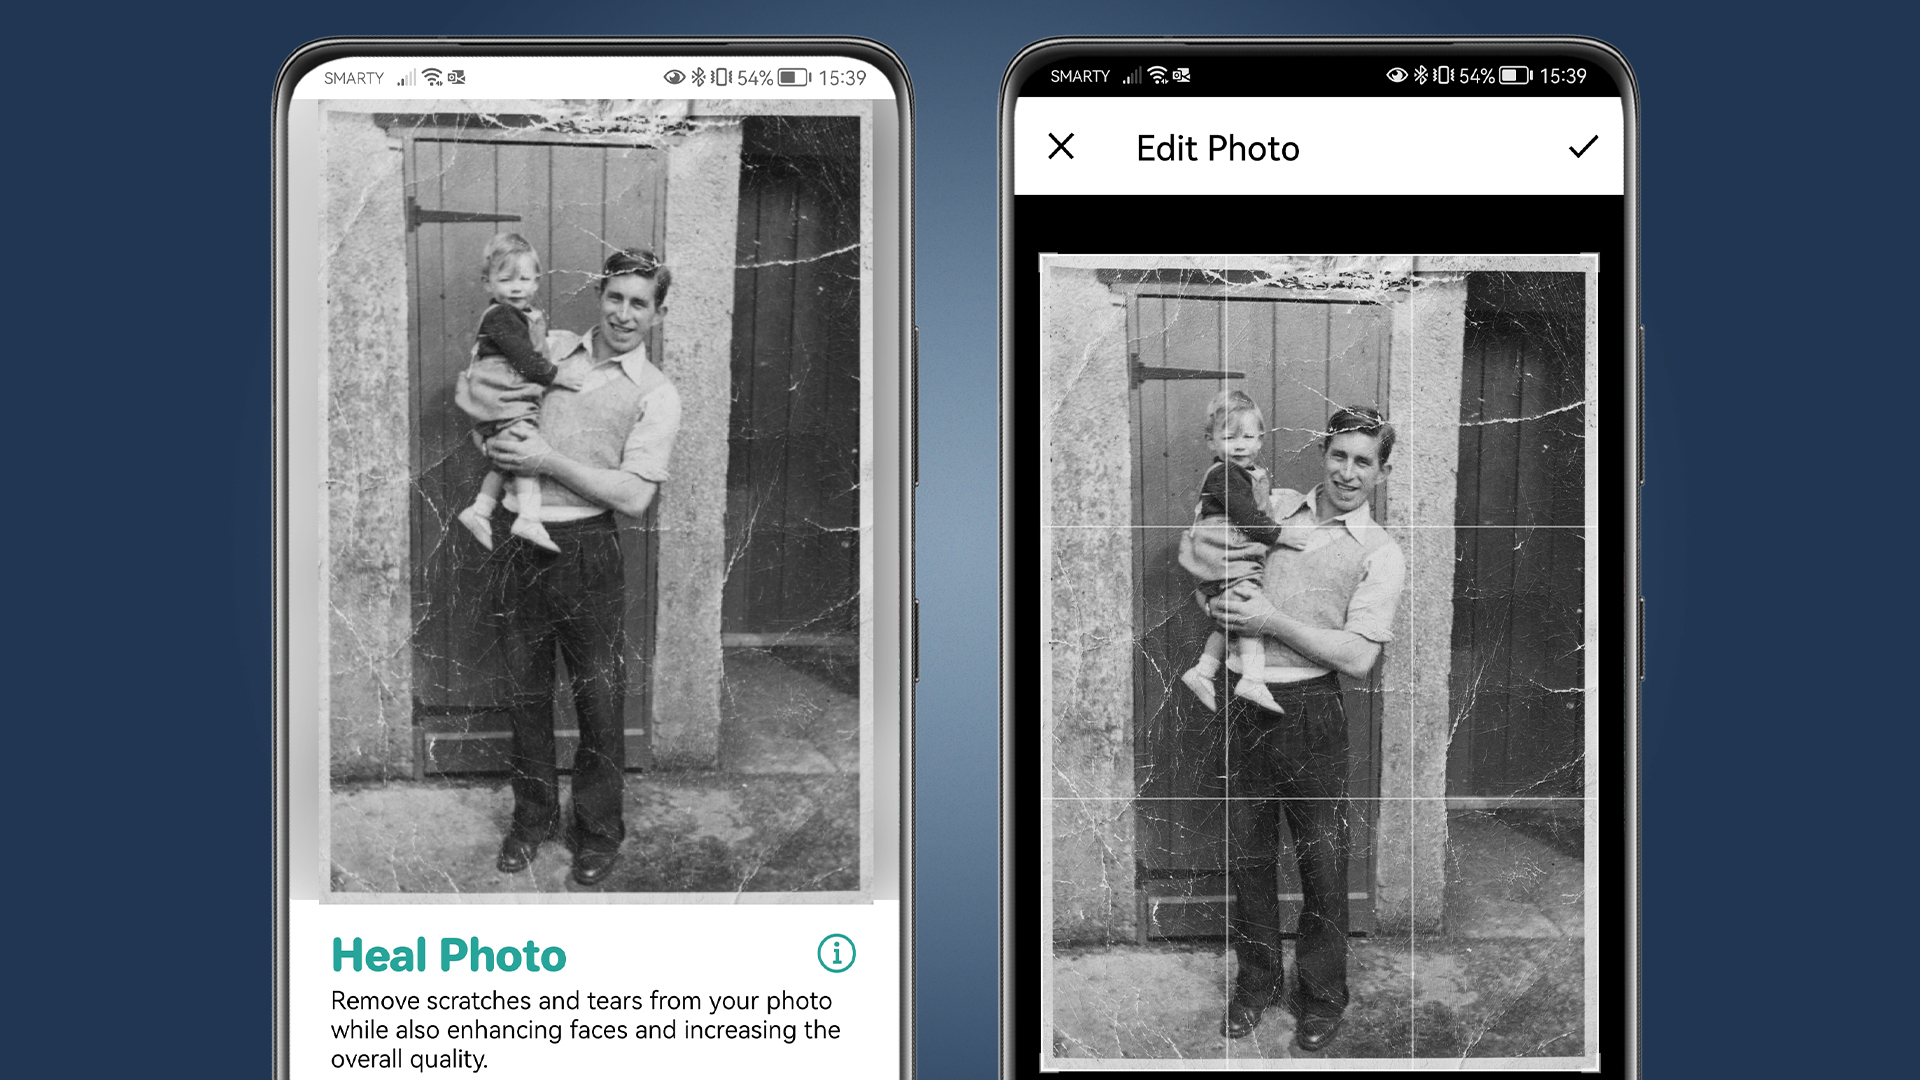
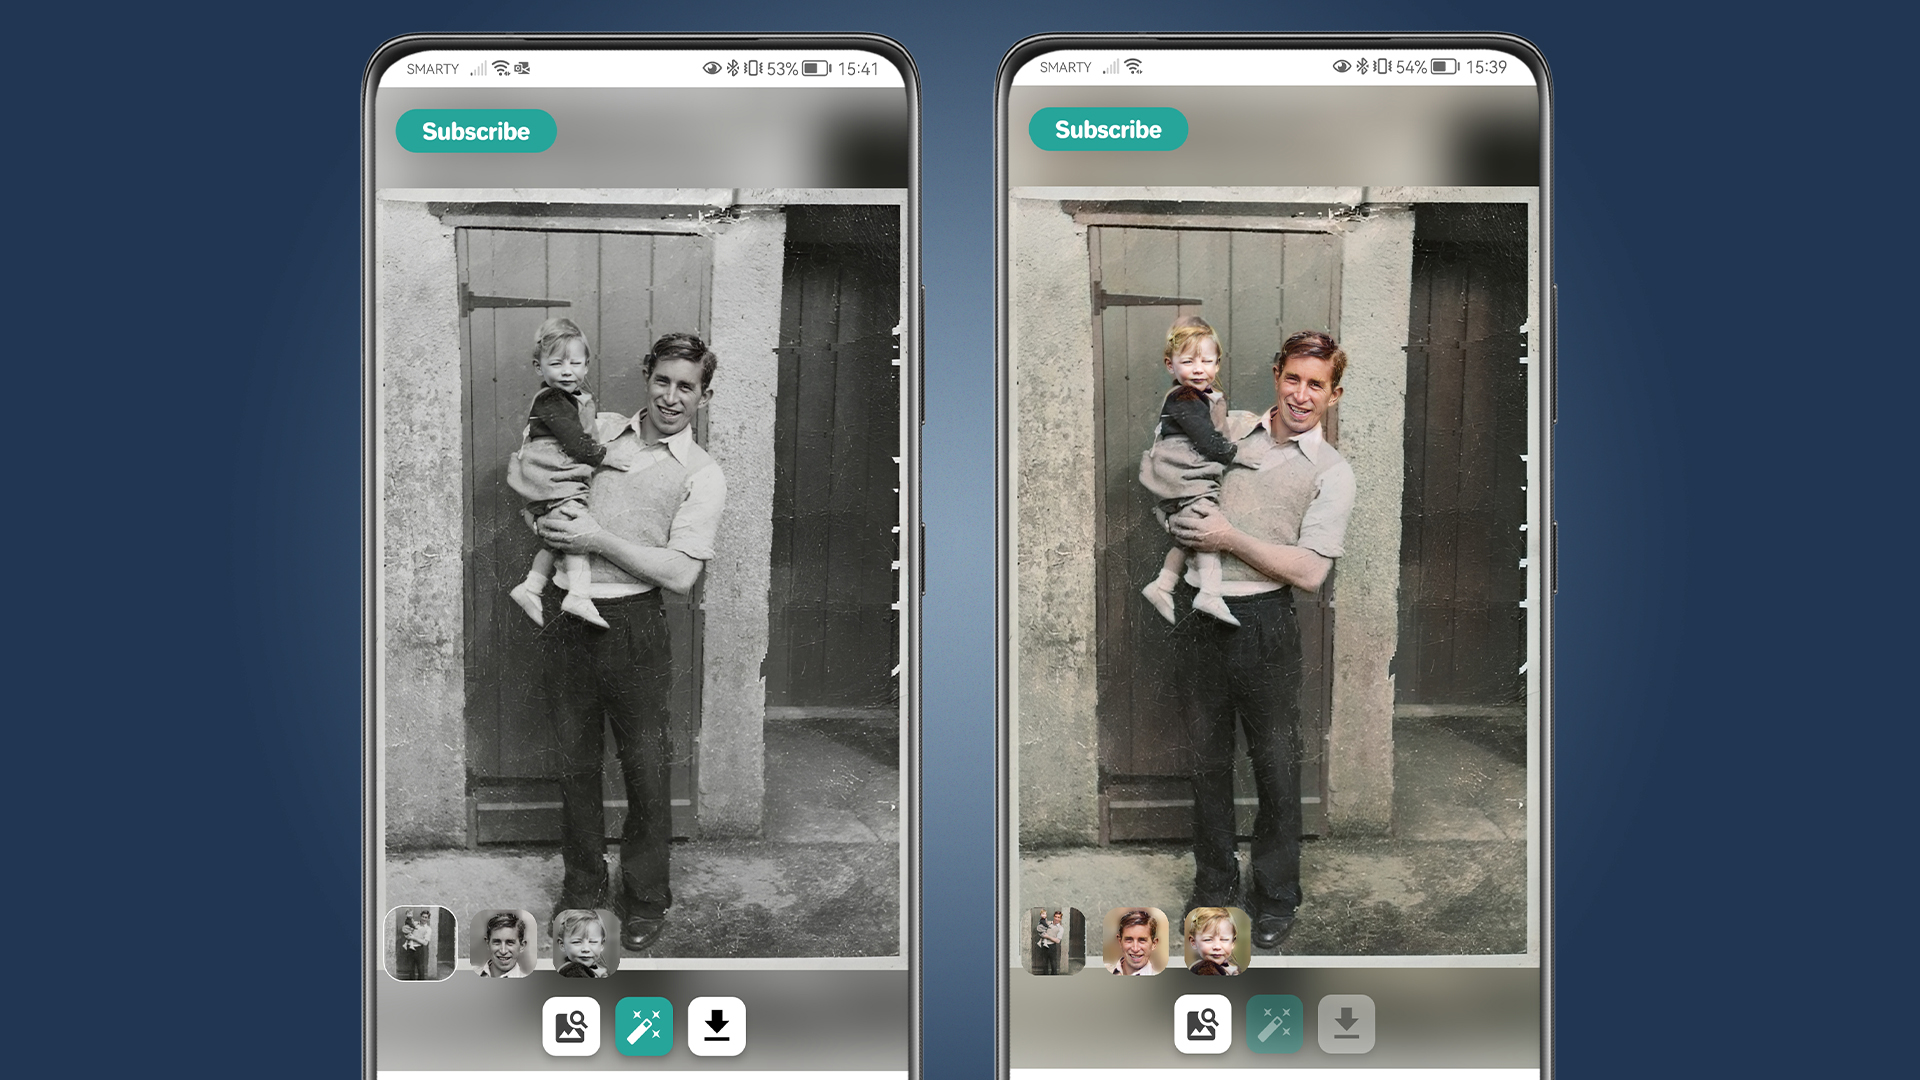
You can subscribe to remove ads, otherwise the app says that 5-30 second ads have to be viewed to perform processing steps. During testing, though, each task performed required viewing a 30-second advert. It’s not too bad because you can simply put your phone down and do something else while you wait. Alternatively, you can subscribe for $9.99 / £8.99 / AU$15.49 per month or $39.99 / £35.99 / AU$60.99 per year. With the free ads-based version, output images are limited to 1280 pixels (10.84cm at 300dpi) on the long edge.
Results are most effective with images that exhibit only minor damage/scratches. More prominent damage repair can, in some instances, result in pixelation and mismatched cloning in these areas. Like VanceAI, the results aren’t as good as what can be achieved in Photoshop (see below), but using the app is extremely easy and for less damaged and damage-free images it’s highly successful. Colorization, on the other hand, isn’t great and results here can be quite patchy.
How to restore old photos in Photoshop
The best way to restore old photos is to manually clone and heal damage in Photoshop. There are currently a couple of useful automated tools such as the Dust & Scratches Filter which makes removing small cracks quick and easy, and the Colorize Neural Filter to automatically color black and white images.
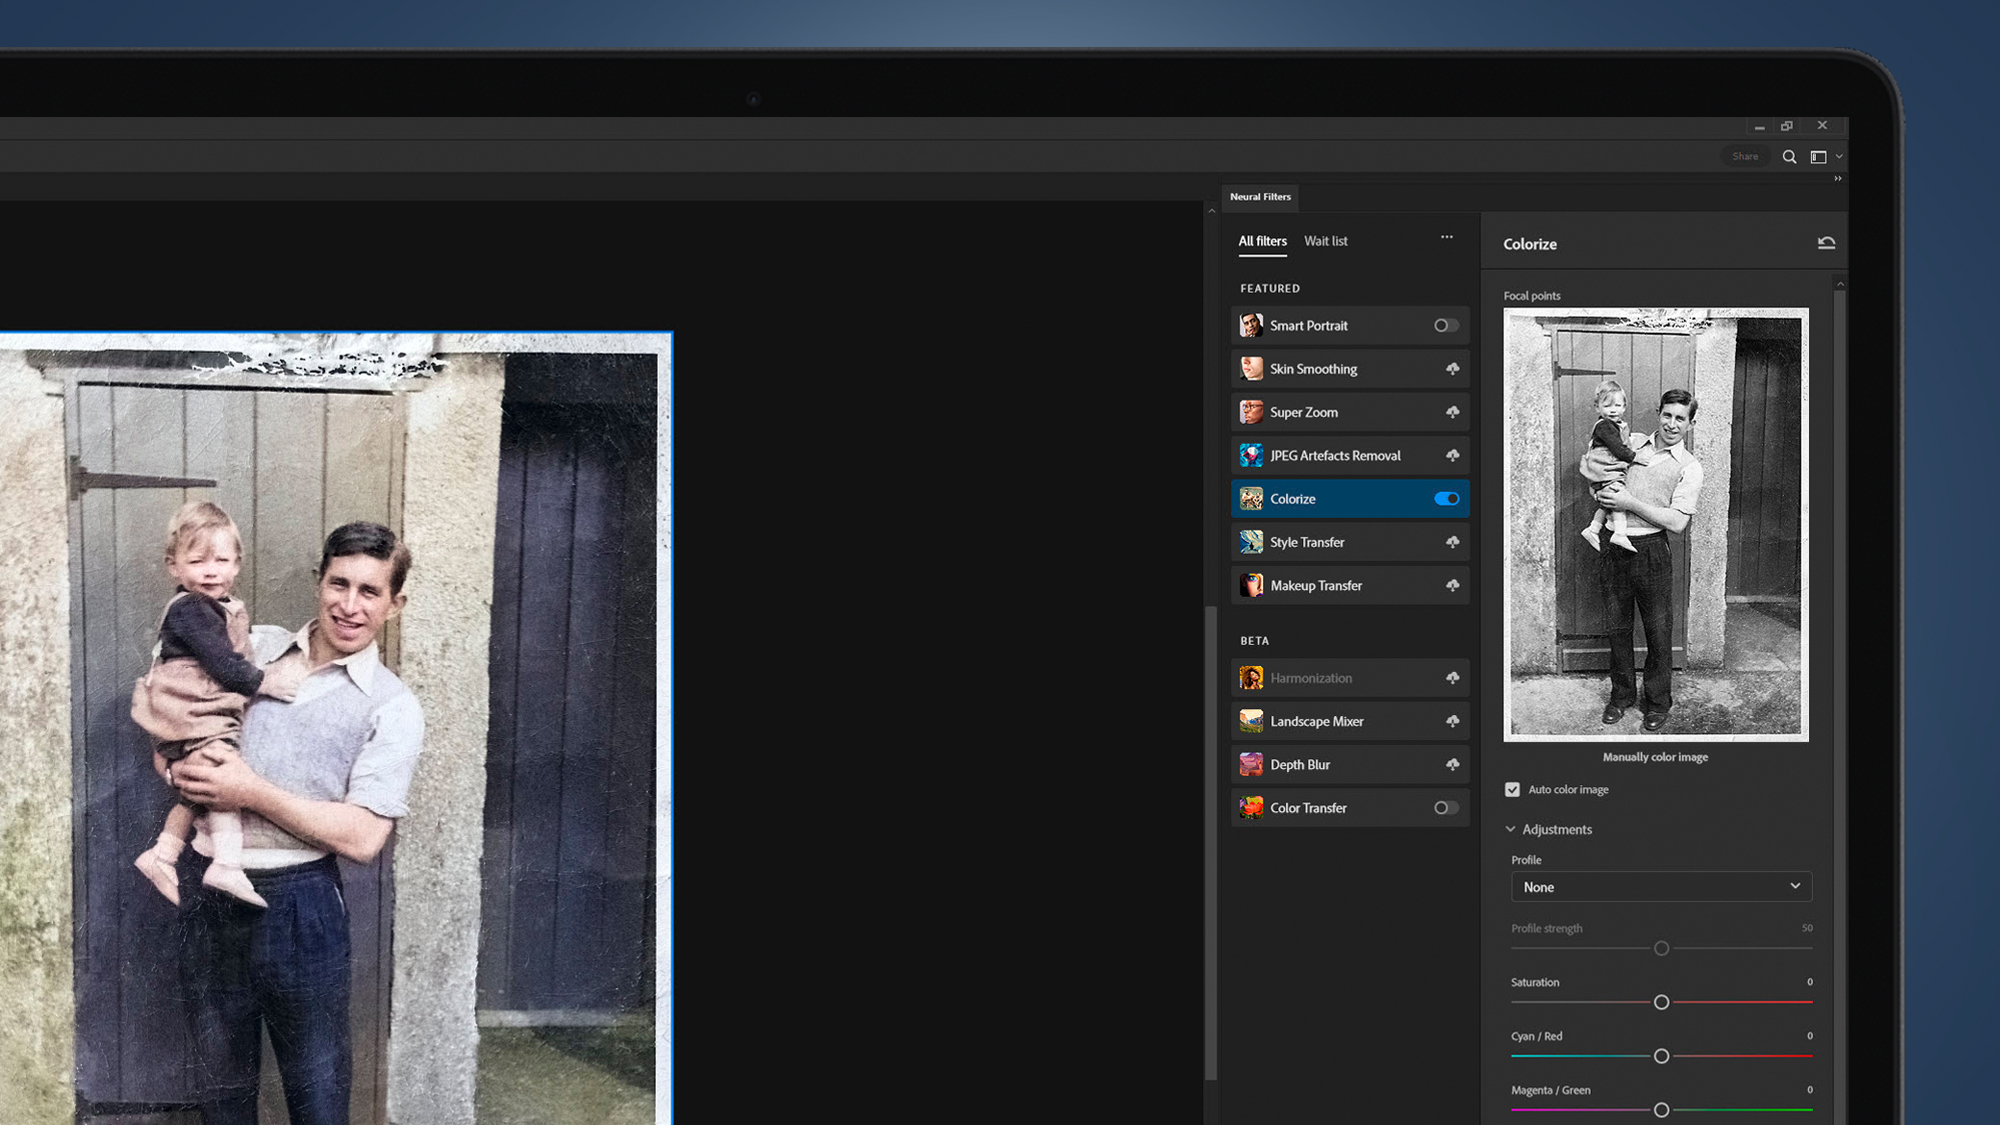
The Colorize Neural Filter does a reasonable job but can leave patches of black and white. So, if you select the option to ‘Output as new color layer’, you can easily fill the uncolored patches by painting with the Brush Tool and sampling the correct color from other parts of the color layer.
A Photo Restoration Neural Filter is due to be released in Photoshop soon, but it's currently only in beta. For now and possibly still in the future, manual restoration remains the best option for removing damage and blemishes alongside adjusting brightness, contrast and discoloration. Here's how to do it.
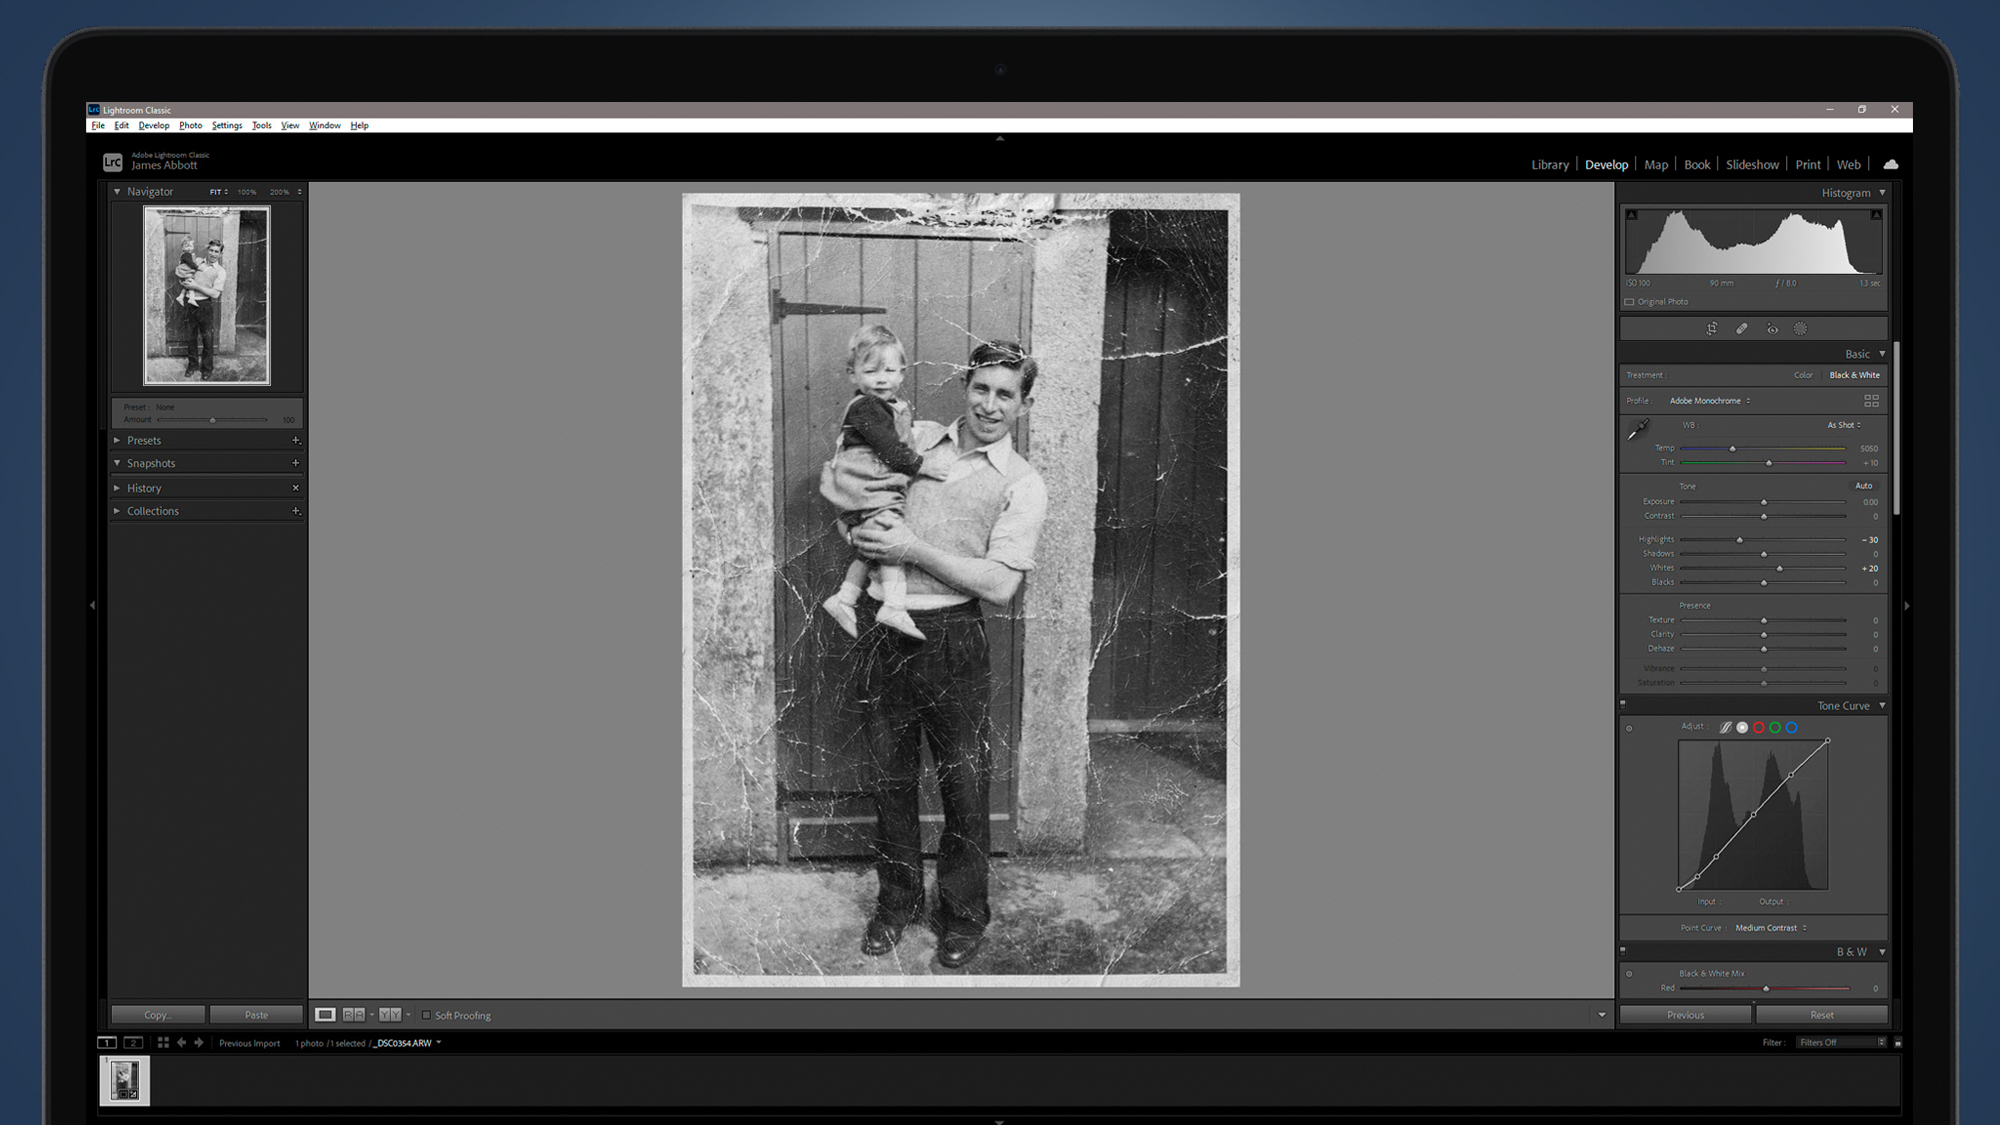
1. Crop & adjust
Take a shot of the photo you want to restore using your camera or a smartphone (for example, with the Google Photoscan app) and then import it into Lightroom. Here you can crop the area around the photo out and make basic adjustments such as increasing contrast with the Tone Curve and using the Highlights, Shadows, Whites and Blacks sliders if required. Output your photo as a 16-bit TIFF for the best quality for cloning and healing.
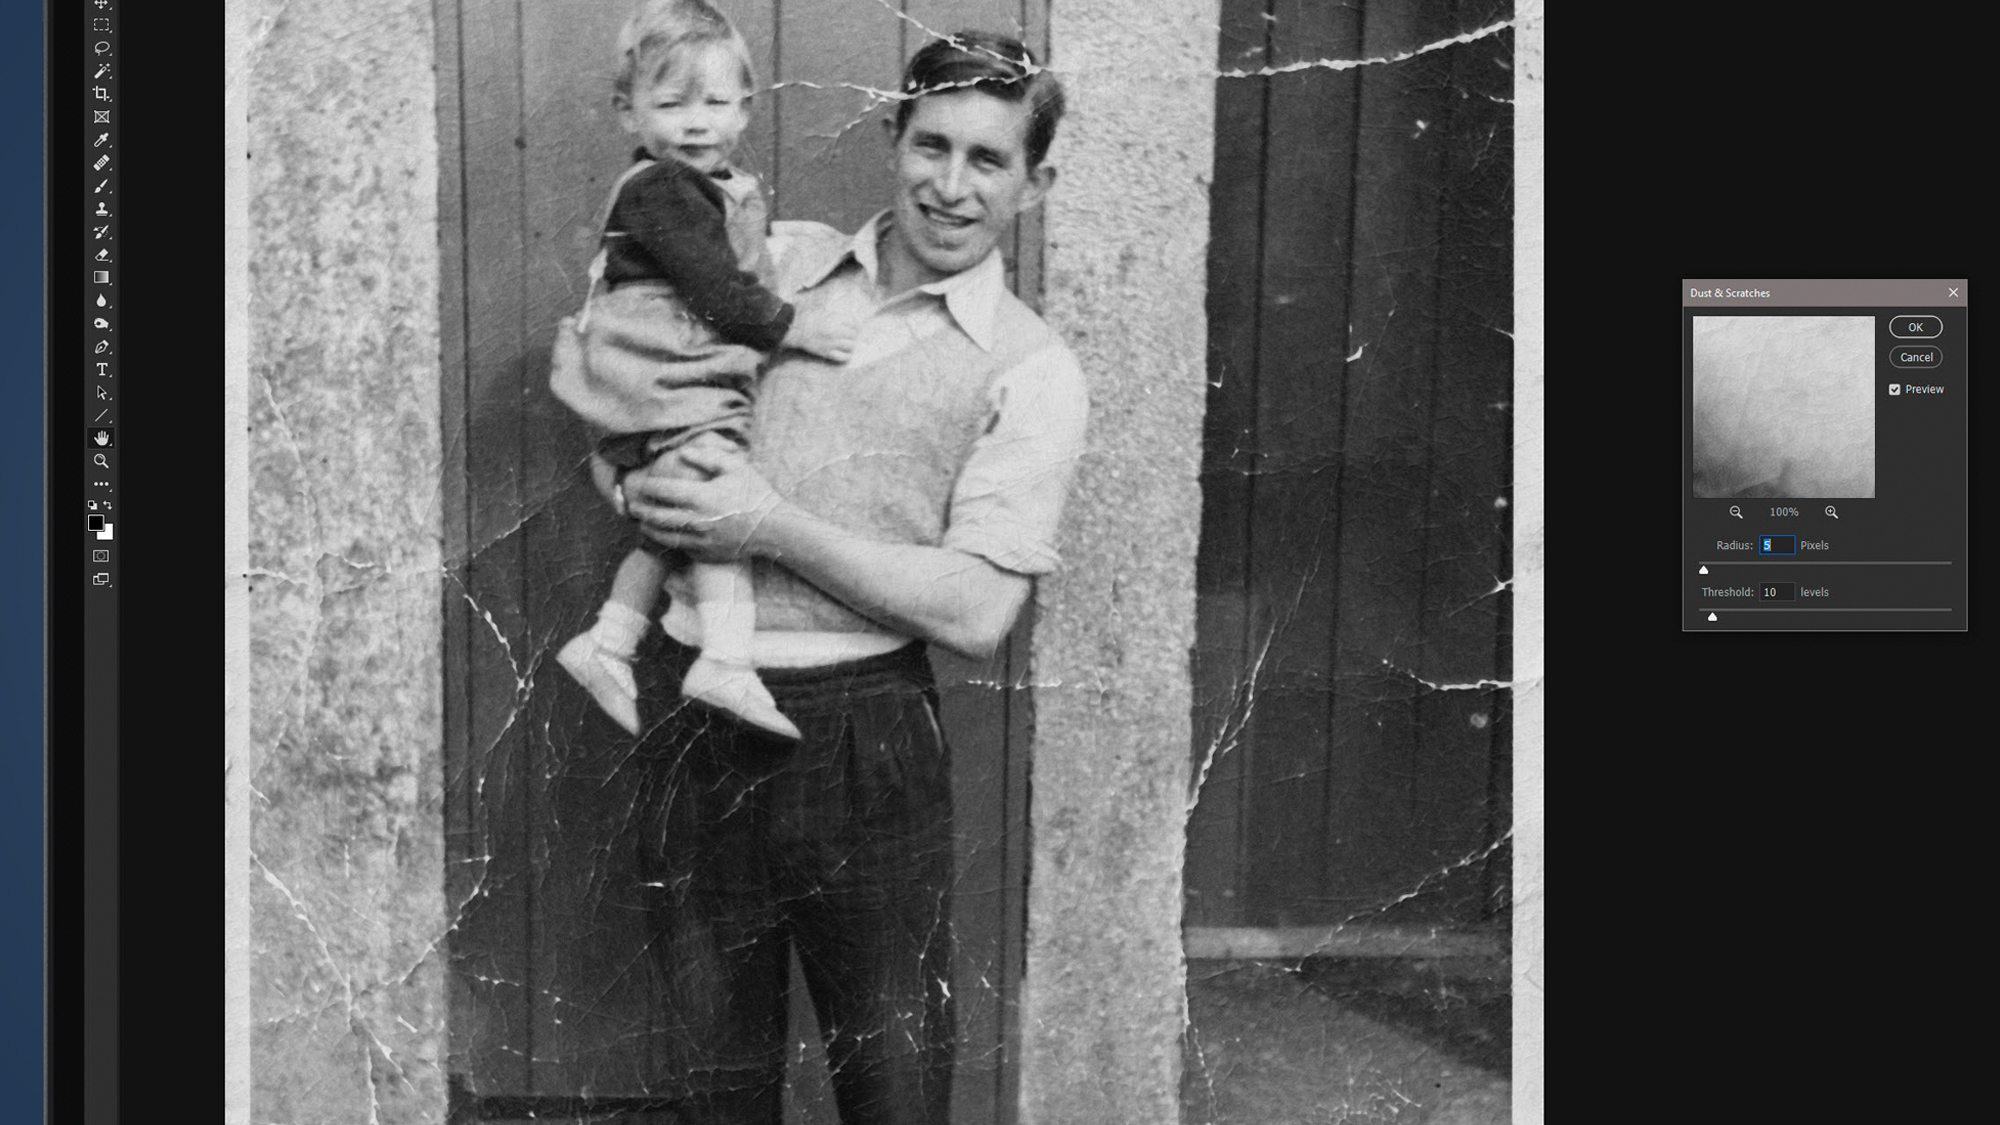
2. Use Dust & Scratches
Open the digitized photo in Photoshop, press Ctrl/Cmd+J to duplicate the Background Layer, then go to Filter>Noise>Dust & Scratches. Move the Radius slider to the right until fine cracks disappear, but don’t go too high. A Radius of five pixels was perfect for this photo. Next, use the Threshold slider to recover some sharpness lost by the Radius slider. For this photo, Threshold was set to 10 levels.
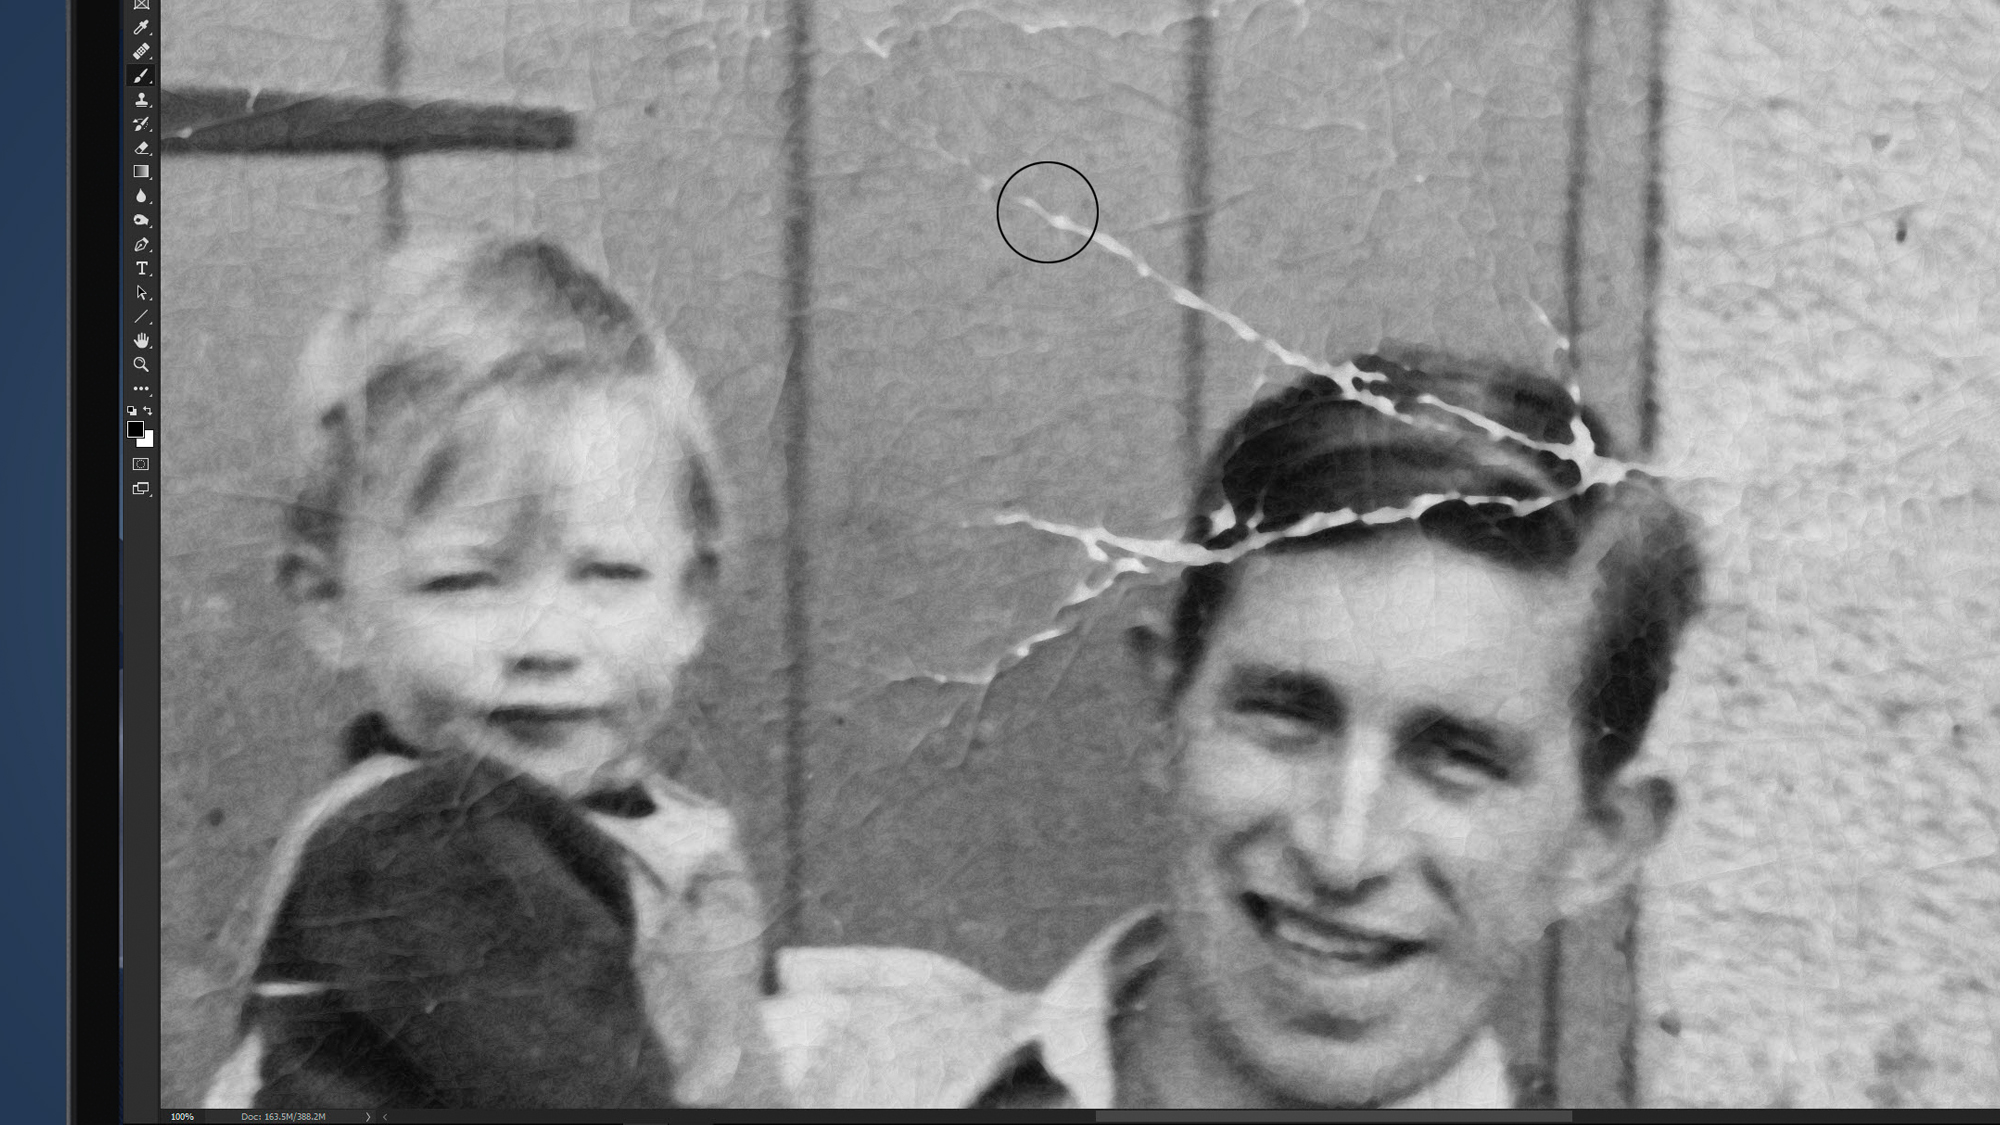
3. Fix cracks, tears and blemishes
Larger cracks, tears and blemishes will need to be cloned manually, so press Ctrl/Cmd+Shift+N to create a New Layer and name it ‘Spotting’. Select the Healing Brush Tool and set the Hardness to 50% and use the left and right square bracket keys to adjust the size. Hold down Alt/Option and left click to sample close to a problem, then left mouse click and paint over cracks, tears and blemishes.
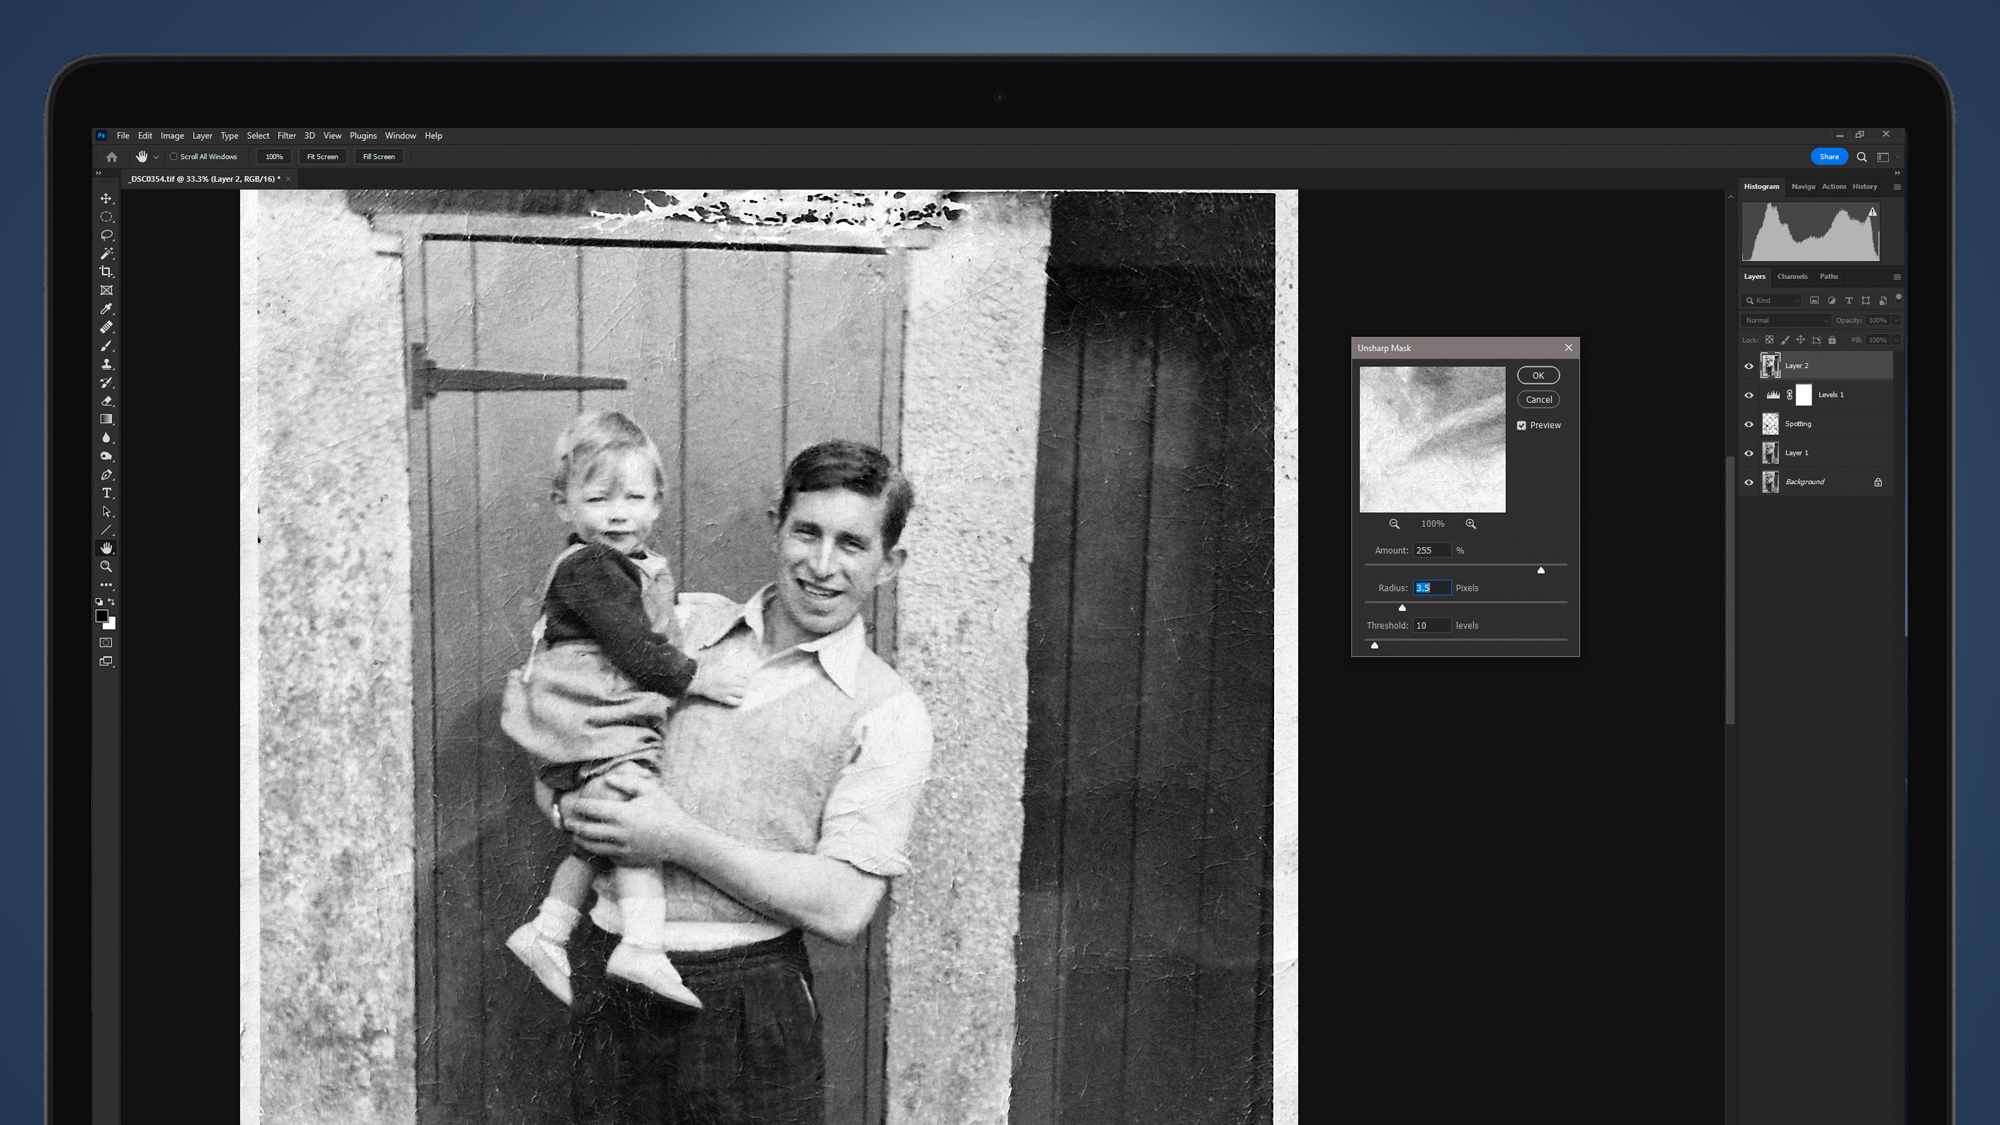
4. Levels and Sharpen
Create a Levels Adjustment Layer and drag the black-and-white points inwards to increase contrast, then adjust the midpoint to control brightness. Next, press Ctrl/Cmd+Shift+Alt/Option+E to merge visible Layers to a New Layer, then go to Filter>Sharpen>Unsharp Mask. You’ll need strong settings, so for this image Amount was set to 255%, Radius to 3.5 Pixels and Threshold to 10 levels.
5. Colorize with Neural Filters
Go to Filters>Neural Filters>Colorize. Make sure Auto color image is checked and Photoshop will colorize the photo. You can then use the sliders to adjust the color balance if it’s not quite right and can also use the Color artifact reduction and Noise reduction sliders if required. If you check Output as new color layer, the colors will be added to a Layer that can be touched up if necessary.

James Abbott is a professional photographer and freelance photography journalist. He contributes articles about photography, cameras and drones to a wide range of magazines and websites where he applies a wealth of experience to testing the latest photographic tech. James is also the author of ‘The Digital Darkroom: The Definitive Guide to Photo Editing’.

 Become a TechRadar Insider


