How to perform a clean install of Windows 10
Sometimes you just need to start over
Sign up for breaking news, reviews, opinion, top tech deals, and more.
You are now subscribed
Your newsletter sign-up was successful
Knowing how to perform a clean install of Windows 10 is a useful skill to have. If you’re going to build your own PC from scratch, it’s a necessity. It's also the last resort if you’re having problems with your machine and none of the solutions you've tried has worked or if you want to get rid of manufacturer pre-installed bloatware.
Doing a clean install of Windows 10 isn’t the same as going into the settings and hitting the reset button. That will just reset your PC to its factory settings. Performing a clean install uses a factory-fresh image from Microsoft. So, if your computer is only experiencing slowdowns, it might be worth figuring out how to speed up Windows 10 before resorting to a clean install.
If, however, it is exactly what the situation calls for, then let us help you. To start, you will need access to a Windows 10 PC, as you’ll need to create the image you’re installing from. Other than that you’ll need an 8GB or larger USB flash drive and some free time.
Before you begin
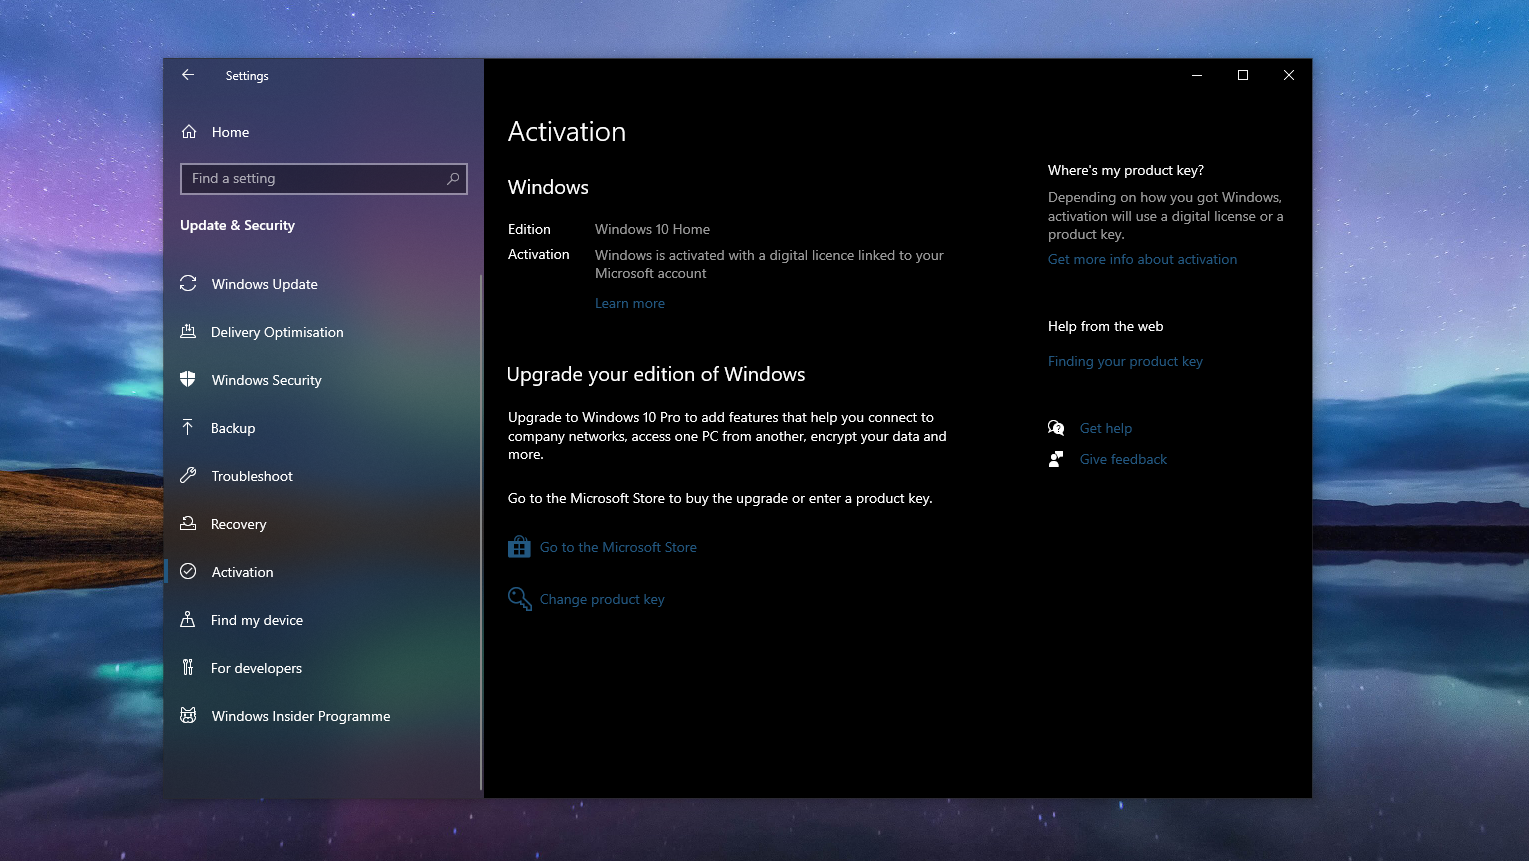
To do a clean install of Windows 10, the first thing you need to do is ensure you have a valid Windows 10 license. If you already have Windows 10 installed on your PC then you can check this by going to the ‘Settings’ app.
Click on ‘Update & Security’ and then ‘Activation’ from the sidebar. You’ll now see a message telling you that Windows 10 is activated, either with a digital license or with a digital license linked to your Microsoft Account.
If you need to purchase a license for Windows 10 you’ll be given an activation key that you will enter during the installation process. Previously-activated licenses will be reinstated once your PC connects to the internet.
You should also take the time to back up important files and data as this process will completely wipe your PC.
Sign up for breaking news, reviews, opinion, top tech deals, and more.
How to perform a clean install of Windows 10
There are two parts to the process. The first involves downloading the latest Windows 10 image from Microsoft and creating a bootable flash drive with it. The second part is using that image to install Windows 10 on your PC.
The exact amount of time you’ll need to complete this process depends partly on your internet speed since the Windows 10 image is quite large. Installing will also be much quicker on faster SSDs compared to older HDDs.
1. Download the Windows 10 Media Creation Tool from Microsoft
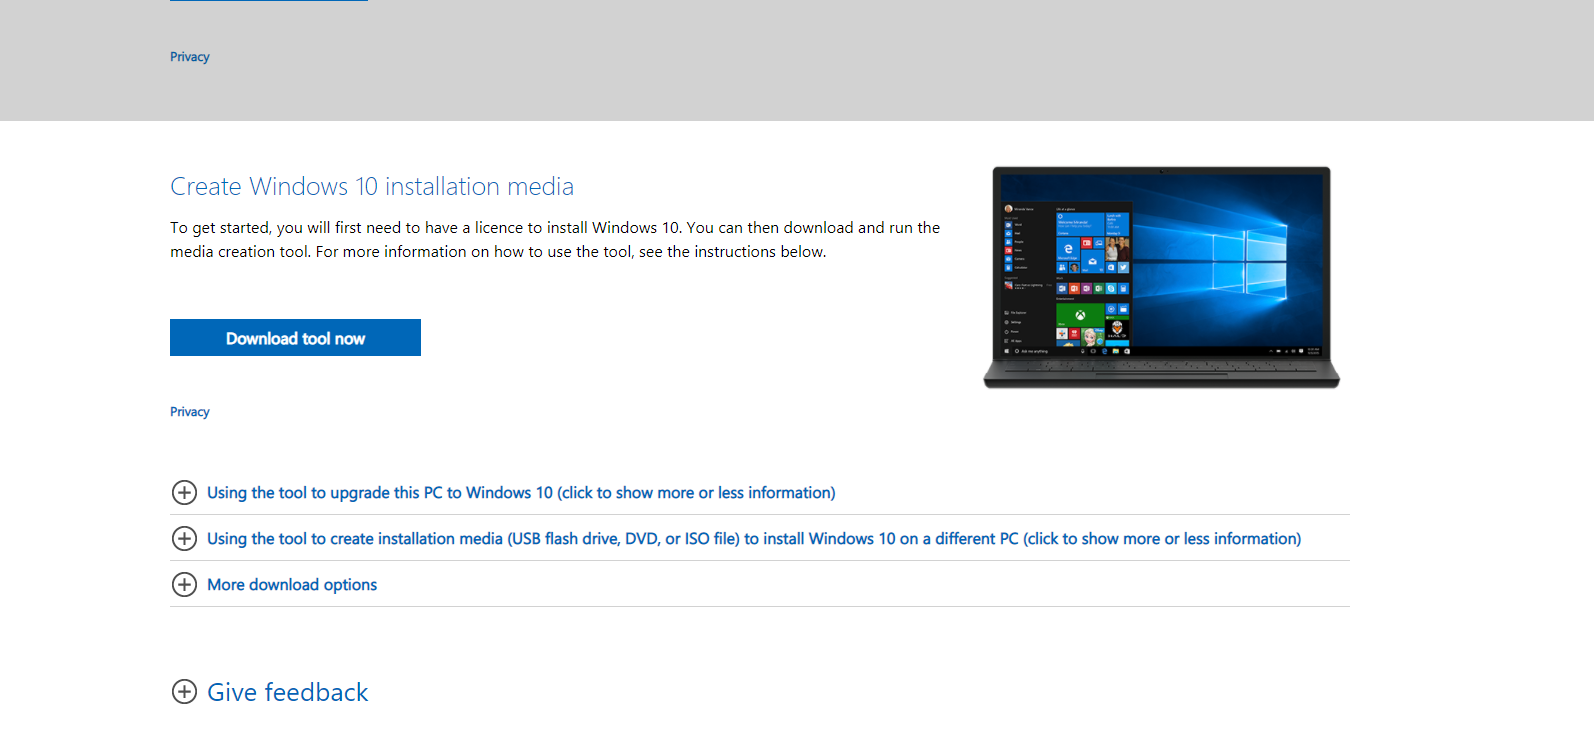
On any Windows 10 PC, you first need to download the Media Creation tool. This will help you not only download the latest Windows 10 image but will also turn it into a bootable USB drive you’re able to install it from.
You can get the Media Creation Tool directly from Microsoft, and it’s not a large download so won’t take long to be finished. You don’t have to install it, either, it’ll run as a standalone application.
2. Create a bootable flash drive
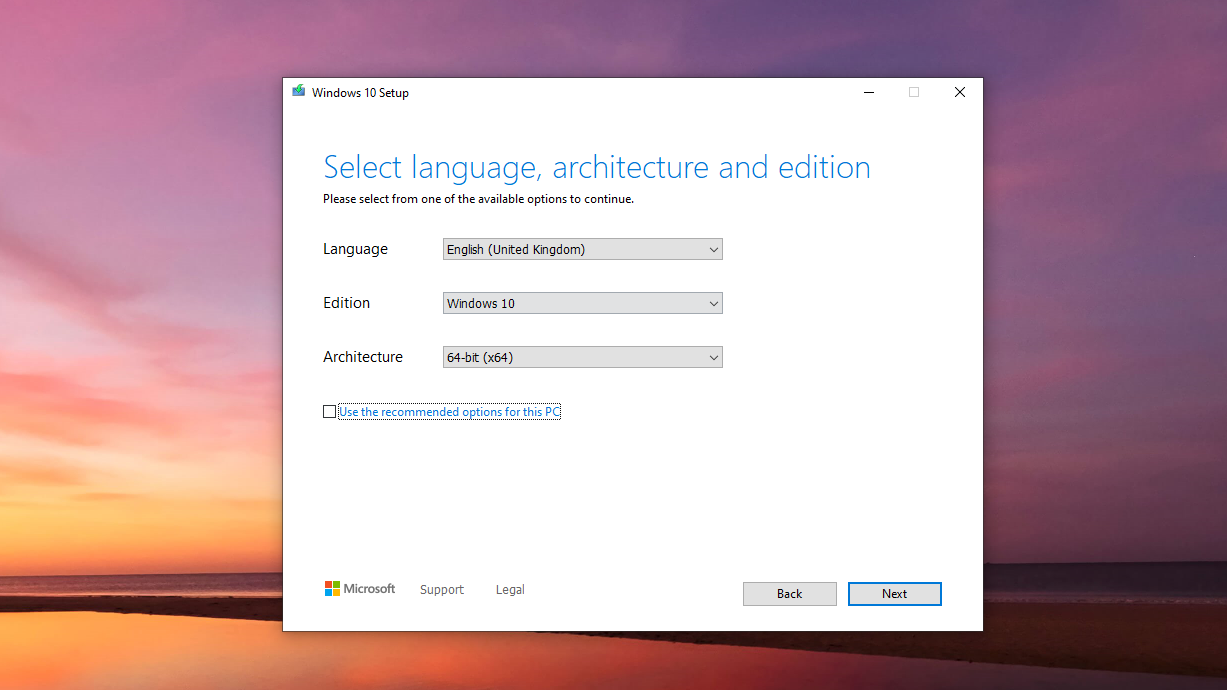
Open up the Media Creation Tool on your PC. Select the option to ‘Create installation media for another PC’ and accept the license terms. The next stage involves choosing a language, edition, and architecture for Windows 10.
The edition will need to match whatever you have a license for, and in most cases, the architecture will be fine as x64. You only need to choose both or x86 if you know you’re going to use it on a 32-bit machine.
Hit the ‘Next’ button, choose the ‘USB Flash Drive’ option, then select your flash drive from the list. Hit ‘Next’ one more time, then ‘Finish’ and the tool will begin the process of downloading Windows 10 and creating the USB installation drive.
3. Boot the Windows 10 installer from the USB flash drive
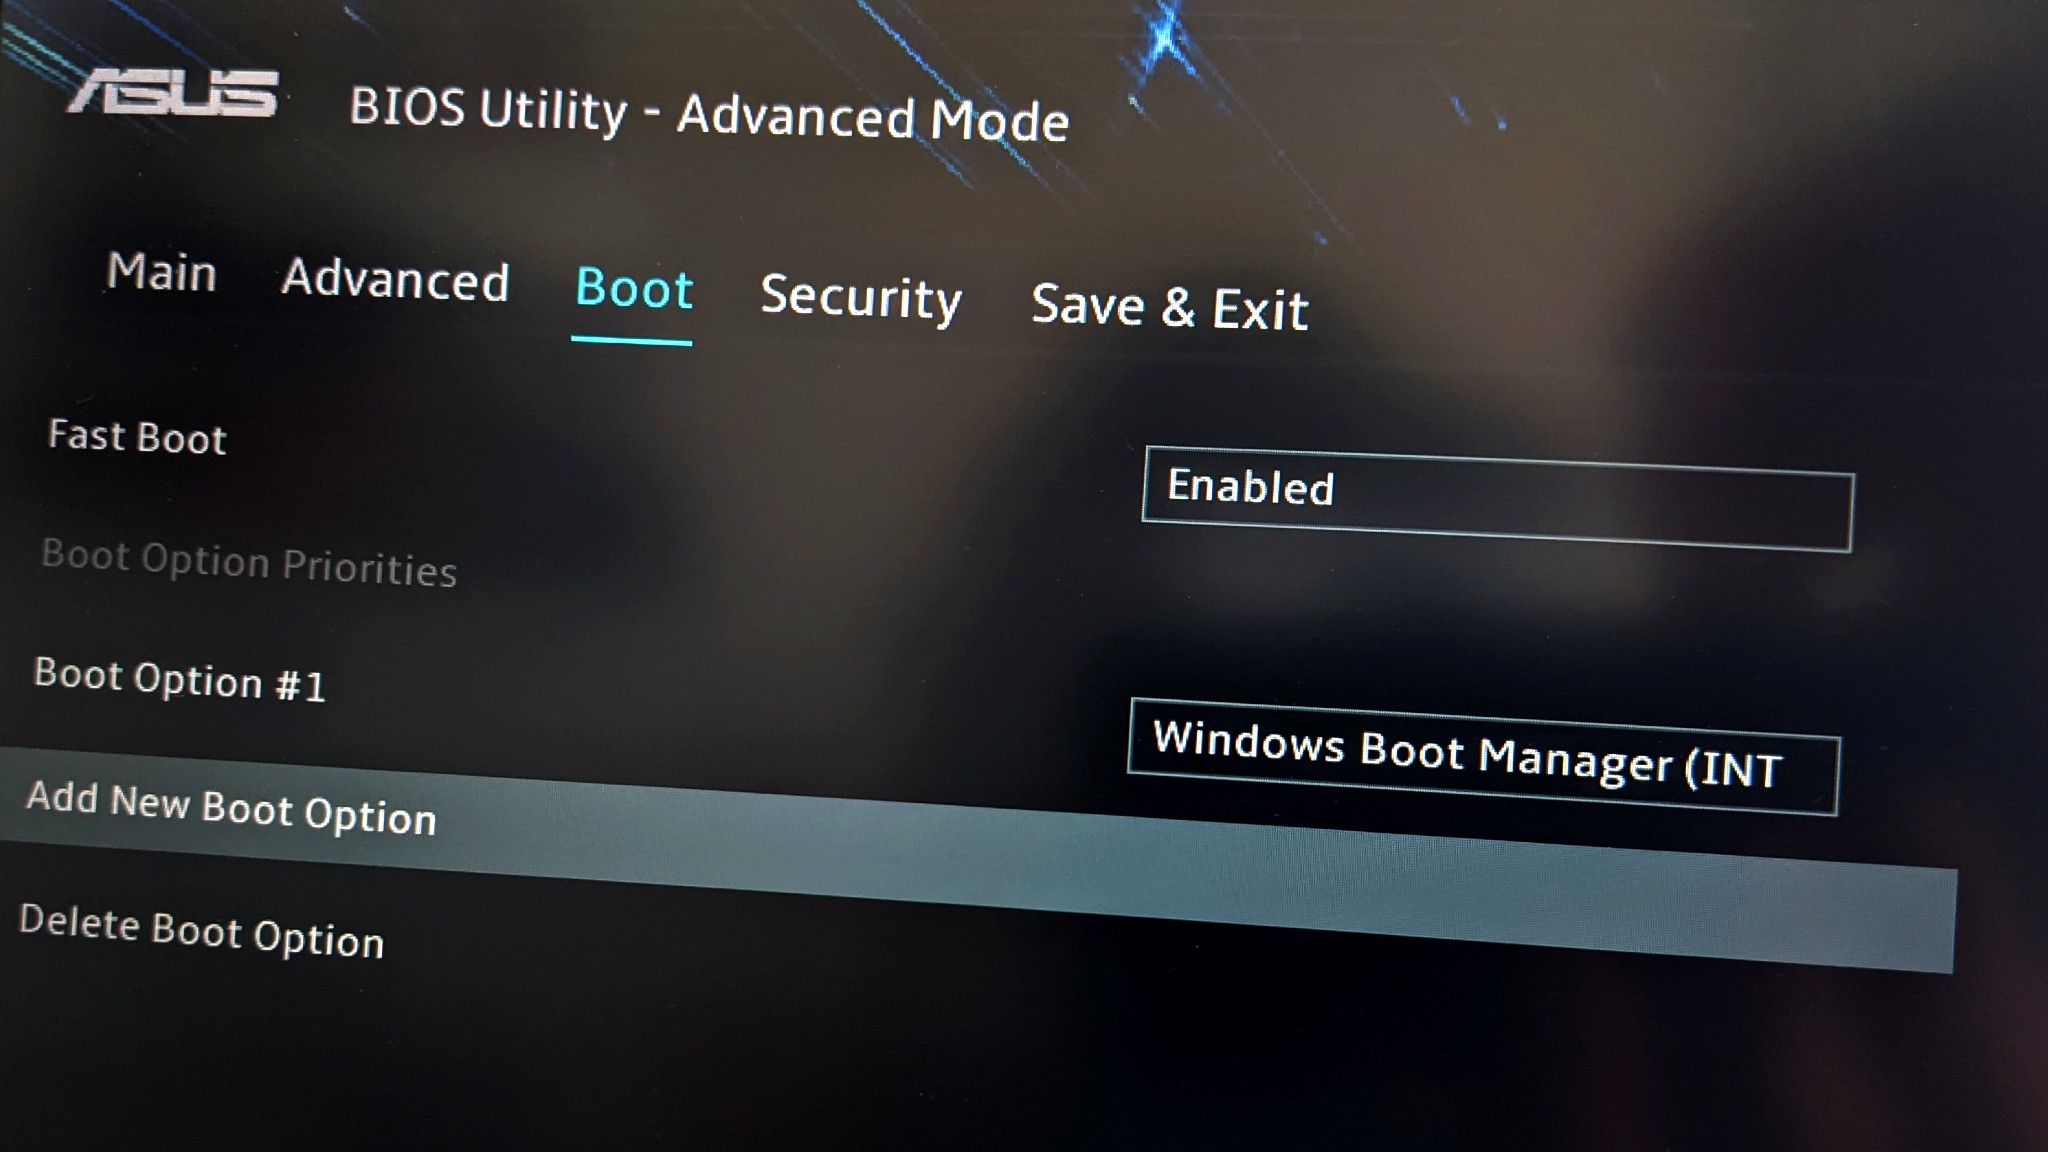
Once the Media Creation Tool has done its thing you’ll need to attach it to the PC you want to perform a clean install of Windows 10 on. In order to get the installer to run you’ll first need to tell your PC to boot from the USB drive instead of the internal SSD or HDD.
The easiest way to do this is in the BIOS. If you’re building a new PC this is also the only way to do this. When you first turn on your PC you’ll be given a keypress to enter the BIOS, or it could be referred to as ‘Setup’. It will differ, but it’s likely to be something like ‘F2’, ‘F12’, or ‘Delete’.
Once in the BIOS, head to the ‘Boot’ tab, and in the list of priority devices make sure the USB drive you just made is first. This will tell the PC to boot from it before trying the internal drives. You can easily remove this when Windows 10 has been installed to revert to your regular boot priority.
4. Install Windows 10
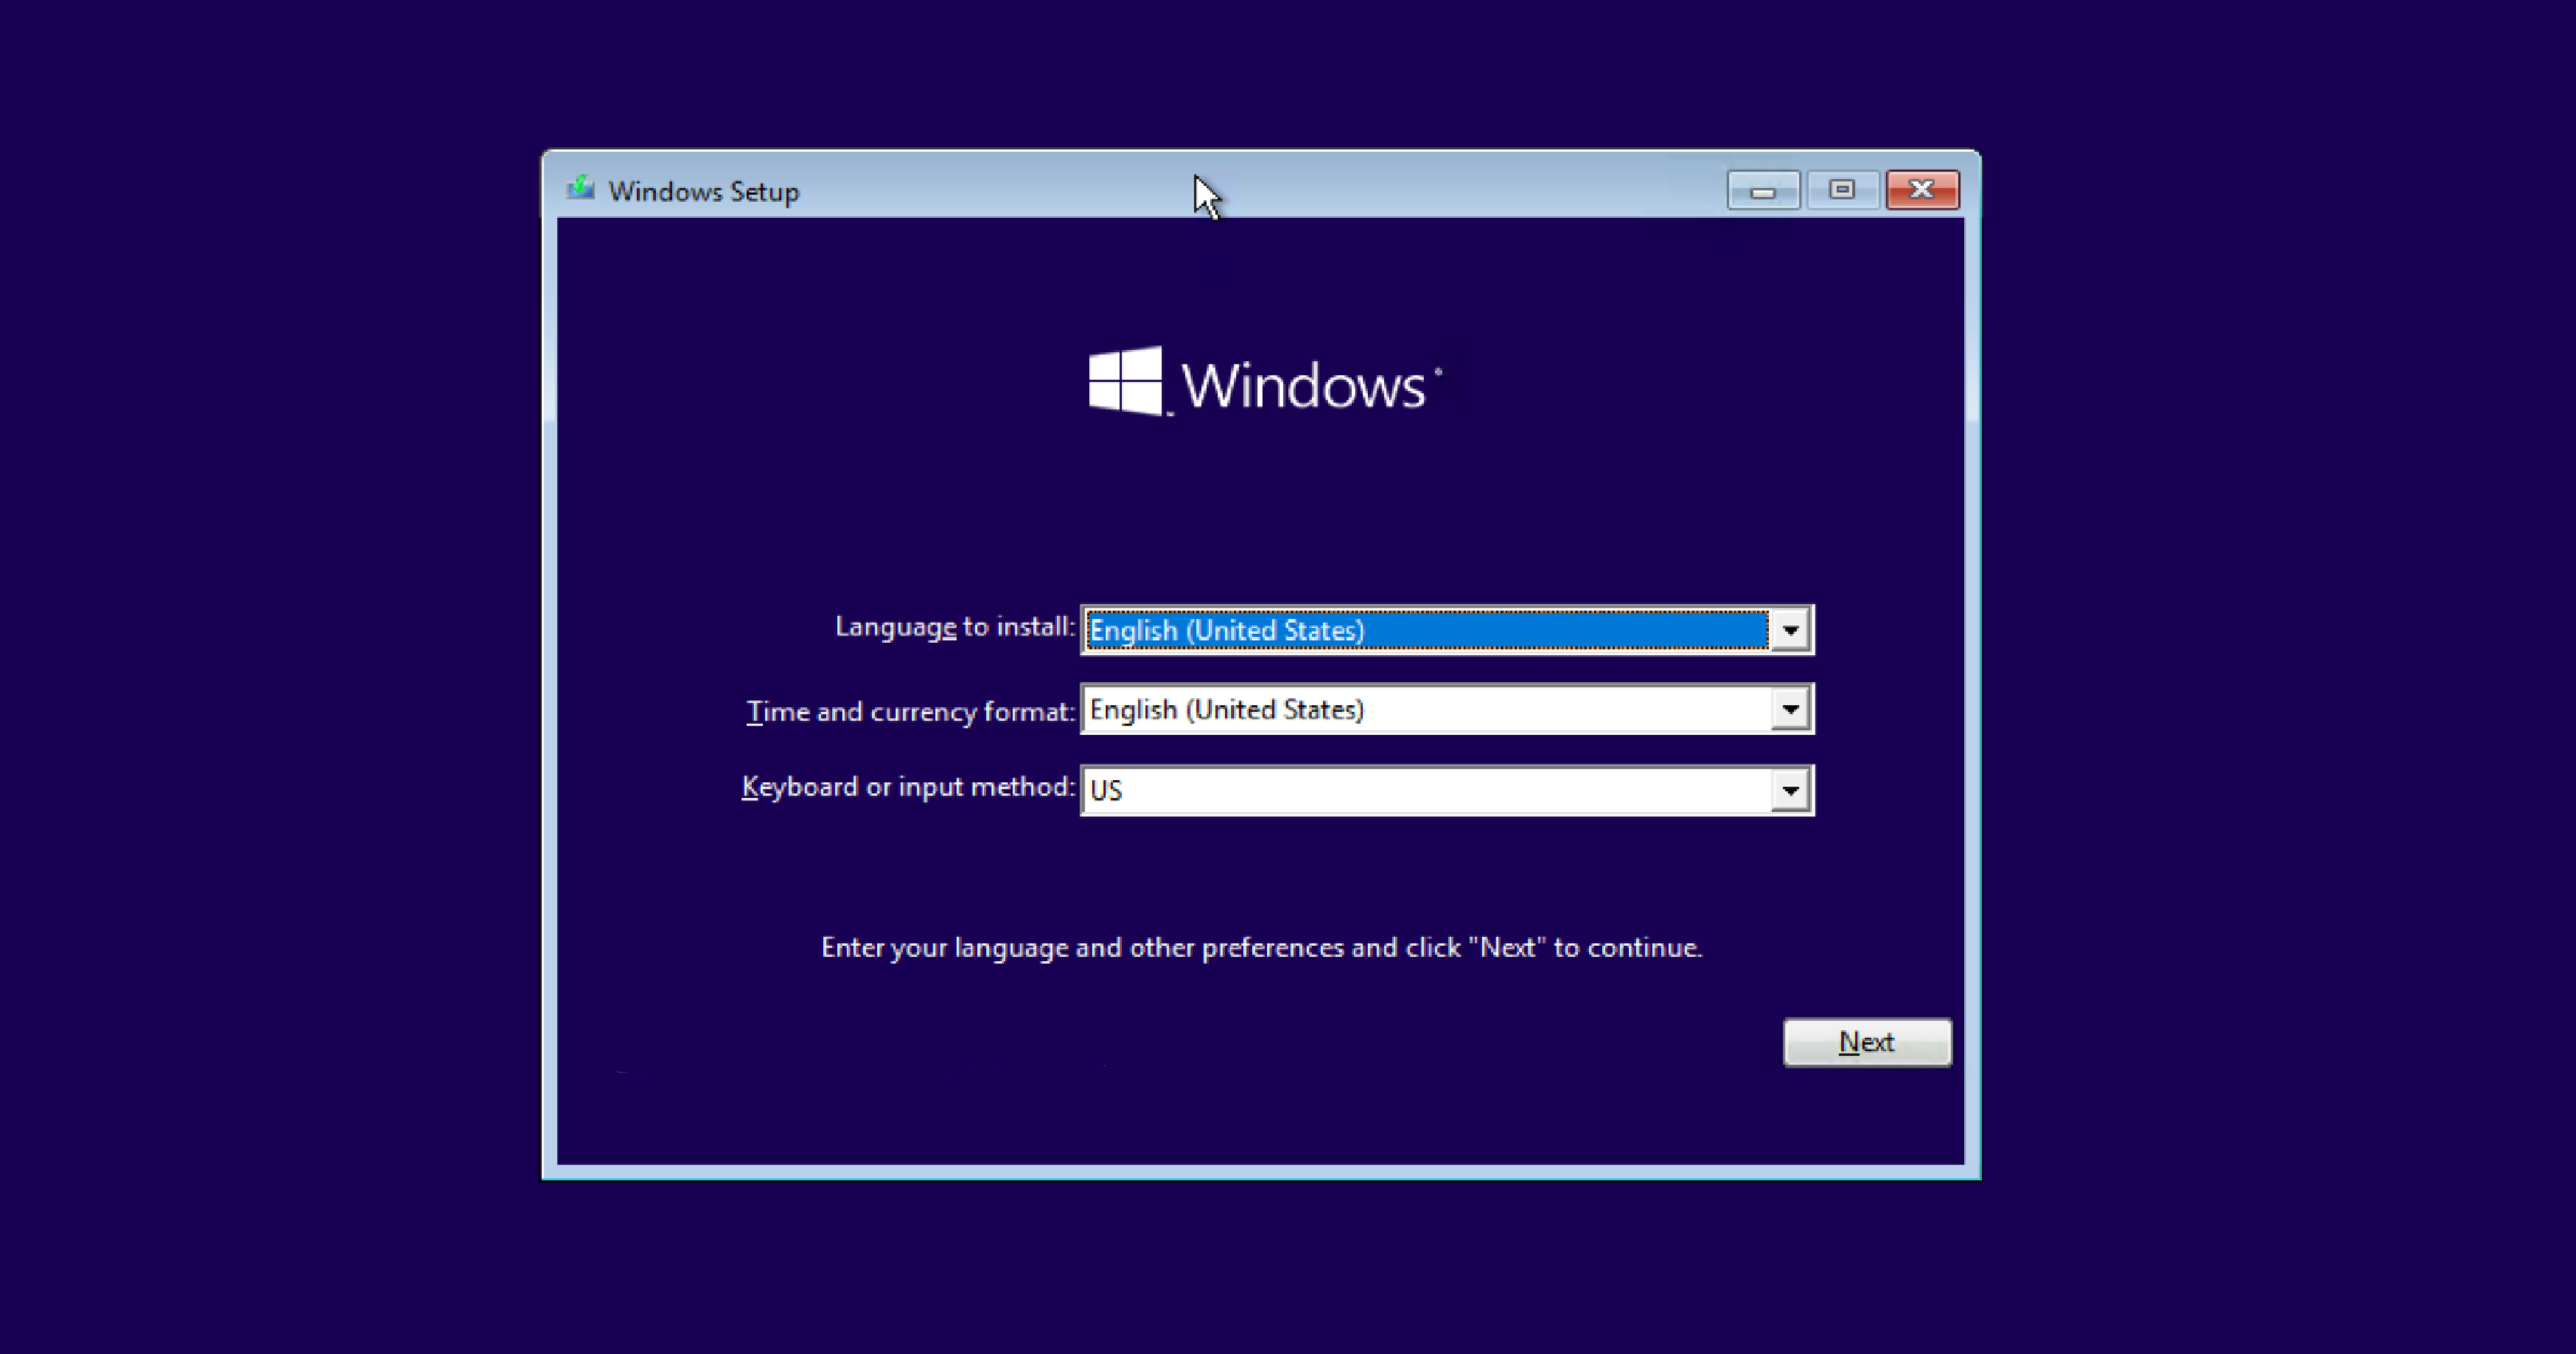
The rest is quite straightforward. Once your PC has booted into the Windows 10 installer you’ll be guided through every step of the installation process. Essentially, you’ll choose where to install Windows 10 and the tool will do the rest.
If you have an activation key to enter, you’ll be given the opportunity to do this during the install process, but you can also do it later through the ‘Settings’ app.
The installation process will take some time so don’t be alarmed if it feels like it’s taking forever. When it’s complete and your PC reboots, either pull out the USB flash drive you were installing from or go into the BIOS first in order to tell the PC to now boot from your designated Windows 10 drive.
5. Complete the Windows 10 setup process
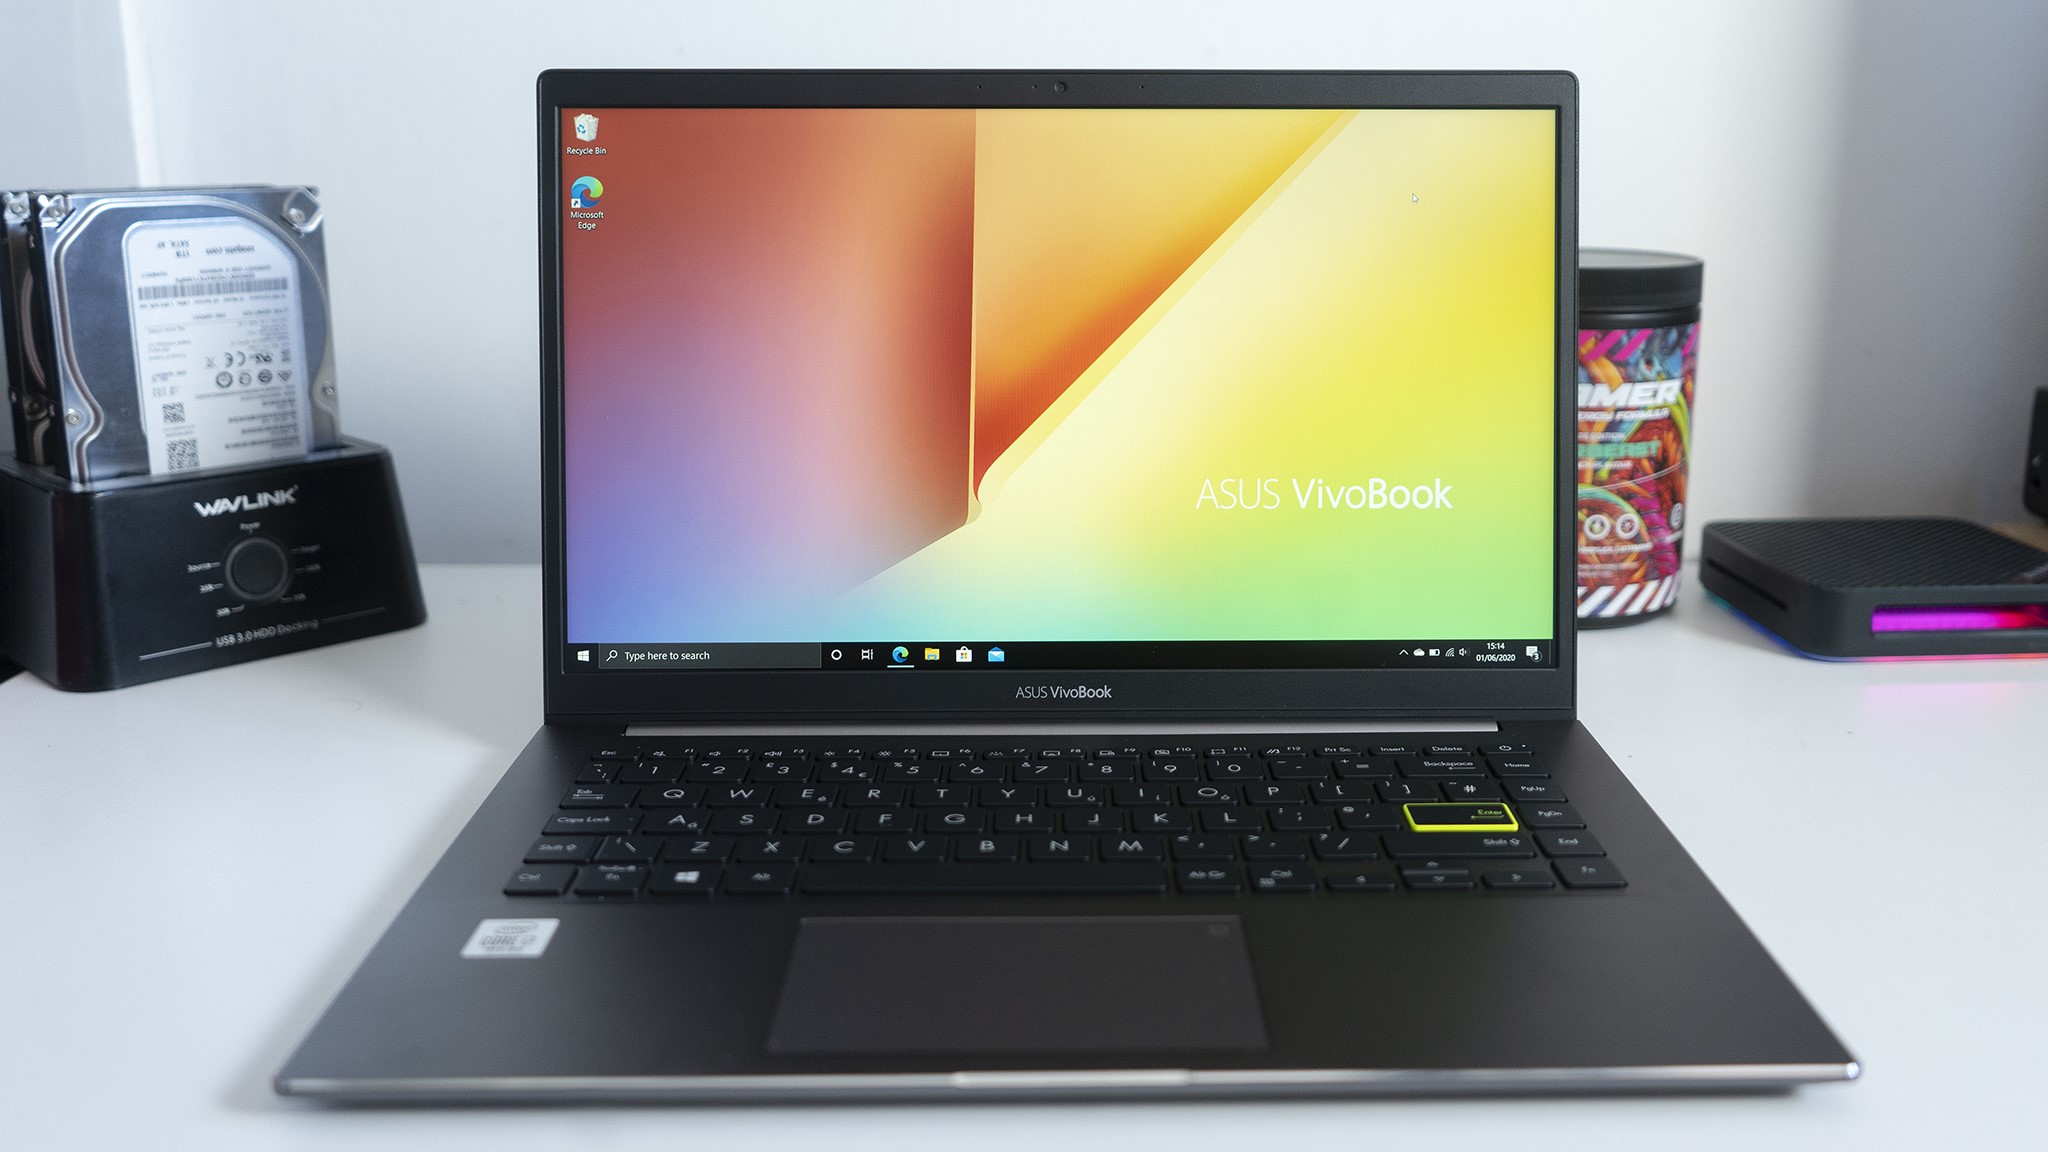
The rest of the process involves going through the standard Windows 10 setup, adding your network information, Microsoft Account, and various preferences.
The final stage could involve Windows 10 downloading the latest updates, which again might take a little while.
Once all of this is complete you’ll be staring at a new, factory-fresh Windows 10 desktop.
Summary
A clean install of Windows 10 isn’t difficult to achieve, but it is a little time-consuming. Nevertheless, it’s an essential part of PC building, the best way to upgrade your existing internal drives, and sometimes even just a good fix for slow, bloated machines.
But armed with only a USB flash drive and these simple steps you’ll be back up and running in no time at all.
- Buy Windows 10: the cheapest prices right now