 Become a TechRadar Insider


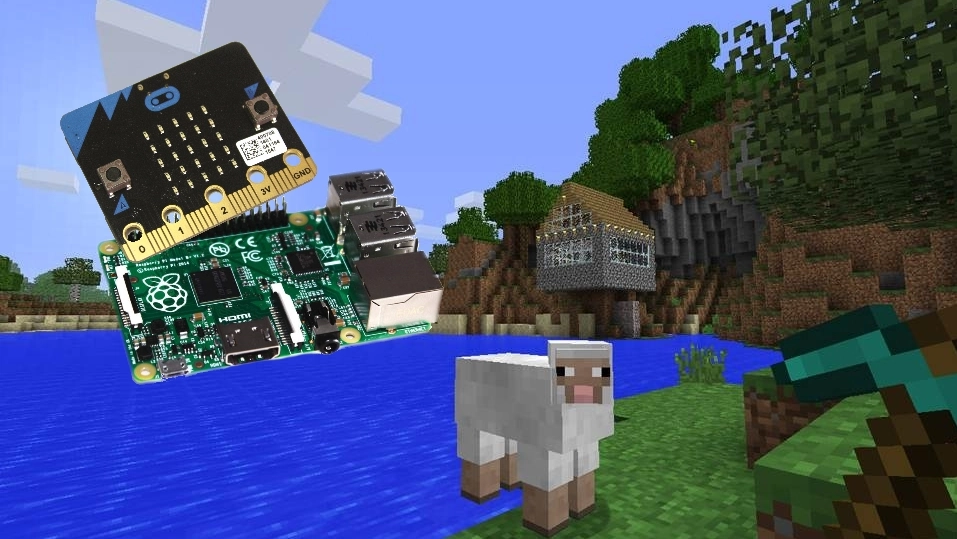
For this project, you'll need a micro:bit connected to a Raspberry Pi, the latest Raspbian operating system and Mu software on the Raspberry Pi.
Building upon our how to use the BBC Micro Bit accelerometer tutorial, we'll use the micro:bit as a controller for Minecraft on a Raspberry Pi.
Article continues belowCoding on the micro:bit
Let's start with coding the micro:bit by opening the Mu application to begin. As always, we start by importing the micro:bit library from microbit import *.
We're now going to use an infinite loop to check the gesture made be the user. Type:
while True:
then indent the following line beneath it:
if accelerometer.was_gesture('shake'):
If the correct gesture is given, then the code will print 'shake' to the shell, clear the LED matrix on the micro:bit. It will then scroll Teleport across the display before resetting the micro:bit ready for the next gesture. For this code double indent each line by pressing the Tab key twice.
print("shake")
display.clear()
display.scroll("Teleport")
sleep(100)
accelerometer.reset_gestures()
sleep(100)
Save your work and then flash the code to the attached micro:bit. We now switch to Python 3, found in the Programming menu. Click on File > New Window and in the new window click on File > Save and save the file as mb-red-gestures.py.
We start the code by importing the Minecraft, time, and serial libraries. The serial library will be used to communicate with the micro:bit. We also import the randint function from the random library.
import serial, time
from mcpi.minecraft import Minecraft
from random import randint
Next, we create three variables, port , baud and mc . These will be used to store the port the micro:bit is connected to; the speed/baud to which we need to communicate; and to shorten the Minecraft create function to enable a connection to Minecraft.
port = "/dev/ttyACM0"
baud = 115200
mc = Minecraft.create()
We now use an infinite loop to contain our code. In the loop, we use the Serial library to connect to the micro:bit port, set the baudrate, parity, databits and stopbits before we attempt to read the data being sent over the serial connection:
s = serial.Serial(port)
s.baudrate = baud
s.parity = serial.PARITY_NONE
s.databits = serial.EIGHTBITS
s.stopbits = serial.STOPBITS_ONE
With the data read and stored to a variable called data , we now use a 0.1 delay to slow the code before we convert the data into a string. Next we use the Minecraft library to get the player's current position.
data = s.readline()
time.sleep(0.1)
data = str(data)
x,y,z = mc.player.getPos()
Our last section of code looks to see if the word "shake" is in the data variable, used to contain the data sent over the USB serial connection from our micro:bit. If the word is found then a message is posted to the Minecraft chat window before teleporting the player a random distance up in the air and across the map. Make an indent and type:
if "shake" in data:
Then double indent the following two lines:
mc.postToChat("
mc.player.setTilePos(x+(randint(-
Finally, type the next line with no indents at all:
50,50)),y+(randint(1,50)),z)
Save your code. Open the Minecraft application and open a world. Once loaded go back to Python 3 and click on Run > Run Module. Return to Minecraft and now shake the micro:bit.
It might take a few attempts, but you will see Teleport on you screen and micro:bit before your player is teleported across the map!
- Enjoyed this article? Expand your knowledge of Linux, get more from your code, and discover the latest open source developments inside Linux Format. Read our sampler today and take advantage of the offer inside.