How to boot multiple Linux distros from one USB
Avoid a bag full of DVDs
There’s no standard for booting from an ISO image, each distro implements it differently, or not at all. For example, to boot an Arch-based ISO you need something like this:
submenu "Arch Linux" {
 set device=/dev/sde1
 set isofile=/Arch/archlinux-2016.09.03-dual.iso
 set isolabel=ARCH_201609
 loopback loop $isofile

 menuentry "Arch Linux" {
  linux (loop)/arch/boot/x86_64/vmlinuz img_dev=$device
img_loop=$isofile archisolabel=$isolabel archisobasedir=arch
earlymodules=loop
  initrd (loop)/arch/boot/x86_64/archiso.img
 }
}
As you can see, dealing with this distro is a little different as it requires more than the path to the ISO file. It also requires the filesystem label of the ISO and the device node for your USB stick.
The first can be found with the isoinfo or iso-info command—you’ll have at least one installed if you have a DVD writer in this way:
$ isoinfo -d -i /path/to/image.isoor
$ iso-info -d -i /path/to/image.isoThe device node is trickier since it will vary according to what you plug the stick into.
The simplest solution is to give the USB stick’s filesystem a label, which is why we added one when we created the filesystem. If your filesystem currently has no label, you can add one with either:
$ fatlabel /dev/sde1 MULTIBOOTor
Sign up for breaking news, reviews, opinion, top tech deals, and more.
$ e2label /dev/sde1 MULTIBOOTdepending on the filesystem type you chose. You can also read the label, if you’re not sure what it’s currently set to, by using one of the above commands without specifying a label.
Now you can refer to the disk by label in the Grub menu with
device=/dev/disk/by-label/MULTIBOOTand it will be found no matter what device name it is given.
Many distros
There are other variations on the menu options for various distros. It would be nice if we could update the menus automatically—and we can. Instead of adding the information to the main menu, put each distro’s menu details in a file in the same directory as the ISO image, let’s call it submenu.
Now we can use Grub’s ability to include information from other files in its menu to build a menu.
Create a file in the root of the USB stick called updatemenu, containing this:
#!/bin/sh
cd $(dirname $0)
sudo grub-mkconfig 2>/dev/null | sed -n '\%BEGIN /etc/
grub.d/00_header%,\%END /etc/grub.d/00_header%p' >|
boot/grub/grub.cfg
for menu in */submenu; do
echo "source /$menu" >>boot/grub/grub.cfg
done
Make it executable and run it from a terminal after adding or removing menu entries. If you are using a FAT filesystem on the USB drive, you may need to run it like this:
$ sh /path/to/drive/updatemenuThe first line changes the directory to the location of the script, so it’s important to put it in the root of the flash drive.
The next line extracts the header portion of the default grub.
cfg then the for loop adds each of the individual submenus. The distros are added in alphabetic order, if you want to force a particular order, start each directory’s name with a number: 01_Ubuntu, 02_Fedora and so on.
This changes the order but not the names displayed, those are set by the submenu command at the top of each section.

You can also use this method to boot an ISO image from your hard disk. Why would you want to do this?
If you are sufficiently paranoid/cautious, you may prefer to have a rescue CD always available.
Dropping an ISO into /boot and adding a suitable menu entry means you will always have one without having to hunt for the appropriate CD or USB stick.
If you put the submenu entry in /etc/grub.d/40_custom, it will be added to the end of the menu automatically, whenever you run: update-grub or grub-mkconfig.
Getting tricky
What do you do if you want to boot an ISO for which we don’t have a recipe? You could try a web search, but if that doesn’t show up anything useful, you can examine the ISO’s boot process directly.
Almost all Linux distros use an initramfs to boot. This is a compressed file containing a small root filesystem that takes care of loading any necessary drivers and then mounting the real root filesystem before passing control to it.
The kernel mounts this filesystem and then looks for a script called init in it (no, I’m not repeating myself there).
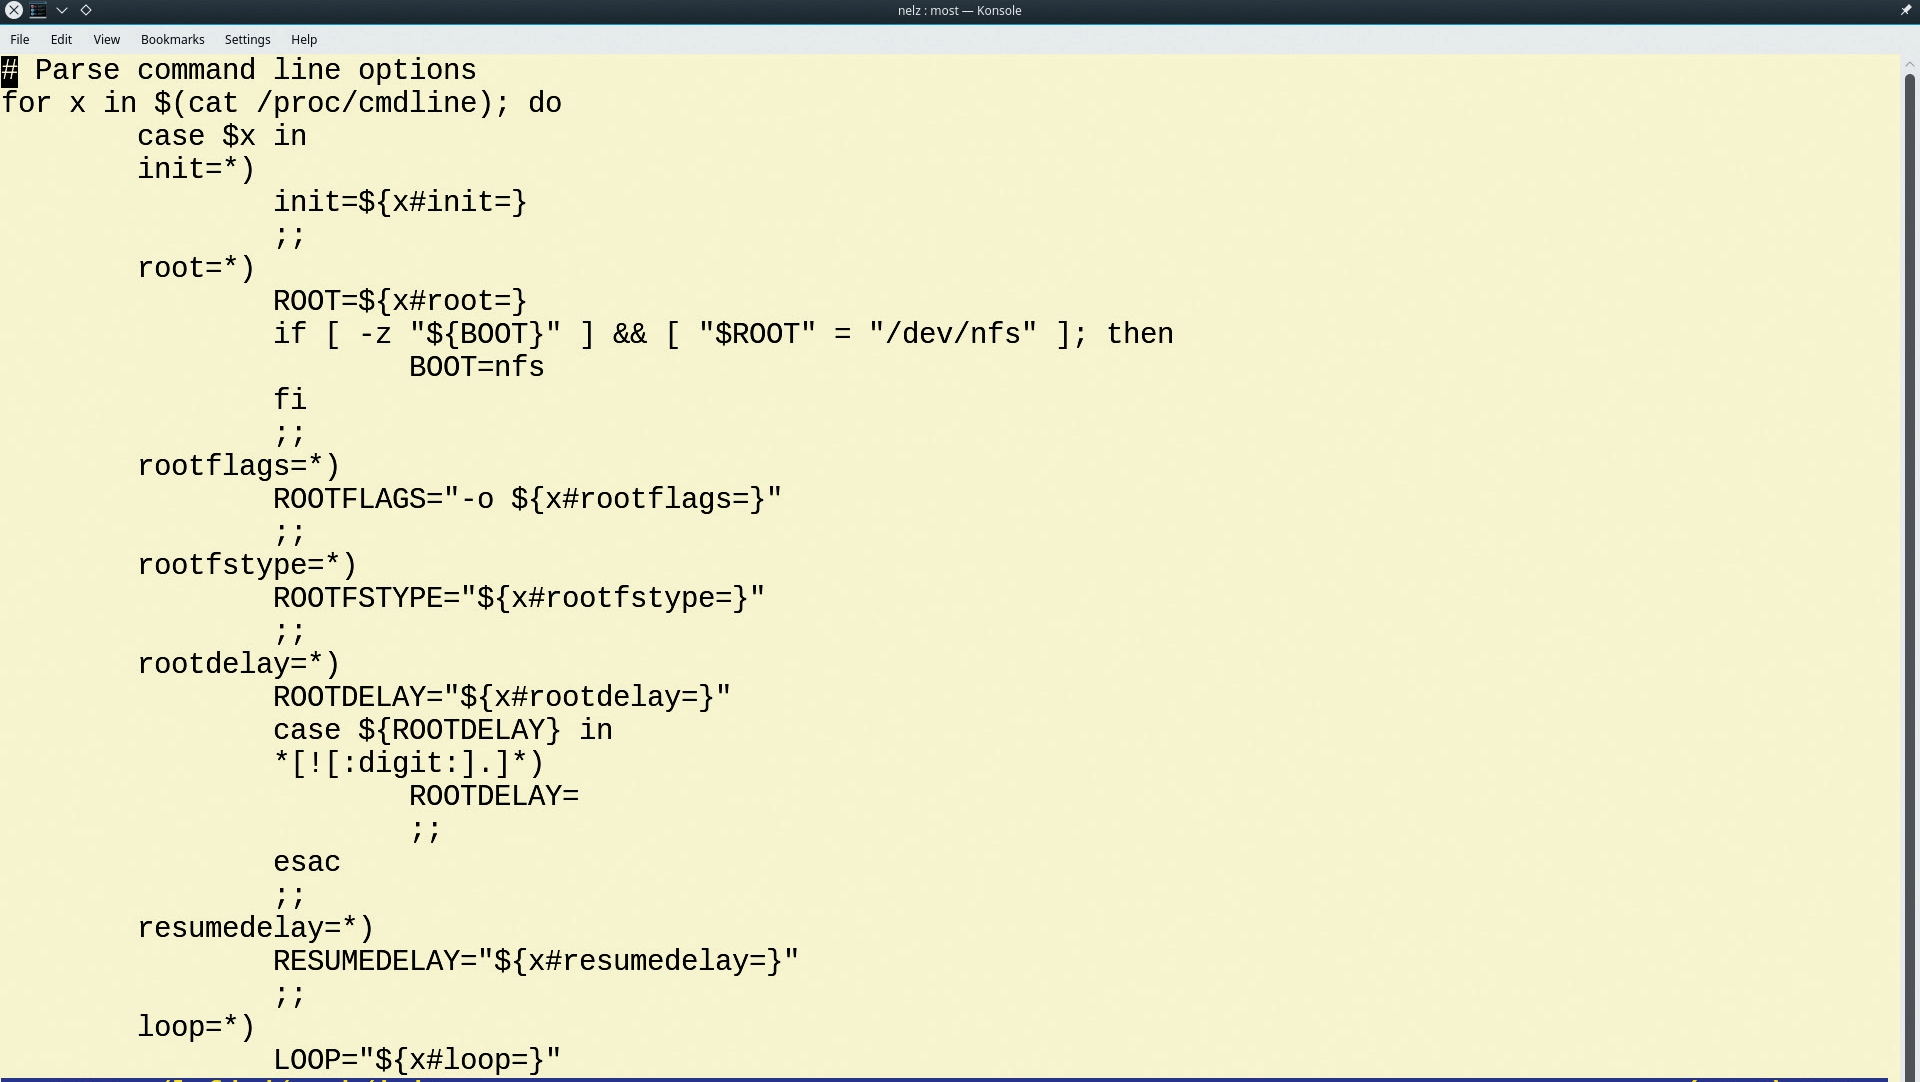
This is where the magic of loading the live CD’s filesystem from the DVD or ISO happens. If you examine this script – you will need a basic understanding of shell scripting here – you can often see what kernel parameters it is looking for to boot from the ISO.
To do that you need to unpack the initramfs file, which is a compressed CPIO archive. First, you will need to identify the type of compression used with the file command—never trust a filename extension to give the right format:
$ file /path/to/initramfs.imgThen you can unpack it to the current directory with one of the following:
$ zcat /path/to/initrd.img | cpio - id$ bzcat /path/to/initrd.img | cpio - id$ xzcat /path/to/initrd.img | cpio - idFor images compressed with gzip, bzip2 and xz respectively. You can also modify the initrd by making your changes to the unpacked filesystem and then repacking it by executing this command in the directory to which you unpacked the initrd in the first place:
$ find . | sudo cpio --create --format='newc'| gzip >../myinitrd.imgOnce you’ve a custom initramfs, you don’t need to modify the original ISO image to use it. Simply put your new initrd on your USB stick and reference it from the menu, like this:
linux (loop)/path/to/vmlinuz...initrd /distrodir/myinitrd.imgAlternatively, if you want to boot such a distro that has already appeared on a live DVD, you can ‘borrow’ the lxfinitrd file from there. The init process doesn’t change much, so you will often find that it works even with a newer release of the distro.
Because the modified initrd is saved separately from the ISO image and referenced only from the menu on your USB stick, you can distribute your USB stick without breaking the rules some distros have about redistributing modified versions of their software.
You could, for example, create a multi-distro installer USB stick complete with themed Grub menus and themed distro splash screens (these are in the initrd too) to hand out at a Linux installfest.

More options
While you are creating the menu, you can add extra kernel options to suit your needs, e.g. the SystemRescueCd boot process pauses for you to select a keymap.
Adding setkmap=uk will skip the pause and load a UK keymap. Similarly, you can set the root password with rootpass
Other distros have their own options like these, along with the general kernel configuration options that are documented in the Documentation/kernel-parameters.txt in the kernel source.