Many Linux distribution (distro) ISO files you can download, or are included on our sister title Linux Format's cover DVDs, are what are known as hybrid files.
This means that not only can they be written to a CD or DVD in the normal way but they can also be copied to a USB stick with dd. The USB stick will then boot as if it were a DVD.
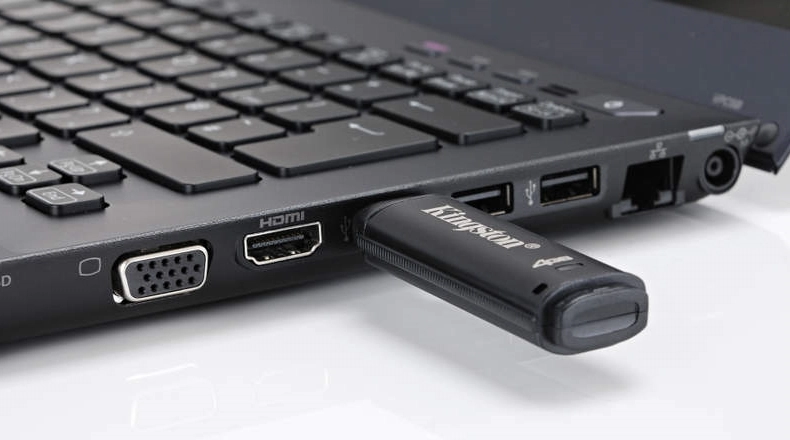
This is a handy way of creating install discs for computers that don’t have an optical drive, but it has one significant drawback: Each ISO image requires a USB flash drive to itself.
Article continues belowWouldn’t it be good to be able to put several ISO files on the same USB stick and choose which one to boot? Not only is this more convenient than a handful of USB sticks, it’s both faster and more compact than a handful of DVDs.
The good news is that this is possible with most distros, and the clue to how it’s done is on Linux Format's cover DVDs each month. They used to laboriously unpack distro ISOs onto the DVD so that they could boot them and then had to include scripts to reconstruct the ISO files for those that wanted to burn a single distro to a disc.

In this instance, we’ve created a flash drive that uses the old style MBR booting.
While most computers of the last few years use UEFI, they still have a compatibility mode to boot from an MBR.
So this makes our stick the most portable option, but if you need to boot your stick using UEFI, change the grub-install command to use the UEFI target, like this:
$ sudo grub-install --target=x86_64-efi--boot-directory=/media/MULTIBOOT/boot /dev/sde
This is a 64-bit target, as UEFI is only fully supported on 64-bit hardware. If you want to use your USB stick with 32-bit equipment, stick with the MBR booting method.
Setting up the USB stick
First, we need to format the USB stick. We will assume that the USB stick is set up with a single partition, although you could use the first partition of a multi-partition layout.
What you cannot get away with is a stick formatted with no partition table, as some are. If that’s the case, use fdisk or GParted to partition the drive, then you can create the filesystem.
The choice of filesystem is largely up to you, as long as it is something that Grub can read. We’ve used FAT and ext2 (there’s no point in using the journalling ext3 or ext4 on a flash drive). Use whatever fits in with your other planned uses of the drive, we generally stick with FAT as it means we can download and add ISO images from a Windows computer if necessary.
Whatever you use give the filesystem a label, we used MULTIBOOT, as it will be important later.
In these examples, the USB stick is at /dev/sde (this computer has a silly number of hard drives) and the filesystem is mounted at /media/sde1, amend the paths to suit your circumstances.
First, we install Grub on the stick to make it bootable:
$ mkdir -p /media/MULTIBOOT/boot
$ sudo grub-install --target=i386-pc --boot-directory=/media/MULTIBOOT/boot /dev/sde
Note: the boot-directory option points to the folder that will contain the Grub files but the device name you give is the whole stick, not the partition. Now we create a Grub configuration file with:
$ grub-mkconfig -o /media/MULTIBOOT/boot/grub/grub.cfgThis will create a configuration to boot the distros on your hard drive, so load grub.cfg into an editor and remove everything after the line that says:
### END /etc/grub.d/00_header ### 
Adding a distro
This gives us a bare configuration file with no menu entries. If we booted from this stick now, we would be dropped into a Grub shell, so let’s add a menu.
We’ll start with an Ubuntu ISO because they are popular (sorry, but they are) and because they make booting from an ISO file easy (after all, it’s Ubuntu, it makes most things easy). Load grub.cfg back into your editor and add this to the end of the file:
submenu "Ubuntu 16.04" {
 set isofile=/Ubuntu/ubuntu-16.04-desktop-amd64.iso
 loopback loop $isofile
 menuentry "Try Ubuntu 16.04 without installing" {
  linux (loop)/casper/vmlinuz.efi file=/cdrom/preseed/
 ubuntu.seed boot=casper iso-scan/filename=$isofile quiet
 splash ---
  initrd (loop)/casper/initrd.lz
 }
 menuentry "Install Ubuntu 16.04" {
  linux (loop)/casper/vmlinuz.efi file=/cdrom/preseed/
ubuntu.seed boot=casper iso-scan/filename=$isofile onlyubiquity
quiet splash ---
  initrd (loop)/casper/initrd.lz
 }
}
Create the Ubuntu directory on the drive and copy over the ISO file. Then unmount the drive and reboot from the stick.
You should see a Grub menu with one entry for Ubuntu that opens up to reveal boot and install options,

Special options
The first line creates a variable containing the path to the ISO file. We use a variable because it means we only need to make one change when we want to adapt the menu to a different release.
The second line tells Grub to mount that as a loop device (a way of mounting a file as if it were a block device).
Then we have the two menu entries. You may be wondering how do we know what options to add to the menu entries. That comes from a combination of looking at the ISO’s original boot menu and knowing what to add for an ISO boot.
The latter, in the case of Ubuntu, is to add
iso-scan/filename=$isofilewhere the variable isofile was set to the path to the file a couple of lines earlier. To see the original boot menu, we need to mount the ISO file, which is done like this:
$ sudo mount -o loop /path/to/iso /mnt/somewhereMost ISOs use isolinux to boot so you need to look at the CFG files in the isolinux or boot/isolinux directory of your mounted ISO file.
The main file is isolinux.cfg but some distros use this to load other CFG files. In the case of Ubuntu, this is in a file called txt.cfg. You’re looking for something like:
label live
 menu label ^Try Ubuntu without installing
 kernel /casper/vmlinuz.efi
 append file=/cdrom/preseed/ubuntu.seed boot=casper
initrd=/casper/initrd.lz quiet splash ---
The kernel setting translates to the Linux option in Grub with the addition of (loop) to the path. Similarly, the initrd part of the append line corresponds to Grub’s initrd line.
The rest of append file is added to the Linux line along with the isoscan option. This approach will work with most distros based on Ubuntu, although some have removed the ISO booting functionality for some reason. It’s possible to add this back, as we will see shortly.
- These are the best Linux training providers and online courses in 2017