


Most people encounter PayPal as the simplest way to settle an eBay bill, but it's evolved over the years into a complex online payment system that's particularly suited to smaller organisations.
You can harness the power of PayPal to transform the most basic website into a simple online shop, or even use it to accept card payments when you're out and about using a mobile phone app. Find out how you can make PayPal work for you with minimal set-up with these handy PayPal tips.
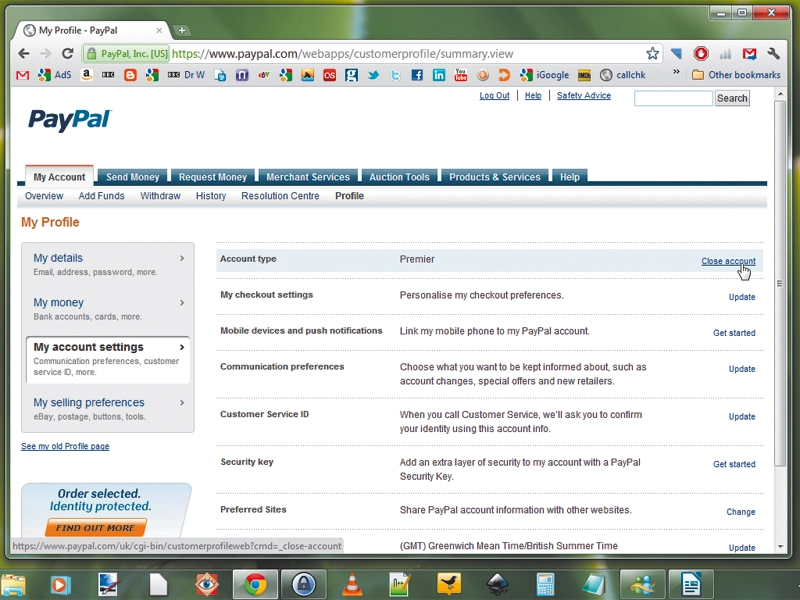
1. Account types
Before you can use PayPal for anything more than simply buying something using a credit card, you need to set up an account. There are three PayPal account types, all of which offer slightly different features. All are subscription-free, but you pay for PayPal's services according to the transactions made.
A Personal account is fine for buying things online and sending or receiving money from friends on an ad-hoc basis, but it's not suitable for receiving regular payments due to high transaction fees.
A Premier account suits anyone involved in casual selling, like occasional eBay selling or website sales. A business account suits any organisation that's likely to be making regular sales online.
2. Upgrade your account

If you want to use PayPal to sell stuff, you really need either a Premier or a Business account. To upgrade from a personal account, log in to PayPal and choose the option 'Upgrade account'. This takes you to the Upgrade Your Account screen. Click 'Upgrade now'. Choose whether you want to use a Premier or Business account and click 'Continue'.
If you chose to create a Business account, you can now fill in your information, including a customer services phone number and other key contact details. Click 'Continue'.
Once you've upgraded an account, you can downgrade it again if you change your mind. However, you can only do this once, so it's best avoided where possible.
3. Multiple accounts
It may make sense to have more than one PayPal account. You can have a personal account and one of either a Premier account or a Business account. Instead of downgrading say a Premier account, it may make more sense to open a new Personal one instead as this allows you more flexibility for future use.
You will need a different email address to use with each account though, and you're not allowed to use the same payment information on two accounts. Set each account to use a different card or funding source.
4. Buying button

The simplest way to start using PayPal to accept payments on your website is to use a PayPal payment button. You can place this in your website and then visitors who click it will be taken to a PayPal processing page to collect payment information. You'll be contacted with details of the order and where to dispatch it to.
To set up a simple payment button, log into your Premier or Business account and choose 'Merchant services', followed by 'Sell single items'. Select Buy Now as the button type and enter the item name, plus its price. Don't forget to set this to local currency, since US dollars is the default. Add your postage charge and then click 'Create button'.
You'll be taken to a page including the code that makes the button up. Copy this and paste it into your website as HTML code where you'd like the PayPal button to appear.
5. Use a custom image

By default you'll get a smart PayPal button displayed on your site once you've created a payment button. However, you can customise the image shown for the button so that it fits in with your site design better.
To do this, you need to edit the code generated by PayPal when you set up your button. Make the button as above, but instead of pasting the code directly into your site, open Notepad and paste it in there. Now look for the part of the code that references the button image, for example:
Replace the URL for the button image with one for your custom image. It makes sense to store this somewhere on your website, so the bit of code now reads:
where http://www.mysite.co.uk/images/myimage.gif is the location of your button image.
6. Use dropdown lists

You can add more options for your buyer when you set up your button. For example, if you're selling badges, you could set the colour or other design choice as a dropdown list.
Under 'Customise button', tick the box marked 'Add dropdown menu with price/option'. You'll find yourself presented with some new fields to describe your options. Enter the name of the choice you want to provide ('Colour' for example), and then enter each of the values available.
By default you have three choices, but you can add to this by clicking 'Add another option'. Provide the different prices for each option alongside it. If you want to provide customers with options without varying the price, choose 'Add dropdown menu without prices'. It's also possible to add a text field for specifying personalisation options or other instructions.
7. Postage charges
By default, PayPal applies a postage charge to all items sold based on your location and the value of the sale. You can override this by setting postage for each item, but you also need to set this up in your preferences or the global value will be used.
Log in to PayPal and choose 'My account | Profile | My selling preferences'. Now click 'Update' to the right of 'Postage calculations'. You can set the default currency to use here and the price band levels or percentage charged for postage.
To override this global setting choose 'Click here' to allow transaction-based postage values to override the profile postage settings listed above. Once saved, your button postage values take precedence.
8. Set zero postage
If you're selling items for download, such as music, PDFs or videos (assuming you have the rights to do so), you probably won't want to charge postage. If you don't set a postage price when creating your payment button, the global setting for postage will be applied and you'll have an unhappy customer.
To completely remove postage from the system you need to make a change to your button code. Firstly, ensure that you've set transaction-based postage values to override as above. Now create your payment button as usual without specifying a postage charge.
Copy the button code and paste it into Notepad. Now you need to add the following two lines anywhere within the code as long as they appear after the tag and before the tag.
You need to set separate zero values for both shipping and handling in this way. Once you're notified of a sale, you can email the download link for the product or deliver the product by email.
9. Shopping cart
If you're selling multiple items, opt for shopping cart buttons. They work in almost the same way, but instead of taking your customers directly to the checkout, the button displays 'Add to cart' so that they can continue shopping.
To do this, choose 'Shopping cart' as the button type from the dropdown list when setting the button up. Once you've produced two or more shopping cart buttons and put them on your site, you'll also need to add a 'View cart' button.
This appears below the code for your shopping cart buttons. Click 'Create a View Cart button' and choose 'Create button' to get its unique code.
10. Subscriptions
A subscription is a recurring payment that you could set up for an email magazine or admission to a website. You need to sort out site authentication yourself; PayPal just handles the payment. Select 'Subscriptions' as the button type, then set the price and frequency of payments.
A subscription must be cancelled by the customer to stop the payment. You can manage and cancel subscriptions from within your PayPal account. From 'My account' choose 'Profile | My selling preferences' and click 'Update' to the right of 'My automatic payments'.