Search for a spec
Tape measure at the ready, let's size things up
1. How high?
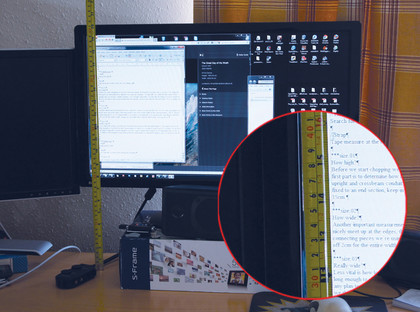
As the saying goes, measure twice, cut once. The first job is to decide how high we want our monitors. We could bolt the backs of the upright and crossbeam together so it's height-adjustable, but for the stability the bracket should fix the backs of two struts together. Remember, the upright can be made shorter, but not longer! We're starting with a 35cm length.
2. How wide?
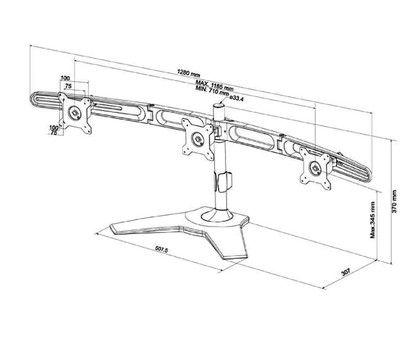
Another important measurement is the width of the central crossbar. If you want your displays to meet up nicely at the edges, then this needs to be close to the width of the central monitor. The 45º connecting pieces we're using include 1cm of give, so technically you can measure your display and take off 2cm for the entire width. Again, you can make these shorter afterwards, so be generous.
3. Really wide?
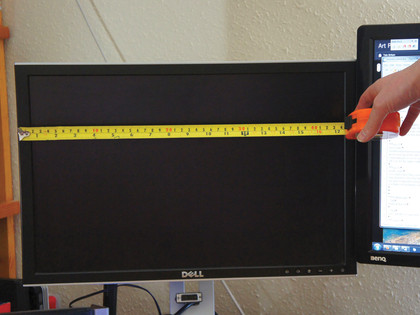
Less vital is how long you make the extension arms for the left and right displays. These simply need to be long enough to clear the far-end VESA mounts to which we're going to attach our DIY mounts. If you plan to upgrade to larger displays, you may want to make these longer. Even so, we think a 40cm length is more than generous, and should accommodate displays up to 24 inches.
Sign up for breaking news, reviews, opinion, top tech deals, and more.
Made in the UK
It's time to put our budget stand together
1. Gather around
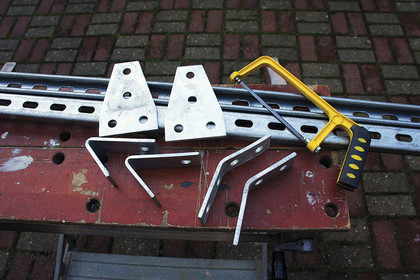
A clear workbench is essential, so gather your pieces of Unistrut and clear the decks. We started with a basic hacksaw, but soon upgraded to a more substantial 300mm model, as the 2.5mm Unistrut proved pretty resilient and it was much easier to cut with a larger blade. The hole spaces are every 5cm, which means struts are best cut to multiples of 5cm. Ignore the angle brackets - these are surplus to requirements.
2. Careful cutting
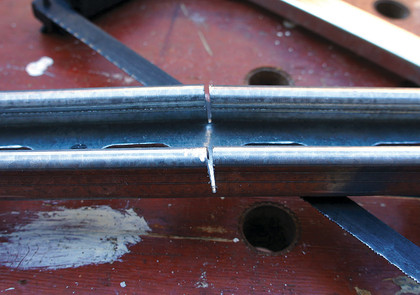
Our original plan was to use the four-hole 45º brackets that are part of the Unistrut system. However, it occurred to us that the 2.5mm steel would be strong enough to hold the screens on its own, and if we cut into the sides of the Unistrut where we wanted our 45º bends, this would enable us to bend the struts and have a single length. This worked perfectly and saved a lot of hassle.
3. Make the base
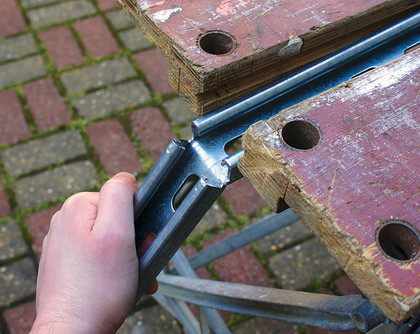
To make the base, the middle section needs to be even in length for the delta-T bracket to be central. We'd suggest 30cm. For the arms we found that 30cm provided enough support to handle just two monitors, though you could also get away with 20cm arms if you prefer. Cut into the strut 30cm along its length, midway between two of the holes. Once cut, clamp the strut and bend to 45º.
4. Make the upright
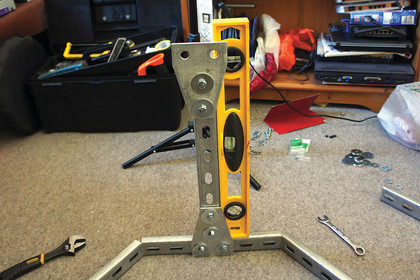
The central height for the monitors should be around 30-40cm depending on your tastes, chair and desk height. This means the upright - minus around 6cm for the stand's width and half the upper beam's width - should be 25-35cm, sticking to multiples of five. Using one of the delta-T brackets, this can be securely fixed to the base. Use a spirit level to make sure it's fixed to the vertical correctly.
5. Add the arms
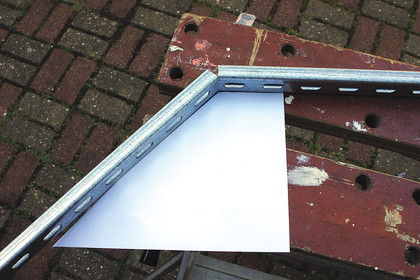
For the upper mounting arm we cut into the sides of the Unistrut, allowing 40cm for each side arm and 60cm for the central section. Again, the central section needs to be an even length to leave the VESA block centrally mounted. Before you start bending the cut arms, try folding the corner of a piece of A4 paper back onto itself to form a handy 45º template.
6. Attach the crossbeam
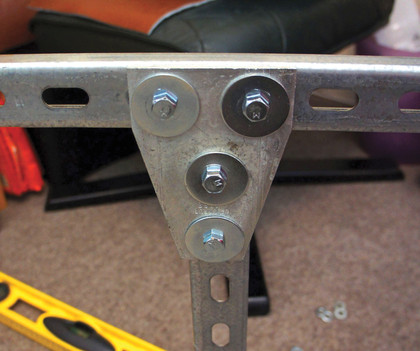
At this point it can be useful to have an extra pair of hands. Attach the crossbeam to the upright using the delta-T bracket, four M10 bolts, discs, washers and nuts. Screw everything together loosely and use a spirit level to make sure it's square and straight before tightening it all up. You should now have a solid, impressive stand.
On your mounts
With the stand made, it's time to attach the monitors
1. Making VESA blocks
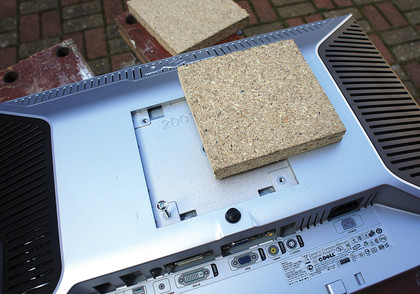
The one conundrum we're left with is how to attach the monitors to our stand. We had hoped to use some leftover pieces of Unistrut, but this seemed too unwieldy. A simpler option is to cut 120mm square blocks of wood and screw these to the monitors via the standard M4 bolts. Two M10 bolts can then be fixed coming back out of the block, and used to secure each monitor to the stand.
2. Fixing the bolts
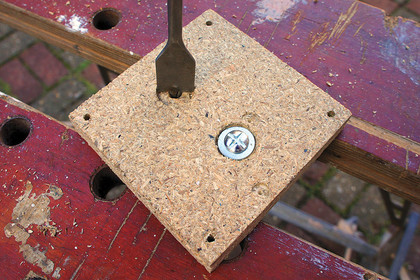
It's generally best to fix the VESA block to the stand first, so you can easily tighten the hidden bolts holding your monitors in place. We suggest sinking a washer-sized hole into the wood to provide more surface area and spread any load over the wood. Once secure, you can attach the M4 bolts through to the monitor. Use washers if you feel the load needs to be spread. A hard wood is the most secure option.
3. Central issues
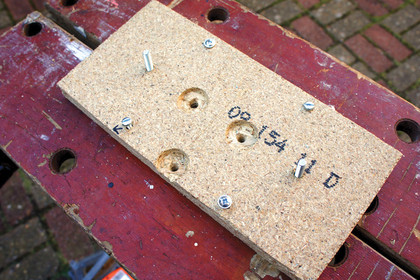
With the central monitor there's the issue of the delta-T bracket getting in the way. The easiest solution here is to drill reciprocal holes to fit over these mount bolts using a 16mm spade bit, so the VESA block can still sit flush, while the mounting bolts will sit further apart. The VESA block will need to be 200mm wide. This could cause issues with some displays, but not if they're VESA compliant.
4. Alternative mounts
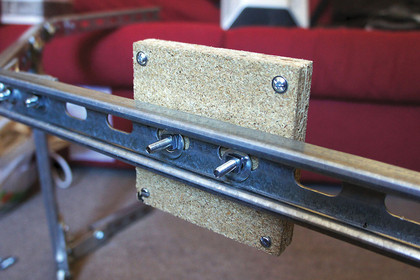
We spotted these too late to try them ourselves, but Unistrut also makes a U-shaped over-channel bracket (part number P4047). This would make for an alternative and potentially more secure mount, since using two would enable you to use four M10/M8 bolts to fix the VESA block to the stand, and the VESA mounting could then be slid along the entire length of the arm.