Forget next-gen consoles: build a power PC for less
Don't wait for the new consoles for next-gen gaming, build a power PC now for the same price...
Sign up for breaking news, reviews, opinion, top tech deals, and more.
You are now subscribed
Your newsletter sign-up was successful
3. Plugged in and juiced up
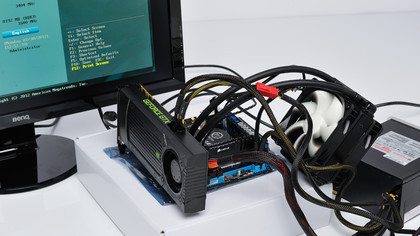
Time to attach that many-tentacled beast, the power supply. The key parts to remember to attach are the wide mainboard plug, the PCIe power connectors and the CPU power cable. With the GPU connected up to the monitor, you can power up for the first time and glory in how all your gear works straight away. If not, then remove the offending components and retest. 'Tis why it's easier out of the case.
4. Tool time
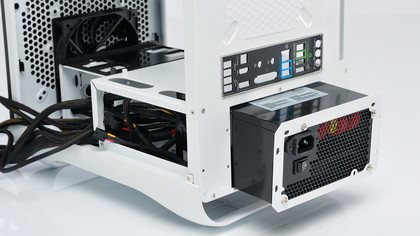
With everything now working perfectly, you can take it all apart again and start to get everything jammed in your new chassis. You can leave the CPU and RAM in place though, making things a little easier when it comes to dropping in the mobo. First though, we need to screw the PSU in place and get those cables routed around neatly. Make sure to orient the supply so it's sucking in air from the outside.
5. Sliding in your board
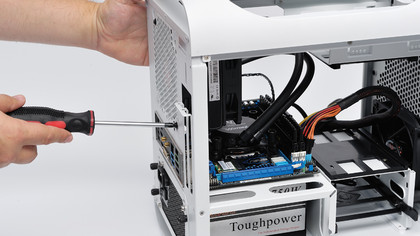
It's time to get the beating heart into your PC. We have the technology! Stick the backplate into the chassis and drop the board in place. Before you re-attach the CPU cooler, wipe the paste residue from both the contact plate and the CPU itself, and apply some fresh. To keep a good contact between the cooler and chip, a fresh globule is recommended. Now plug in all the power connectors - you're so close.
6. Fix the pixel-pusher in place
Sign up for breaking news, reviews, opinion, top tech deals, and more.
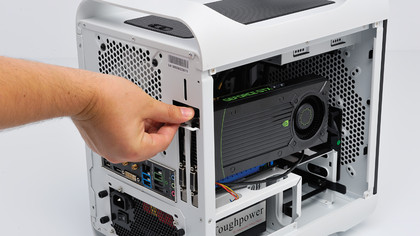
Before we fire her up for the second quick test, we need to get the supermodel component: the graphics card, safely ensconced in its new home. Make sure the way is clear of cabling and seat the GPU in place, ensuring it's properly pressed down. Screw the card in place from the back and secure the power cables. We can leave the storage drives out for the minute so we can test the core components.
7. Test and test again
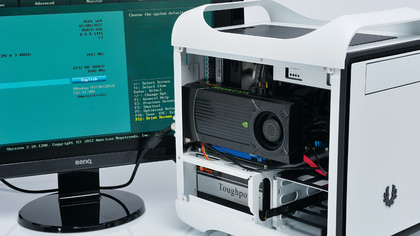
It's worth taking the opportunity to plug in all the necessary front panel connectors now - such as the power and reset switch, LEDs and so on. Plug your monitor back in, give the power button a wee shove and watch the screen light up. At this stage, there's no reason for anything not to work here, but it's good to check everything is seated properly.
8. Install your data centre
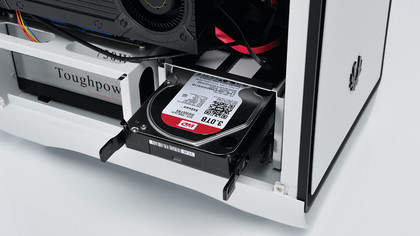
You're so close you can almost taste Windows' sweet, sweet nectar. But power your system down and let's get some storage in there so we can get the operating system and some lovely current games installed, shall we? Plug the SATA cables into the motherboard first, making sure to use the SATA 6Gbps sockets if you've got compatible drives.
9. The (optional) optical drive
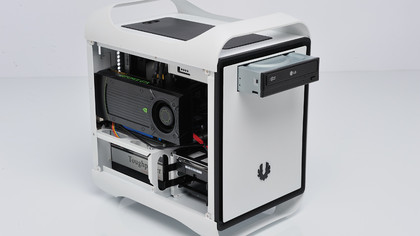
Adding an optical drive is almost an optional step these days. We haven't included a drive in the components list because we're not entirely sure if it's necessary anymore, although we know some of you disagree. With the rise and rise of digital downloads, we haven't installed a game from optical media in years. Still, it's just a question of plugging in the cables.
10. Getting your in and outs right
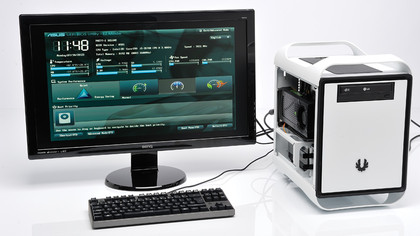
Now, plug in your keyboard and mouse, push the button and we're good to go! As you hit the post screen, tapping [Delete] will take you into the BIOS. It's a little too early to make with the overclocking just yet, but this is the time to sort out the boot options. Make sure your SSD, rather than HDD, is the first port of call for your PC. You'll also want to check your RAM is running at the right speed.
11. Whacking on Windows
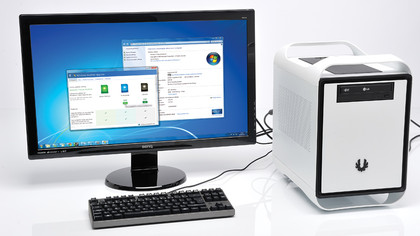
Once you've got your rig all set in the BIOS, you're ready to install your OS. This is where the optical drive comes in handy, but it's almost as easy to create a USB drive with the Windows installation on it as a bootable stick. Well, so long as you've got another PC with an optical drive that is, and a large enough capacity USB drive. Make sure your OS is pointed at the boot drive and you're good to go.
12. All set for game time
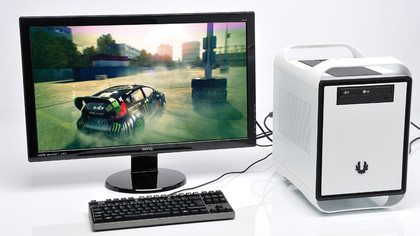
So there you have it! There is now only the fun stuff to go now, like driver installations and getting your entire Steam library downloaded. All the time you're waiting for the OS to install can be spent deciding which game you want to install first. And thanks to the awesomeness of the machine you've just built, any game will run like a dream. Congratulations, you've just built a fantastic wee PC.