How to disable Windows services and speed up your PC
Disable Windows services and speed up your PC

Sign up for breaking news, reviews, opinion, top tech deals, and more.
You are now subscribed
Your newsletter sign-up was successful
Knowing how to disable Windows services is an extremely handy yet surprisingly easy task all Windows computer users should know.
Although Windows 10 and Windows 11 are incredibly efficient operating systems, they can still experience performance slowdown. One way to make sure that your PC delivers its best performance, especially when tackling vital but demanding tasks, is by disabling all the Windows 10 services that aren’t essential.
Windows services are small tasks and programs a PC runs, usually in the background, to ensure that all the other tools, applications and software run smoothly. That includes everything from basic ones like spooling print jobs to a printer to the more complex ones like monitoring various sensors on your display.
A lot of these services are essential to your day to day. Others, however, aren’t, which means they’re utilizing vital resources that your computer should be allocating to more important tasks. That’s where disabling Windows services comes in handy, and we’ll show you exactly how to do it.
Why should I disable Windows services?
The more applications and programs taking up space and using your PC’s resources, the less likely it’s able to perform at its best. But, some of the Windows services your PC is running aren’t essential, which means they can be disabled without interruptions to its day-to-day operations.
When you disable some of these non-essential services, you’re essentially freeing up the RAM, CPU, cache space and other system resources they’re utilizing. Your PC can then use those resources on tasks that are more crucial or demanding, which allows it to improve its performance.
There are different ways for your PC to stay at its peak performance, but disabling Windows services are among the easiest ones you can do. So, whenever it starts to struggle running applications, lag or even boot up slower, this is one of the things you can try first.
Sign up for breaking news, reviews, opinion, top tech deals, and more.
On top of that, disabling a Windows service can also help you troubleshoot an issue or a problem that your PC is experiencing.
What Windows services can you disable?
While it is easy to disable a service, you should ensure that what you’re disabling isn’t something important. Otherwise, it’ll just cause issues.
This isn’t a one-list-fits-all kind of thing, however. The Windows services you can safely disable without disrupting your PC’s operations or preventing you from doing vital tasks largely depends on you and your typical day-to-day needs. There are services that an office manager or an administrative assistant can disable that a photographer or a video editor must not. Similarly, a remote worker who does all their work online probably won’t be needing Windows 10 services that might be vital to a family’s home computer.
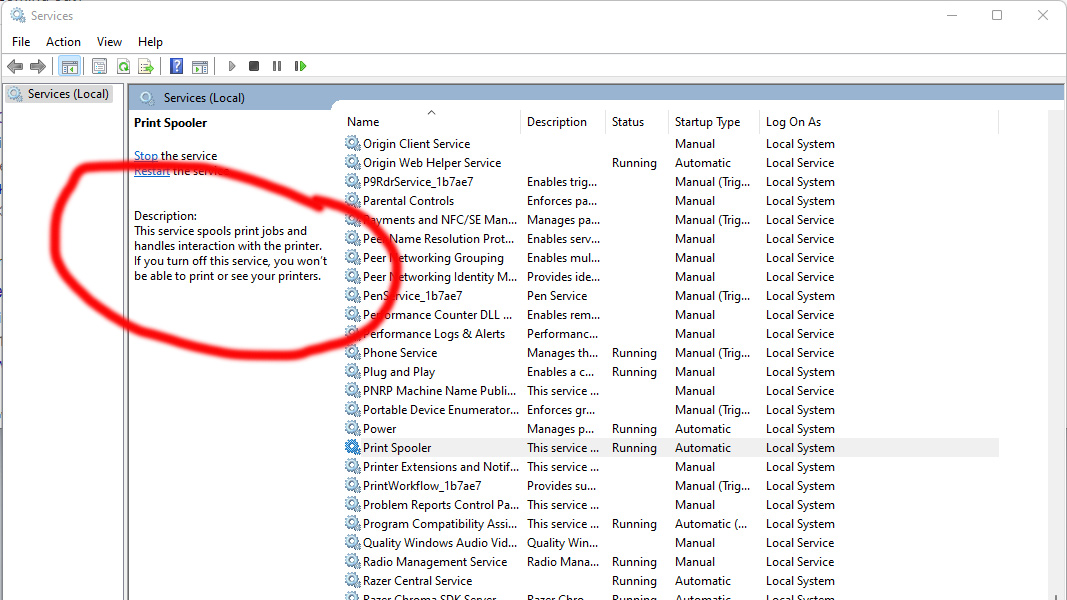
A good example is the Print Spooler service. Someone who relies mostly on digital documents and doesn’t regularly print from their PC can disable it. On the other hand, someone who does print often or on a daily basis will need this service enabled and running.
Before you disable a service, find out first what it actually does. How you can do that is by clicking on the particular service you’re looking to disable in the Services window and reading its description. That should give you a better idea of what it does and what happens if you disable it.
How can I disable a Windows service?

To disable a Windows service is easy. Just follow these simple steps below:
1. Press Win + R to open the Windows Run Dialog.
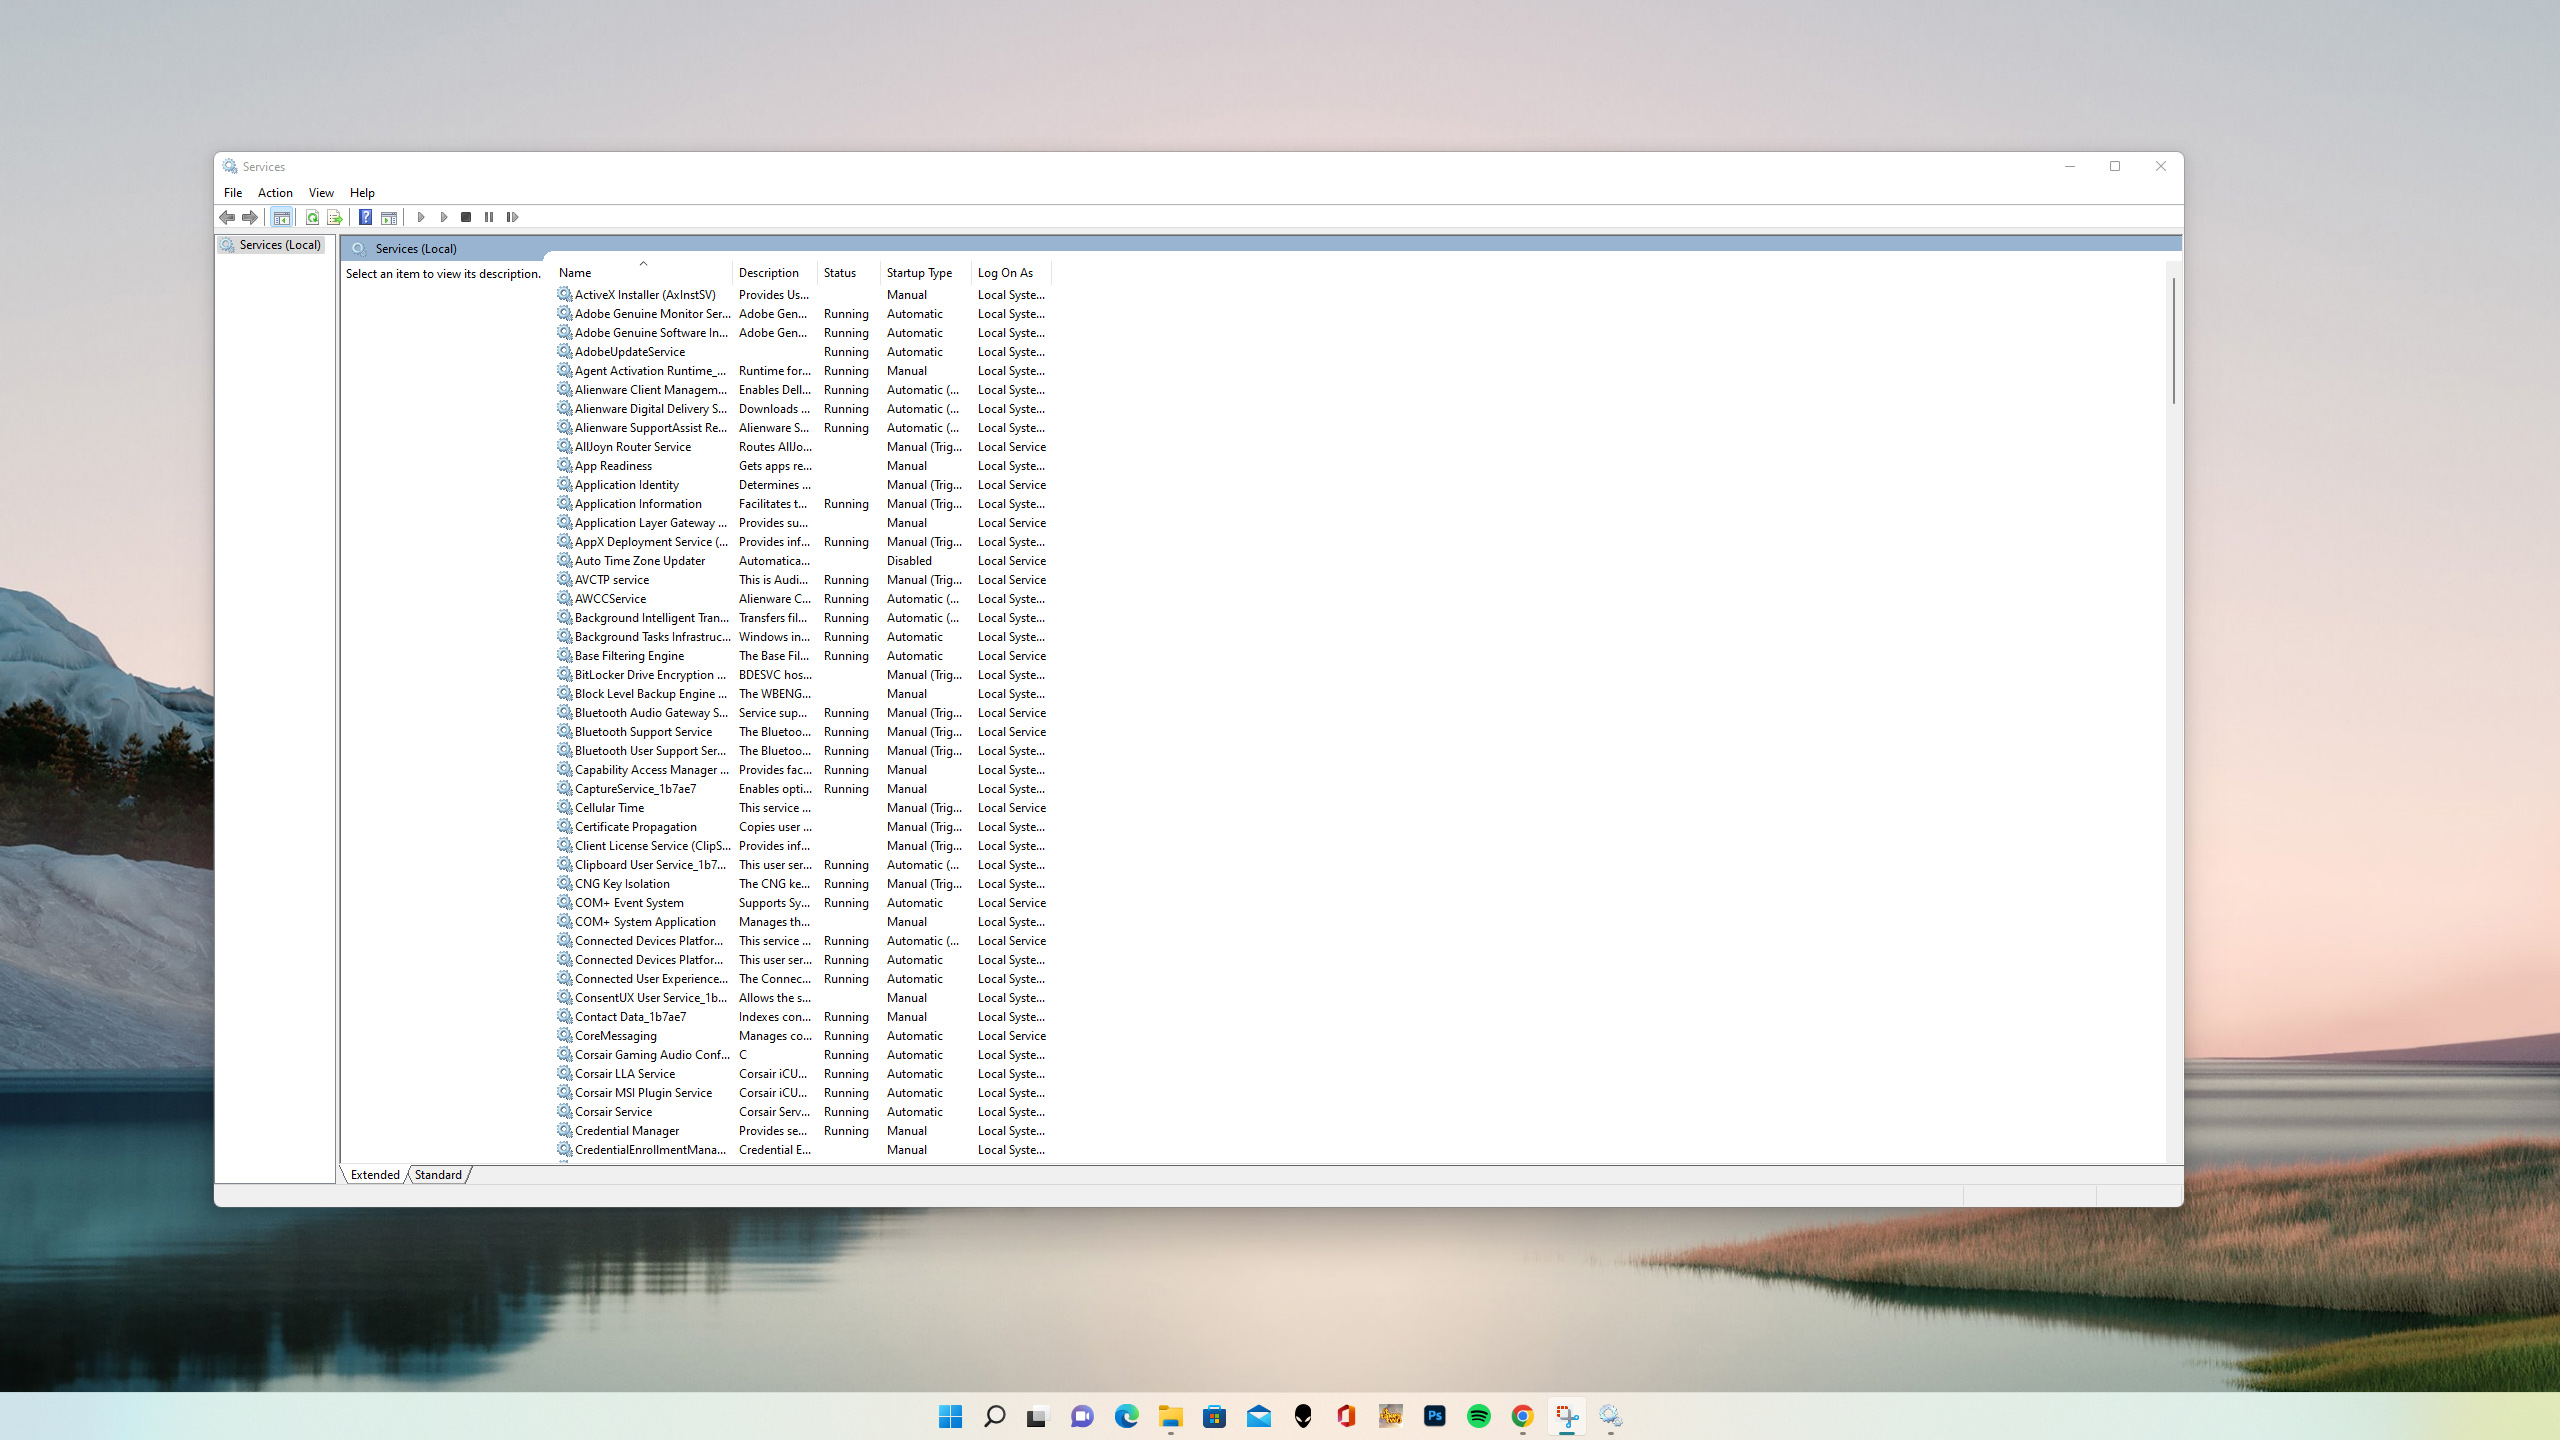
2. In the text bar, type services.msc then press OK. This should bring up the Services window.

3. In the Services window, you can scroll through the different services to figure out which ones are safe to disable or simply look for the one you want your PC to stop running.

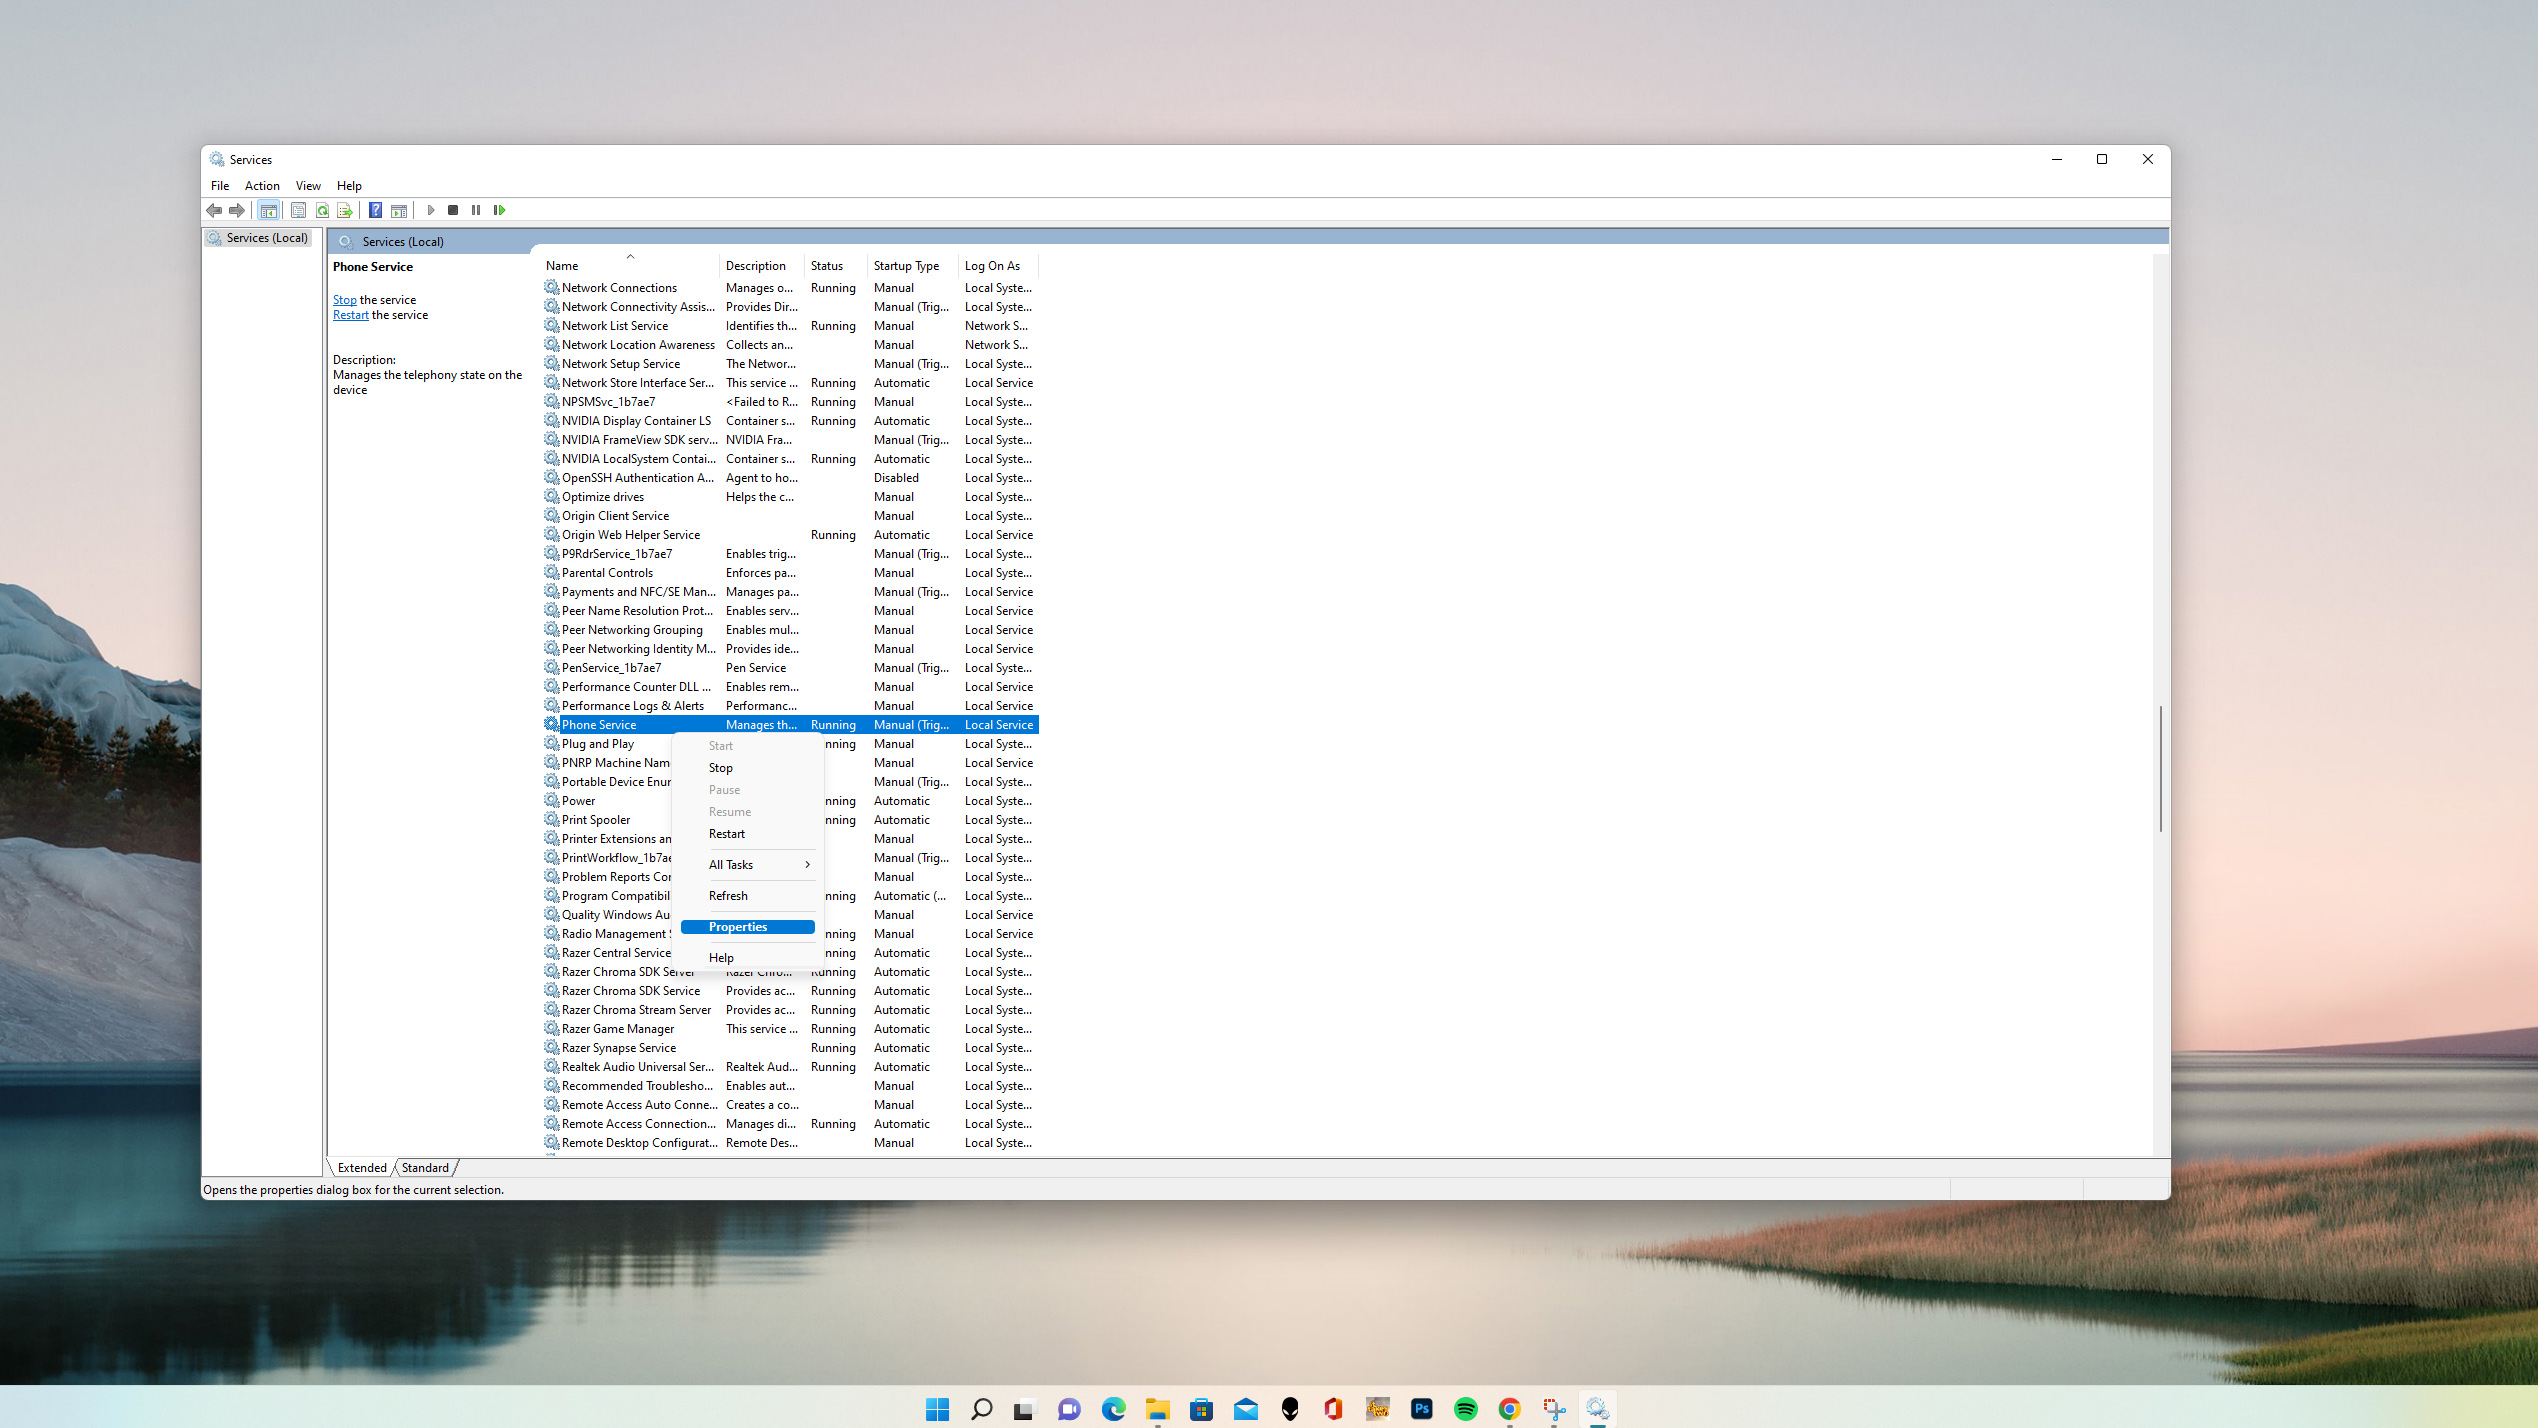
4. Right-click on the service you want disabled, and select Properties. A smaller window should pop-up.

5. Click Stop under Service status.

6. Select Disbled in the drop-down menu for Startup type.

7. Click Apply then OK.

Michelle Rae Uy is the former Computing Reviews and Buying Guides Editor at TechRadar. She's a Los Angeles-based tech, travel and lifestyle writer covering a wide range of topics, from computing to the latest in green commutes to the best hiking trails. She's an ambivert who enjoys communing with nature and traveling for months at a time just as much as watching movies and playing sim games at home. That also means that she has a lot more avenues to explore in terms of understanding how tech can improve the different aspects of our lives.