
 Become a TechRadar Insider


Linux project: How to host a photo album
Take control of your online photos with your own server
There are plenty of online services that offer to host your photos for free, and sites like Flickr and Picasa are excellent tools for expanding your online social presence. But for most of us, they're not ideal for sharing personal photos with family and friends.
Even when they offer password-protected collections with restricted access, sometimes you want to keep your own photos closer to your own storage. So why not host your own photo collection?
The software we've opted to use is called Zoph. It's built using PHP and a MySQL database, and enables you to import your collection of photos through a Zip or Tar file, organise them into albums, set attributes for author and geographical location, and share them with your friends and family.
1. Install the software
Taking Ubuntu 9.04 as a base, you need to install Zoph from the package manager, and this in turn will install the several Apache 2 dependencies, which is all we'll need for a working web server.
You will also need to search for and install the mysql-server package to grab the database back-end, and the installer will ask you for a password to protect the root MySQL account. Remember this password, because you'll need to enter it after typing the following two lines on the command line.
The first will create the database that Zoph uses to store the photo information, while the second will import the default table data provided by the Zoph package install into the MySQL server:
Sign up for breaking news, reviews, opinion, top tech deals, and more.
mysqladmin -u root -p create zoph mysql -u root -p zoph < /usr/share/doc/zoph/zoph.sql
If you're using a distribution other than Ubuntu, there's a chance that the zoph.sql file could be in a different location. Your distro's package manager can tell you where if you look at what and where has been installed with the Zoph package.
2. Configuration
The next step is to set up the permissions for the database we've just created. Log into your MySQL server by typing mysql -u root -p, and type these two lines, replacing password with your own password.
grant select, insert, update, delete on zoph.* to zoph_rw@ localhost identified by 'password';
grant all on zoph.* to zoph_admin identified by 'password';
All we're doing here is creating a MySQL user account called zoph_rw and giving it the permissions required to read and write to the database. Zoph expects to find this account, and you next need to tell Zoph what password you've allocated to the zoph_rw user. You can do this by editing /etc/zoph/ config.inc.php and changing password in the following line:
define('DB_PASS', 'password');
3. Sharing photos
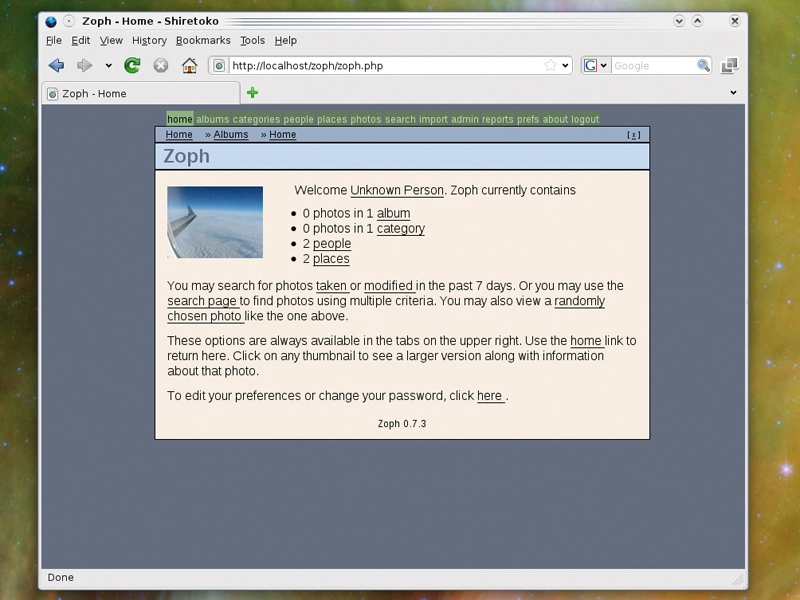
That's all there is to the configuration. You should now be able to point a browser running on the same machine to http://localhost/zoph, which will in turn redirect you to a login page.
Enter admin for username and admin for the password, and you'll find yourself within Zoph running on your own web server. The first thing you'll want to do is import your own photos, and this can be done by clicking on the Import button at the top of the screen.
You can then select photos individually, or archives of photos within Zip or Tar files if you want to upload a folder or collection. Each upload can be given a description, and you can also create locations and photographer accounts, which can then be attributed to each import.
This information can make a larger collection easier to navigate, but it's not necessary. After adding your photos, you can browse them by switching to the 'photos' page or, if you've sorted them into albums, the 'albums' page. You can now share your photos with anyone else who can access your LAN by giving the IP address of your machine (or the hostname if there's a DHCP router sitting at the heart of your network).
If you want to access your site from the internet, you need to make sure port 80 is forwarded from your gateway or access point to the machine running Zoph. You can then use the IP address of your internet connection from elsewhere on the internet, but you'll need to make sure that you keep Apache up to date on that machine.
You can limit who can see your photos by creating user accounts for those people, and limiting those accounts to groups of photos if you need to to.