
 Become a TechRadar Insider


Before it turned into a piece of technological junk, your old laptop used to be the apple of your eye. But despite now passing out of favour for whatever new fangled machine has replaced it, your old laptop can be put to good use.
We've previously looked at using an old laptop in many ways, some crazy some not so. But here we're going to show you how to make use of most of it in a practical and, for once, non-destructive manner.
The concept is simple: if you need a basic file server to store, download, back up and generally serve files, then a laptop can do just that, with the added bonus of a low-power profile to boot.
The problem when considering file servers and laptops is that they're hardly renown for copious storage space. Laptops do come with a single drive and the obvious first step is to upgrade that.
On this point there's bad news and there's bad news. You may recall the Thai floods of 2011 that sent the price of 3.5-inch drives sky-rocketing. The price of 2.5-inch drives was also affected but their lower demand meant the rise took longer to kick in. Hopefully by the time you read this prices should be dropping again, but depending on the drive installed you may or may not feel like upgrading.
As it stands, both PATA and SATA drives of between 160GB and 1,000GB can be picked up, with the best value option being slap in the middle at 500GB. Hopefully these should be back at around £40 or less by the middle of 2012 - a more sensible price for this type of low-rent project than the current £65.
We detail the intricacies of replacing a PATA drive in the first walkthrough. Check us with our screwdrivers.
Expansive expansion

So far we've slightly increased the storage of our servetop… er, lapserve creation but it's hardly pushing the boundaries. Another obvious expansion point for storage is if the laptop has an optical drive. These can easily be removed and using the right connections it's possible to add another hard drive.
The issue is that slimline laptop optical drives use an alternative edge-connector, plus there are the physical mounting issues. No problem, jump on eBay and search for 'Optical Bay Hard Drive Caddy', which usually sell for around £15. There are models for PATA to SATA, SATA to SATA and SATA to PATA, while the caddies come in 12.7mm and super-slim 9.5mm, so check exactly the size and type you need, and also what you're about to buy.
At this level it's not outrageous to think you could have 1TB of storage and, for the low-power aims of the project, that could well be enough for most people. But what if you want more? We can certainly help there but the solution becomes less tidy and compact, unless you're willing to explore some even deeper DIY deconstruction.
The issue with laptops is that the spirit is willing but the flesh is weak. While they have the built-in abilities to support more than one hard drive, they unfortunately don't have the built-in ports. The simple solution is to provide them with the ports and a way to connect those extra drives.
Adding them can be extremely simple, as both PCMCIA and ExpressCards have twin-port SATA/eSATA adaptors readily available for around £30. If for some reason the laptop is missing these usually ubiquitous expansion slots and you're happy to do a little DIY to locate an internal mini PCI Express port, then twin-port SATA mini-PCIe cards are available at around £30.
Ports can be easier to locate than you might at first think, as removing an existing Bluetooth or Wi-Fi adaptor will free up a slot.
What's up dock?
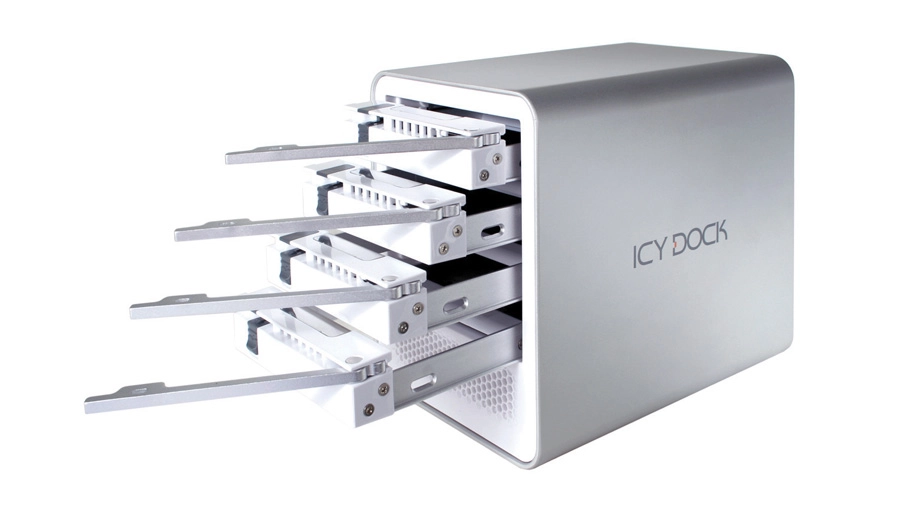
The more quick-witted among you will have already spotted that there's no power for these drives and this is the final problem. The most obvious solution is to pick up an external single-, twin- or quad-bay HDD docking station. Single-bay units start at £30 going up to £80 for a quad-bay unit, which will connect via eSATA to SATA cables.
Another option is to find a specialist retailer, such as span.com, that is able to supply dedicated multi-drive enclosures, including power and multi-link connection solutions.
Upgrade storage
Want more than two files? Get more storage
1. Parallel killer

Before getting a new drive you'll need to ascertain if you have a PATA or SATA drive. Rather than checking the specification or digging through the Device Manager, the easiest thing to do is to whip out the drive from the laptop. Almost all laptops offer a maintenance cover marked with a drum. Unscrew this and carefully lever out the drive.
2. Caddy PATA

Once the drive is out it should be immediately obvious if you're dealing with a SATA or PATA device. Besides the telltale multi-pin PATA interface versus the edge-type SATA style, most PATA drives use a caddy system to ensure that the pins line up correctly. On top of this some drives may include an adaptor to eliminate any pin-based disasters occurring.
3. SATA PATA

Any caddy or adaptors will need to be transferred across to your new, bigger, better and faster drive - didn't we mention a new drive will boost laptop performance? These should be just standard crosshead screws but some evil companies may have moved on to using Torx screws. Either way, transfer them over and carefully slot the drive back into the laptop.
Add server software
We choose you Ubuntu, because you're free
1. Get installed

Head to http://ubuntu.com/download and click 'Start download'. We're sticking with the desktop version to eliminate issues with learning to use the software, as it's painful enough to set up with a GUI. The website also provides easy solutions for installation from CD and USB, including for people lacking CD burning software. Either way get Ubuntu installed on your server.
2. Share and share

The first step is to get a Windows share running so that you can copy files to and from for all your various and nefarious needs. Linux is a bit rubbish, so this all has to be done by hand. From the launcher select 'Home > Documents', create a new folder and right-click it. Select 'Sharing Options > Share this folder > Install Service' and that will install the Samba components.
3. Samba the night away

Samba is the long-standing Linux package that handles network sharing between Windows and Linux. The server and folder will appear in the Windows Network as another system and shared folder. Right-click the folder and select 'Properties > Share and Permissions' to adjust access rights to the files.
4. Eye tunes for all

Select the Software Centre, search for iTunes and install Tangerine Music Sharing. Select the top Dash Home icon, search for Tangerine and run it. Choose to Enable music sharing, choose a suitable name, select a folder and add a user limit or password if you need to. That's it, you now have an iTunes server up and running, to which most networked audio devices will connect to.
5. Media service please

You'd probably like a UPnP, DLNA compliant media-streaming service. Select 'Software Centre', search for 'MediaTomb' and install. To configure it select 'Dash Home > Media Apps' and run MediaTomb. If the UI is disabled type: sudo gedit/etc/mediatomb/config.xml in the Terminal and near the start change the UI setting from 'NO' to 'YES' and reboot.
6. More drives

We've mentioned various ways to expand a laptop server, but to add these drives within Linux select 'Dash Home > More Apps > All installed' and run Disk Utility. It's the standard partition tool for Unbuntu and shows connected controllers and their associated drives. New volumes need to be formatted in the Ext4 file system and mounted.
The classic remote desktop
VNC has been dispensing remote desktop access since 1866
1. Linux and Windows

No matter what server you're running, for ease of use you need to add remote desktop action to your server. At least using a laptop it has a screen attached, but if you can control it via your main computer, tablet or smartphone it makes life all the easier. Even better, VNC works with many versions of Linux, Mac and Windows, so all bases are covered at vnc.com.
2. Go get it

First, you will need to launch the Ubuntu Software Centre. So, search for VNC and then install the X11VNC Server, then add the software to the Launch Bar and run it, making sure you choose 'TightVNC'. We found we had to click 'OK' and run the software again to get the Properties. Select 'Accept Connections' and add a password. You're now done and ready to go.
3. Details and go

You'll want the IP address of the server. The easiest way is to select the top-right up/down arrow icon and choose 'Connection Information'. The new window will show the IPv4 IP address - make a note of it. On your tablet or desktop system install TightVNC Viewer or any VNC Viewer. Use the IP address as the TightVNC Server and click 'Connect with default options'.
4. We're in!

With firewalls, routers and wireless base-stations all behaving, this should connect your Windows desktop, Mac laptop or Android tablet to the server, so you can have simple remote access from almost all your devices. You may want to ramp down the server resolution to 800 x 600 for better phone-based access, as it'll make the desktop far more accessible than if the screen is being scaled.