


On the face of it, virtualisation sounds too good to be true: it enables you to run completely different operating systems, from Windows and Linux to older versions of OS X, in a window within macOS.
Sadly, in some ways it is. While Windows in a virtual machine (VM) may let you run apps and play games that aren’t available on the Mac, there’s a price to pay in terms of performance.
You can never tap into the full potential of your Mac’s hardware, but you can maximise what resources are available to deliver speeds akin to starting up your Mac in one of these operating systems instead of macOS.
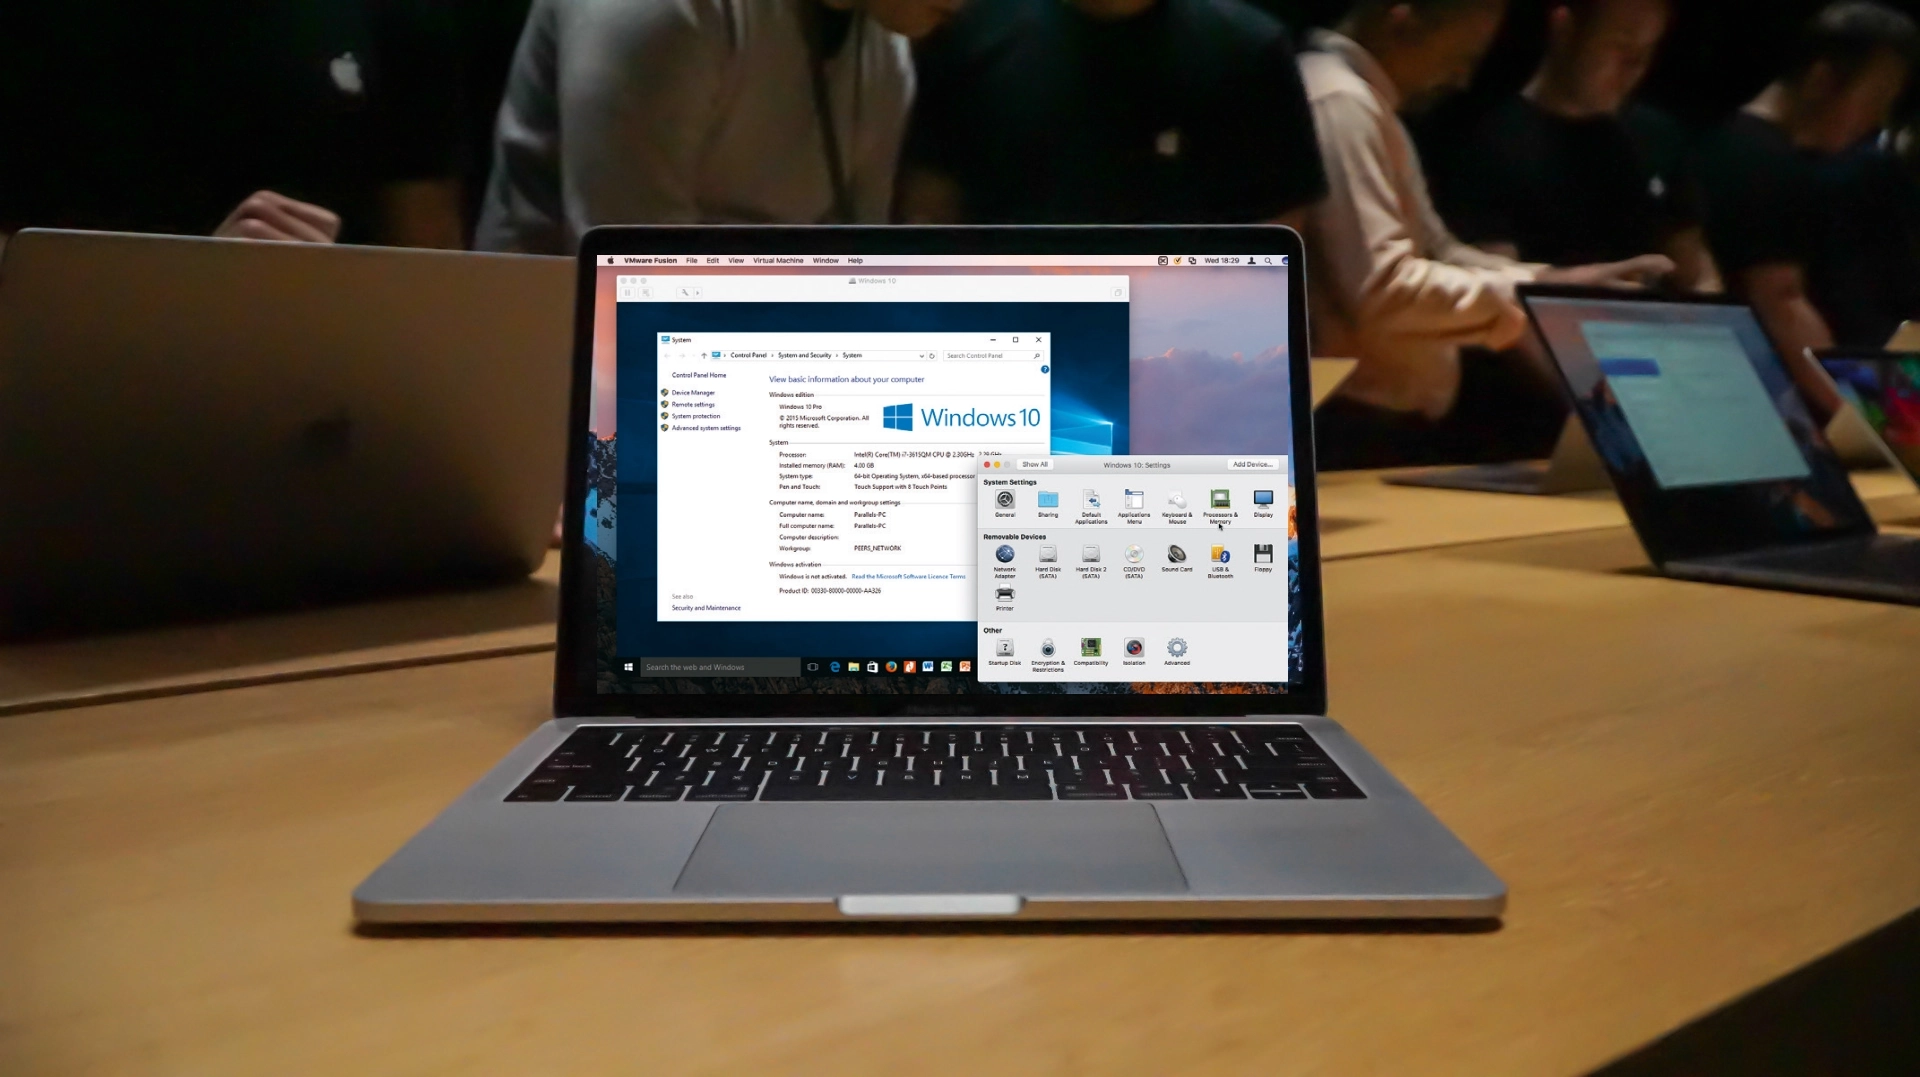
In this tutorial, we’ll show you how to tweak your VMs, whether you’re running VMWare Fusion, Parallels Desktop or VirtualBox, to get the best level of performance possible.

Basic principles
The trick to optimising VM performance is to first understand your limits. You can’t simply assign every last bit of your Mac’s hardware to running it at full tilt; you need to reserve enough system resources to allow macOS to run efficiently in the background.
For macOS Sierra, that means holding back at least 2GB of memory and one processor core (ideally two, if your Mac has a quad-core CPU).
You should also look to store your VM’s virtual hard disk file on the fastest drive you can spare. This is typically the internal drive, though an external SSD on a Thunderbolt or USB 3 connection will perform well, too.
Consult your virtualisation tool’s instructions for moving a VM to a new drive if necessary; in Parallels and VMWare, shut down the VM, close the app, then move the file.
Restart the VM and the app will complain it can’t find the disk – just point it to the new location. Also, if you’re in the process of creating your VM from scratch you can tweak a bit more performance out of it by allocating all the storage space you want to make available to it when you create the VM – virtualisation tools’ option of dynamically expanding drives saves on space, but these slow things down.

Get optimising
Let’s get started. Open your virtualisation tool and make sure it’s fully up to date – all three of the virtualisation tools we’ve mentioned are frequently updated to fix bugs and improve overall performance.
Next, make sure you install the dedicated hardware drivers for your VM’s operating system, if you haven’t already – that means installing Parallels Tools, VMWare Tools or VirtualBox Additions (If you use VirtualBox, you should also download and install the VirtualBox Extension Pack from its website to add USB 2.0 and USB 3 support).
This will also help maximise performance. Next, follow the walkthrough opposite to optimise your VM, test its performance and then tweak further if necessary. It’s written for Parallels Desktop, but much of it you can adapt to VirtualBox or VMWare.
Look out for platform-specific tweaks, though. For VMWare, go to the troubleshooting forum, where you’ll find a wealth of things to try if a VM isn’t performing as you expect; still, many of the tips there will, once again, apply to VirtualBox and Parallels as well.