How to get started with Minecraft on Raspberry Pi
World of Pi

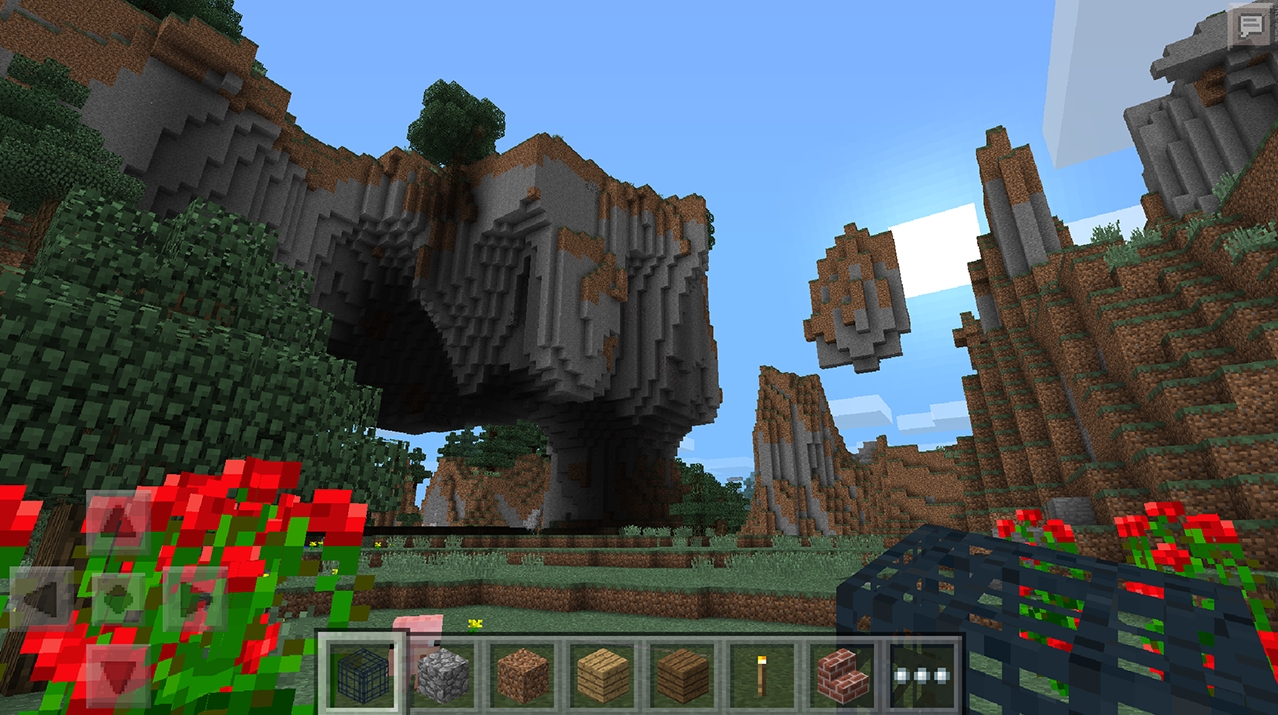
Minecraft has steadily taken over the world since its release in 2009, and has become a runaway success across many different platforms, including the PC, Xbox 360 and PS3.
If you've never played Minecraft before, the basic premise is to mine various materials with which you can build objects in the game world. Mining is quite easy but it's essential to survive, and you can mine wood, stone, coal and metals. From these mined materials you can make houses, bridges, weapons, tools and even furniture for your home.
There is another side to Minecraft, though, and this is what we are focusing on in this tutorial. Minecraft also has a creative mode, where you are free to build whatever you want, with no monsters or night-time to threaten you.
This is the version that has been made available for the Raspberry Pi. In this version of the game, you're free to build anything you want, just like with a large box of Lego. Of course, it could become tedious building everything brick by brick, but fear not, because help is at hand, and it's in the form of the Python programming language.
Download and install Minecraft on the Raspberry Pi

1. Download the archive
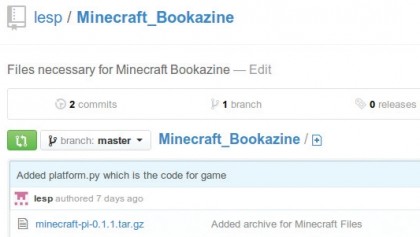
To get your copy of Minecraft, download the archive to your Raspberry Pi. Make sure you remember where you saved it, because we will need to use it in the next step.

2. Open the terminal
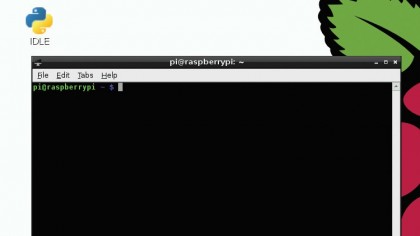
Extract the Minecraft archive contents to your Raspberry Pi via the terminal. On the desktop, double-click on the LXTerminal icon, then navigate to the place where you downloaded the archive.
To do this, use the cd command to change the directory – for example, cd /home/pi/.
Sign up to the TechRadar Pro newsletter to get all the top news, opinion, features and guidance your business needs to succeed!

3. Extract the archive
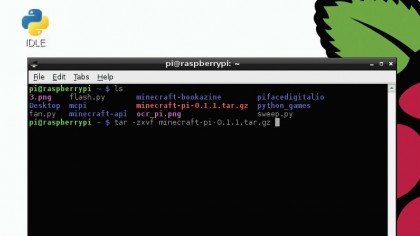
Use the terminal to extract the archive:
tar -zxvf minecraft-pi-0.1.1.tar.gz
Press [Enter] and you'll see lots of text whizz along the screen. This is the command's way of telling us that it is working. Once complete, the command returns you to a prompt.
Current page: Download and install Minecraft on the Raspberry Pi
Next Page Create your own Minecraft server