Why you can trust TechRadar
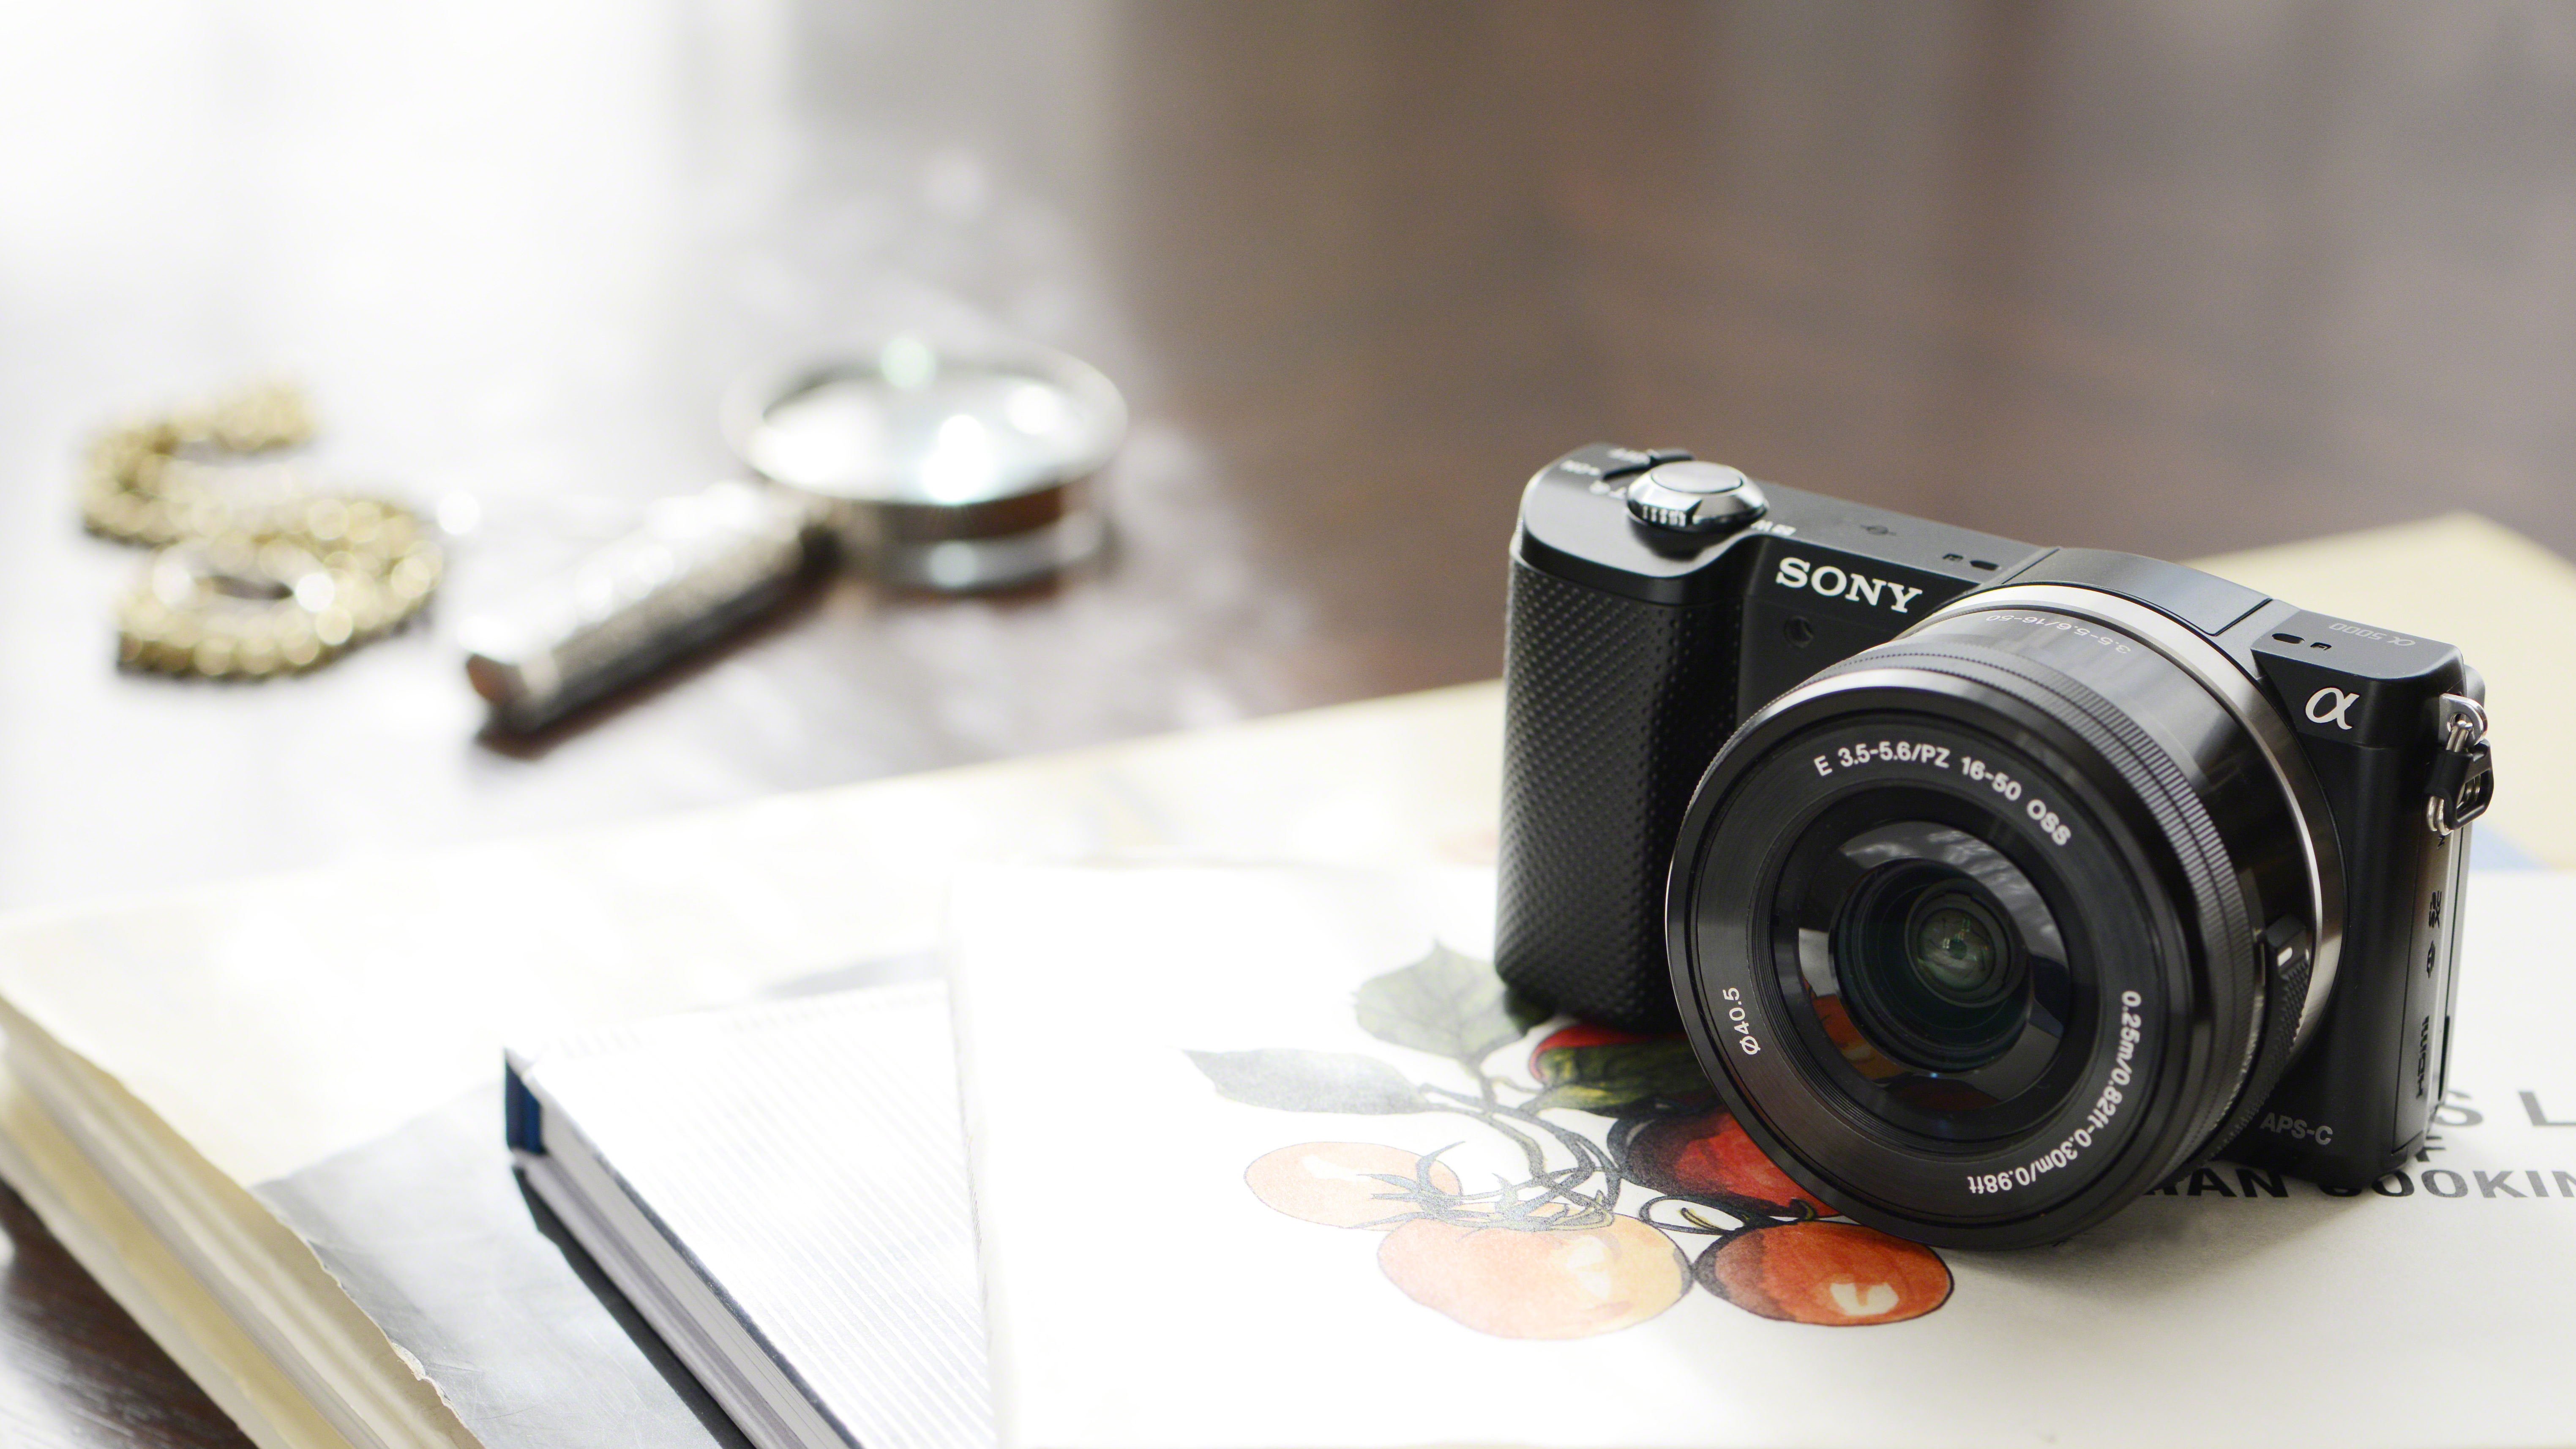
The a5000 is very similar in size, style and shape to the NEX-3N, which it replaces. Although the camera is in the flat, compact style of other NEX CSCs, it has a chunky grip which is textured and feels very secure in the hand. With heavy cameras, it's fairly unlikely that you'll often be using it one handed, but the a5000 is very light, so there's a good chance you might – in which case that chunky grip really makes it feel steady.
Additionally, almost all of the buttons on the a5000 are grouped on the right hand side of the camera, making them easy to reach with the thumb, again a good indicator that the camera is designed to be used one handed.
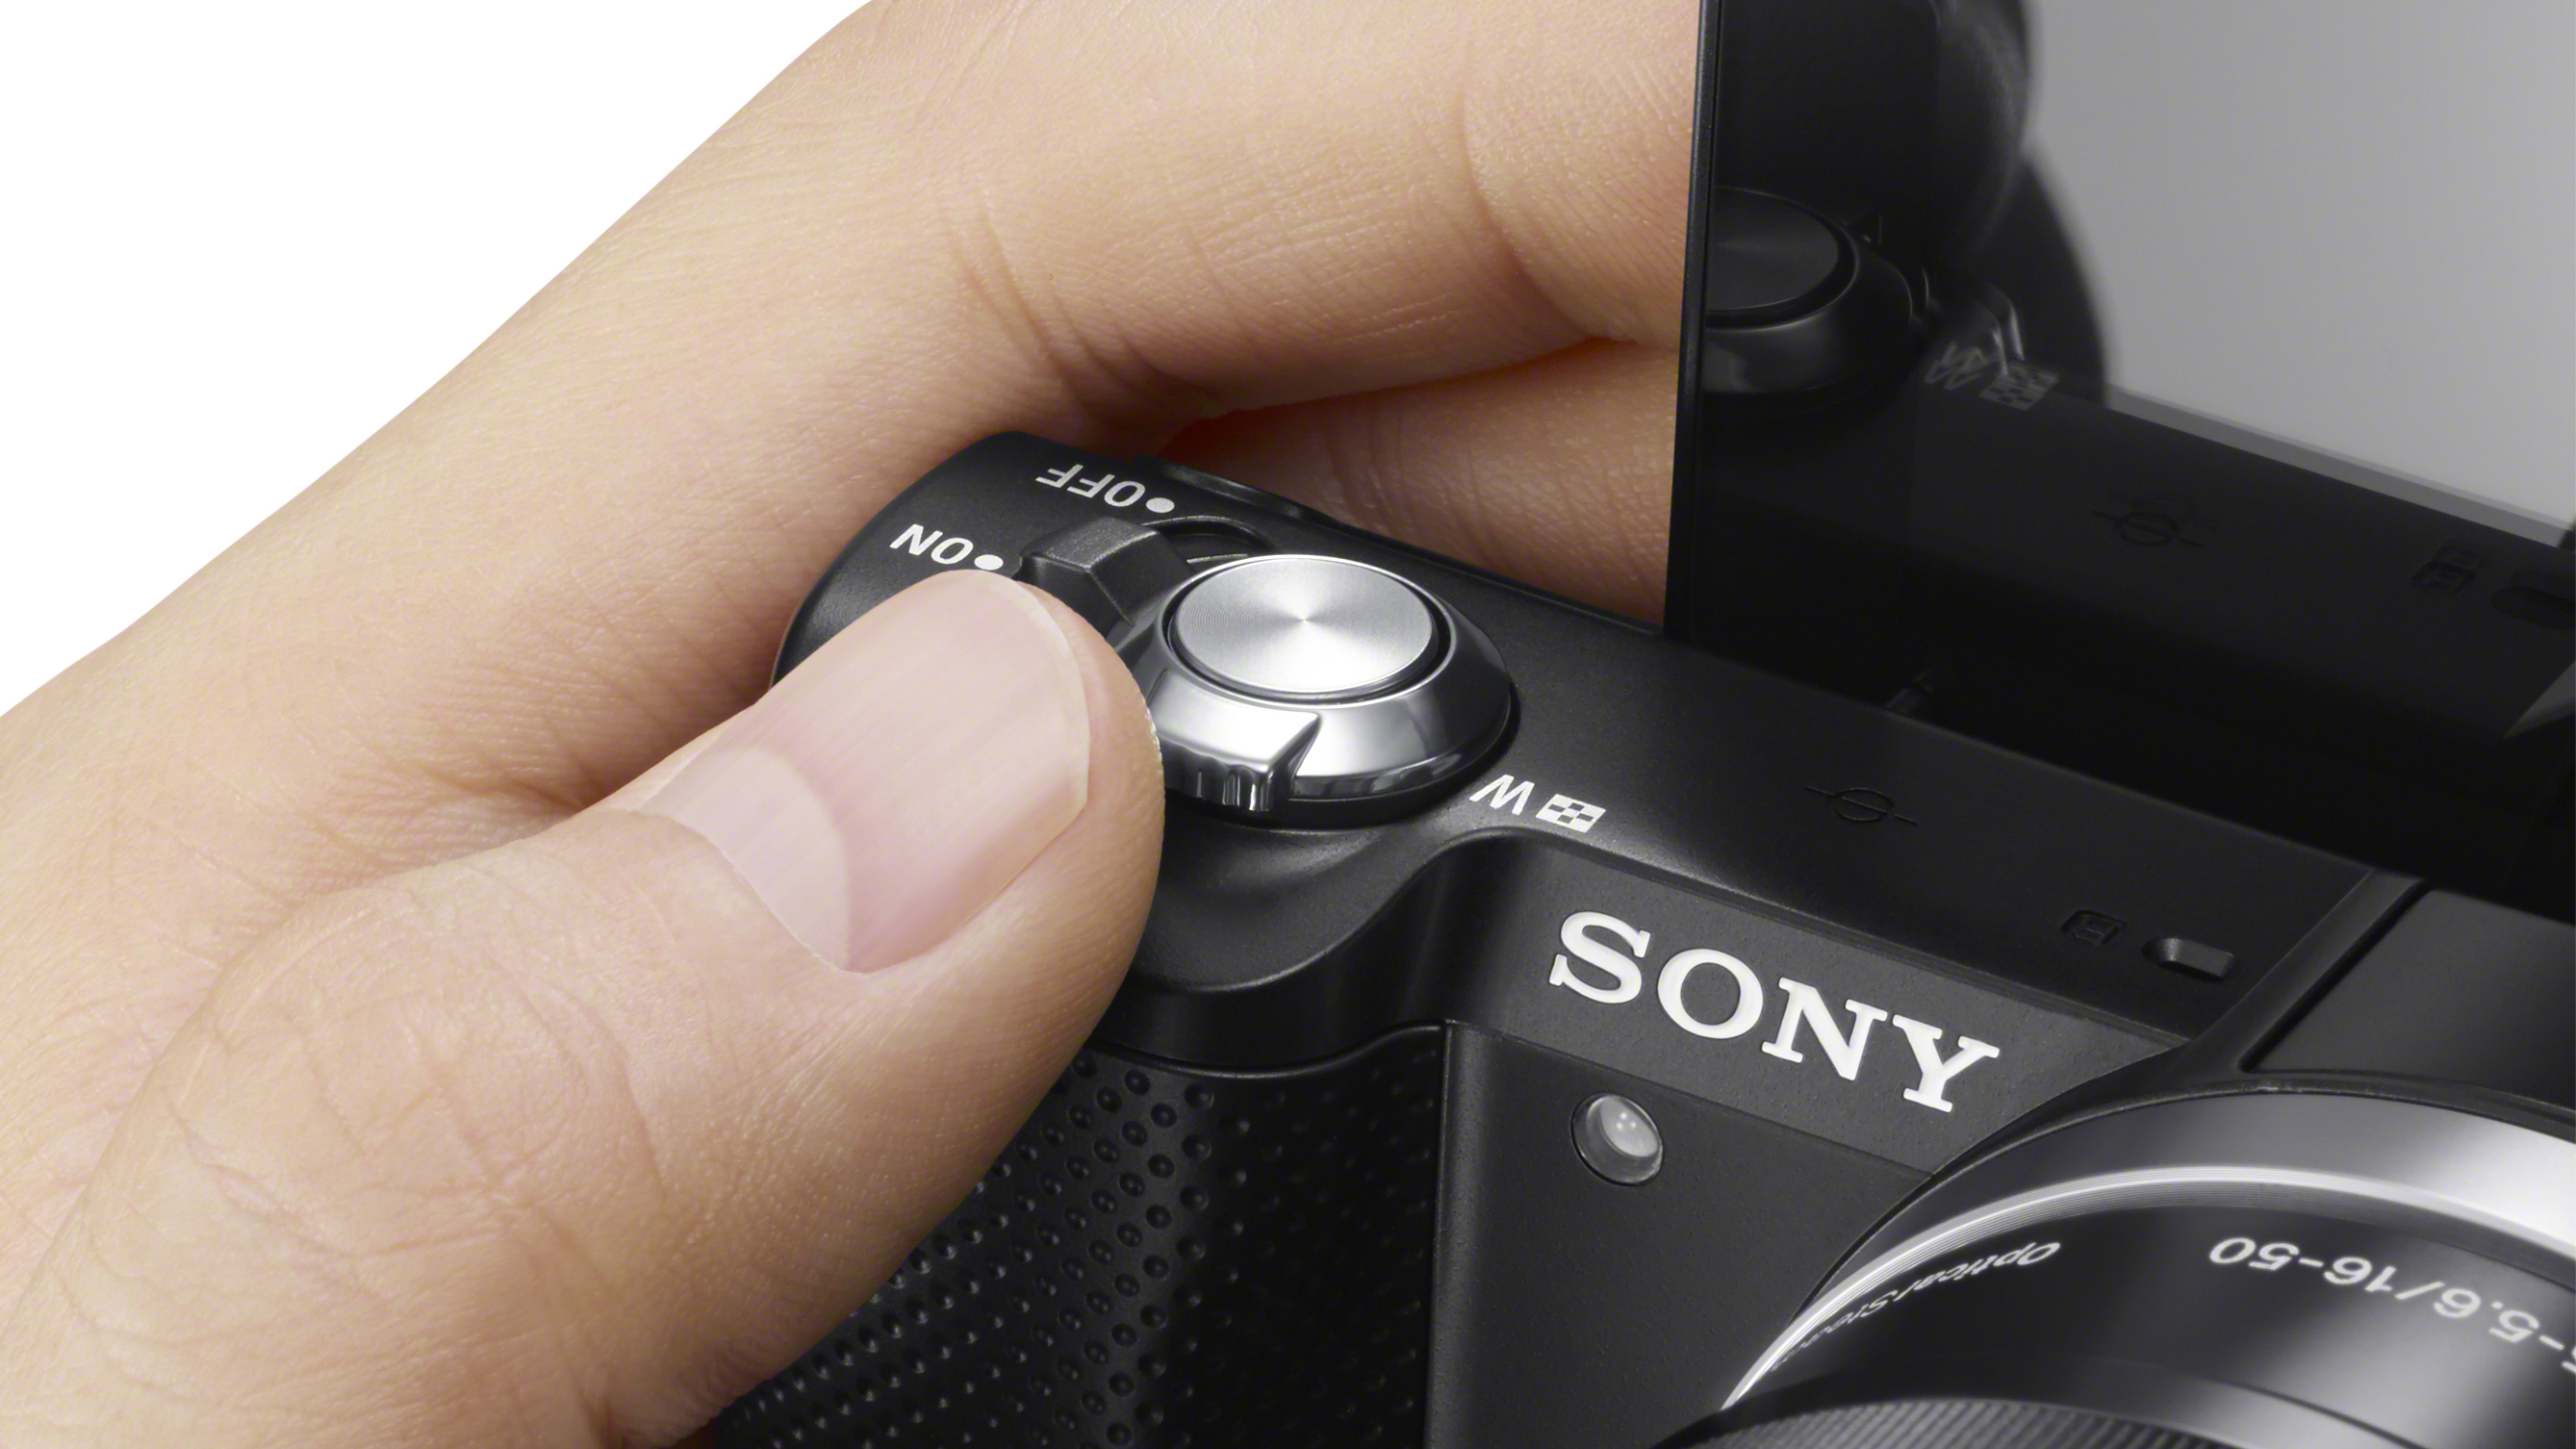
On top of the camera, around the shutter release button, is a switch for turning the camera on and off. There's also a zoom lever which you can use when a power zoom lens is mounted to the camera, such as the 16-50mm kit lens – you can also use a switch on this lens itself if you prefer. The zoom lever on the top of the camera is also used for zooming into images in playback to check focus.
Also on top of the camera (but at an angle so as to not accidentally knock it) is a dedicated movie record button. The only button not to be grouped on the right hand side of the camera is the button which is pressed to lift the flash, which can be found on the left hand side of the camera, next to the pop-up flash unit.
On the back of the camera is the tilting LCD screen. This is neither touch screen, nor fully articulated. It only tilts up, which makes it useful for shooting from above, or for self portraits (it tilts so far as to fully face the front); but for shooting from above, or portrait format images, it's less useful.

As with most other Sony cameras, many of the buttons on the back of the camera can be customised to the settings you use most often, which is useful. There is a dial which doubles up as a four-way navigational pad, each of the directional keys here can be customised, as well as the button in the centre of the pad.
There's also another button in the bottom right of the camera, which has a question mark on it, which can be set to a particular function.
Sign up for breaking news, reviews, opinion, top tech deals, and more.
As there's no dial anywhere on the camera to switch between different shooting modes, such as aperture priority, fully automatic, manual and scene modes, this can be done in one of two ways. You can either navigate to Shoot Mode in the main menu (via the menu button), or you can set one of the custom buttons to quickly access Shoot Mode.
The scrolling dial on the back of the camera is used for altering aperture or shutter speed, depending on the mode you're shooting in. If you're shooting in fully manual, you'll need to press the down directional key (set to exposure compensation by default) to switch between the two parameters. If you're shooting in shutter priority or aperture priority, press the down key to access exposure compensation then use the dial again to dial in or down however much compensation you need.
Autofocus
Setting the autofocus point, as we've found with other Sony cameras, can be frustratingly laborious. There's no dedicated button for changing the autofocus point, but you can set one of the focus buttons to change the Focus Area, after which you'll be able to move around the screen to the point you require.
There seems to be no quicker way to do this, and it's a little annoying when you want to quickly move the spot. A touchscreen here would have made this very easy – but Sony seems very resistant to using this technology on all of its cameras. We'd recommend if you're looking for speed, setting the autofocus point to the centre and focusing and recomposing, only changing the autofocus point if you have the time (or inclination).
Sony has decided to simplify its menu systems across the range, so the NEX menu of old is no more – something which we're pleased about since that was a little confusing at times. Instead, the menu here is similar to those found on Alpha DSLRs, and will be the menu found on all Sony cameras from here on in.
This menu is sensibly laid out, being split up into different areas, such as camera settings, custom settings, playback and setup. It doesn't take long to get used to, and it's worth exploring the setup for some time to get used to the layout.

Amy has been writing about cameras, photography and associated tech since 2009. Amy was once part of the photography testing team for Future Publishing working across TechRadar, Digital Camera, PhotoPlus, N Photo and Photography Week. For her photography, she has won awards and has been exhibited. She often partakes in unusual projects - including one intense year where she used a different camera every single day. Amy is currently the Features Editor at Amateur Photographer magazine, and in her increasingly little spare time works across a number of high-profile publications including Wired, Stuff, Digital Camera World, Expert Reviews, and just a little off-tangent, PetsRadar.
