Why you can trust TechRadar

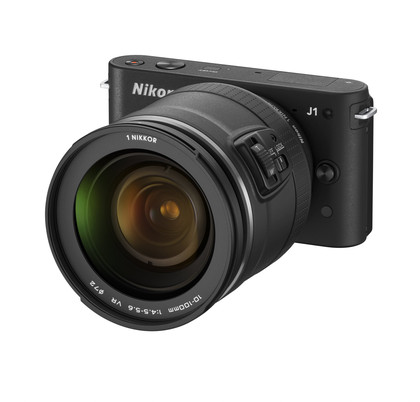
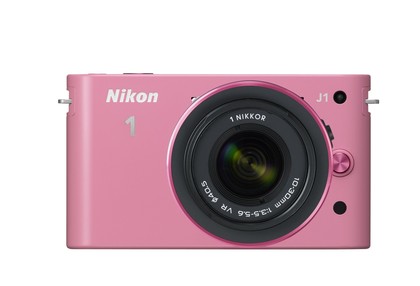
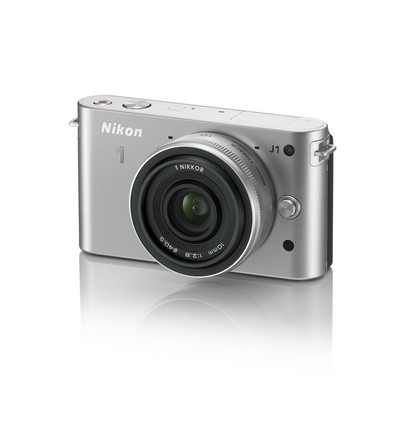
Nikon opted to use a smaller than APS-C sized sensor to enable the J1 to be smaller than the average DSLR. While it is small and neat, the J1 isn't quite as small as the Olympus PEN E-PM1, which uses the larger Four Thirds sensor. And if you want something really small, then the Pentax Q could be the way to go – it's tiny, but then so is its sensor.
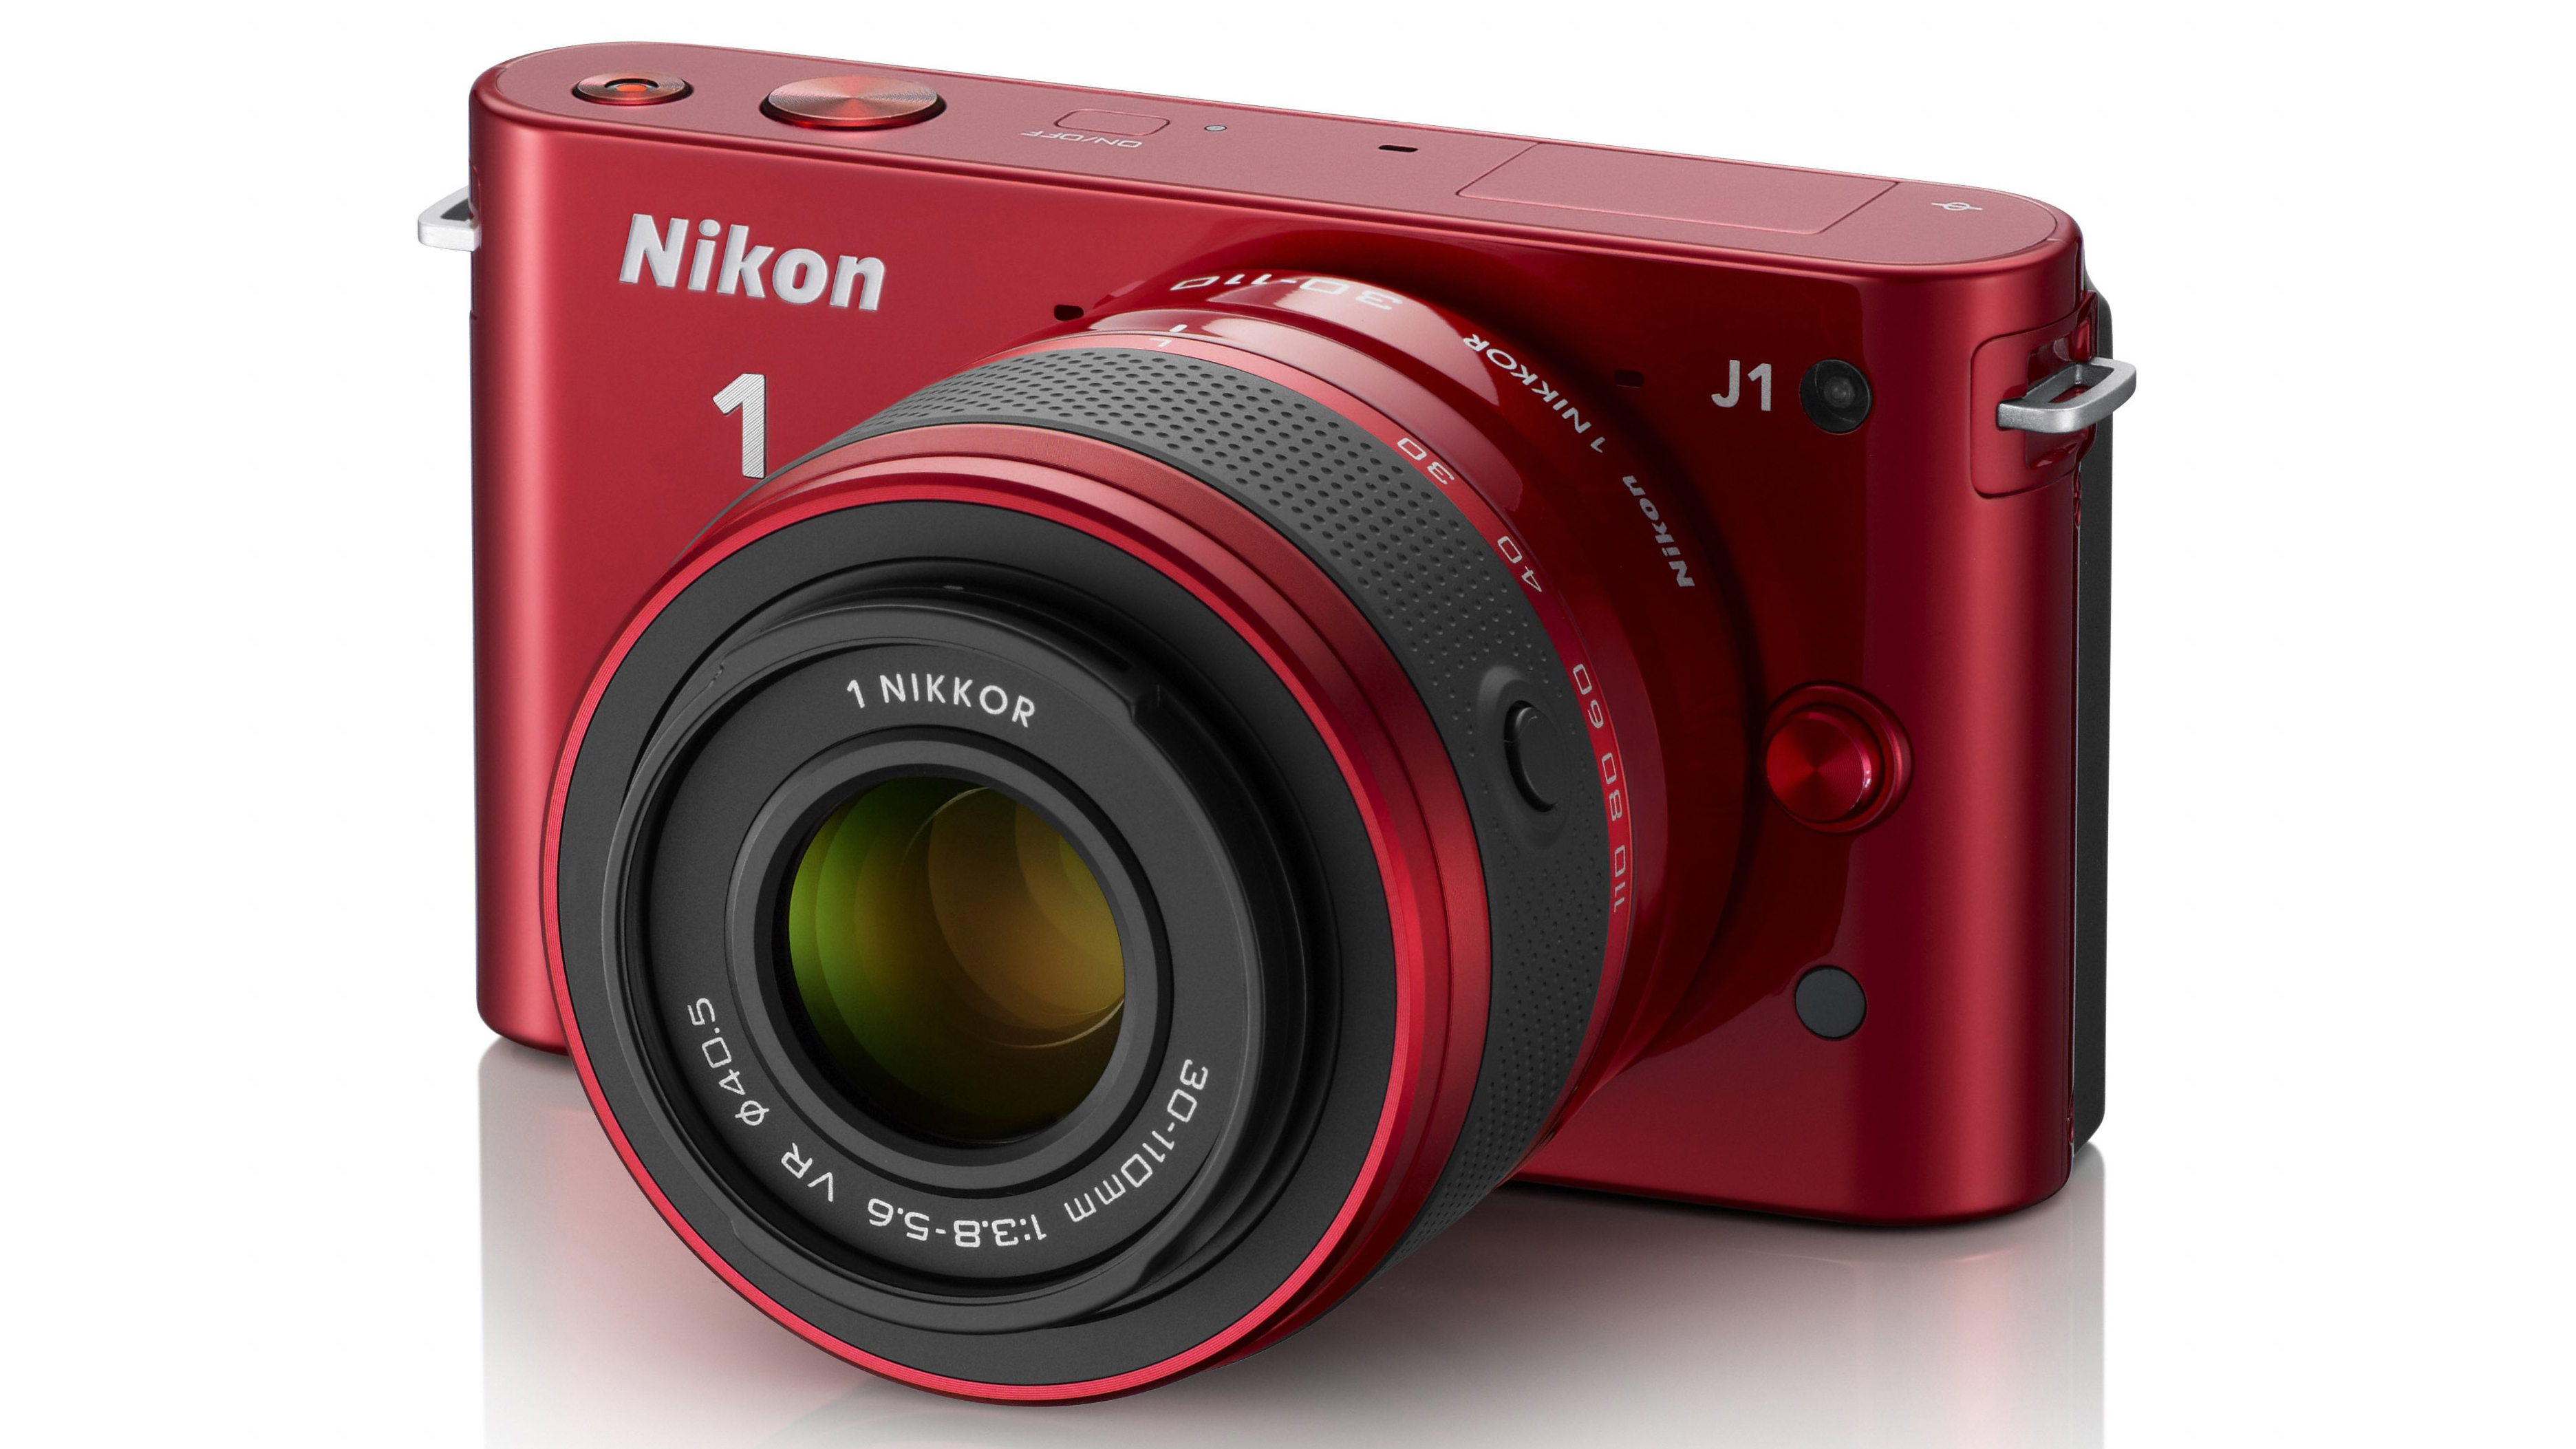
Design-wise, the J1 is minimalist and uncomplicated, with a fairly Spartan-looking top plate and small collection of controls on its back. The body is constructed from magnesium alloy and has a high-quality feel, as does the knurled wheel mode dial.
With the exception of the rotating multi-controller dial on the back of the camera, the buttons and dials feel well made and are responsive. The multi-controller works well enough, but it feels a little insubstantial and loose under your thumb as it's rotated.
When the Nikkor 10-30mm f3.5-5.6 VR collapsible lens is mounted, there are two ways to start up the J1. If the lens is collapsed, pressing the lens button and rotating the zoom ring extends the optic and brings the camera to life in a little under two seconds. Alternatively, pressing the on/off button on the J1's top plate activates the camera in around a second.

We were initially disappointed to discover that the advanced PASM exposure modes can only be selected via the menu when the mode dial is set to Still Image mode (denoted by a green camera icon). However, it isn't necessarily a huge drama, since many photographers tend to shoot in one mode, for example Aperture Priority, for the majority of the time.
Less experienced photographers can set the camera to Scene Auto Selector mode via the menu, or use the mode dial to set it to Smart Photo Selector.
Scene Auto Selector mode sets the camera to choose the settings that it calculates are appropriate for the scene. Unusually, there's no option to specify the type of scene being photographed.
Sign up for breaking news, reviews, opinion, top tech deals, and more.
Smart Photo Selector is an evolution of Nikon Best Shot Selector. In this new mode, depressing the shutter release half-way triggers recording and saving images to the buffer memory. An icon displays in the LCD that lets you know that recording has begun. Pressing the shutter release home also captures the desired shot, and the camera then compares it with the frames captured before the shutter button was fully depressed.
The camera selects what it calculates are the best five shots, based on composition and sharpness, and writes them to the memory card. While this can be useful, the camera is tied up processing and comparing the images for a couple of seconds after shooting.

Given Nikon's history in the photographic market, you would expect it to know a thing or two about camera design and control layout, and while the J1 is easy to use, Nikon DSLR users should expect a few differences. In shutter and aperture priority mode, for example, exposure is changed using a small switch that protrudes from the camera's back just above the mode dial. In manual mode, this switch is used in combination with the multi-control dial below the thumb rest. Both controls are quick and easy to use.
When the AF area mode is set to Single Point or Subject Tracking (via the menu), the active AF point is selected by pressing the OK button at the centre of the multi-controller dial and then using the navigation controls to set the desired spot.
It's straightforward, but it's a measure of the pace of change in the digital camera market that we're disappointed that the Nikon J1 doesn't have a touchscreen to enable faster, more intuitive AF point selection.
On the subject of the screen, the Nikon J1's 460,000 dot 3-inch LCD provides a decent view of the scene being composed, even in quite bright light. The viewing angle is also very wide both vertically and horizontally, but it's not quite as convenient to use as an articulated screen when shooting from awkward angles.
Another omission is an electronic level. These are becoming more commonplace in cameras these days, and while the Nikon J1 has a grid view to aid composition, a level makes it easier to ensure the horizon is level, whatever angle you are shooting from.
Although it's possible to set specific sensitivity settings via the Nikon J1's menu, when moving quickly between areas with different light levels it's useful to use one of the three automatic settings. The widest range is ISO 100-3200, and the camera can usually be relied upon to use the lowest value possible, but for those who want to make sure, ISO 100-800 and ISO 100-400 options are also available.
Overall, the Nikon J1 feels very nicely put together, and it has a reasonably good balance of menu and button-accessed controls, but it is likely to hold more appeal for the seasoned digital camera user than for traditionalists.
