Resident Evil PC games are playable again, after Capcom accidentally broke them
Whoops!

Sign up for breaking news, reviews, opinion, top tech deals, and more.
You are now subscribed
Your newsletter sign-up was successful
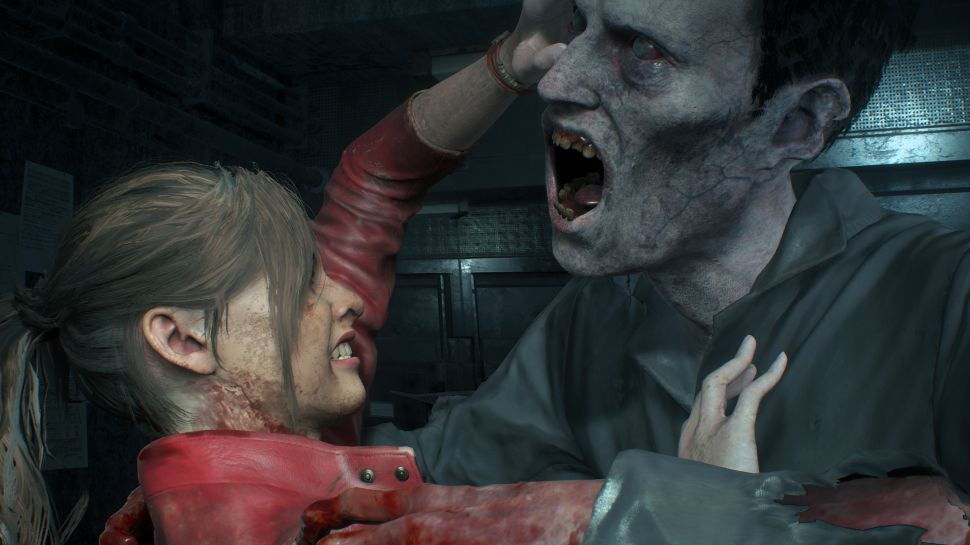
Capcom has reversed the recent upgrade patches made to the PC versions of Resident Evil 2, 3 and 7, after many players found they were no longer able to play the games.
Capcom announced the reversal to the Resident Evil 2 Remake, Resident Evil 3, and Resident Evil 7 updates in a Steam post. Now, both pre- and post-upgrade versions of the games will be available to play (thanks, Eurogamer).
The updates were originally introduced to coincide with the release of the games’ PS5 and Xbox Series X next-gen upgrades. The patches include several graphical improvements, added support for 4K resolutions and ray tracing, and improved framerates.
However, those enhancements raised the games' PC hardware requirements. Many players who had been running the titles on rigs touching the minimum specs found they were no longer able to after the upgrade, effectively finding themselves locked out of the games that they'd already purchased. As PCGamesN highlights, the update made DirectX 12 a requirement, too, which is only available on PCs running Windows 10 or Windows 11.
Capcom has now acknowledged the problems and reactivated the older versions of the titles. In the steam post it said: “Due to overwhelming community response, we've reactivated the previous version[s] that does not include ray tracing and enhanced 3D audio. Both enhanced and previous versions will be made available going forward.”
How to reactivate the previous versions

If you were caught in the crossfire of graphical upgrades and have found you’re no longer able to play the Resident Evil titles on PC, you’re in luck. It’s not too tricky to roll back to the previous versions of the games, as Capcom has provided step-by-step instructions.
First, you’ll need to boot up Steam. Then simply follow the steps below:
Sign up for breaking news, reviews, opinion, top tech deals, and more.
- Navigate to your Steam library
- Right-click the game and select Properties.
- In the pop-up menu, select Betas
- From the pull-down menu, select "dx11_non-rt" (you don’t need to enter a password)
- Close the pop-up menu and let the Steam client auto-update the game
That’s it. You now should be able to launch the game in its pre-upgrade state. If you ever want to update the game to its new version – after picking up on the best GPUs currently around, say – you can simply go back into the Betas menu, and select “None” from the dropdown menu.

Callum is TechRadar Gaming’s News Writer. You’ll find him whipping up stories about all the latest happenings in the gaming world, as well as penning the odd feature and review. Before coming to TechRadar, he wrote freelance for various sites, including Clash, The Telegraph, and Gamesindustry.biz, and worked as a Staff Writer at Wargamer. Strategy games and RPGs are his bread and butter, but he’ll eat anything that spins a captivating narrative. He also loves tabletop games, and will happily chew your ear off about TTRPGs and board games.