How to set up a home photo studio
A home photo studio doesn't have to be overly complicated
Sign up for breaking news, reviews, opinion, top tech deals, and more.
You are now subscribed
Your newsletter sign-up was successful
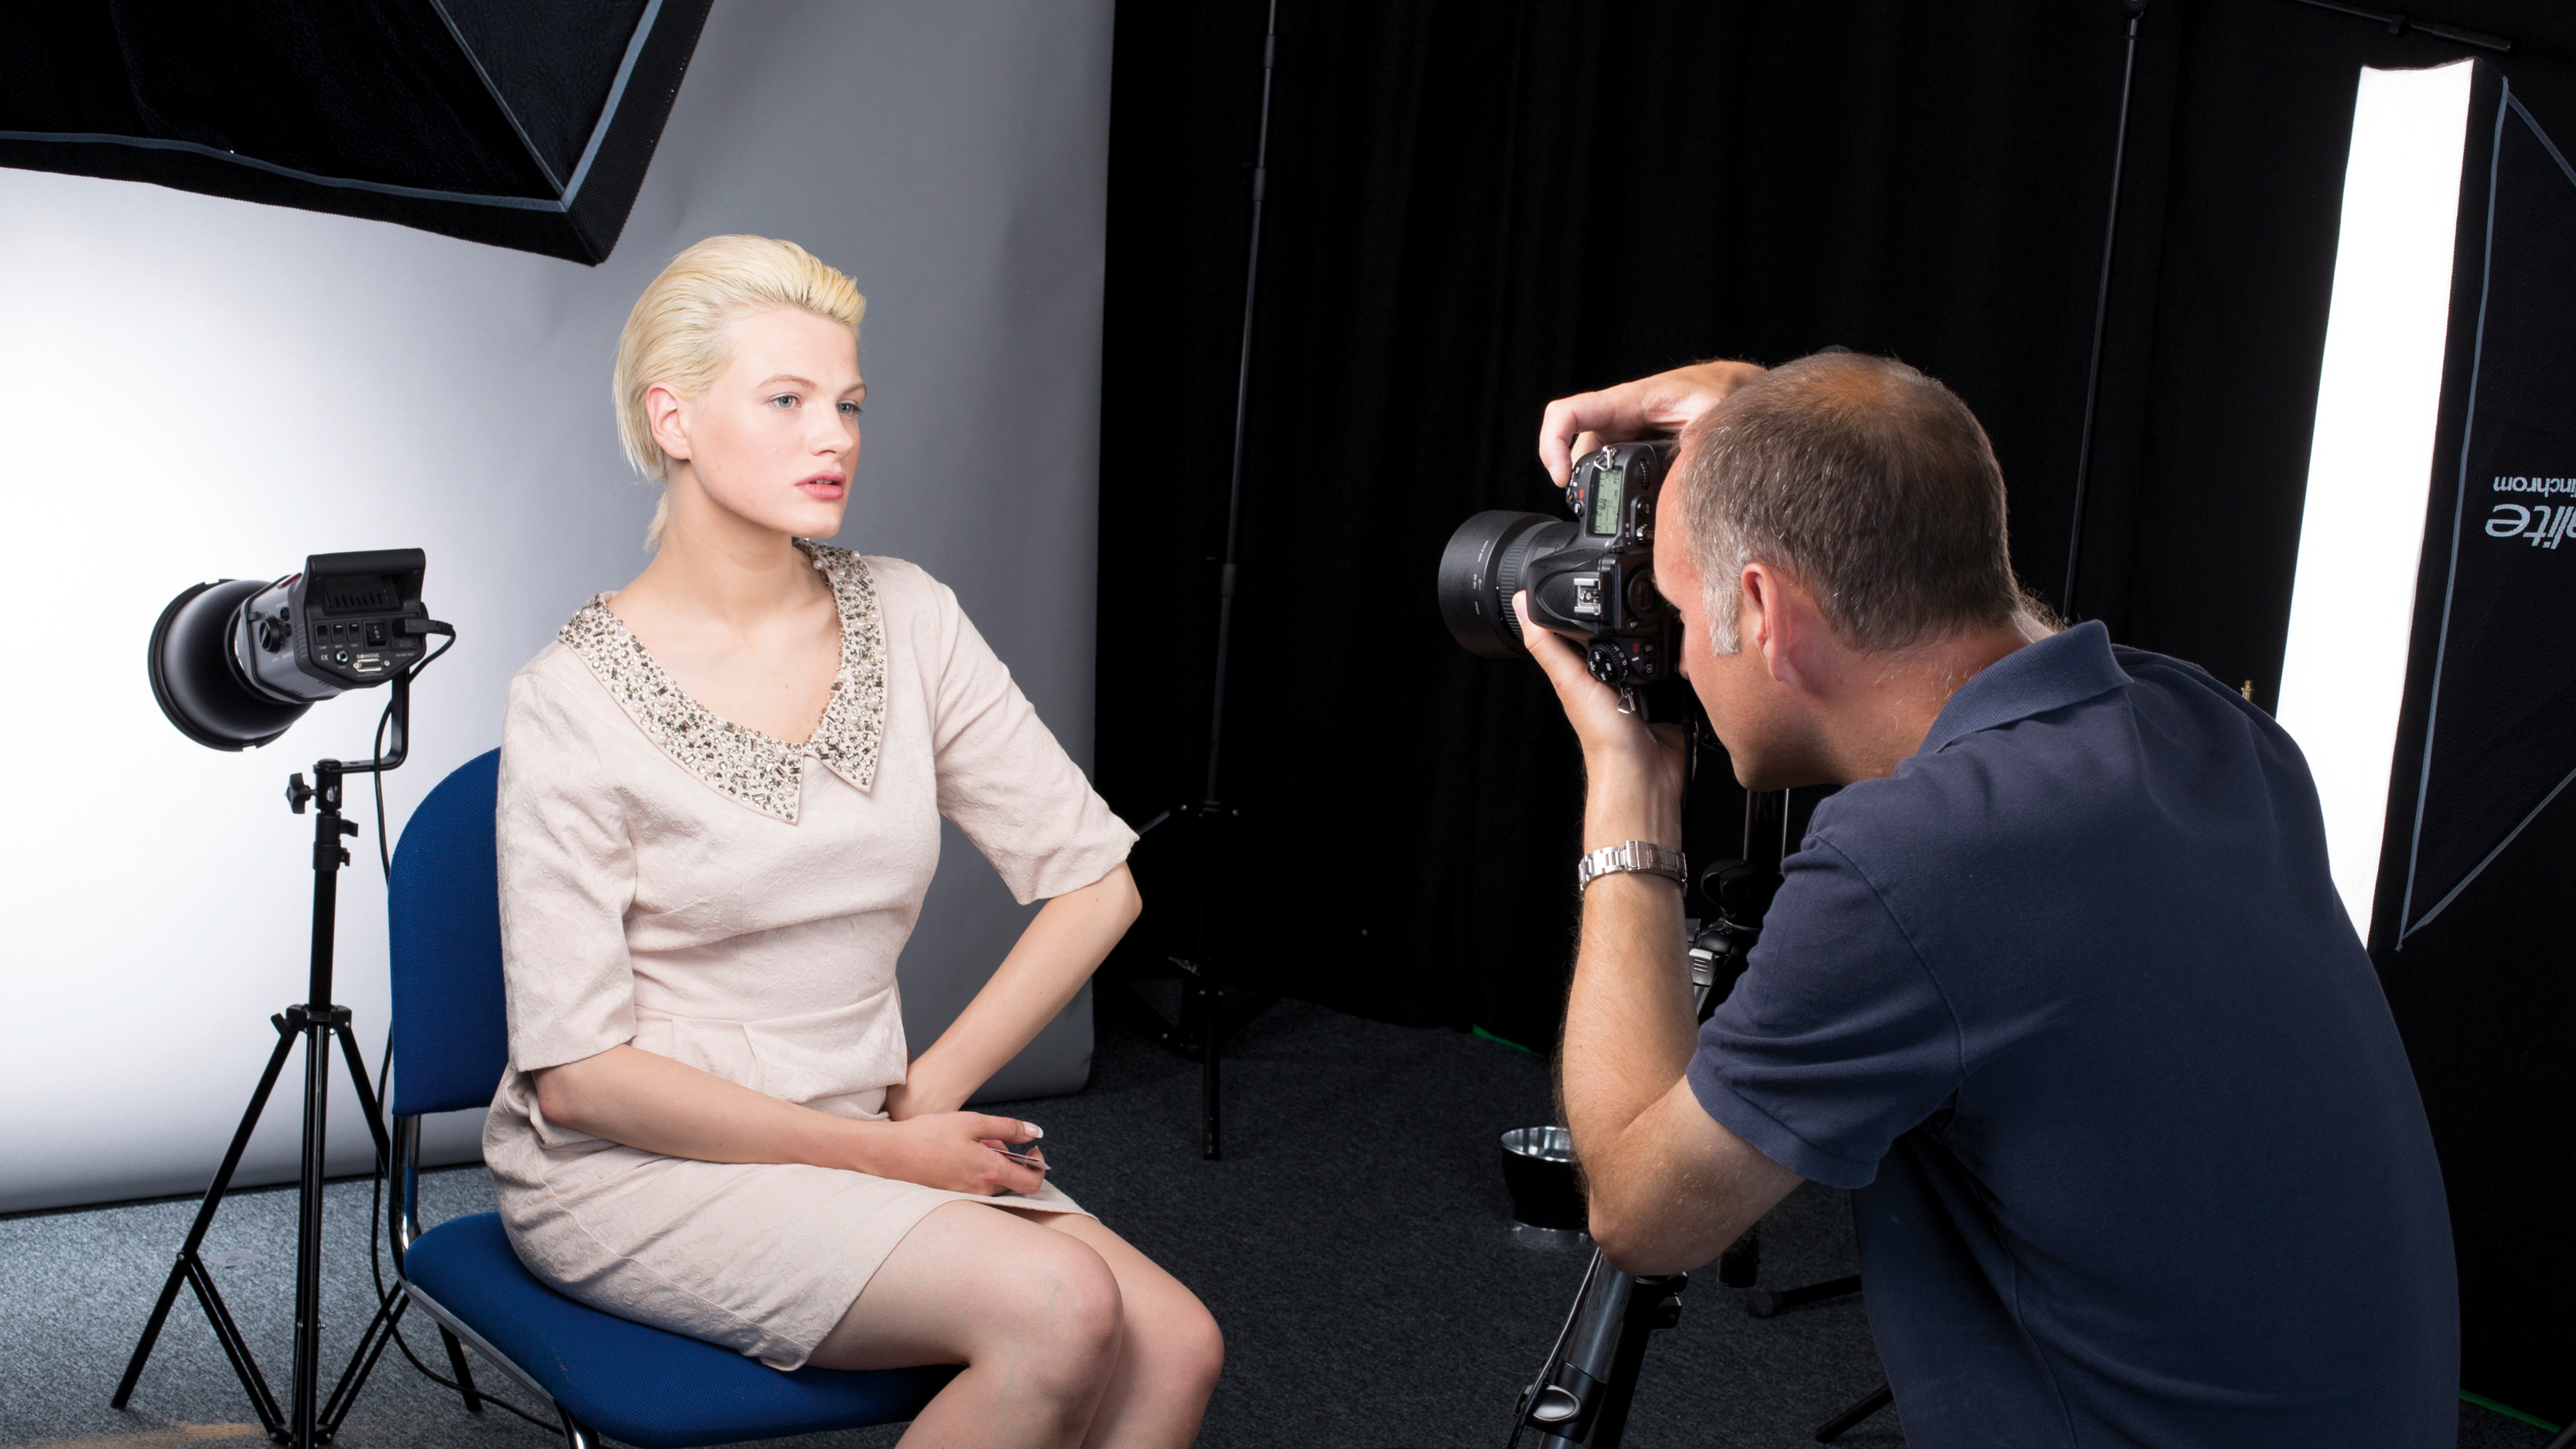
While you can shoot portraits in almost any location, having your own home photo studio can makes it easier to control the lighting, background and style of your images.
The thought of setting up a home studio with lights can seem a scary prospect though. But relax, studio flash is no black art, just a combination of basic lighting principles and camera skills, while the kit you need has got much cheaper and easier to use. And it’s entirely up to you what kit you buy and how much you spend. You can get away with using a large polystyrene board as a reflector, or fork out for an almost life-size softbox.
Presuming you’re eager to save money, the best place to start is with a home studio flash kit. A kit like this offer a range of benefits. First, it gives you control over the exposure. The high flash power means that you can use lower ISOs and consequently produce images with less noise.
Second, a studio flash kit effectively gives you control over depth of field, as increasing or decreasing the power lets you open or close your aperture.
The biggest advantage, however, is the control that studio flash gives you over the quality of light. You can choose whether it’s diffuse or harsh, spread wide or in a narrow beam, and you can choose to have it emitting from any angle.
Studio essentials
It’s great news that there’s so much studio kit available for use in the home at an affordable price. The only downside is that it can be difficult to figure out which bit does what. Here are some common studio items, with an explanation of what they do…
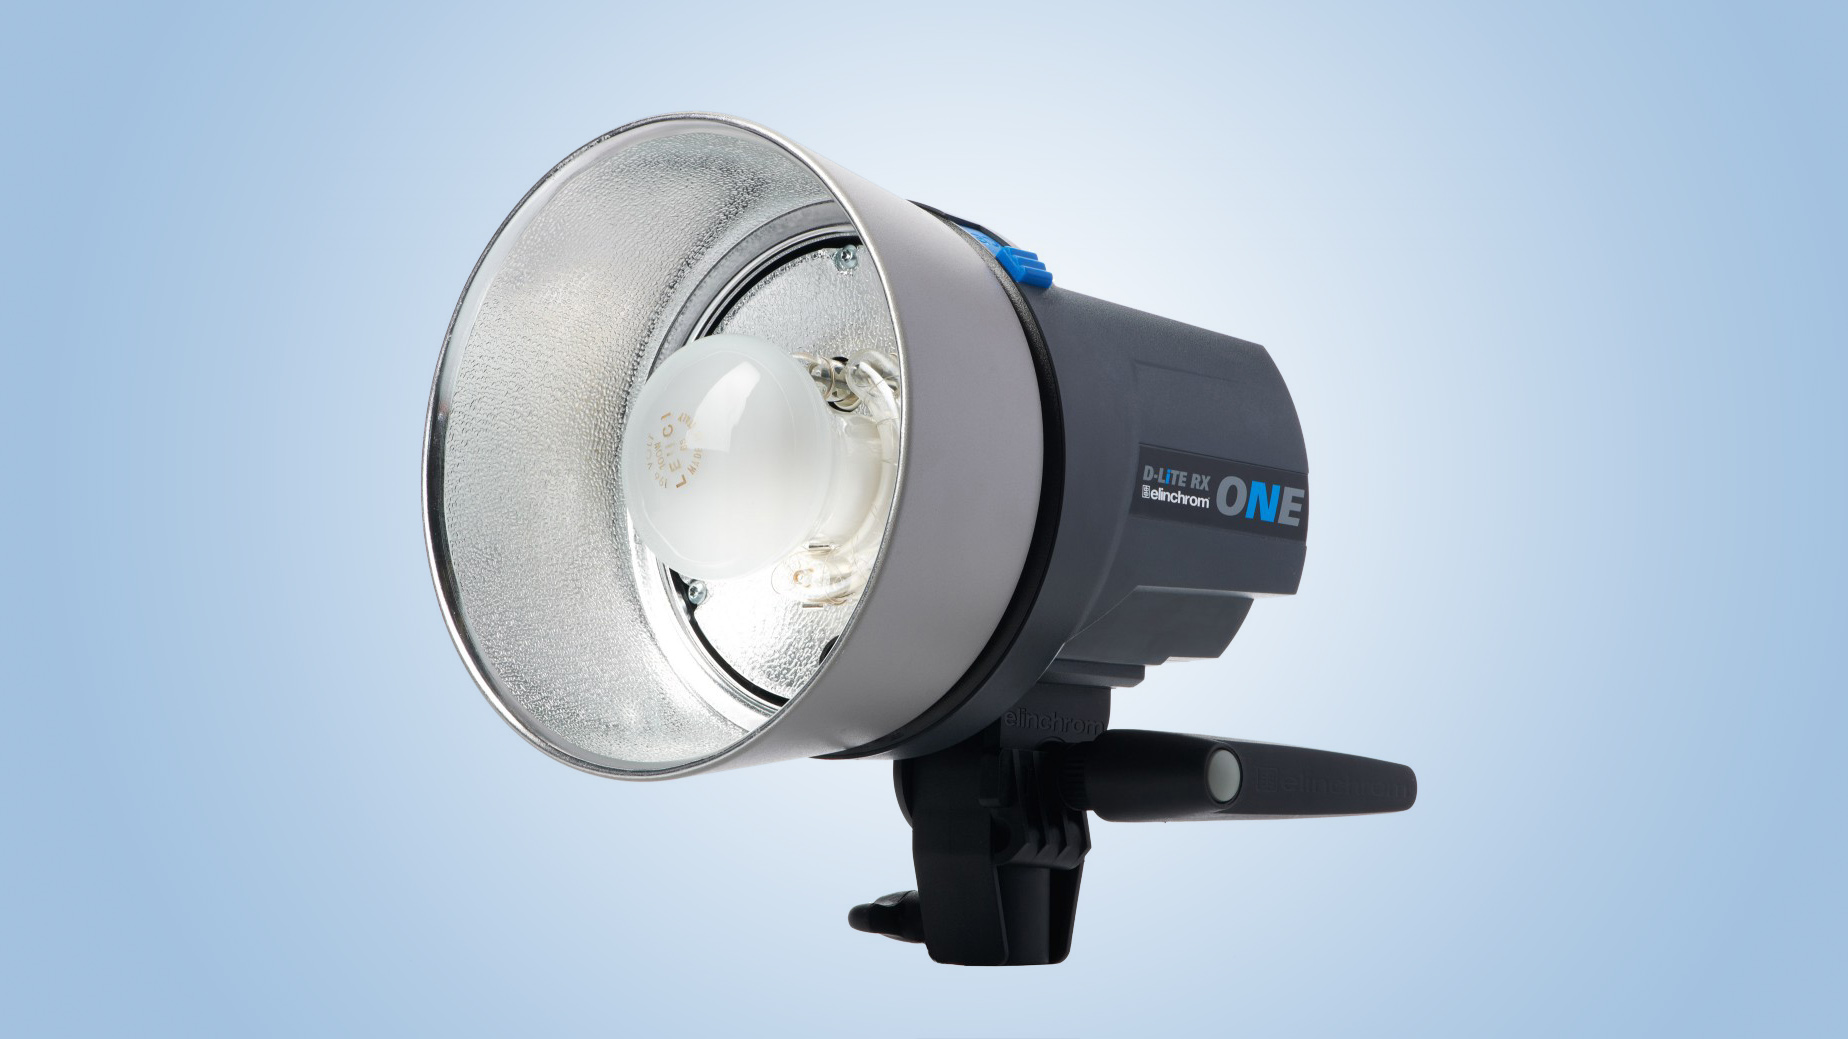
1. Flash head
Also known as a strobe, flash heads normally come as a pair when you buy a home studio flash kit. Flash heads usually feature a built-in modelling light that is constantly on, so you can see where the shadows fall. Most have a switchable ‘slave’, enabling one flash to be triggered by another, so you only need to have your camera connected to one of the heads.
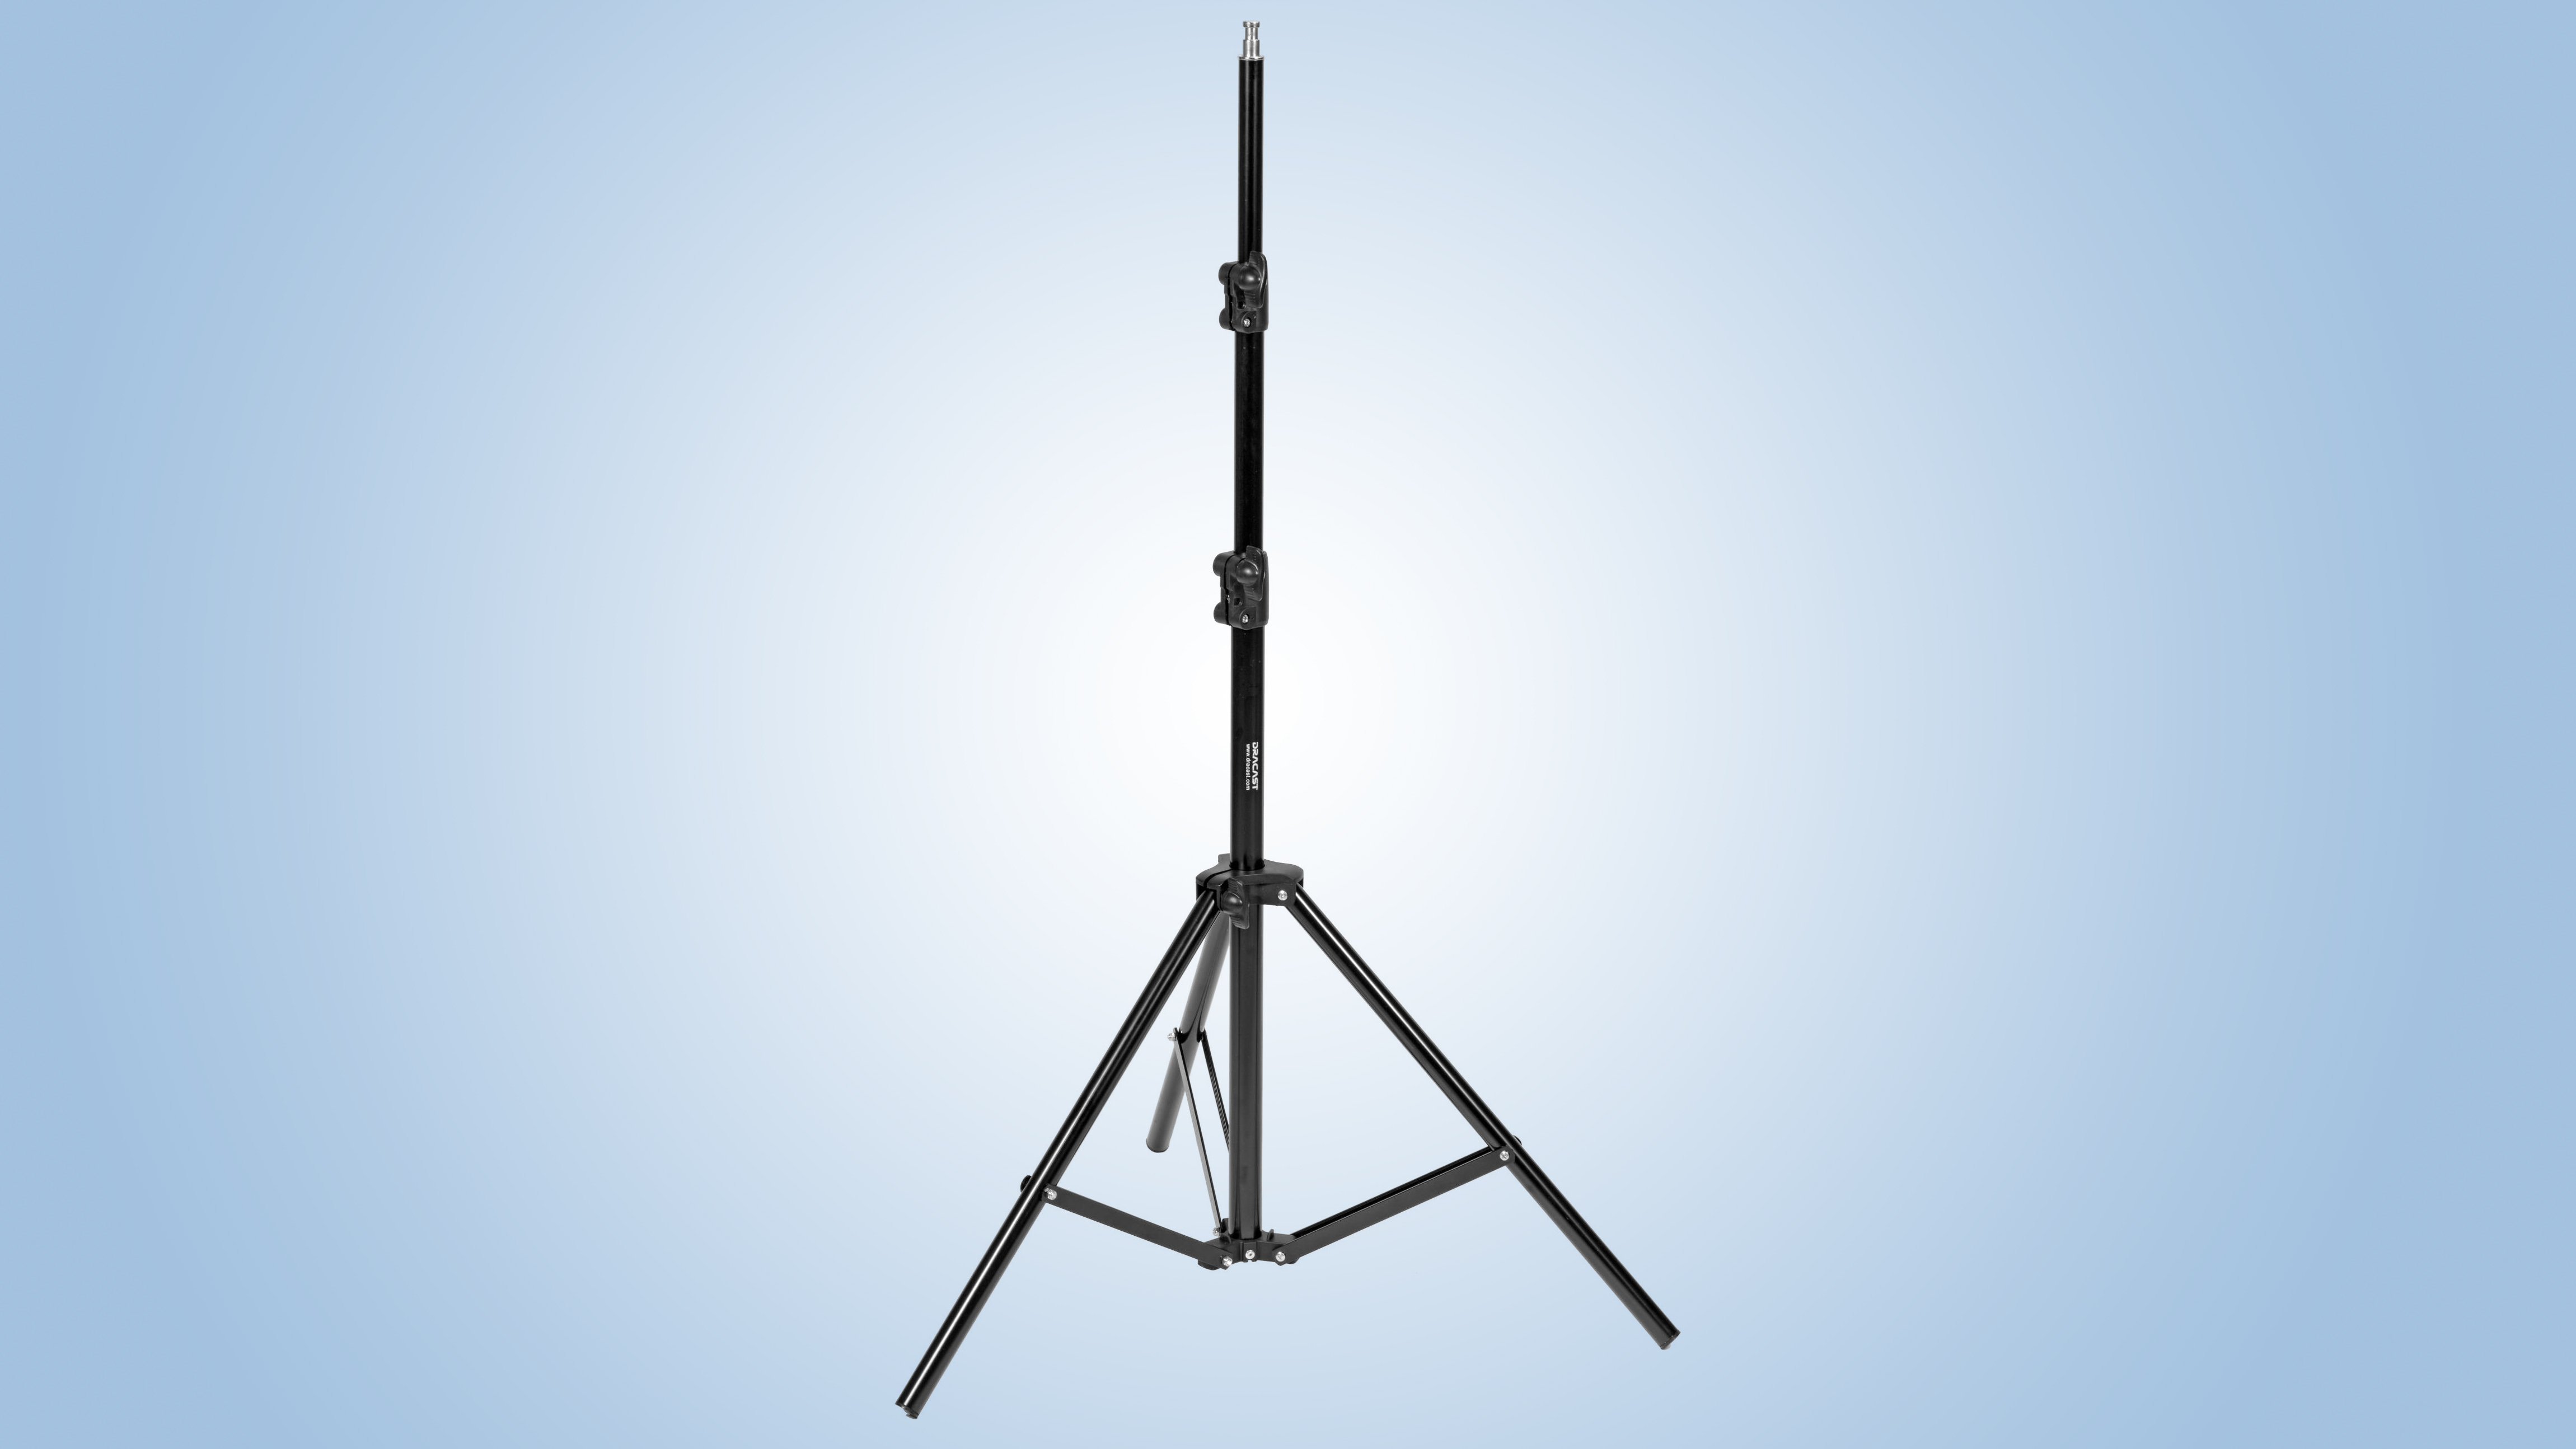
2. Light stands
Studio flash is all about positioning the light source away from the camera, so stands are crucial. They support the flash heads, which means they can be positioned at the right distance and angle to the subject.
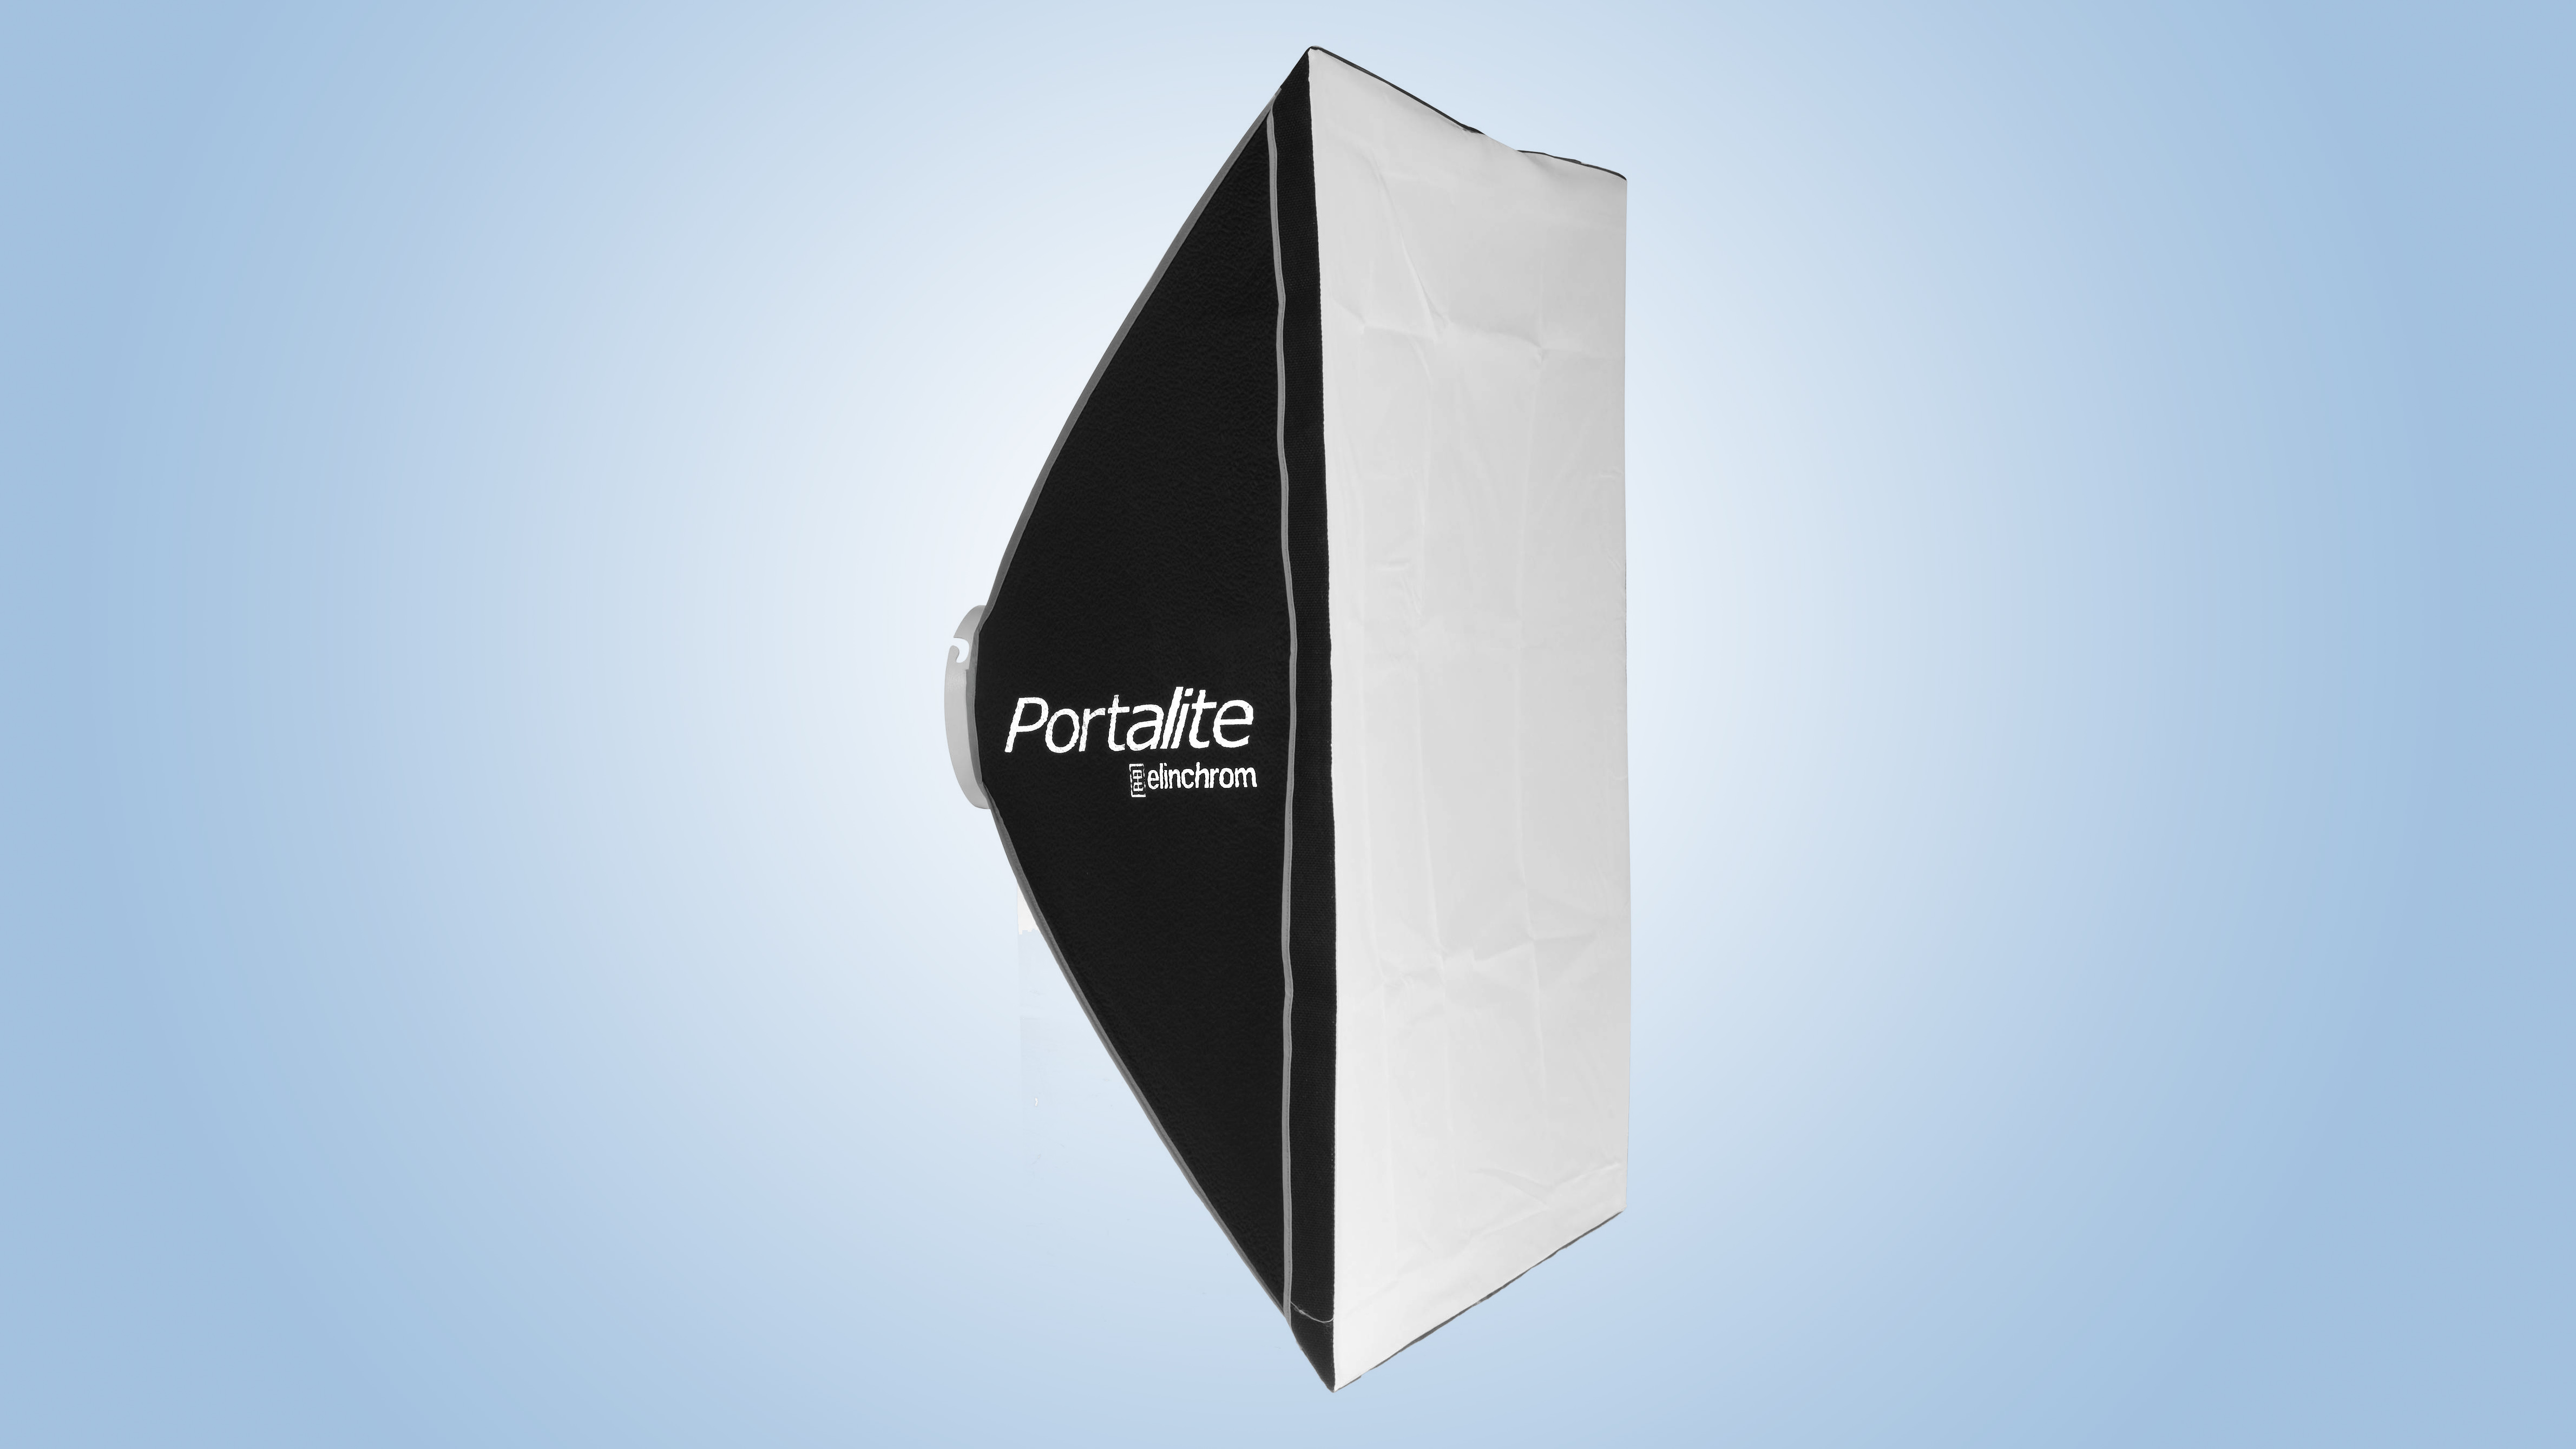
3. Softbox
This is a huge diffuser that mounts directly onto the flash head. It’s sealed with internal reflective surfaces so that the light can only exit through the diffused panel at the front, which spreads and softens the light falling on the subject.
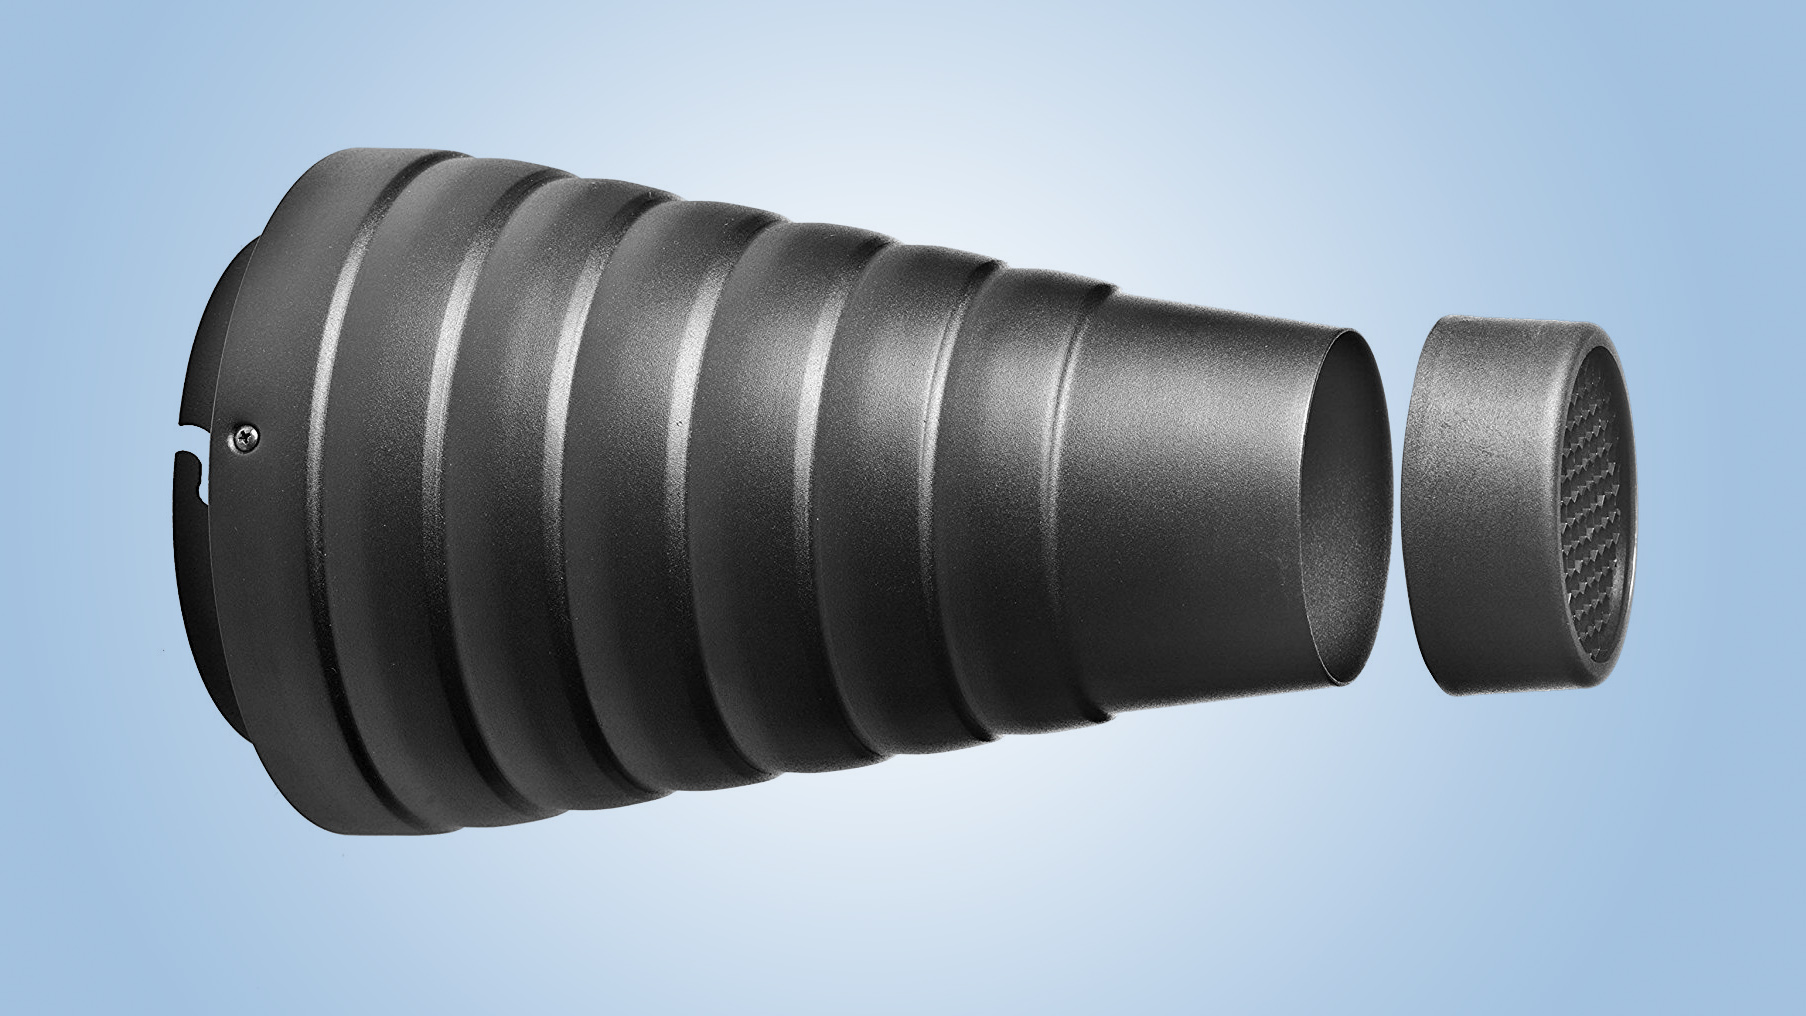
4. Snoot and honeycomb
A snoot does the opposite of a softbox, concentrating and reducing the spread of light falling on a subject. It mounts onto the flash head like a reflector/spill kill, but has a very narrow opening for light to escape through, creating a spotlight effect. A honeycomb fits into a snoot or reflector/spill kill and narrows the light beam further.
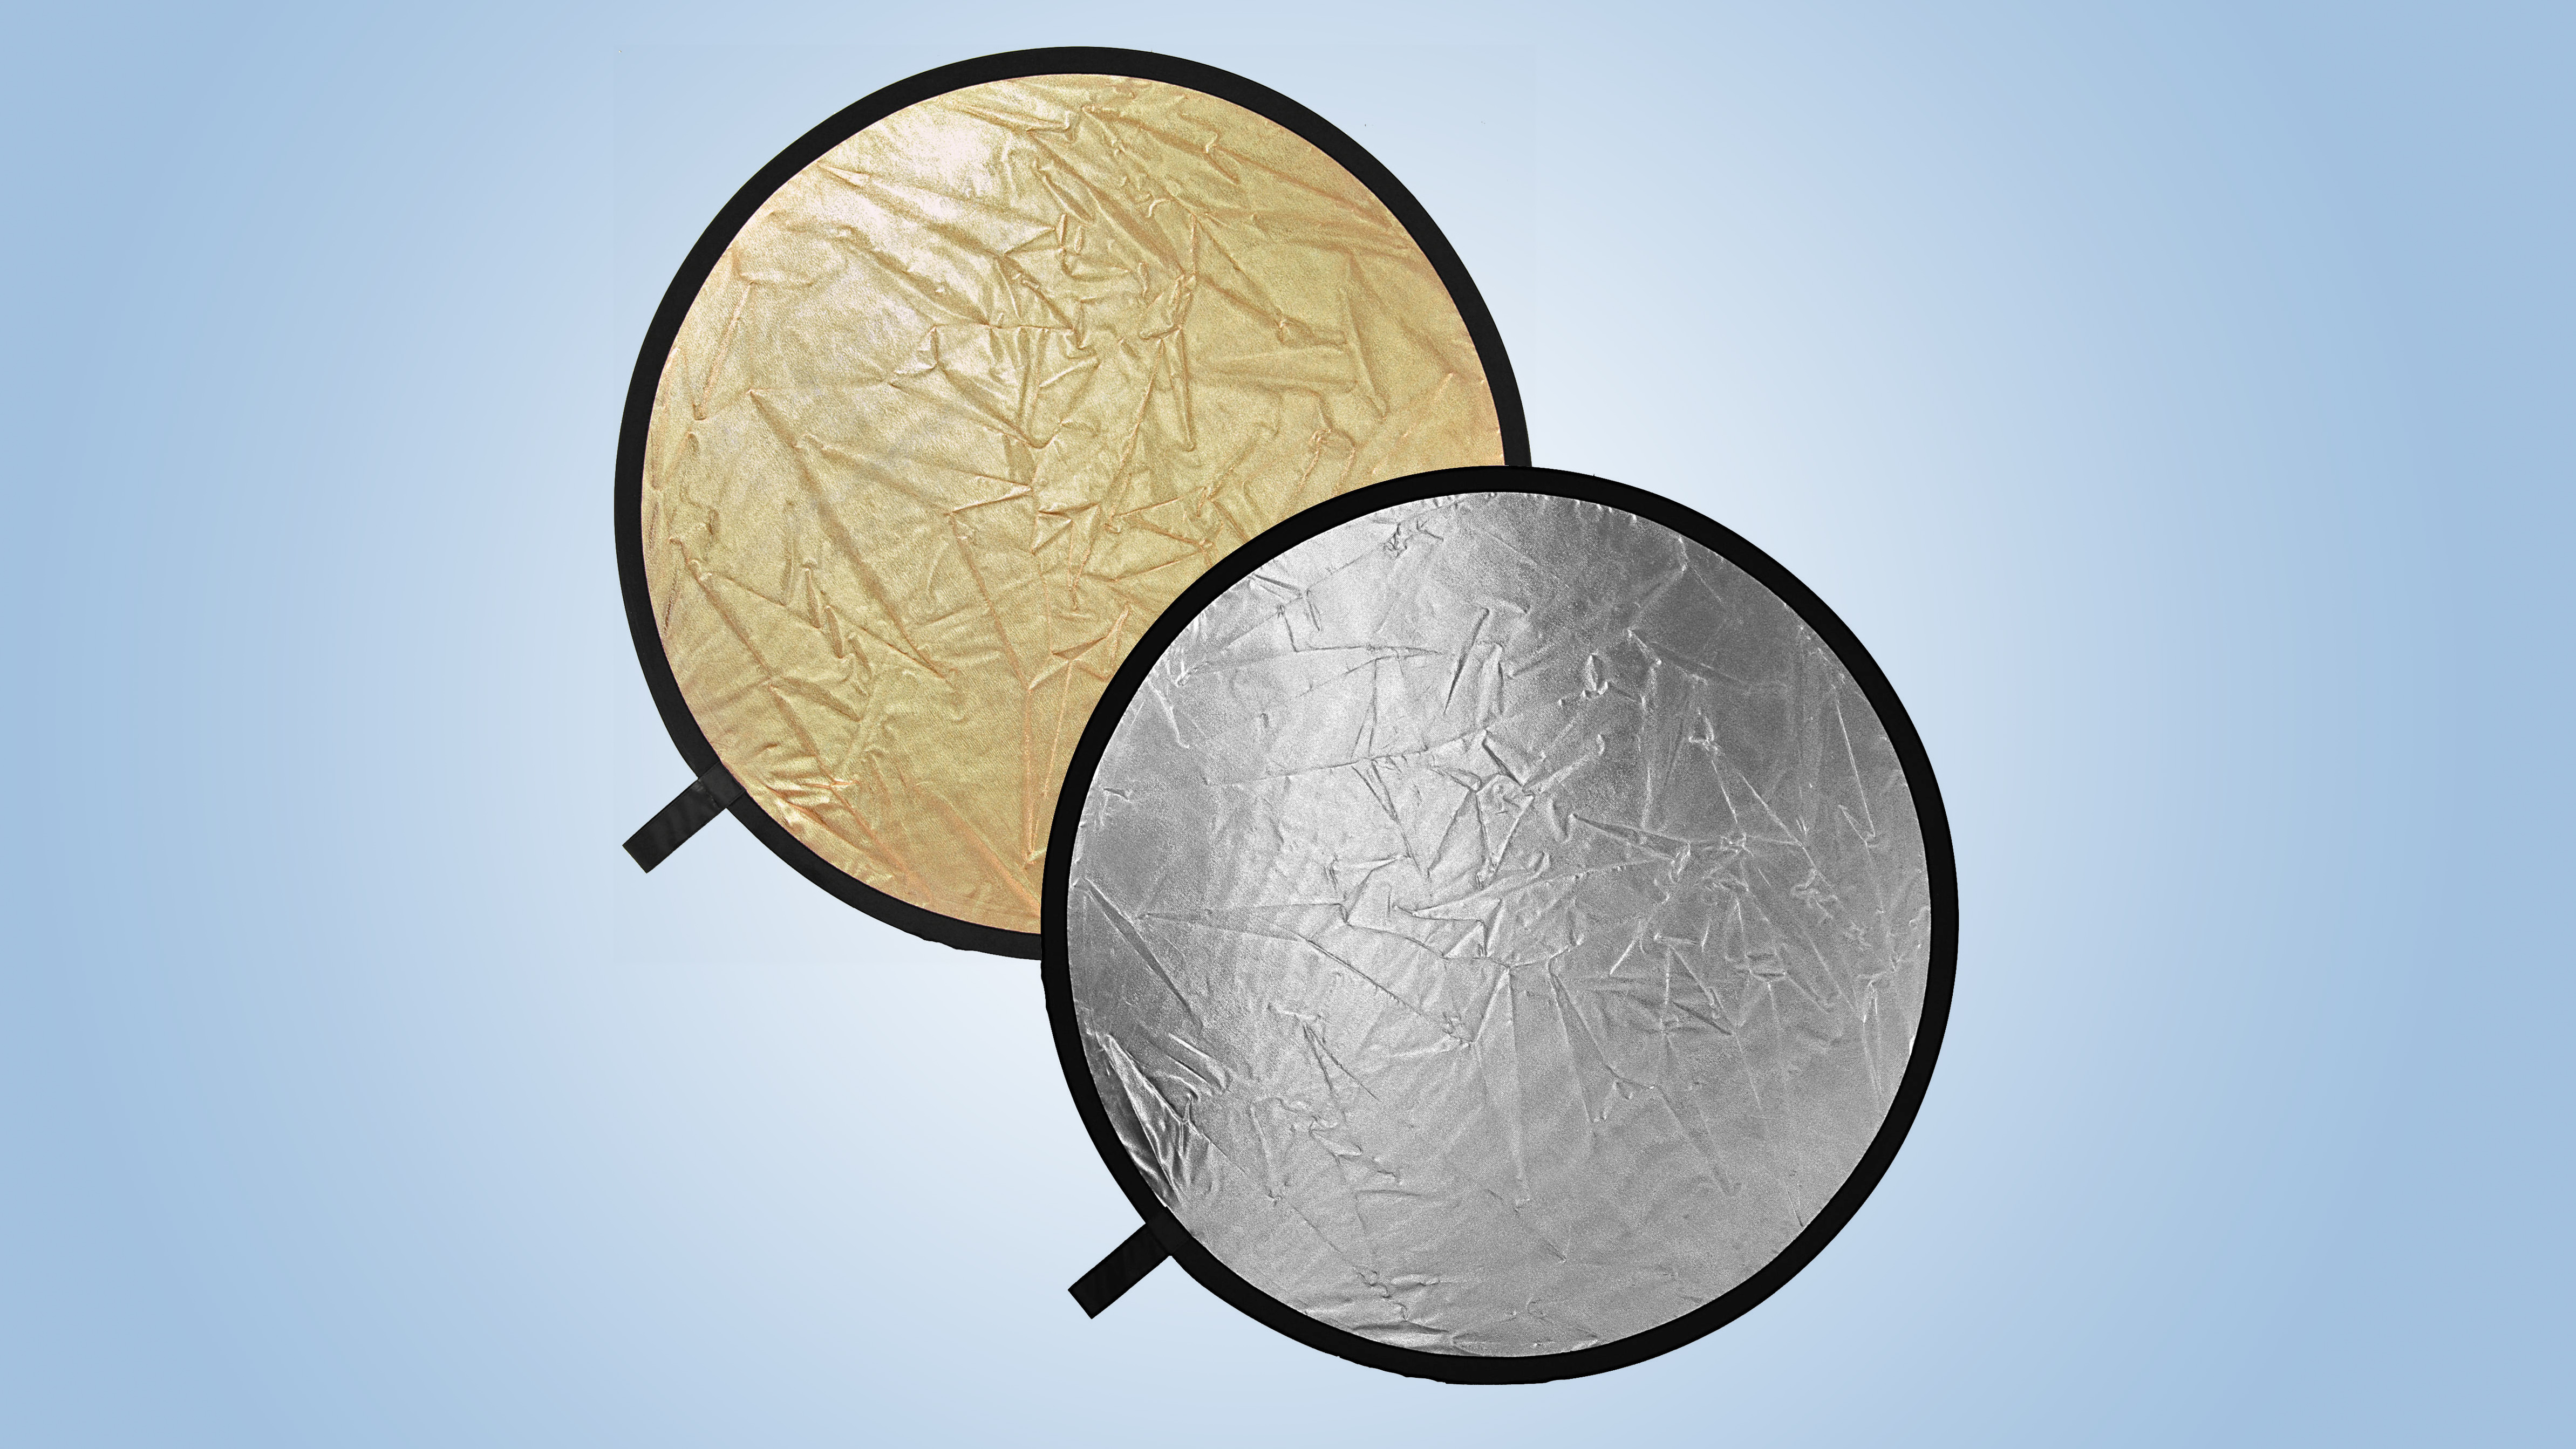
5. Reflector
Bounces diffused light back towards the shadow areas on a model. Use a plain white one to avoid color casts. Also consider one with a light absorber (black!) on the back, to help achieve a high-contrast look.
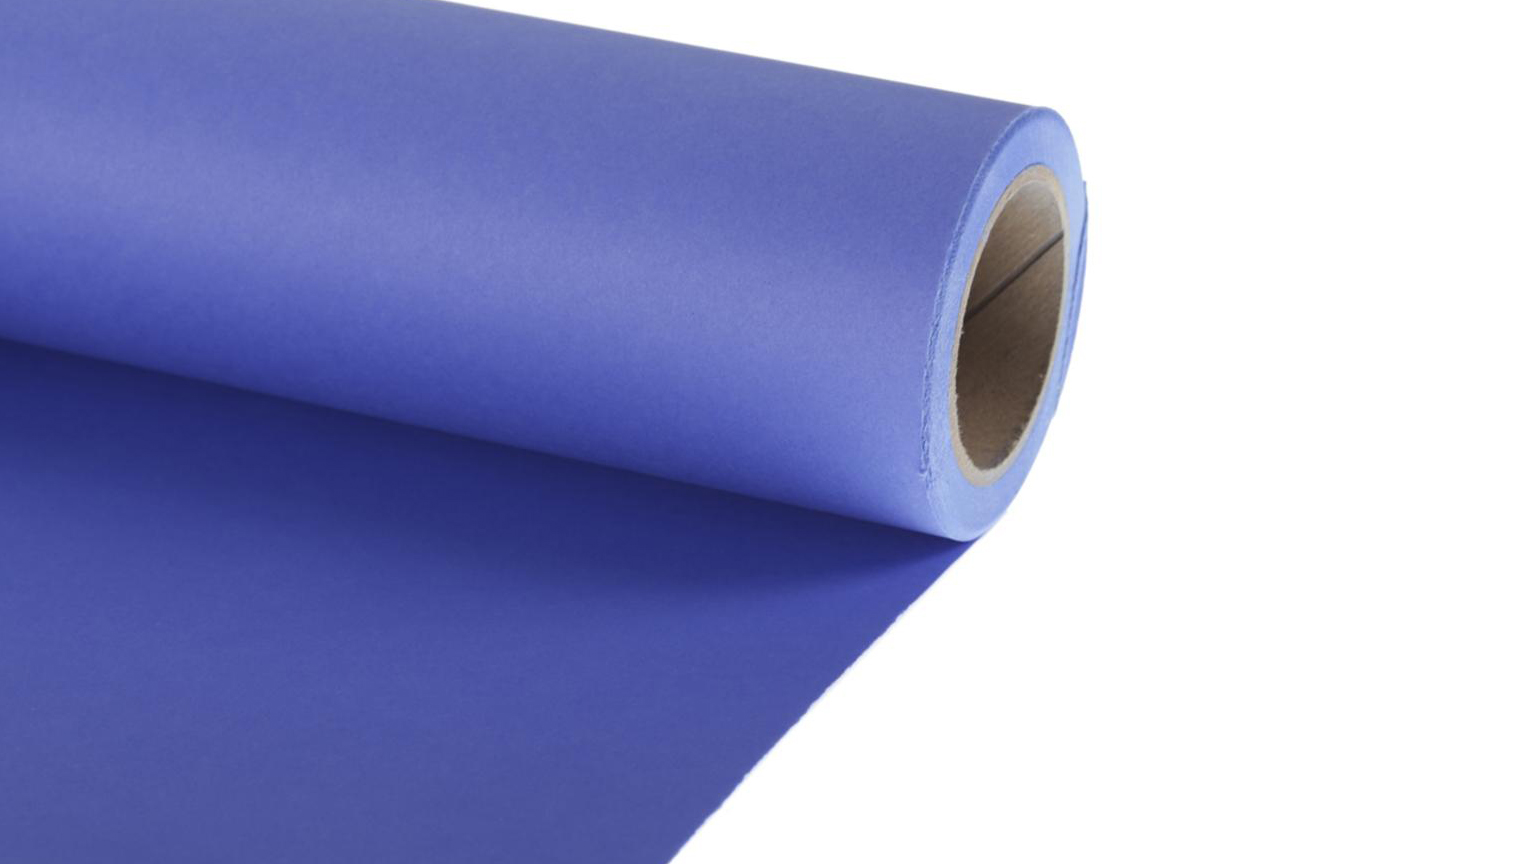
6. Backdrop
Most backdrops come in the form of a roll of paper. They're available in a variety of sizes and colors. You'll need support stands and a pole to keep the backdrop in place. If you don't have one, try a large sheet or piece of fabric. Black velvet is a great choice, it has light-absorbing qualities and gives a nice rich black.
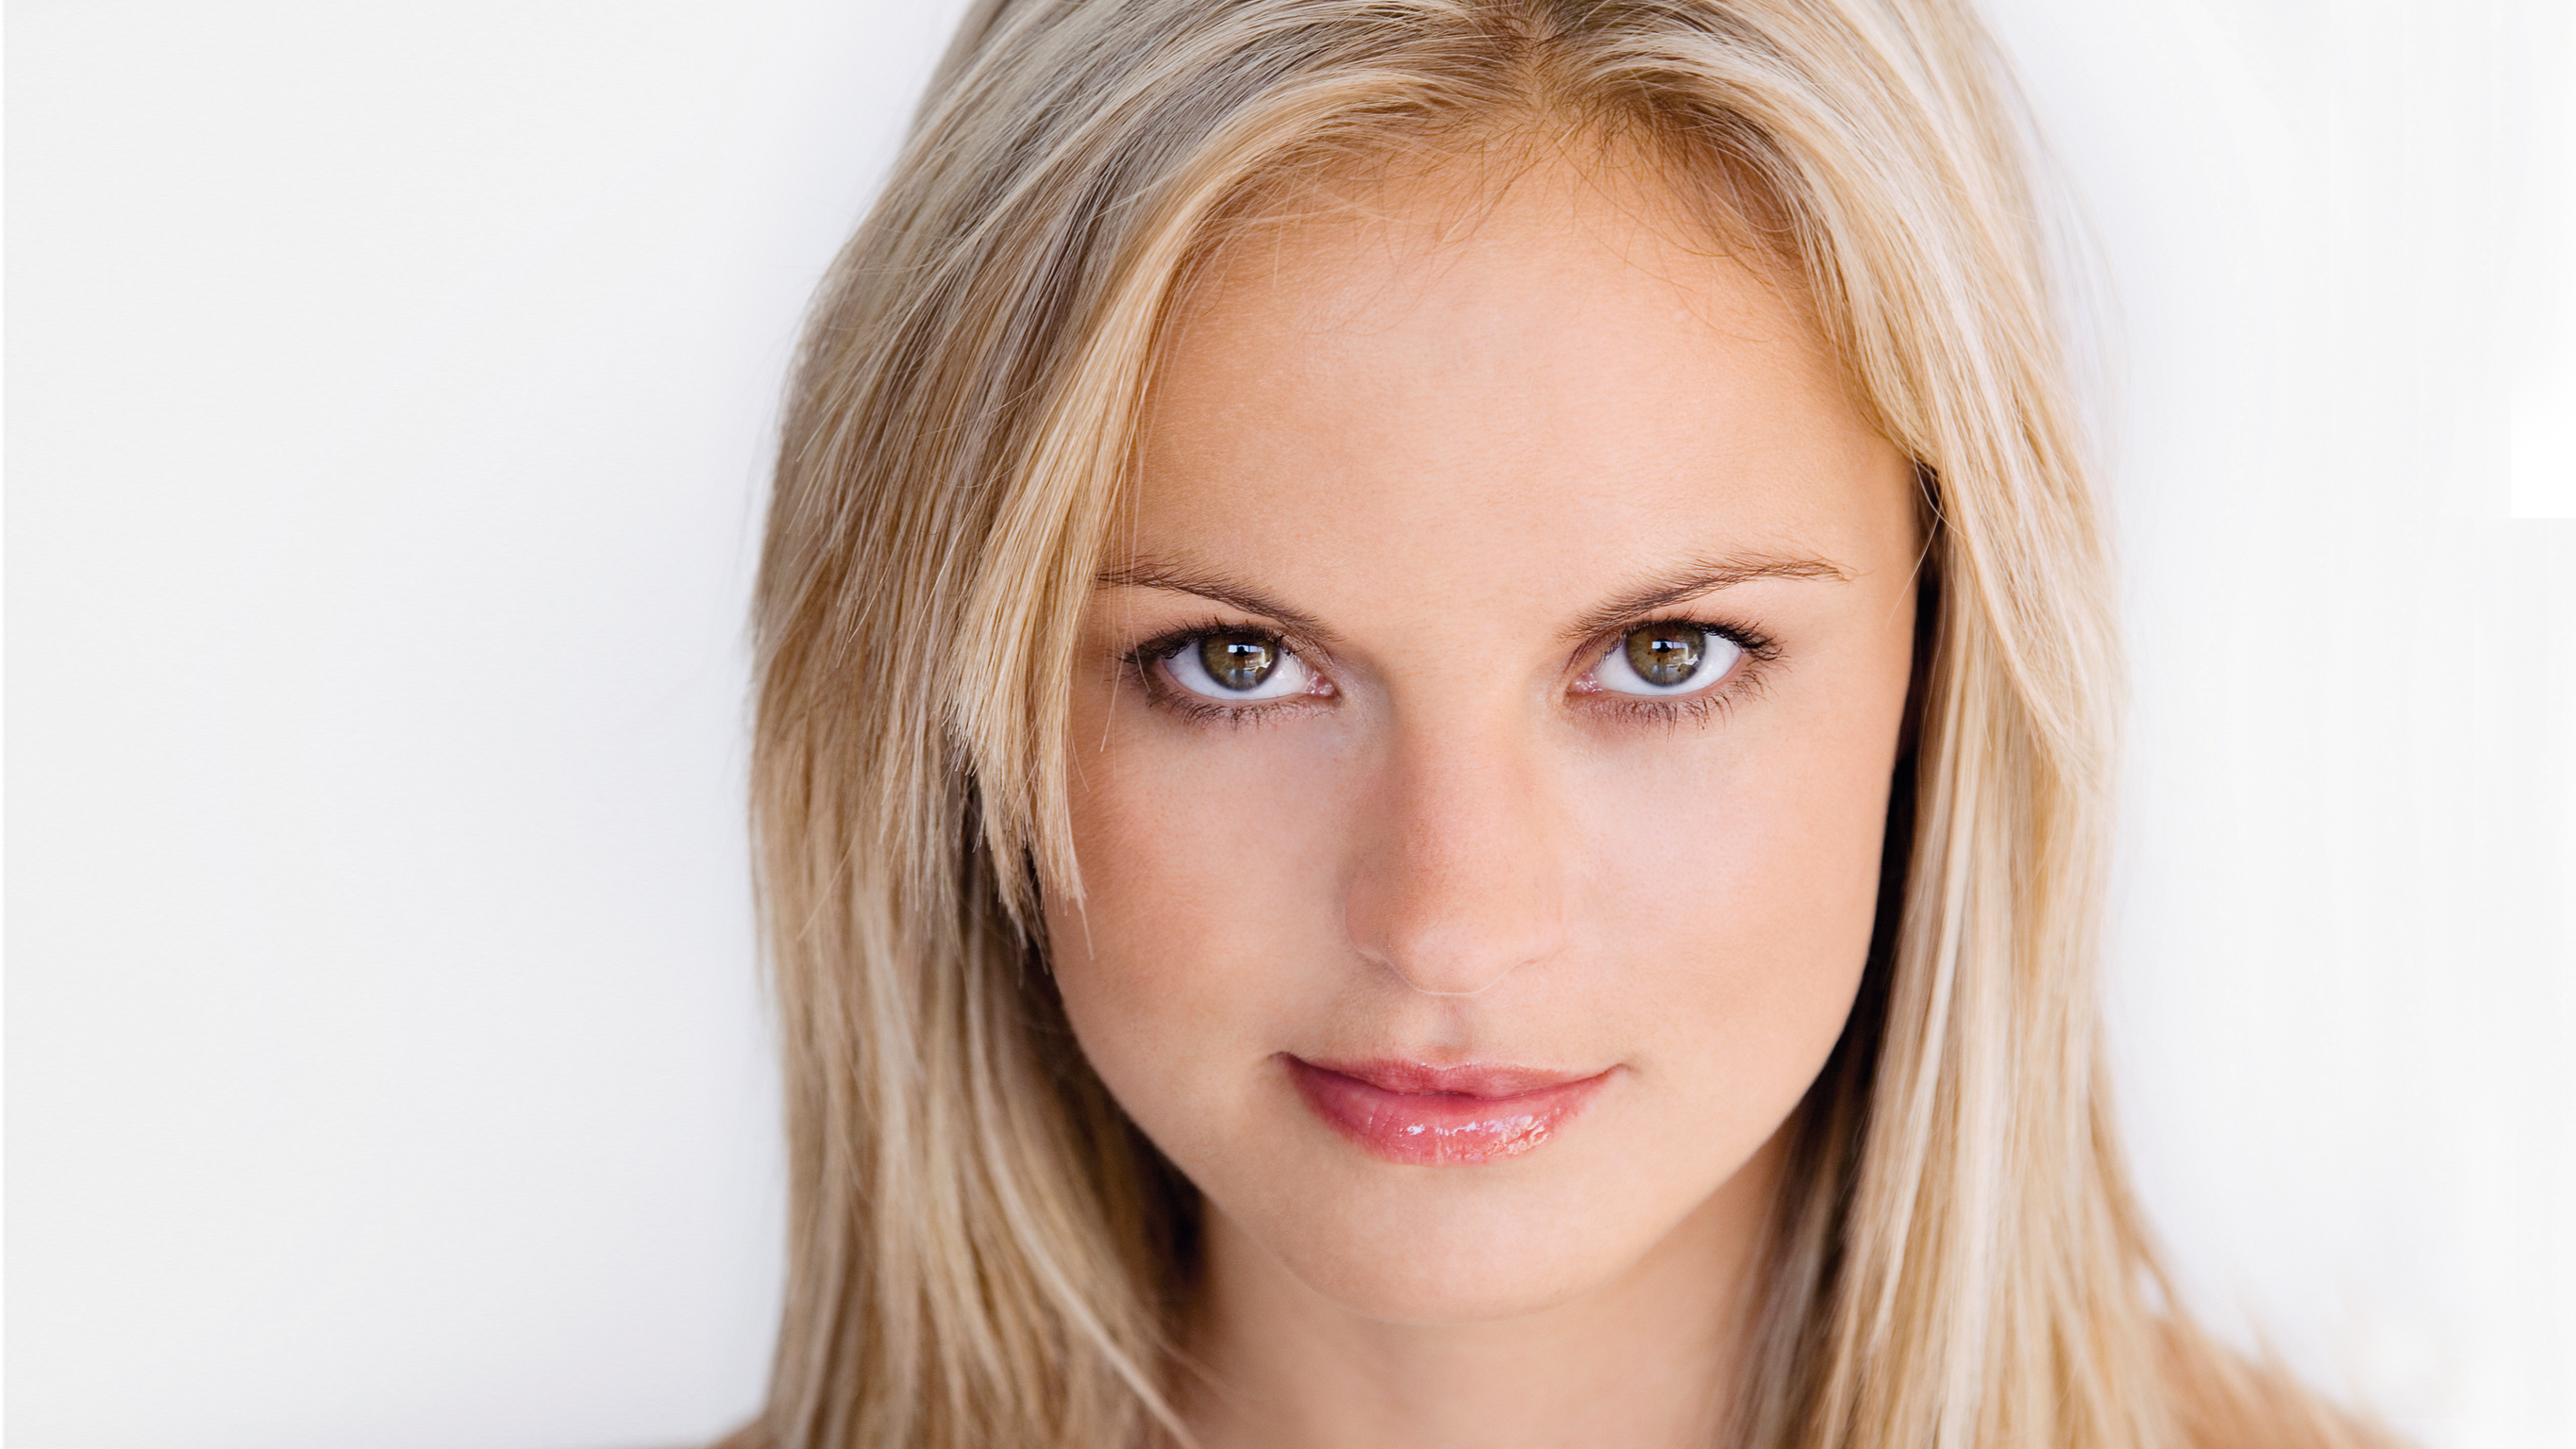
7. A model
If you don't have a friend or family member you want to photograph you can often find willing models via networking websites such as Model Mayhem and PurplePort. New models are keen to build their portfolios and increase their experience and so you can usually come to mutually agreeable arrangements - for a small fee or trading their time in exchange for use of your photos.
How do I fire the flash?
Traditionally, flash heads are fired by connecting a cable, called a PC cord, between the flash and the camera. When the shutter release is pressed, a signal travels from the camera to the flash and fires it. The modern method uses a wireless or infrared transmitter mounted on the hotshoe, with a receiver plugged into the flash head. The signal travels between camera and flash without cables. This is a much better way of working as there's no cable to trip over of restrict your movement. Some home studio flash kits come complete with their own flash trigger.
Sign up for breaking news, reviews, opinion, top tech deals, and more.
Pre-shoot checklist
Before your sitter arrives, make sure your studio area is set up perfectly and your camera settings are optimized for studio portraiture. Switch off all the tungsten/fluorescent lights, because they’ll affect the exposure and white balance. Take the same precautions for daylight by closing all the curtains/blinds and doors. Place the lights into position and tidy the cables away.
Set your camera to its Manual exposure mode. For the best starting point, use an exposure of 1/125 sec at f/8 – the shutter speed reduces the risk of camera shake and the aperture prevents ambient light exposing the frame.
Remember though that cameras have a maximum shutter speed they allow when using flash
Remember though that cameras have a maximum shutter speed they allow when using flash – this is sometimes called the ‘x-sync’. If you use a shutter speed faster than the x-sync when shooting with flash, the shutter begins to close before the flash has illuminated the subject fully and you end up with a black band across the image. Most cameras offer an x-sync of around 1/250 sec, but 1/125 sec is the safest option if you don’t want to dig out your camera manual.
Of course, you’ll also need to work at the lowest ISO setting for ultimate quality and use the Flash preset for white balance. Shoot in your camera’s raw file format for editing flexibility and choose single frame shooting, rather than the fastest drive mode setting – this will reduce the number of wasted exposures, as the flash heads take time to recharge.
Step-by-step: master the basics
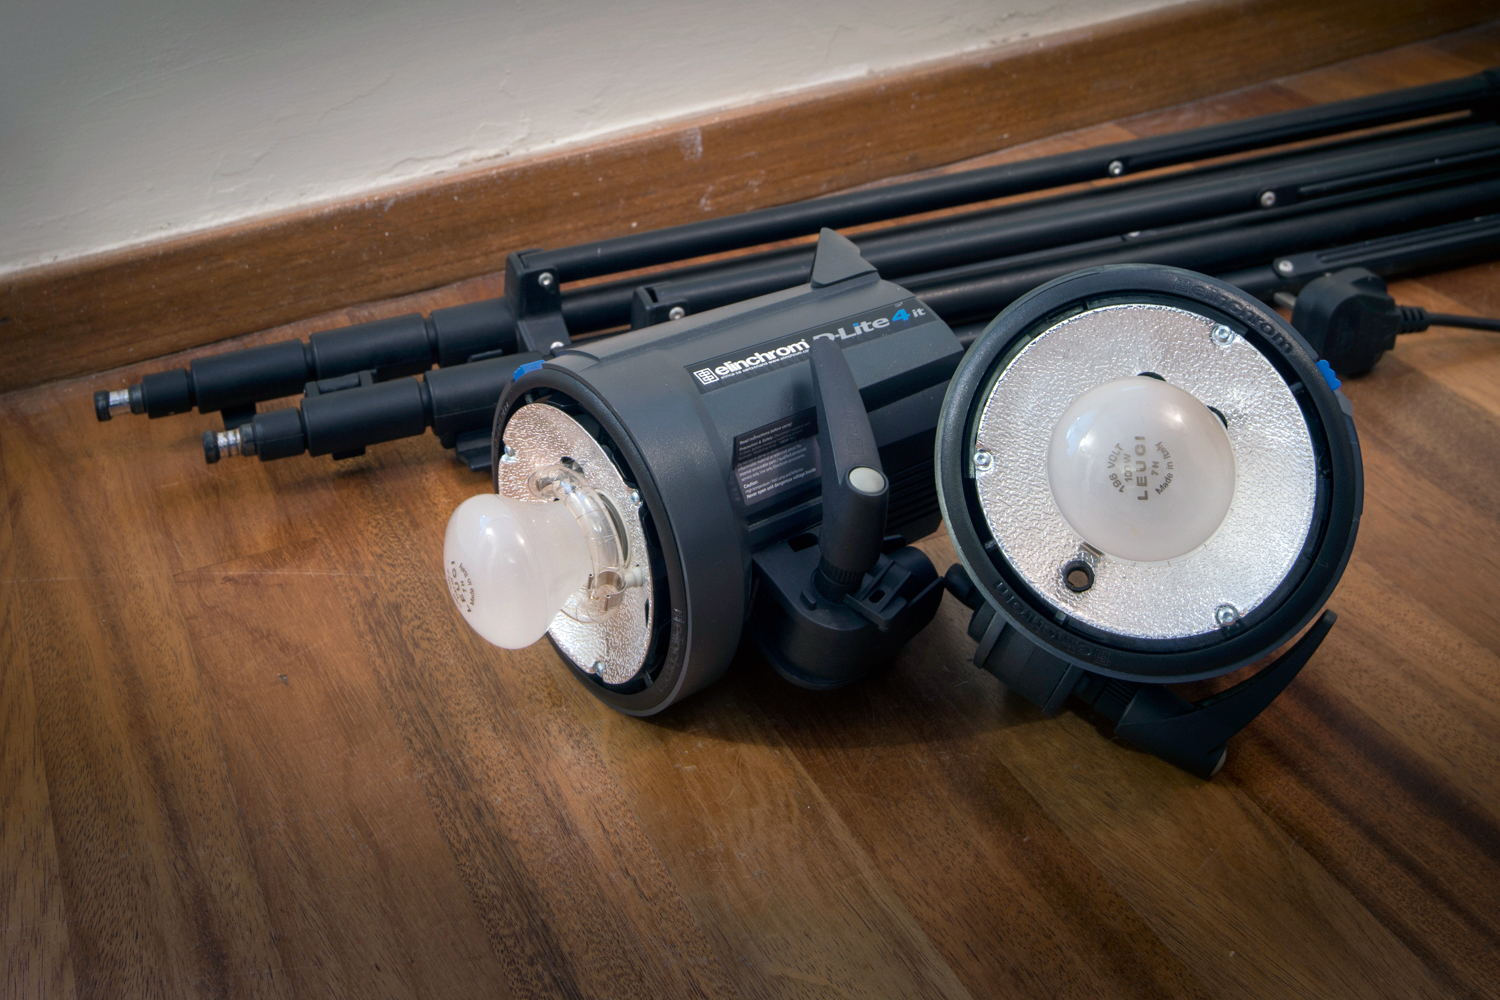
1. Get set up
A typical home studio kit includes two heads, stands and modifiers. The flash is triggered either with a sync cable or wireless triggers. Once the heads are on their stands, attach the sync cable to one light and set the other to Slave so that it goes off when it detects the first flash.
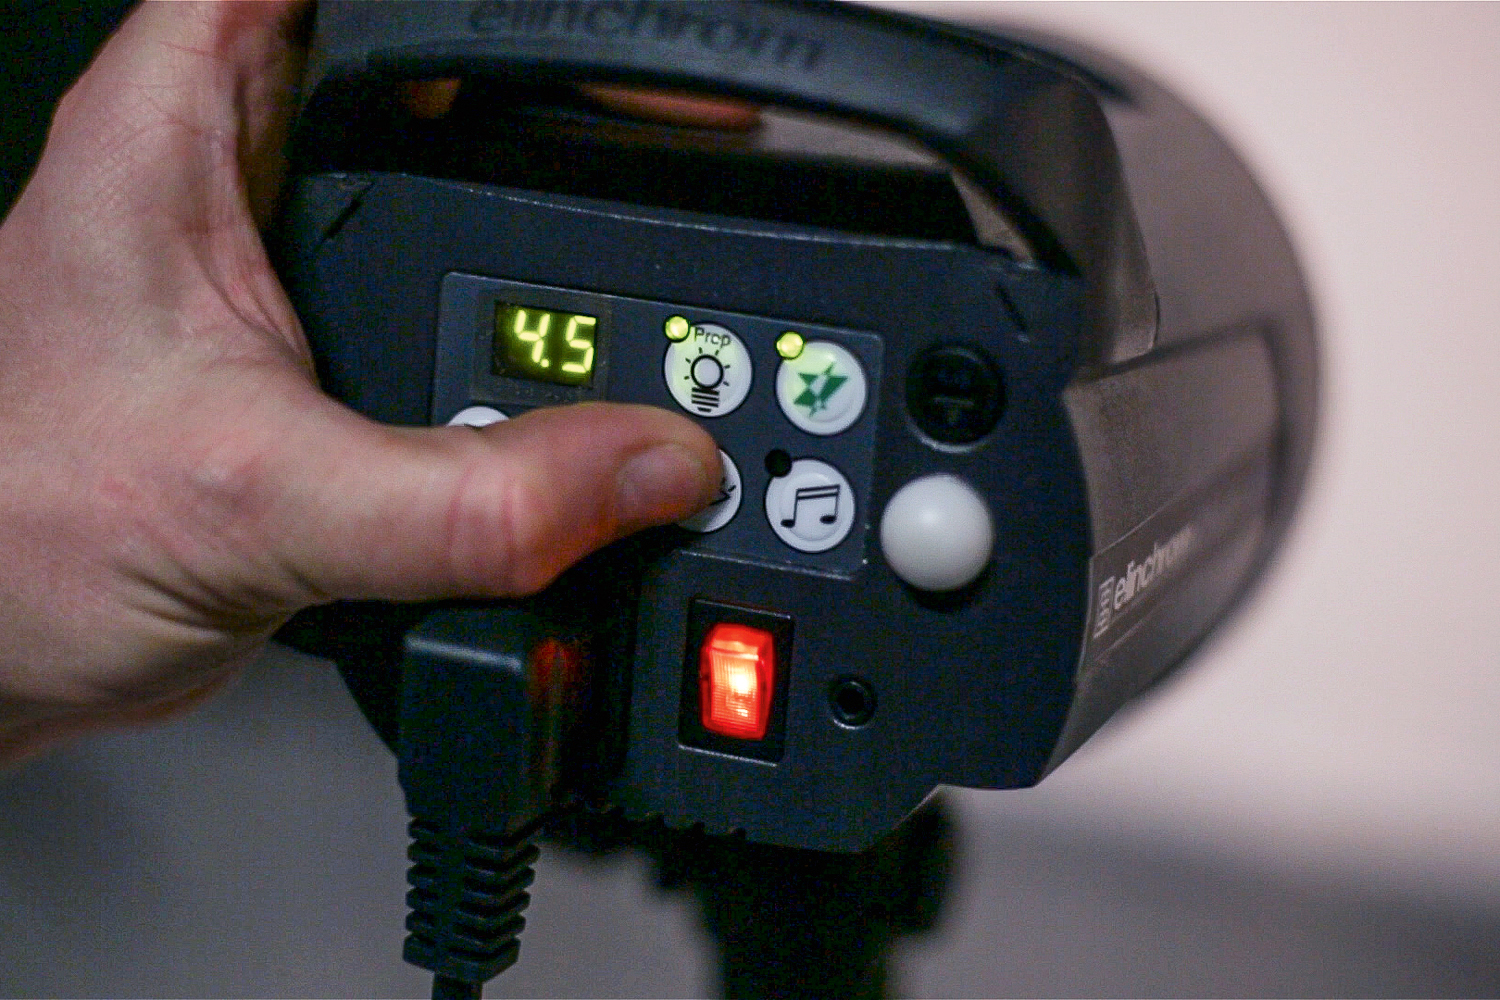
2. Adjust the power
Most studio heads have a control that lets you increase or decrease the power. On this Elinchrom head it runs from 2 to 6. Each numeral is a stop difference. You can also change the distance between light and subject – halving the distance quadruples the strength of light.
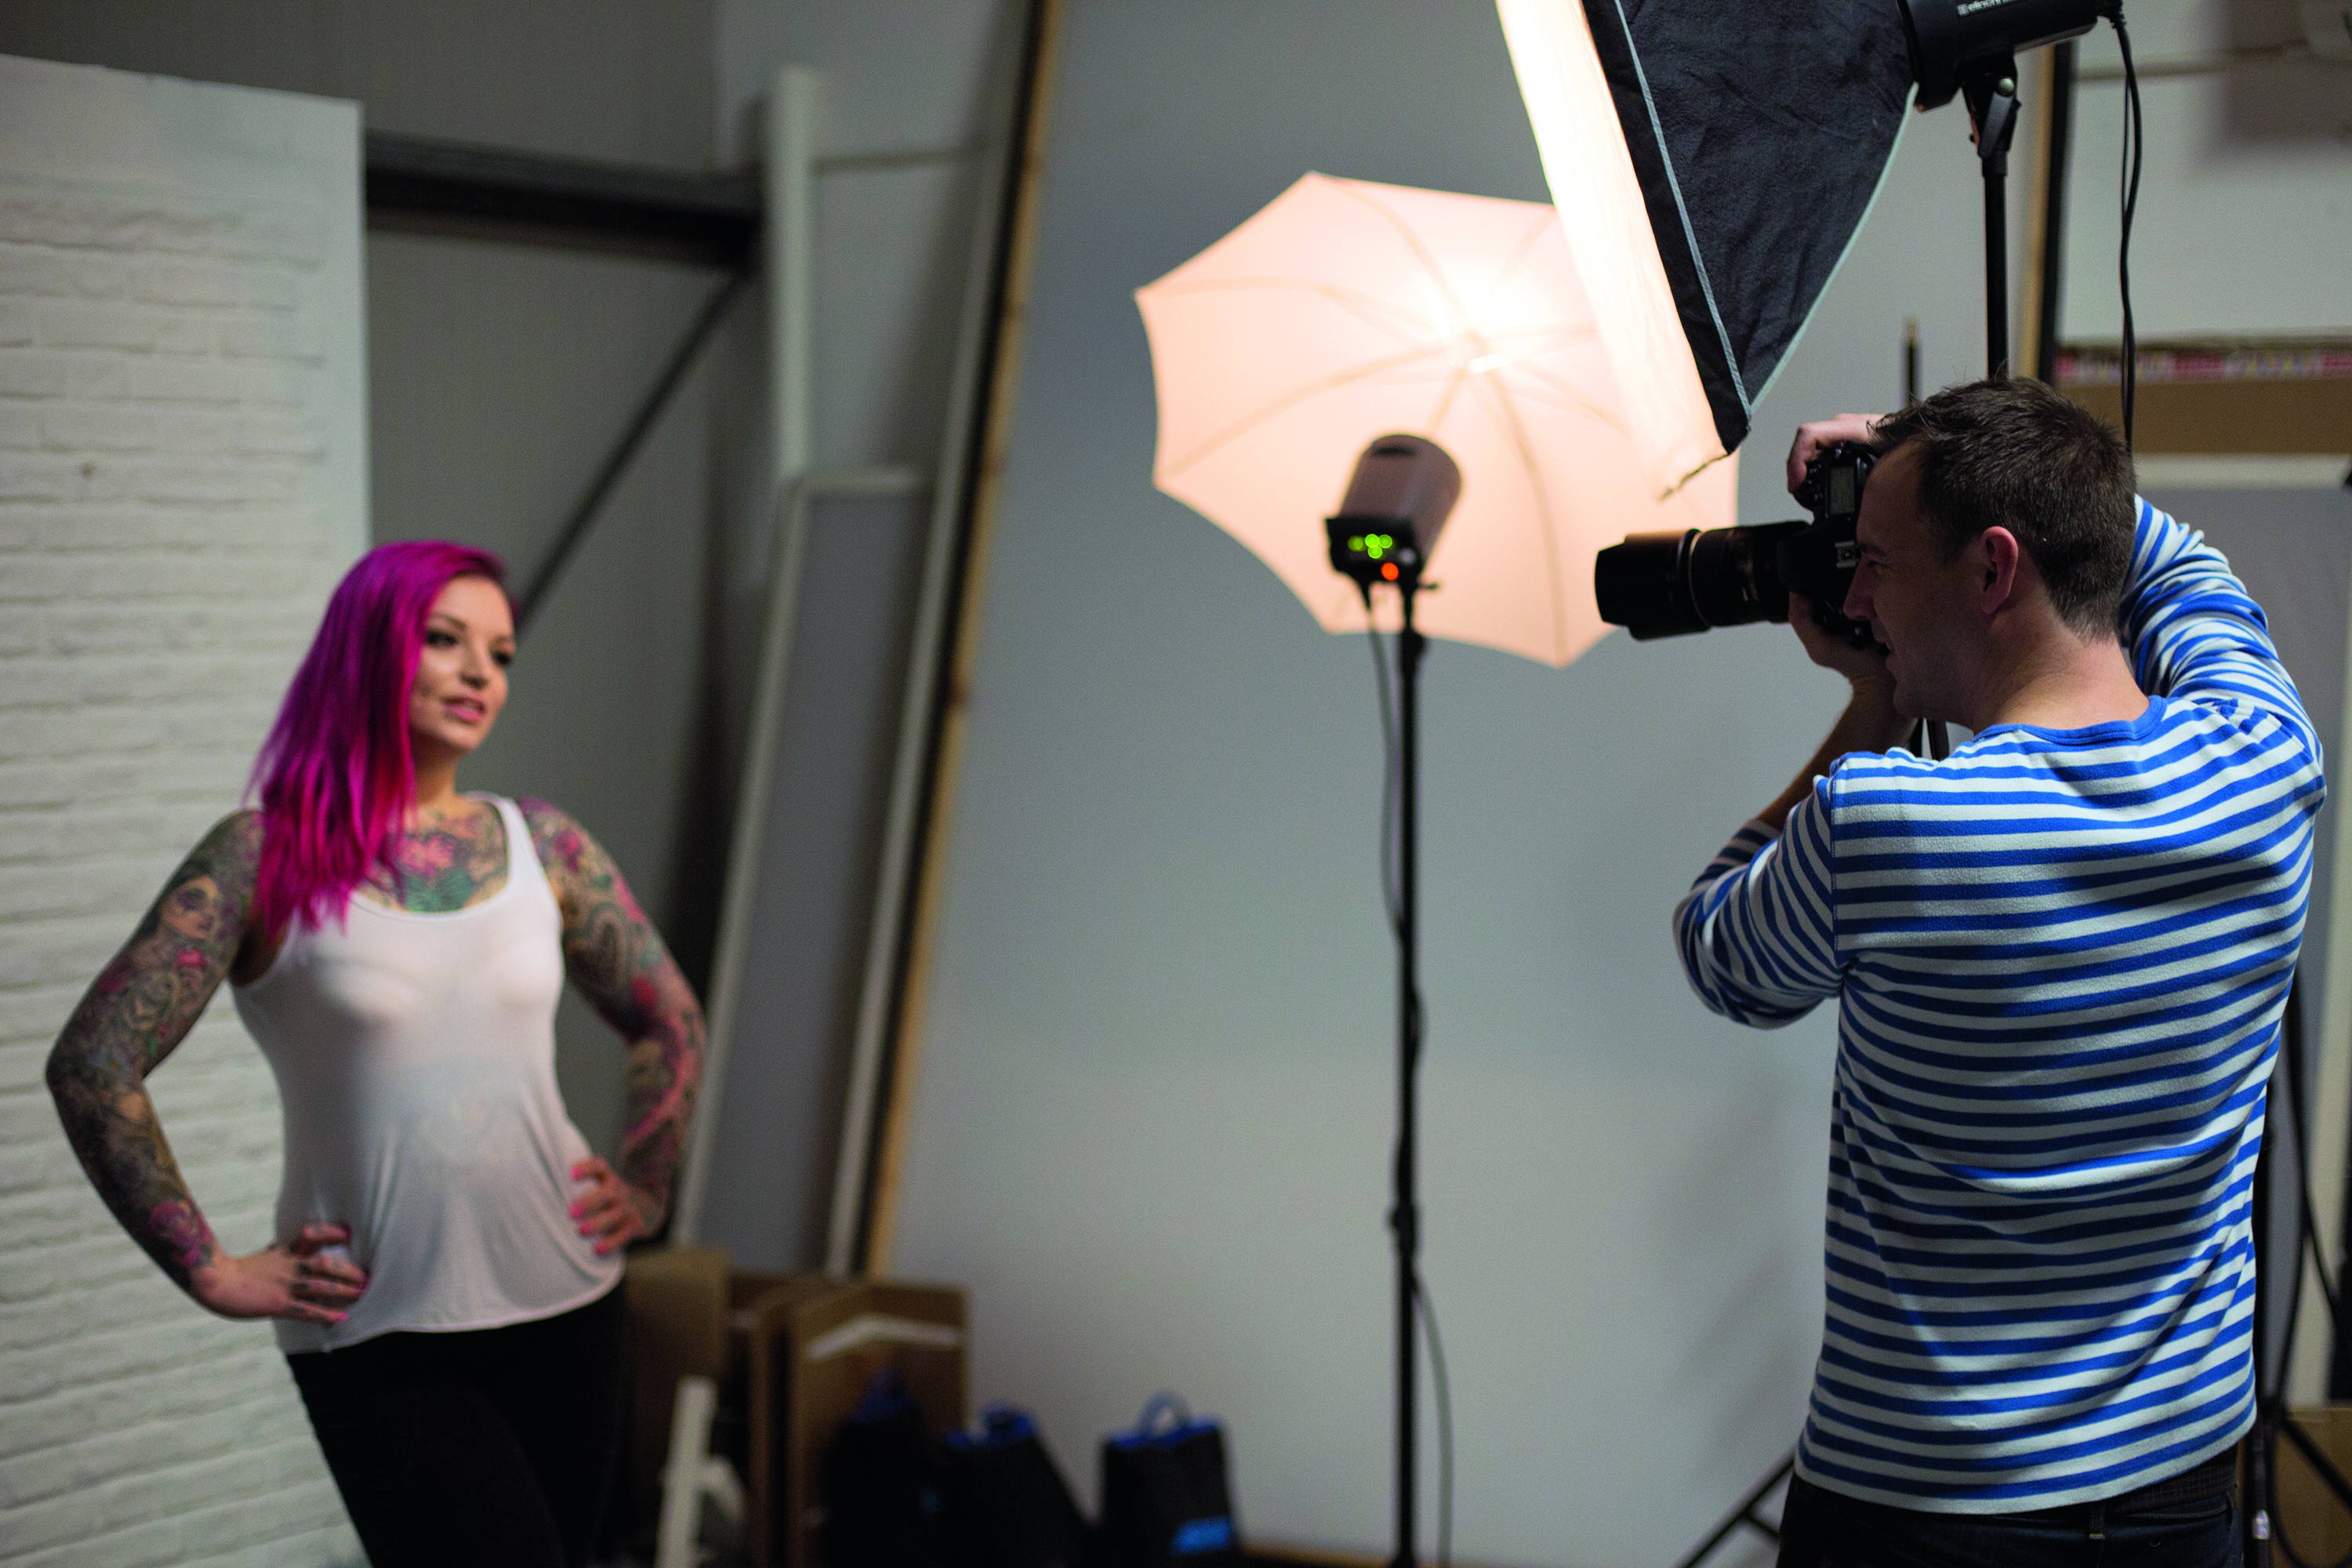
3. Attach a modifier
To control the quality and spread of the light, studio lights can be fitted with a variety of modifiers and accessories, such as the softbox and umbrella that you can see here. The modelling light – a constant bulb next to the flash bulb – will give you an idea of the effects of each modifier.
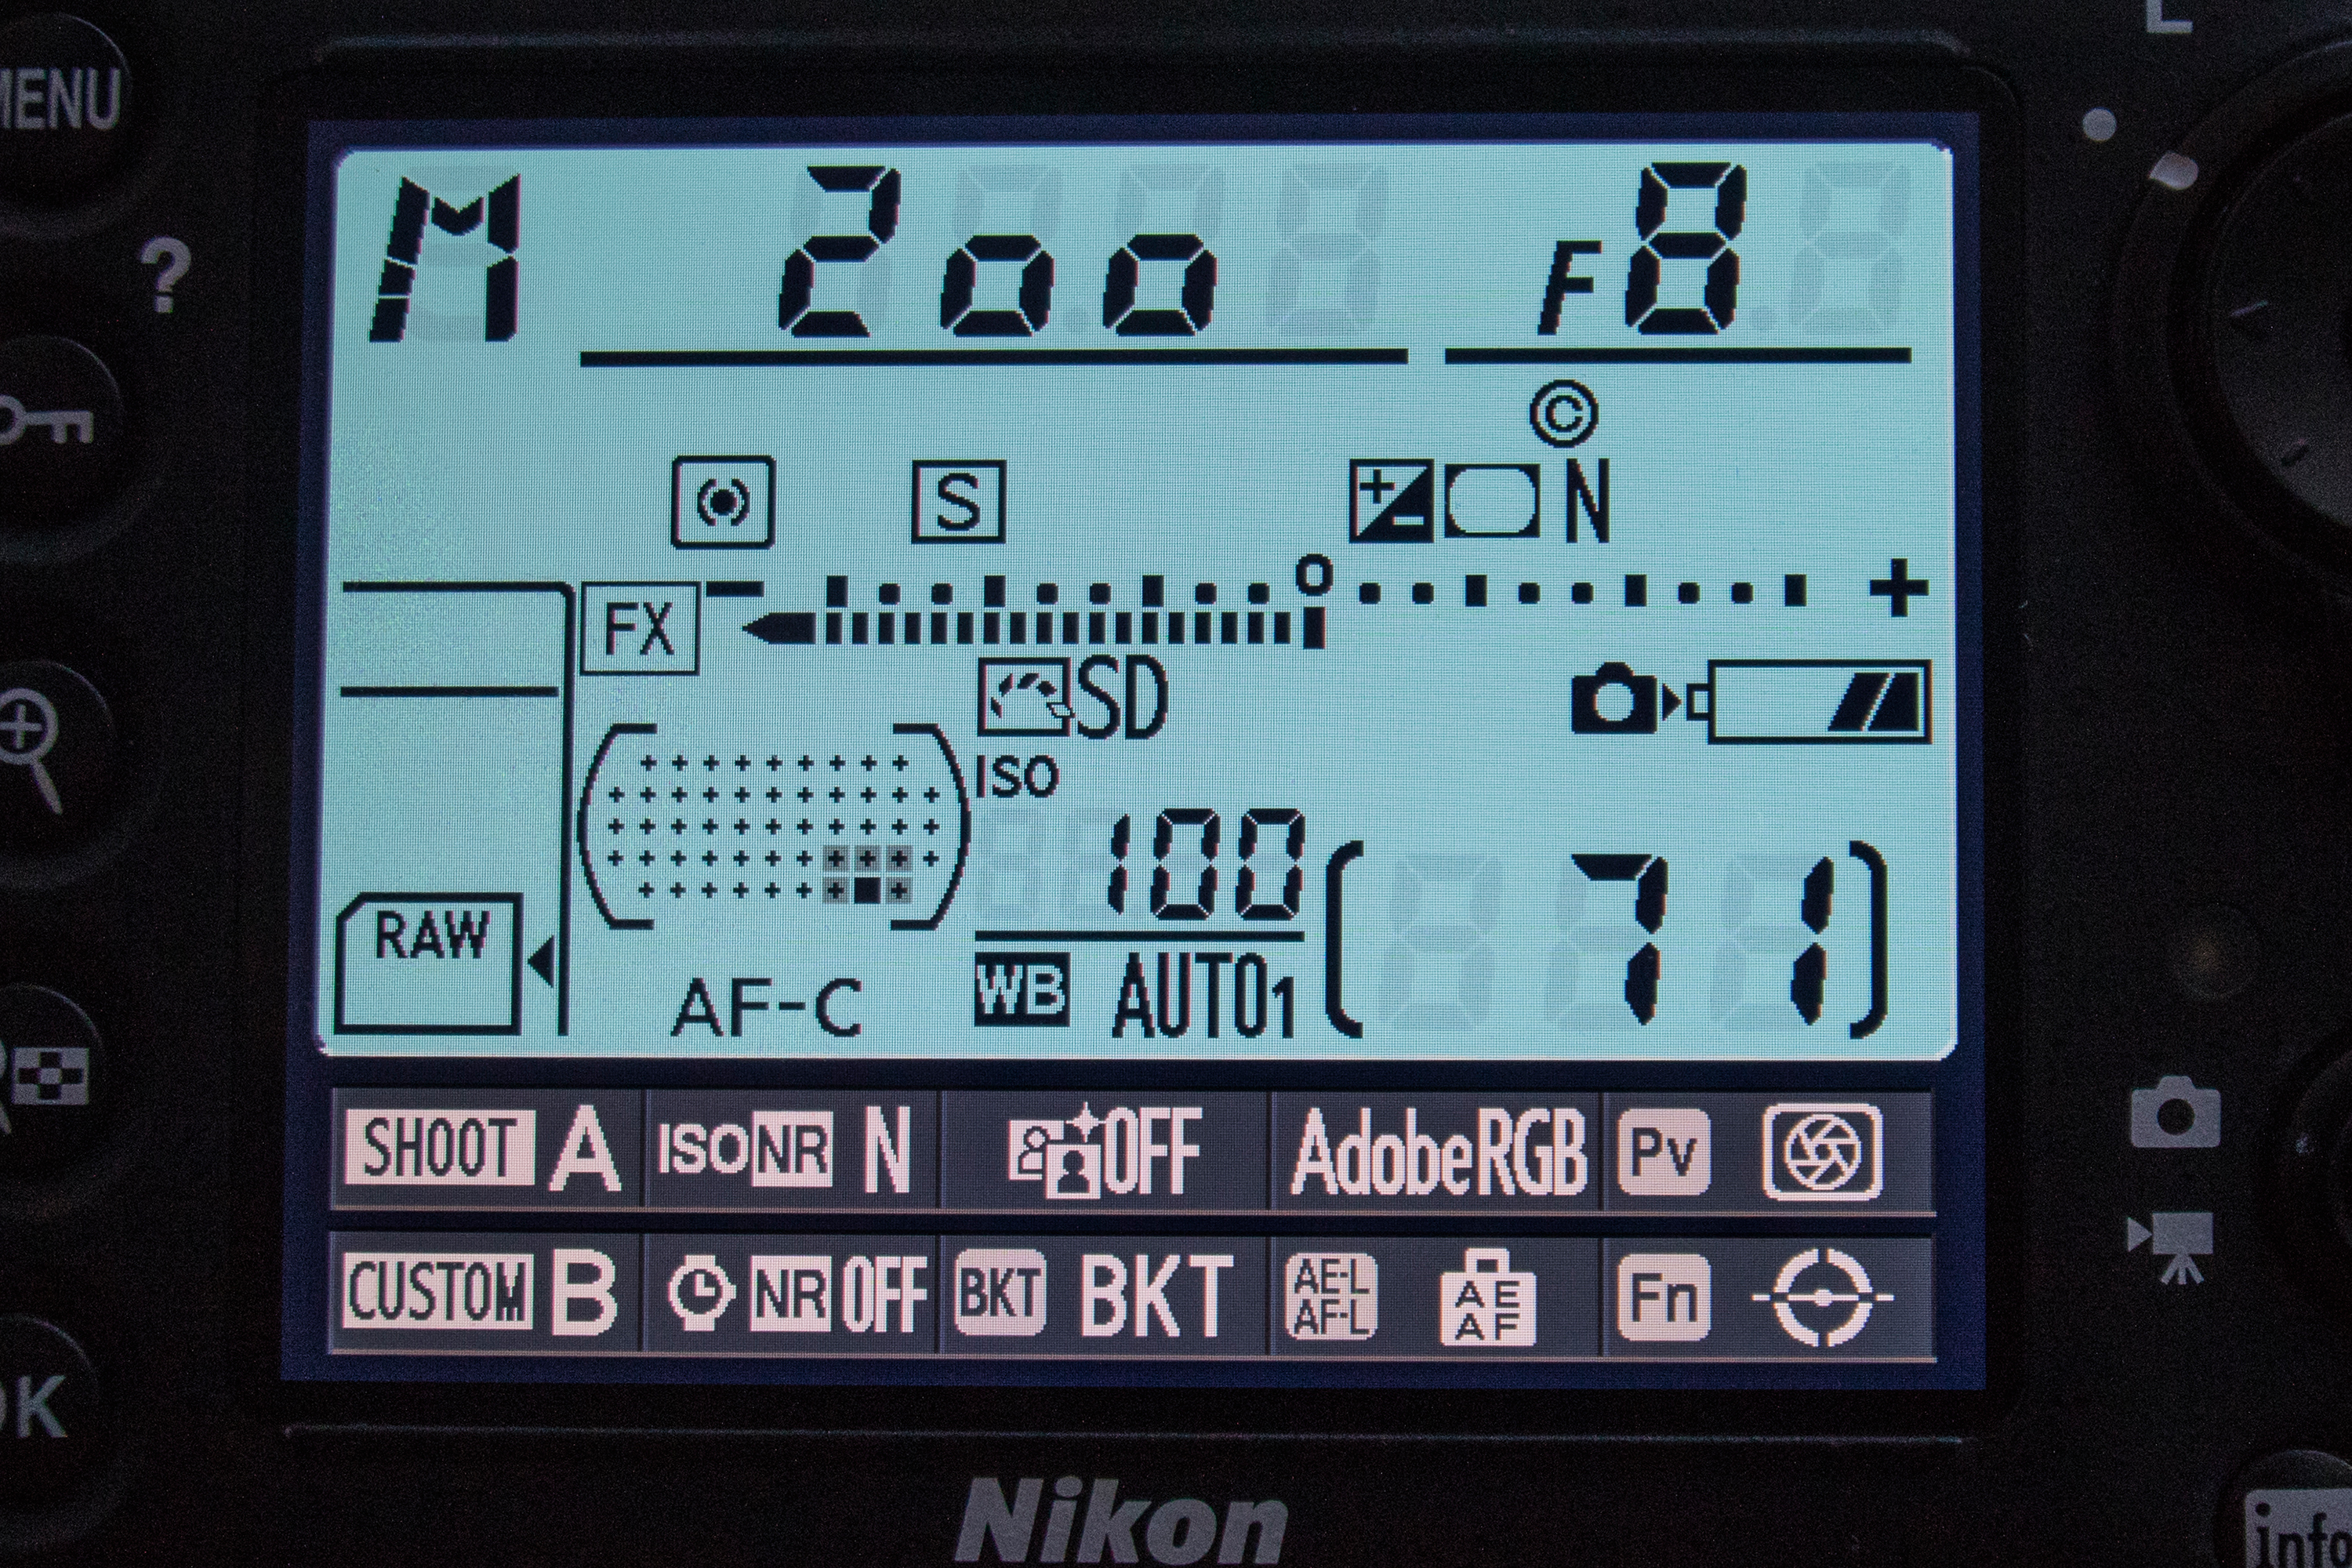
4. Experiment with exposure
In manual mode, set the ISO to 100, the aperture to f/8 and the shutter speed to the fastest flash sync speed (usually 1/200 sec). Take a test shot. If it’s too light, either lower the flash power, increase the f-number or move the light further away. If it’s too dark, do the opposite.
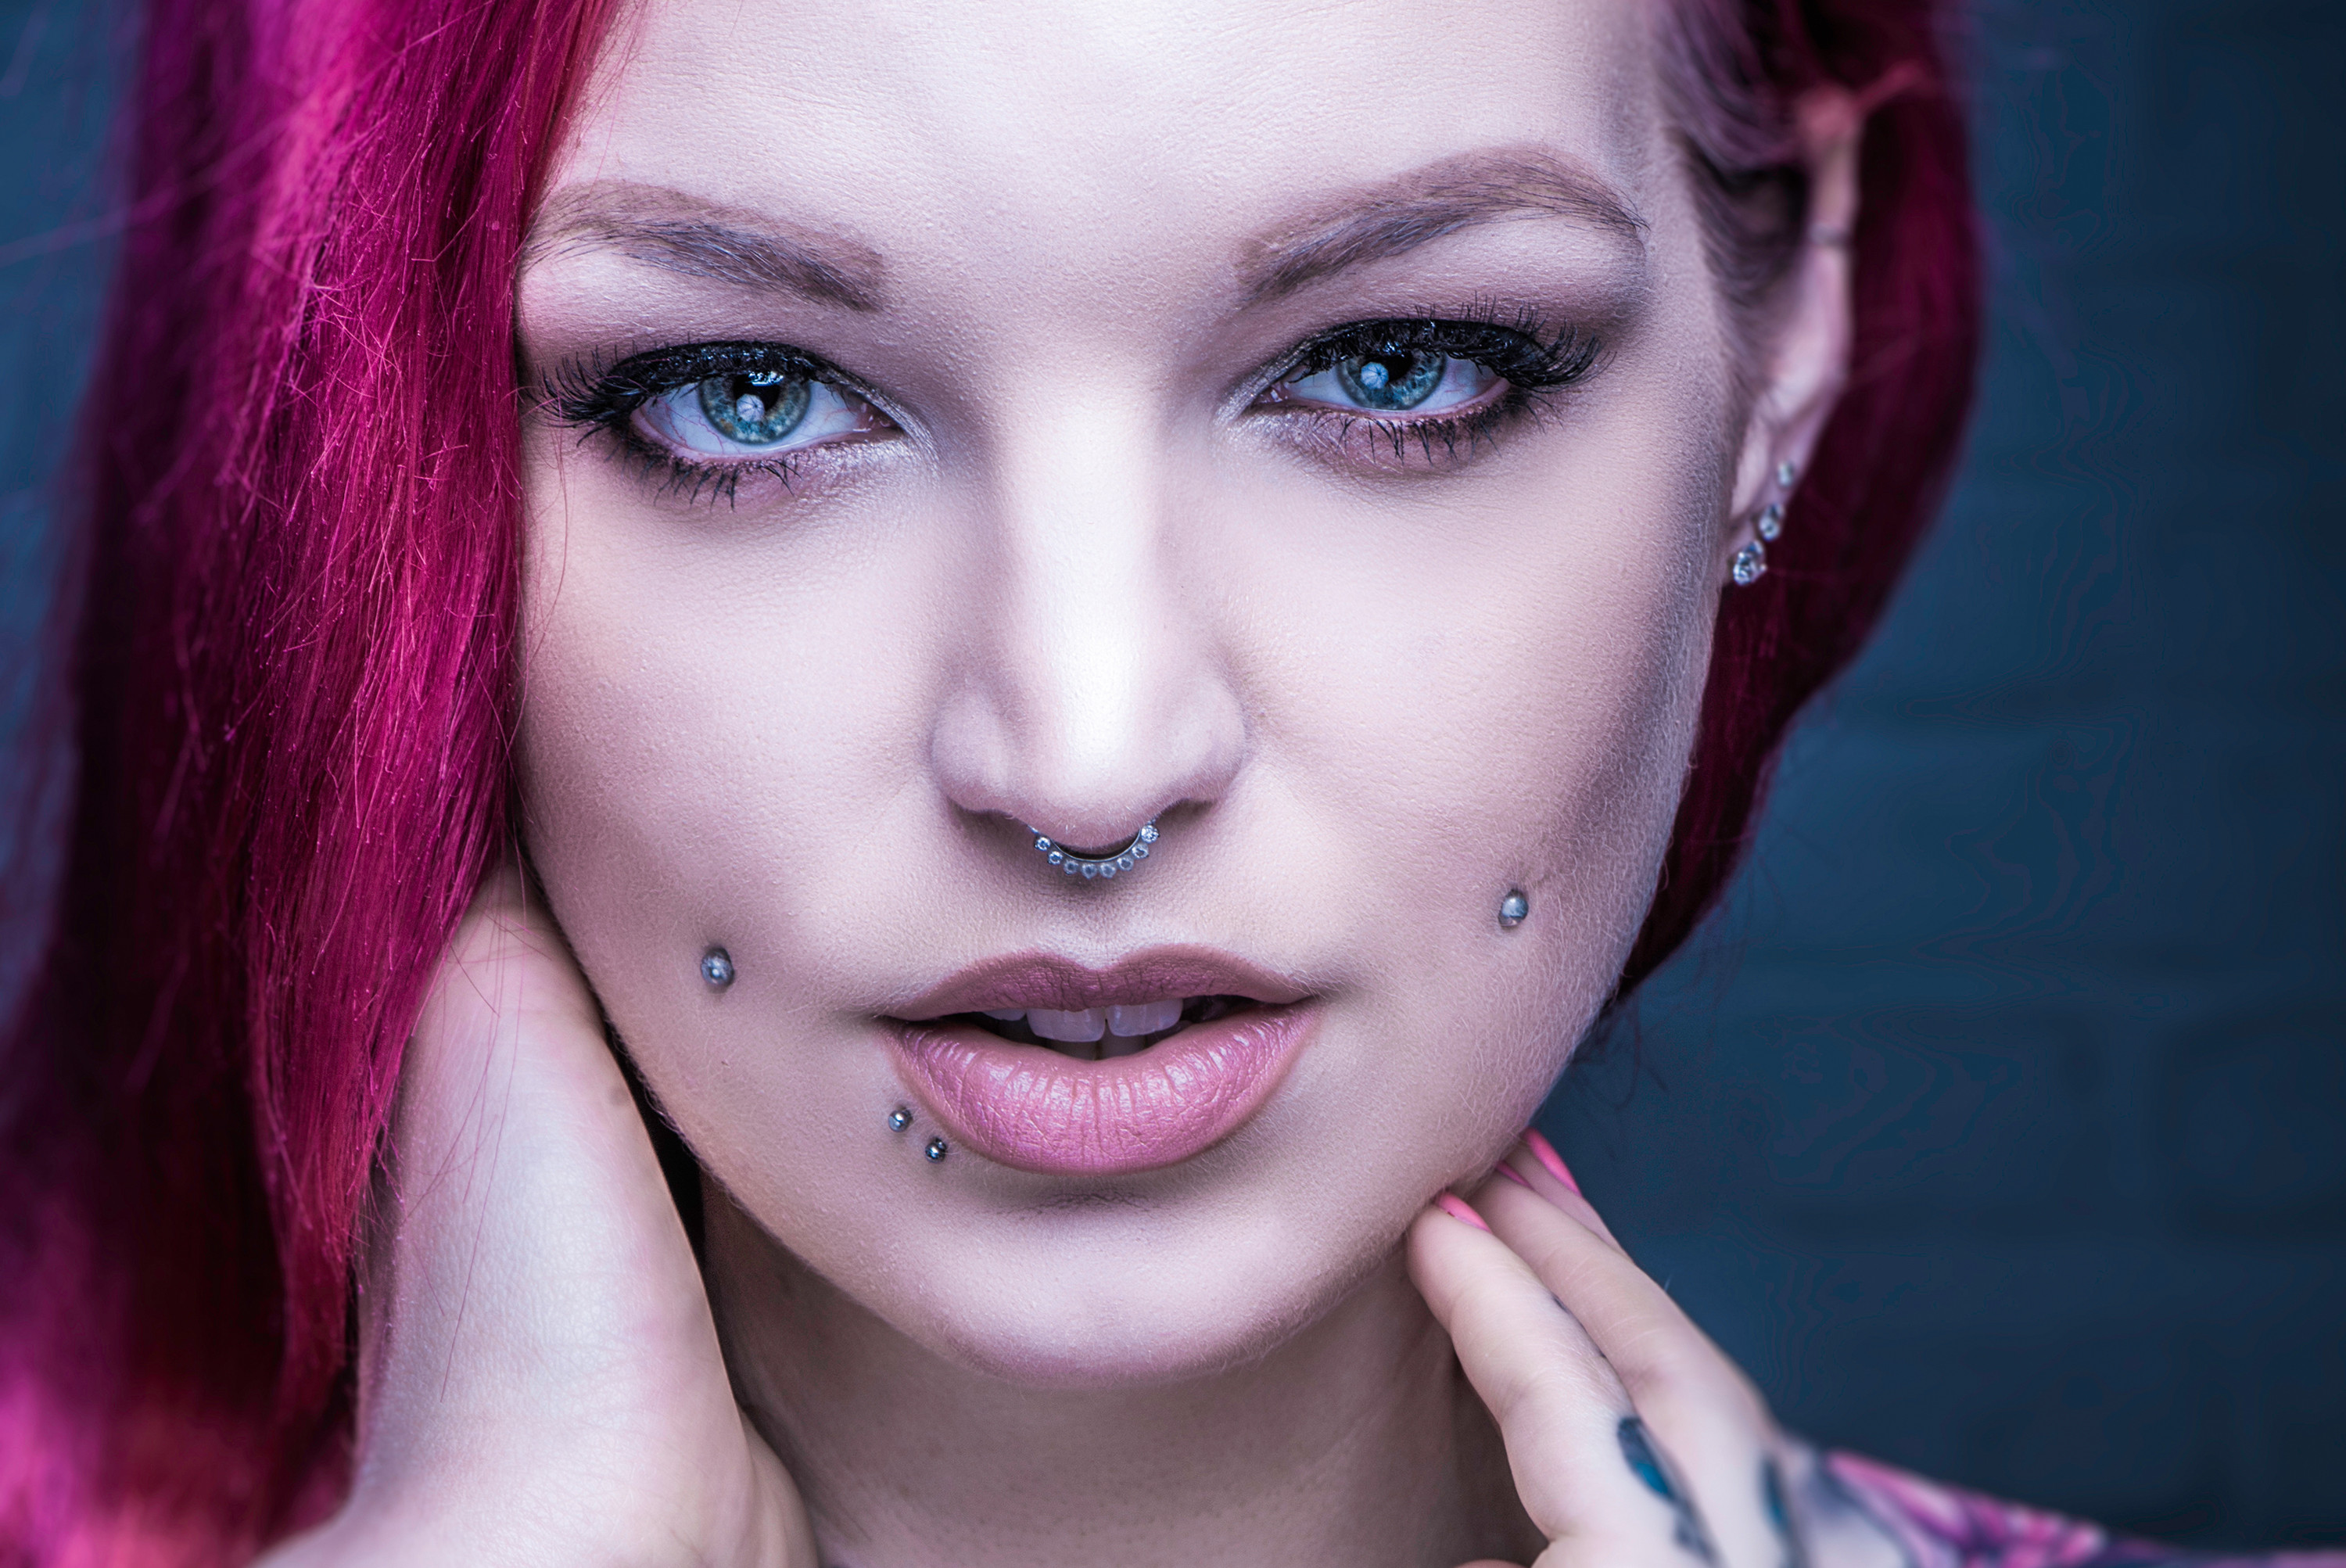
5. Strike a balance
With two lights, it’s all about the ratio between them. Turn on one light – we used a softbox from above – and expose for it. This is your Key. Now turn it off and turn on the other light – an umbrella from below, here. Aim for one or two stops of underexposure. This is your Fill.
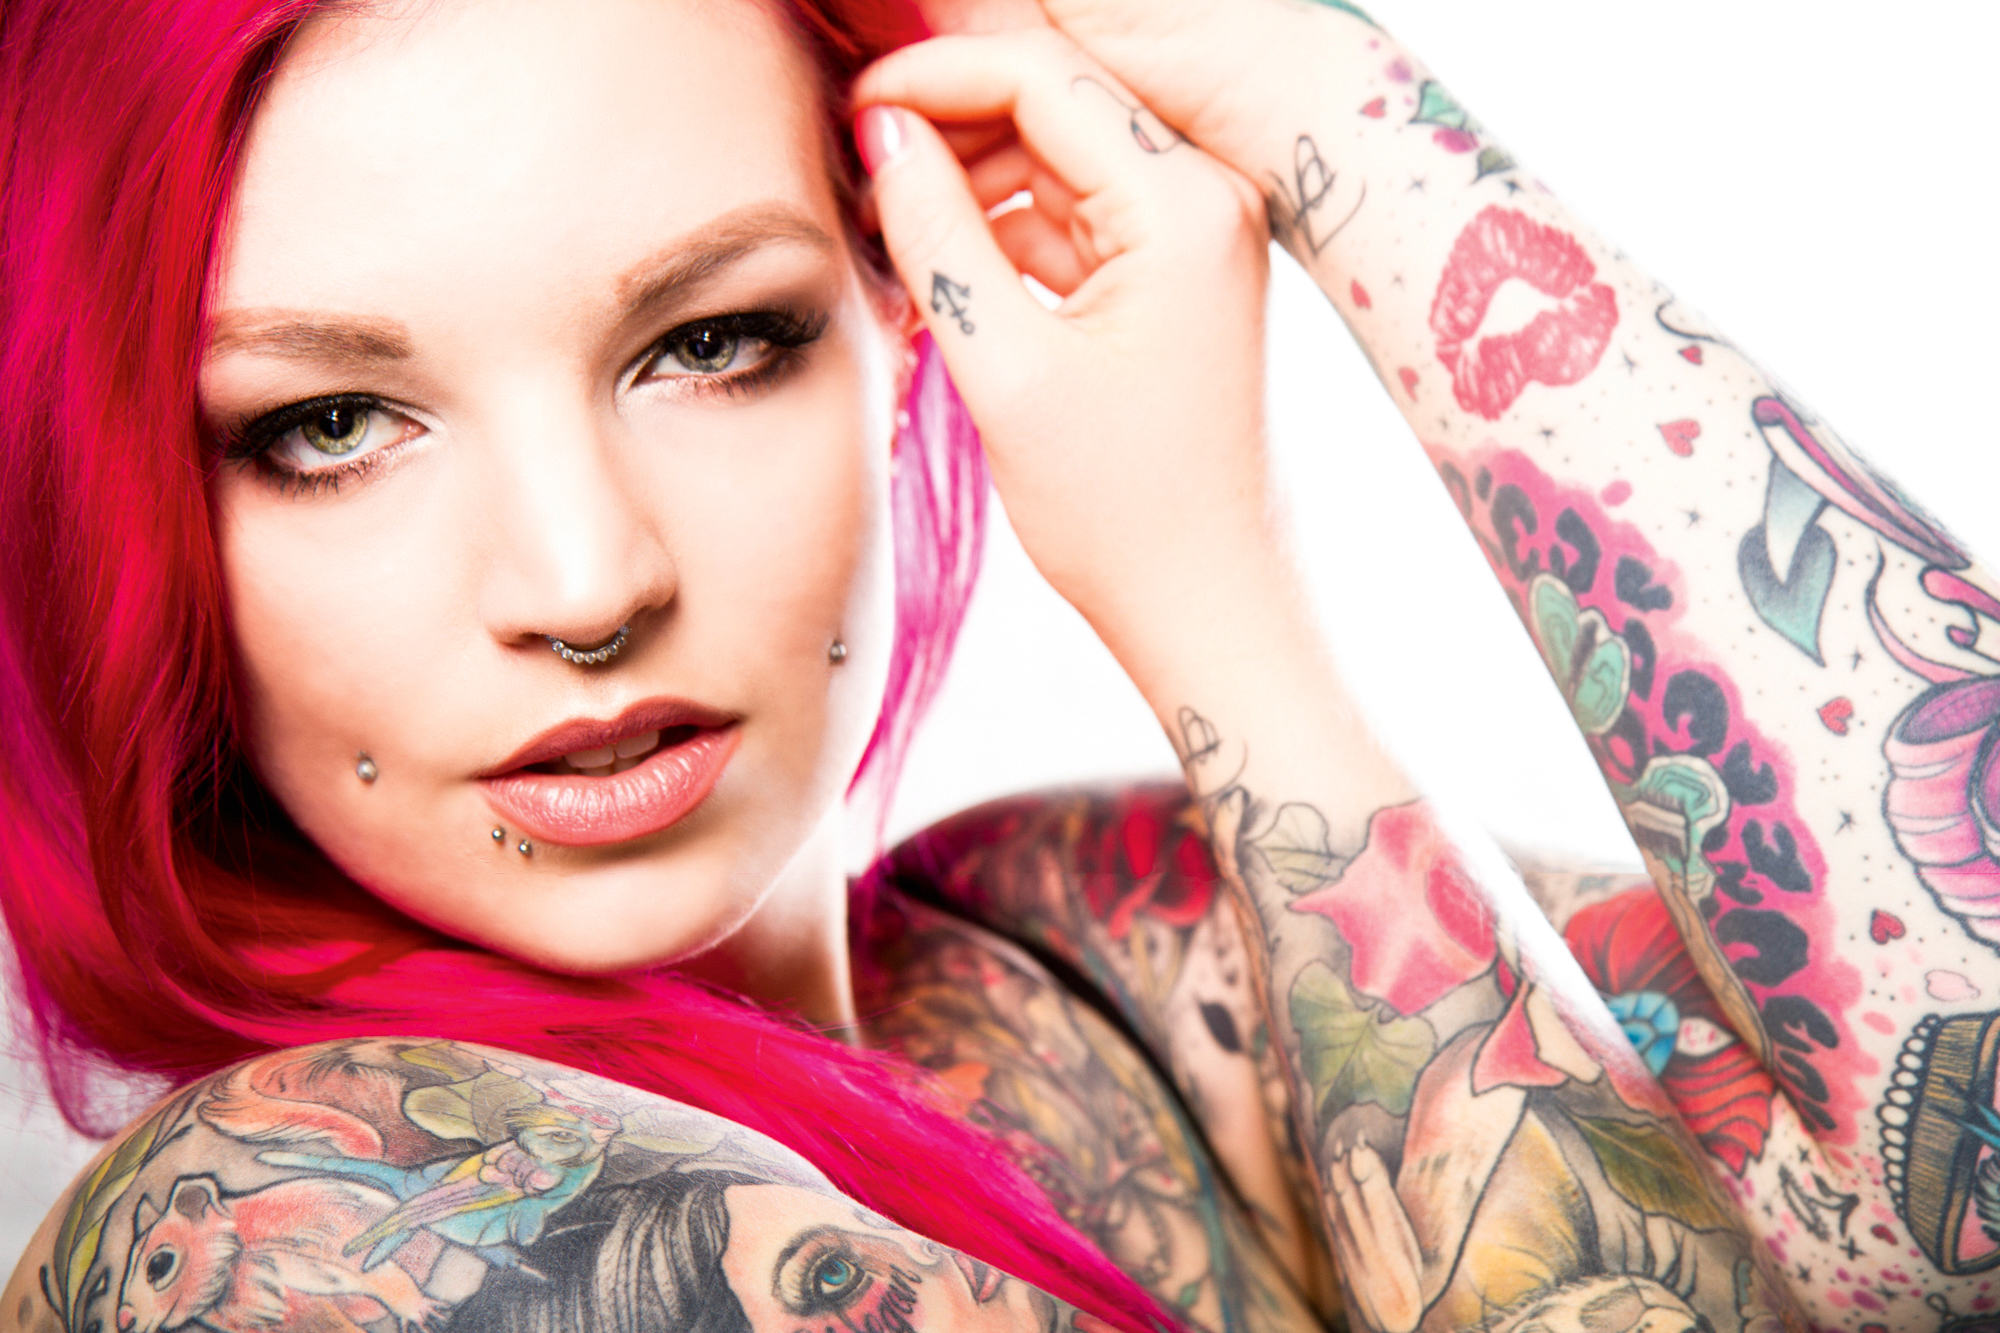
6. Blow the highlights
We can get a fresh high-key look with just two lights. Here one softbox lights the face, while an umbrella is angled at the background. The umbrella is fired at a higher power than the softbox, so it blows out the backdrop. A little reflected light creates a nice highlight along the cheek.
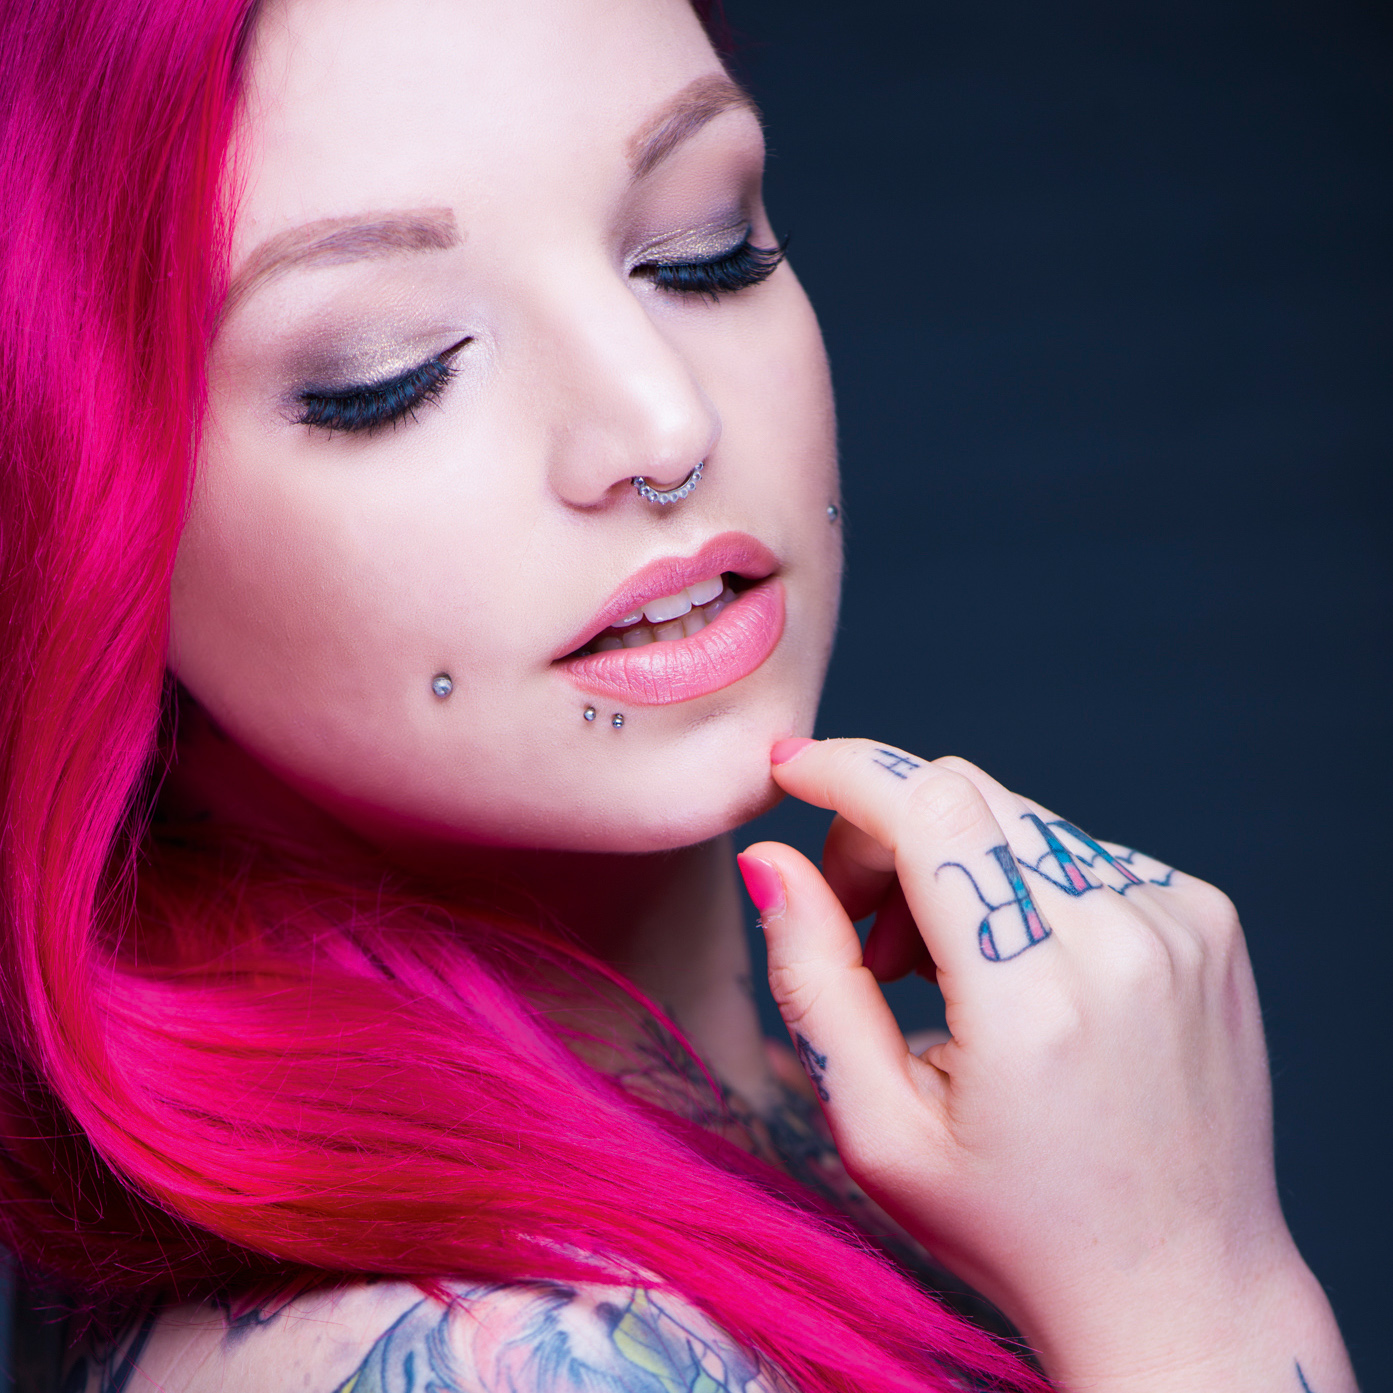
Quick tip: For close-ups like our main shot, bring your lights in tight so that they’re just outside the frame. This increases their size in relation to the face and fills out the shadows.