How to run Linux apps on your Chromebook
Let's look at how to run full Linux apps on your Chromebook. If anyone has said your Chromebook was limited now you can prove them wrong, as a feature from Google enables you to run full Linux desktop apps directly on your Chromebook.
The system is technically still in beta and can take a little while to set up, but once in place you have a world of Linux apps to play with.
This was originally designed with developers in mind that need access to full code editors and development environments, but it provides access to office tools like LibreOffice, graphics tools Krita and GIMP, photo editing tools like DarkTable and loads more. So let’s get some Linux.
1. Compatible Linux Chromebooks
Hardware wise, any Chromebook made in 2019 or later should offer Linux support, here’s a list of compatible models made before this date. Technically the CPU needs hardware virtualization support, this can be missing on older Arm systems.
You need two things to run Linux on Chromebooks: Chrome OS version 69 or newer (released August 2018) and a Chromebook with a suitable processor.
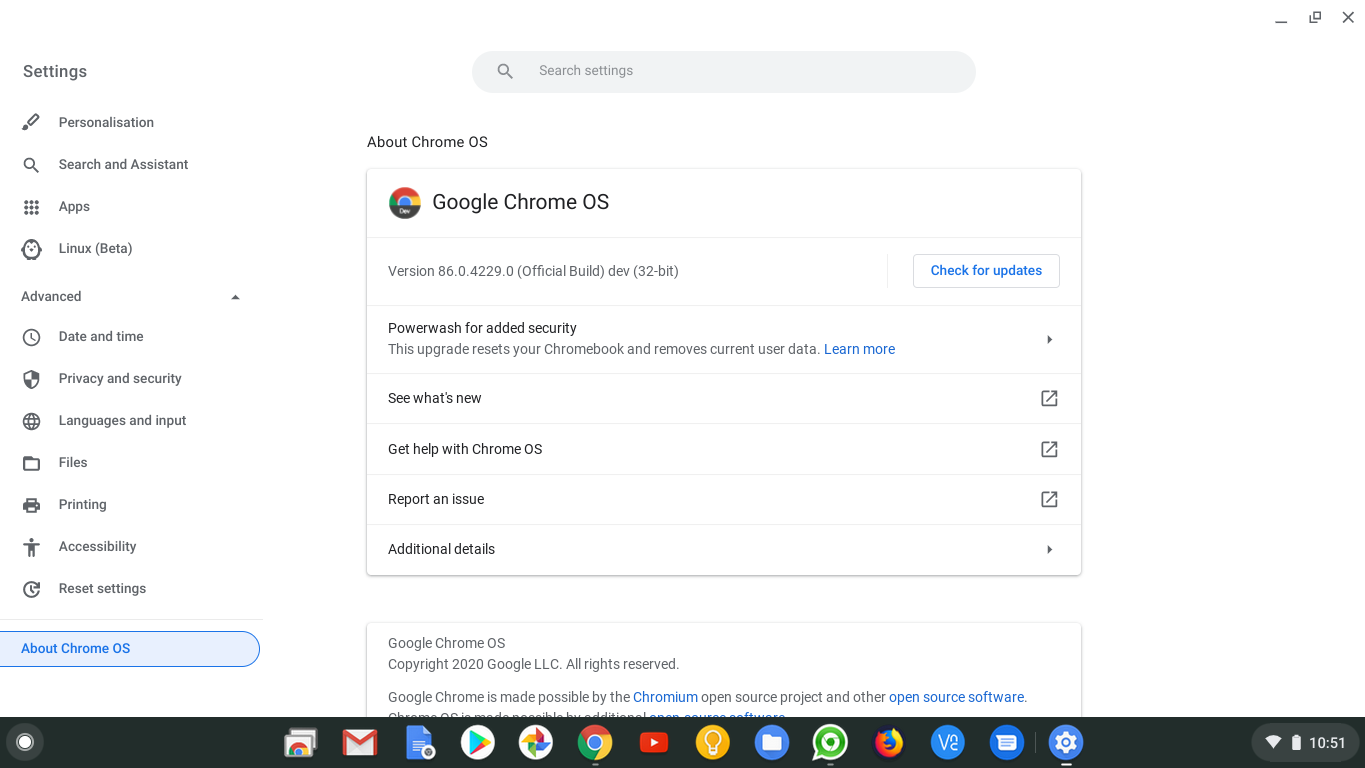
To check your OS version type chrome://version in the address bar and read off the very top number. It’d be odd not to be running something newer than this check for updates by selecting the Notification (bottom right) area > Settings (cog) > About Chrome OS > Additional Details for scheduled update details.
2. Enable the Linux!
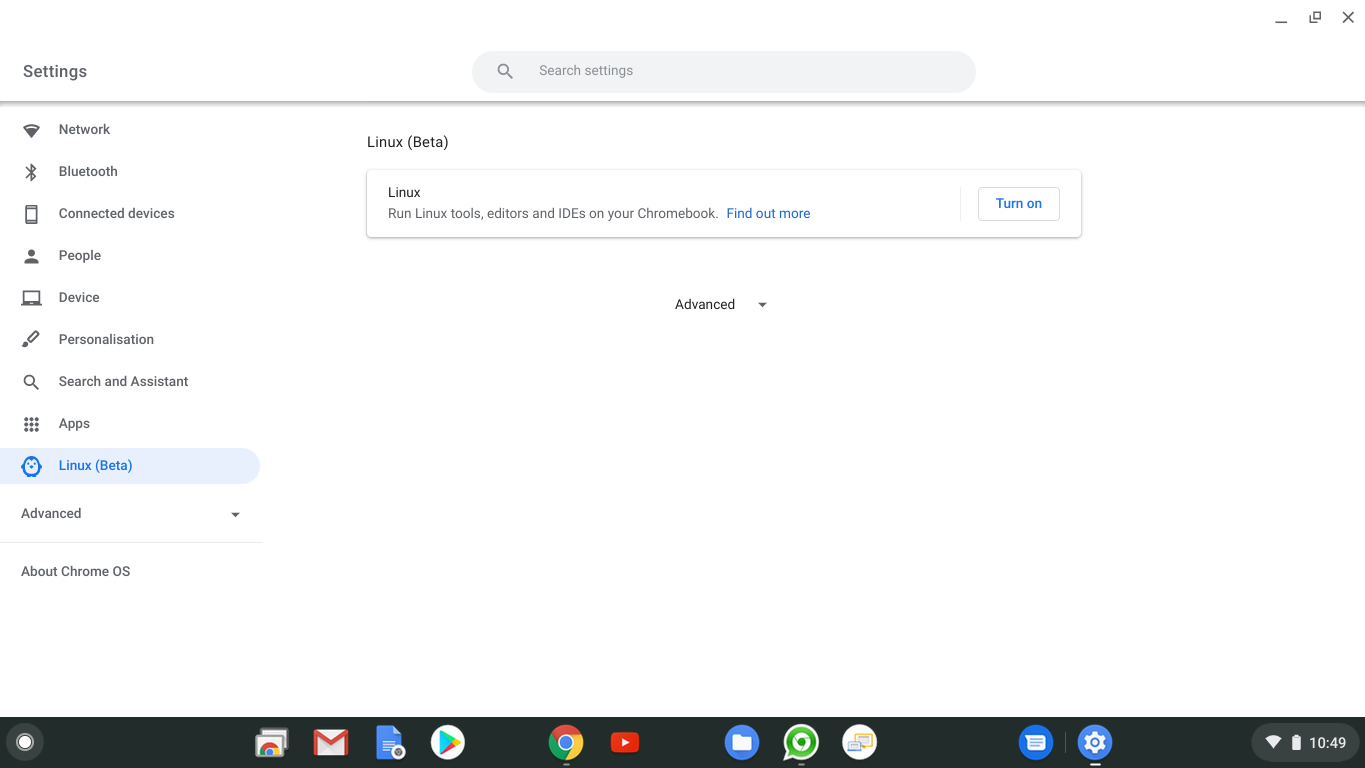
If your Chromebook is capable of running Linux and is up to date, you can now turn on Linux by clicking the Notification (bottom right) area > Settings (Cog icon) > Linux (Beta) > Turn on.
Sign up for breaking news, reviews, opinion, top tech deals, and more.
You’ll be asked to specify a username and to allocate an amount of storage for use by the Linux system - this can be changed afterwards so don’t worry too much at this point, but it seems this has to be part of the system’s main storage and not external SD or USB storage.
If this becomes something you want to use a lot you might need to rethink your internal storage.
- Laptops vs Chromebooks - which is best?
3. Set some permissions
The Linux system run on your Chromebook is in a “sandbox” aka a protected sealed-off zone, so those Linux apps cannot damage the rest of your system.
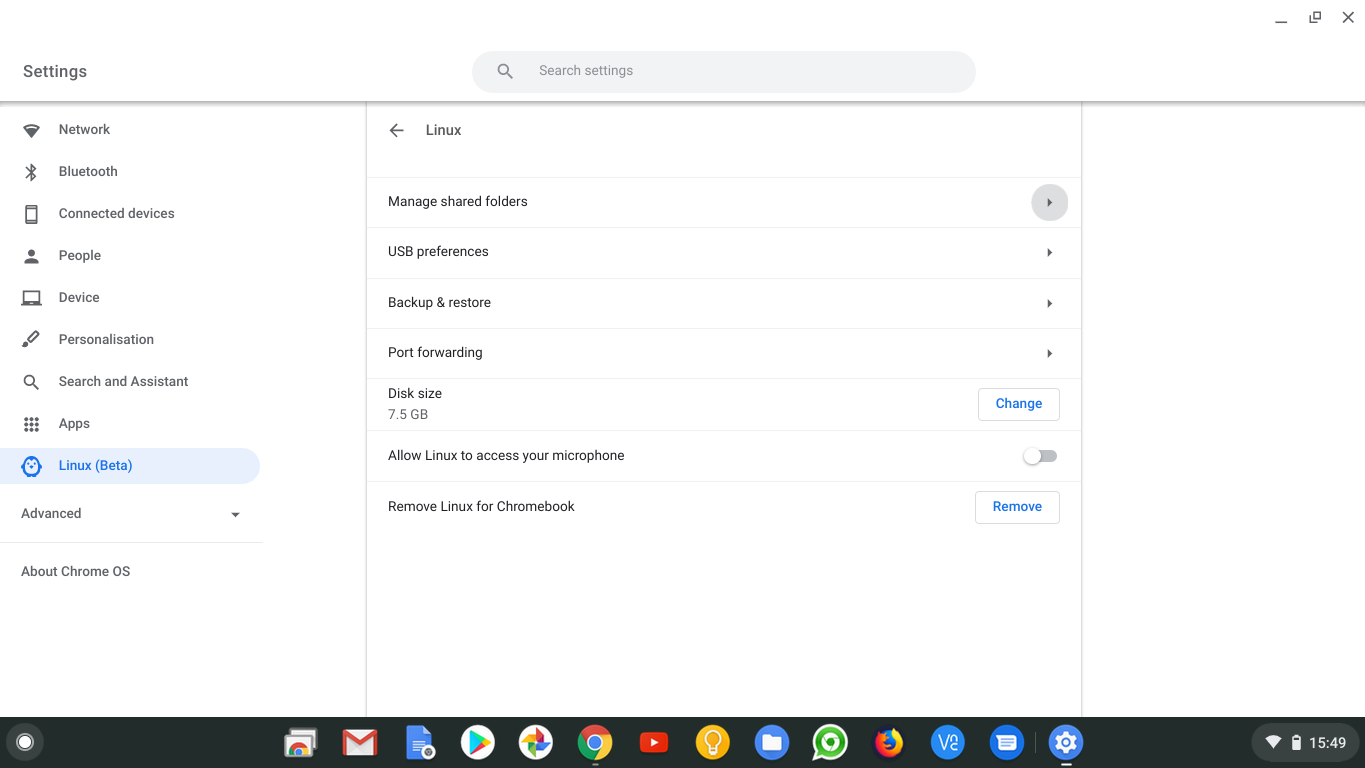
This means to do certain things the Linux sandbox needs permission and certain things – like cameras – just won’t work with it. Set these via the Settings > Linux > ...Find out more link.
As one example you can allow Linux to access your microphone is here.
4. Welcome to the Terminal
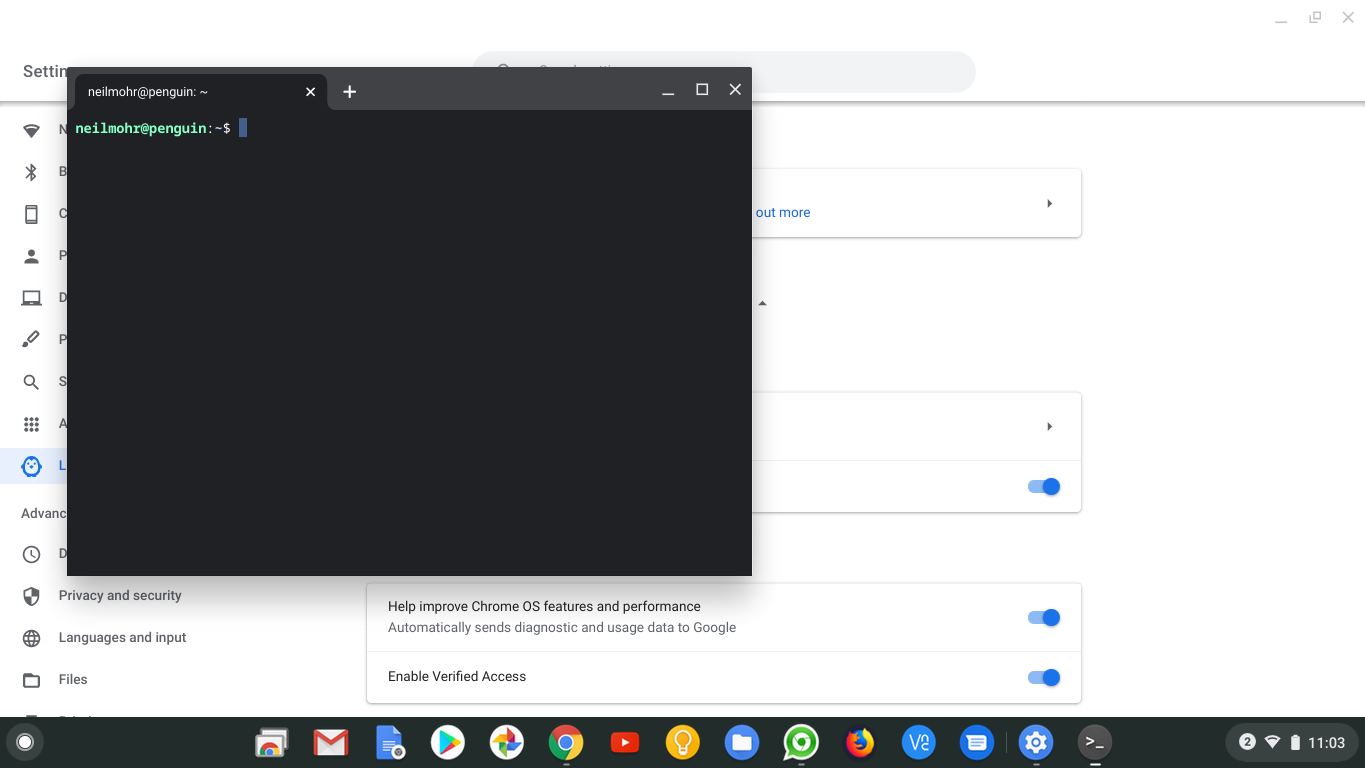
After you’ve set Linux up on your Chromebook, the first thing you’re presented with is a blank terminal window. This is a text interface that Linux uses to scare everyone away.
However, knowing what command to type in to fix a problem or do some other thing actually makes life super easy.
For this first run it’s best to check your Chromebook Linux is up to date and upgraded fully with:
sudo apt update && sudo apt dist-upgradeThis runs two commands. First it checks in with the online software system to ensure everything is up-to-date, it’ll then ask you to press Y to run any upgrades. Hint: press Y.

5. Add a Linux software store
Google expects you to use Linux on Chromebook via the terminal and you can get everything installed this way, but to make life a bit more comfortable let’s install a standard Linux graphical software store, type:
sudo apt-get install gnome-software gnome-packagekitAfter pressing Y to kick off the install, once the terminal reports it’s installed close the terminal.
Open the standard Launcher and find the Linux apps entry and click Software. Typically there should be a selection of software categories with loads of options within, however we found - and many report the same issue - that this is blank, though you can search for titles. See the next step to force an update.
6. Add more Linux software sources
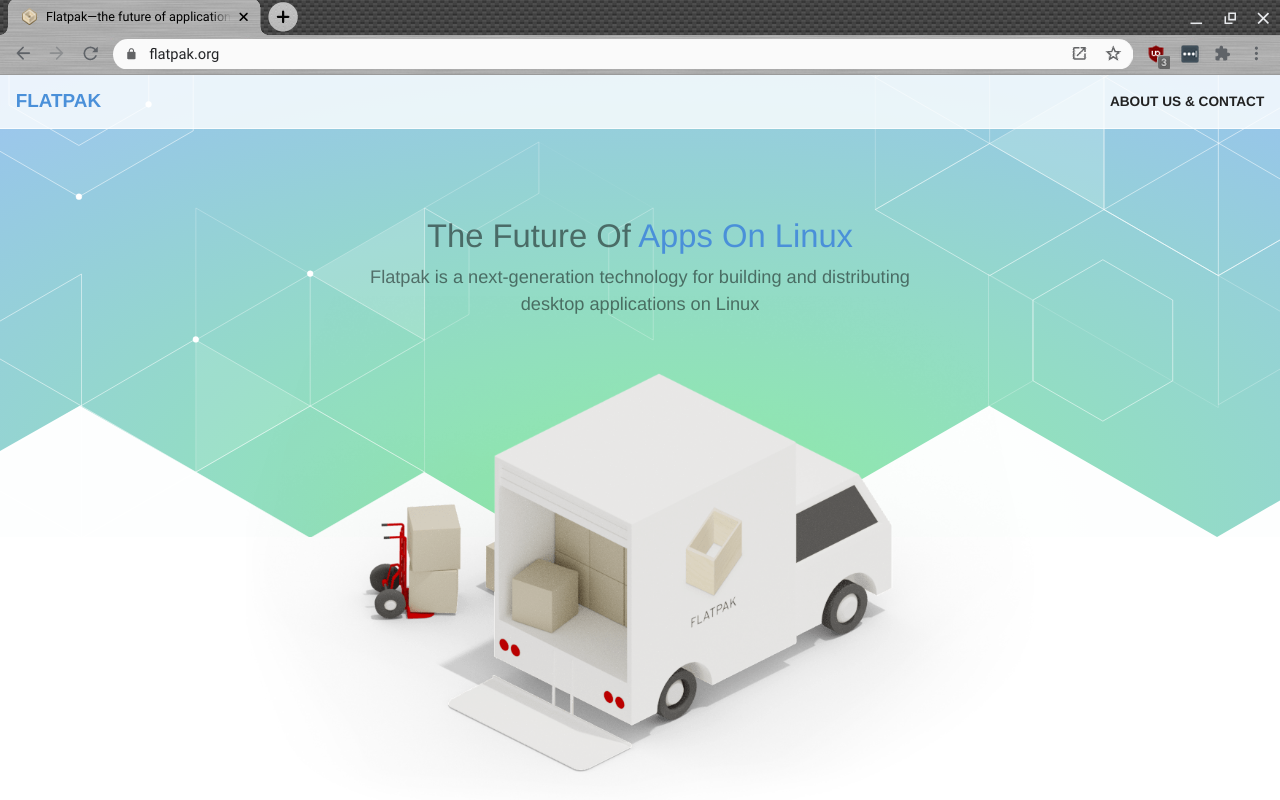
Linux software can come from a number of sources, the previous step is software that’s thoroughly tested by the OS developers, but can be older versions.
A new system called Flatpak can provide up-to-date versions direct from the app developer. You can add these into the Gnome Software store by typing these commands into the terminal:
sudo apt install flatpak
sudo flatpak remote-add --if-not-exists flathub https://flathub.org/repo/flathub.flatpakrepo
sudo apt install gnome-software-plugin-flatpak
When you run the Software store it’ll detected the new plugin and offer to do a full refresh that will load all the software categories.
7. Installing Linux software
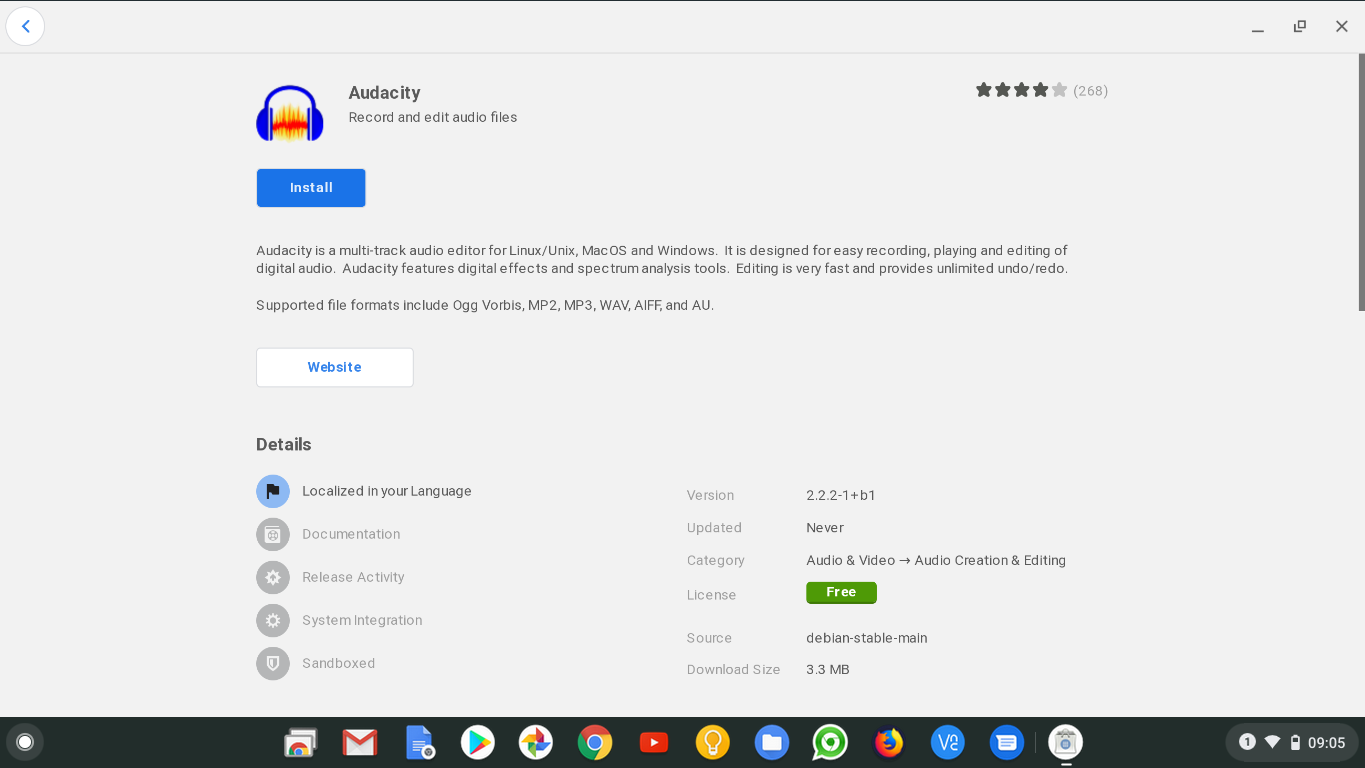
Let’s use Gnome Software to add a Linux app. Open the Chrome Launcher (bottom left) > scroll to Linux apps > Software, use the Search icon (magnifying glass) and type audacity.
You could have also discovered it via the Audio & Video category, selecting Audio Creation and browsing the list or you could have search for something such as Audio Editing.
Click on the headphone icon that should have appeared, Audacity is a powerful pro-level open source sound editing tool, click 'Install' to do just that.
All your Linux apps will be installed into the Linux app folder with the standard Chromebook Launcher, but you can pin it to the app bar as usual.
8. Install Flatpak Linux software
The previous step installed Linux software on your Chromebook from the standard repositories, overtime these can become dated. The Flatpak system we mentioned are usually the latest release of the Linux software.
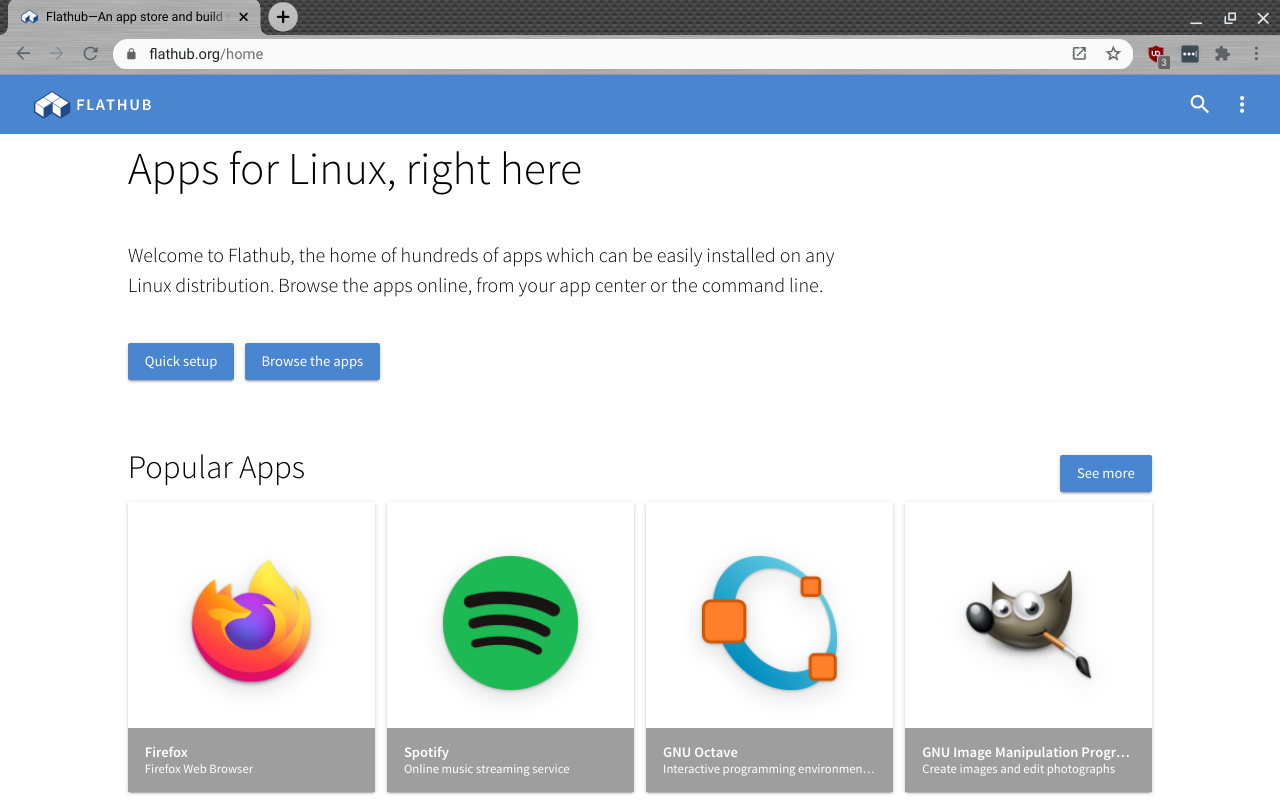
To use Flatpaks browse to flathub.org and browse the software, apparently people like Spotify. Do not click the inviting big INSTALL button. Instead scroll down to the terminal commands:
sudo flatpak install flathub com.spotify.Client
sudo flatpak run com.spotify.Client
To run these select Launcher > Linux apps > Terminal and type these – or copy/paste them – in turn.
9. Linux files in, files out
Linux on Chromebook provides a shared “Linux files” folder you can find in the Files app under its My Files section, along with Downloads and Play files.
Anything in Linux files can be accessed by normal Chrome OS and also the Linux system – otherwise files under Chrome OS are protected from the Linux OS.
If you want to make another folder available to Linux within the Files app right-click on it – this works for external storage – and select the Share with Linux menu option.
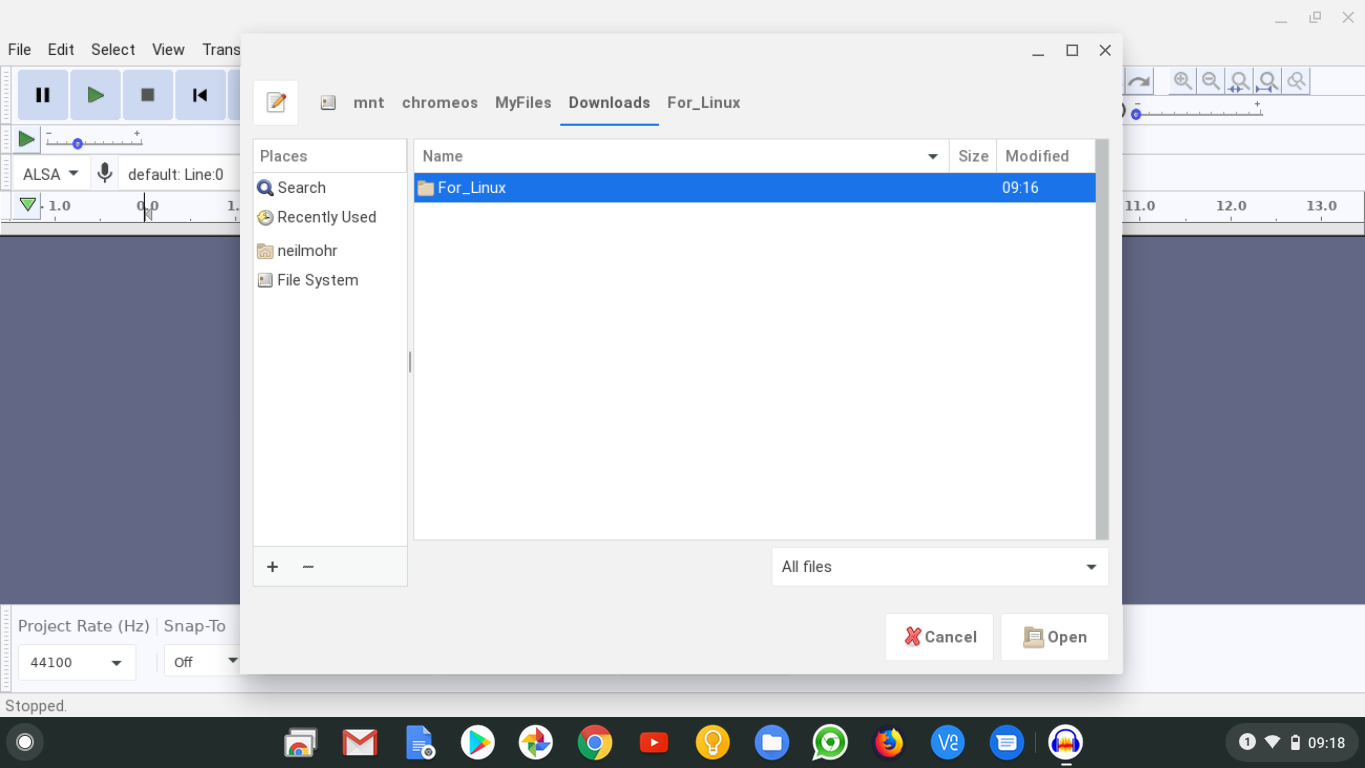
Back over on a Linux app to access this share, you need to traverse the Linux filesystem (it’s confusing) say in Audacity above, select Open > File System (aka Root) > mnt (short for mounted) > chromeos and you’ll see a list of any folders you shared and the files within.
10. Removing and backing up Linux
Adding a second OS takes up a lot of space and if you’re just trying Linux you may want to remove Linux from your Chromebook at some point. Luckily that’s easy, just go to Settings > Linux > Remove and it’s gone!
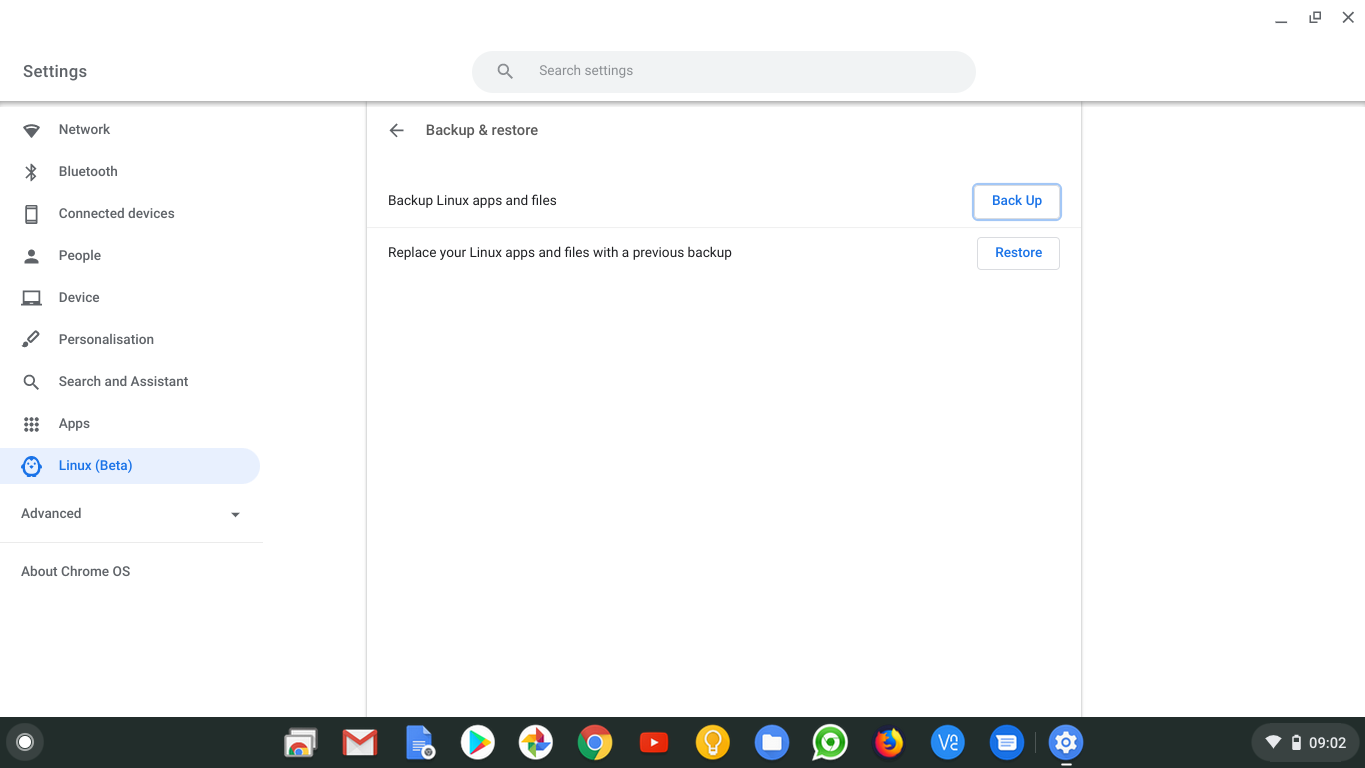
Before you do that you might want to consider backing up the Linux environment with the Linux > Backup and Restore tool. This saves a single (large) .tumi file – ideally do this to an external SD card or USB drive – that you can then restore back by selecting this backup file.
This means you can remove Linux from your Chromebook entirely and place it back at a later date as exactly as you had it.
- These are the best student Chromebooks