How to automatically water your plants with the Raspberry Pi
Build your own automatic plant waterer
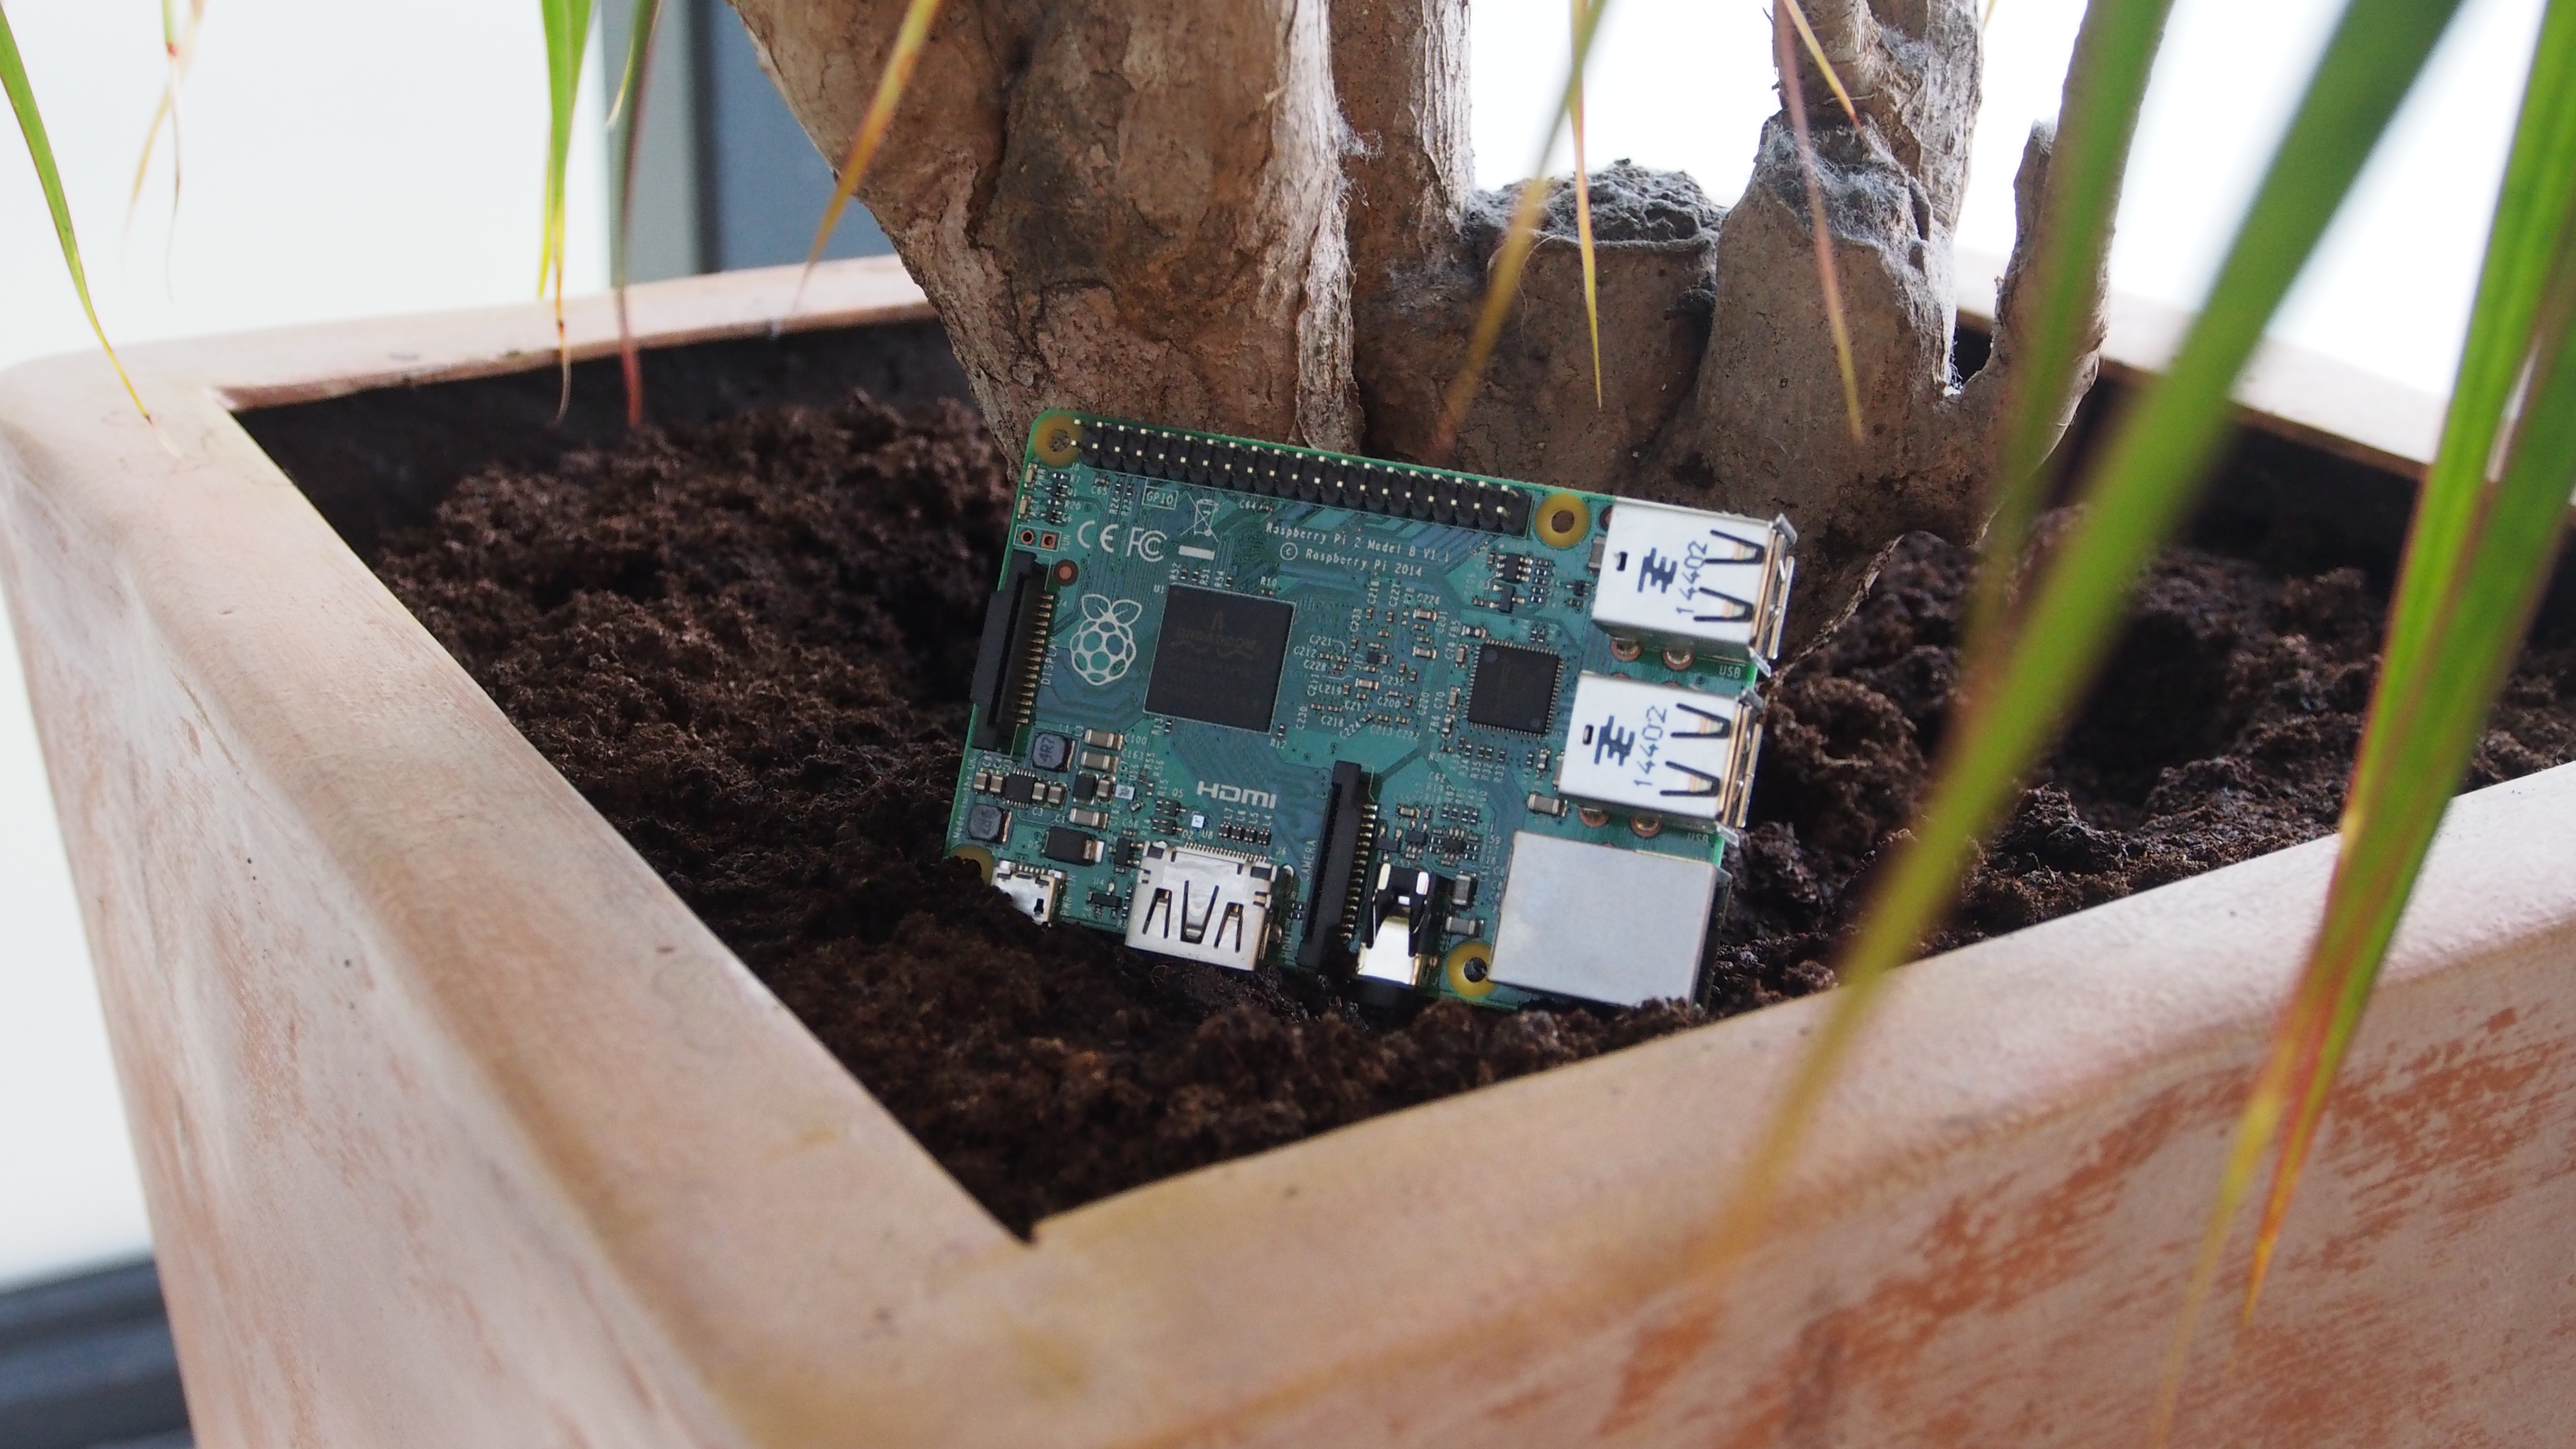
Having to dig out the ol' watering can and potter about the garden might be some people's idea of bliss, but it's not very 21st century. Besides think of the time you can recoup for another hacking project.
In this Raspberry Pi project we're going to automate the whole watering of plants with a Raspberry Pi linked to a weather forecast service and an add-on board that is connected to a pump.
You will need
- Any Raspberry Pi A+ B+ or Pi 2
- The latest Raspbian OS
- Piface Relay Plus
- A 12v Peristatic pump
- A 12v 1A power supply
- Barrel jack to screw terminal
- Aquarium airline
- Soldering skills
- Wi-Fi dongle
- An open weathermap.org account
- All of the code can be downloaded here
To kick off, we start by soldering connections to the terminals of our pump. These can be secured with a hot-glue gun or heat shrink. You'll need to use more wire on the barrel jack screw terminals and make a note of which is plus (+) and minus (-).
On the Piface Relay Plus, locate relay 3 and insert the GND (-) of your power into the COM terminal and also one of the pump connections. Locate the NO (Normally Open) terminal and insert both of the remaining wires. Next, you'll need to attach the Piface Relay Plus board to your Raspberry Pi and boot to the desktop.
To install the software for your Piface board and use openweathermap with Python 3, open XTerminal and type:
$ sudo apt-get update && sudo apt-get install python3-pifacerelayplus
$ sudo pip-3.2 install pyowm
Sign up for breaking news, reviews, opinion, top tech deals, and more.
Open Python 3 IDLE via the programming menu and create a new file. Save your project as garden_manager.py.
We start the code by importing the Piface, pyowm and time libraries with import pifacerelayplus, time, pyowm.
Next, we create a variable called key and store our API key from http://openweathermap.org.
We now need to create two functions: our first function controls the pump attached to Piface. This function we're calling pump and it takes one argument: how long it should water the garden.

We use a variable, pfr to shorten the function call for using a relay. Then we toggle the relay on and off, depending on its current state. We then pause using time.sleep() , permitting the water to flow, before we toggle the relay off.
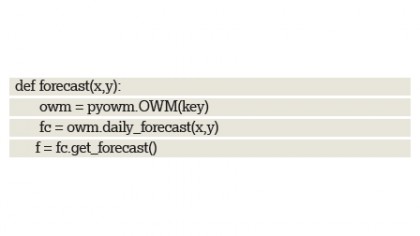
Our second function retrieves the weather forecast for the next 24 hours. It takes two arguments: our location and the number of days to forecast. We then create a variable to store our openweathermap API key, and a further two variables contain the output of the forecast functions.
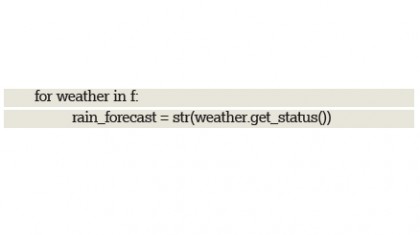
We use a for loop to iterate over the forecast data. This feature comes into its own when used to forecast weather for multiple days:
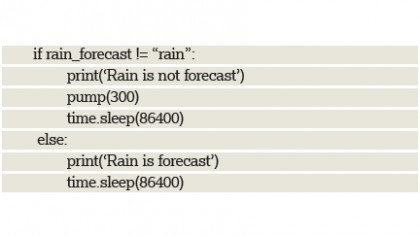
Finally, the function uses an if…else statement to check the forecast. If rain isn't forecast this information is printed to the shell before calling the pump() function. If rain is forecast, this information is printed to the shell before waiting 24 hours before checking again.
Finally, we need to create a loop that will call the forecast() function for Blackpool for the next 24 hours. Of course, you can change the location to where ever you live.
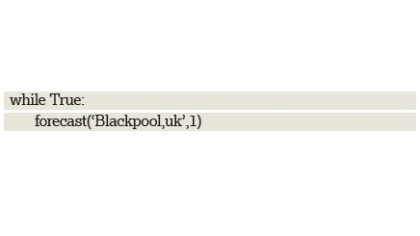
As usual, you will want to save your code at this point and click on Run > Run Module to test. For testing it would be prudent to reduce the time.sleep() duration to something much shorter.
Working with high voltages
In this project we used a 12V power supply to power a pump, but you may be asking why we had to use a relay? The Raspberry Pi can't tolerate voltages over 5V and to use anything above that would risk damaging the GPIO or the Raspberry Pi itself.
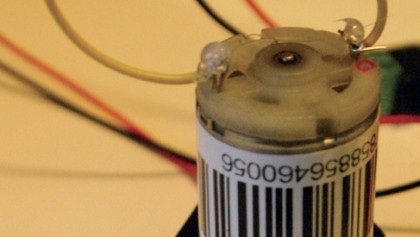
A relay is a magnetic switch triggered by a circuit connected to the Raspberry Pi. This circuit is 5V tolerant and when activated it enables a magnet which pulls a switch inside the relay closed.
There's no connection between the Raspberry Pi and high voltage circuit, which means we can safely control high voltages.
We used the Piface Relay Plus board which comes with four relays attached. Alternatively, you could use a relay on a breadboard, but for safety reasons we would suggest only using a maximum voltage of 12V on the board, as anything more would require a more robust solution.
Relays are not the only solution, a transistor can also be used to control higher voltages. Transistors work in a similar way to a relay, in that they isolate the high voltage circuit but are controlled by a low-power circuit. Both relays and transistors are low-cost methods of controlling high voltage projects.
Remember if you are unsure about a circuit, ask someone who does before applying power!
- Enjoyed this article? Expand your knowledge of Linux, get more from your code, and discover the latest open source developments inside Linux Format. Read our sampler today and take advantage of the offer inside.