How to add film simulation recipes to your Fujifilm camera
Install one of the thousands of looks already out there or make your own

Sign up for breaking news, reviews, opinion, top tech deals, and more.
You are now subscribed
Your newsletter sign-up was successful
While other brands have been developing global shutters and faster subject-detection algorithms, Fujifilm has focused on taking its customers back to a time when a camera didn't feel like a computer, and photography was a slower and more intentional process of creation. They have done this by creating stunning vintage-inspired cameras, like the X100VI, that have proven so popular that wait times are currently through the roof. Even companies like Nikon have now decided to wade in and put some real money behind their own Zf line, in an attempt to jump on the trend.
In case you hadn't noticed, the "film look" is in. Gen Z has been bombarded by millions of identical, over-sharpened iPhone pictures since they first logged into Instagram, so they have now teamed up with nostalgic millennials to bring back the grain, the texture, and the tactile experience of film photography. For the hardcore, that means shelling out a small fortune for real rolls of film and hitting the streets with their Pentax K1000's, but for most people, it's been about finding that look and feel in the world of digital cameras. This is where Fujifilm comes in.
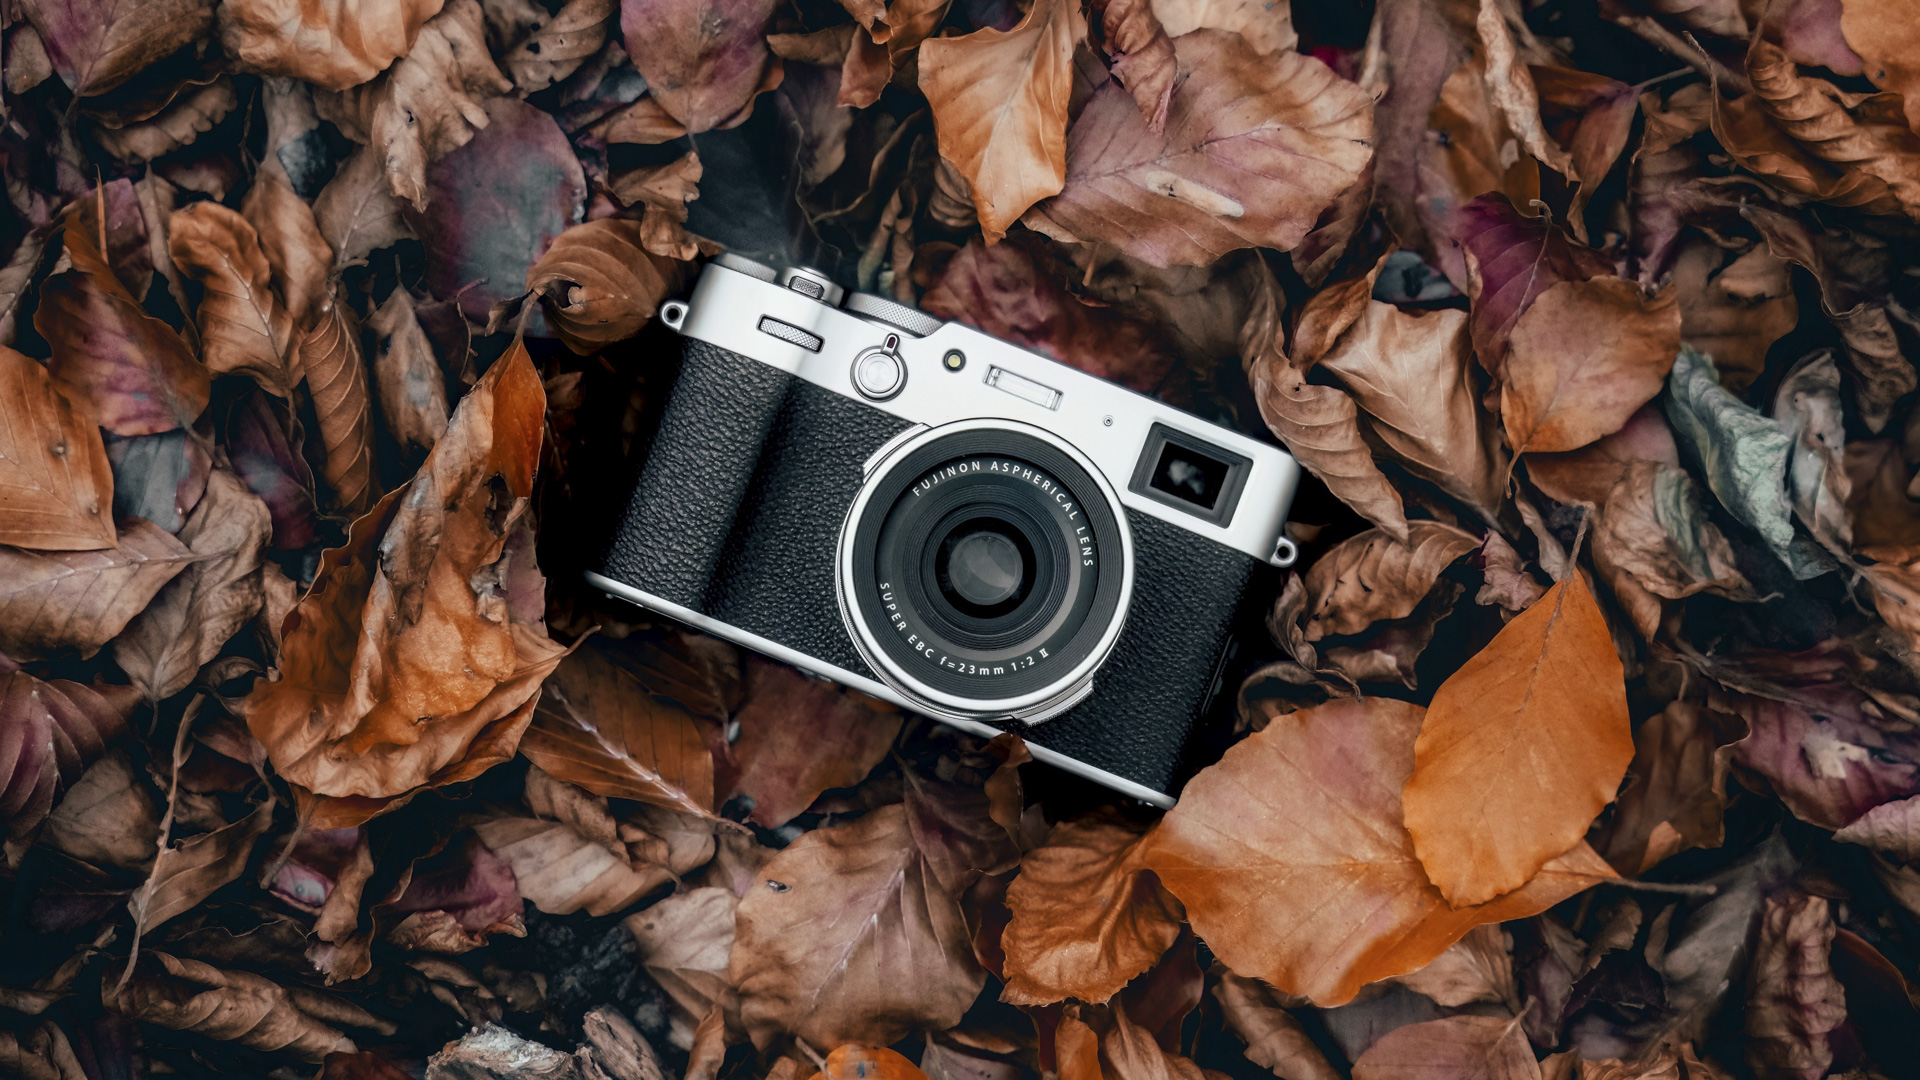
The second way that Fujifilm has dominated this space is by giving its cameras film simulations. Film simulations are looks you can choose in-camera, which recreate the colors and tones of film stocks such as FUJICHROME ASTIA or ETERNA. This means you can get a beautifully stylised image straight out of camera, without the joyless process of importing, editing and re-exporting that's usually required.
But what if you want more than the six or seven recipes that come in the camera? Not to worry, Fujifilm has provided most of their cameras with the ability to add custom simulations of your own, allowing for an incredible amount of flexibility and variation in the looks you can get. If you're the lucky owner of a Fuji camera, just follow the steps below.
Installing an existing recipe

Step 1 - Check your camera model
Make sure you have a compatible Fujifilm camera, as not all of them have the ability to save custom recipes. If you are shooting on one of the more recent models, such as the X-T5, then you will have up to seven slots where you can save your own. If you are unsure if your camera is one of those included, then a quick google search should tell you.
Step 2 - Choose a recipe
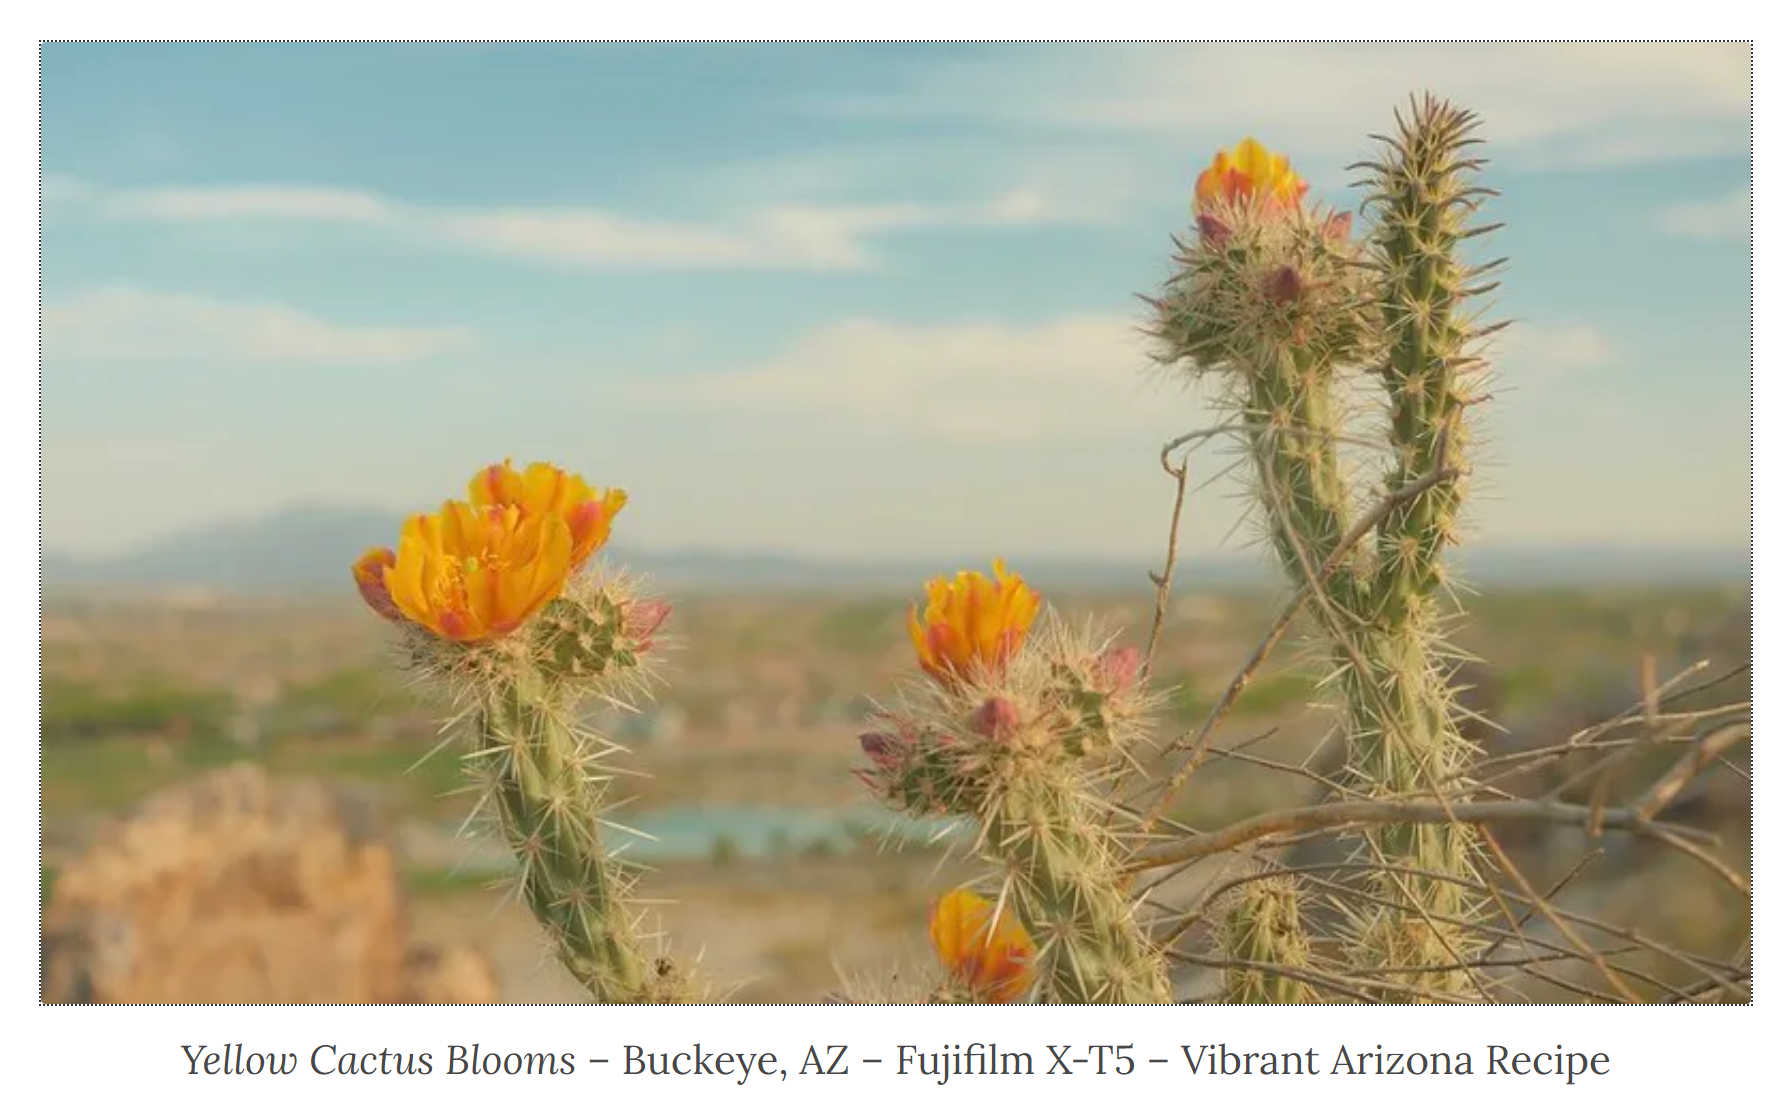
Head on over to fujixweekly.com, where you can find hundreds of different recipes, created by photographers around the world. Each one includes a variety of sample images, so you can really get a feel for how the pictures will look straight out of camera. Choose your sensor type (ie. X-Trans IV) and all the recipes will be compatible with the settings on your camera model, as well as your base film simulations (ie. ETERNA or ACROS).
Sign up for breaking news, reviews, opinion, top tech deals, and more.
As a Wes Anderson fan, I was instantly drawn to the tones in this Vibrant Arizona recipe. Still hard to believe you can produce a photo like this in camera.
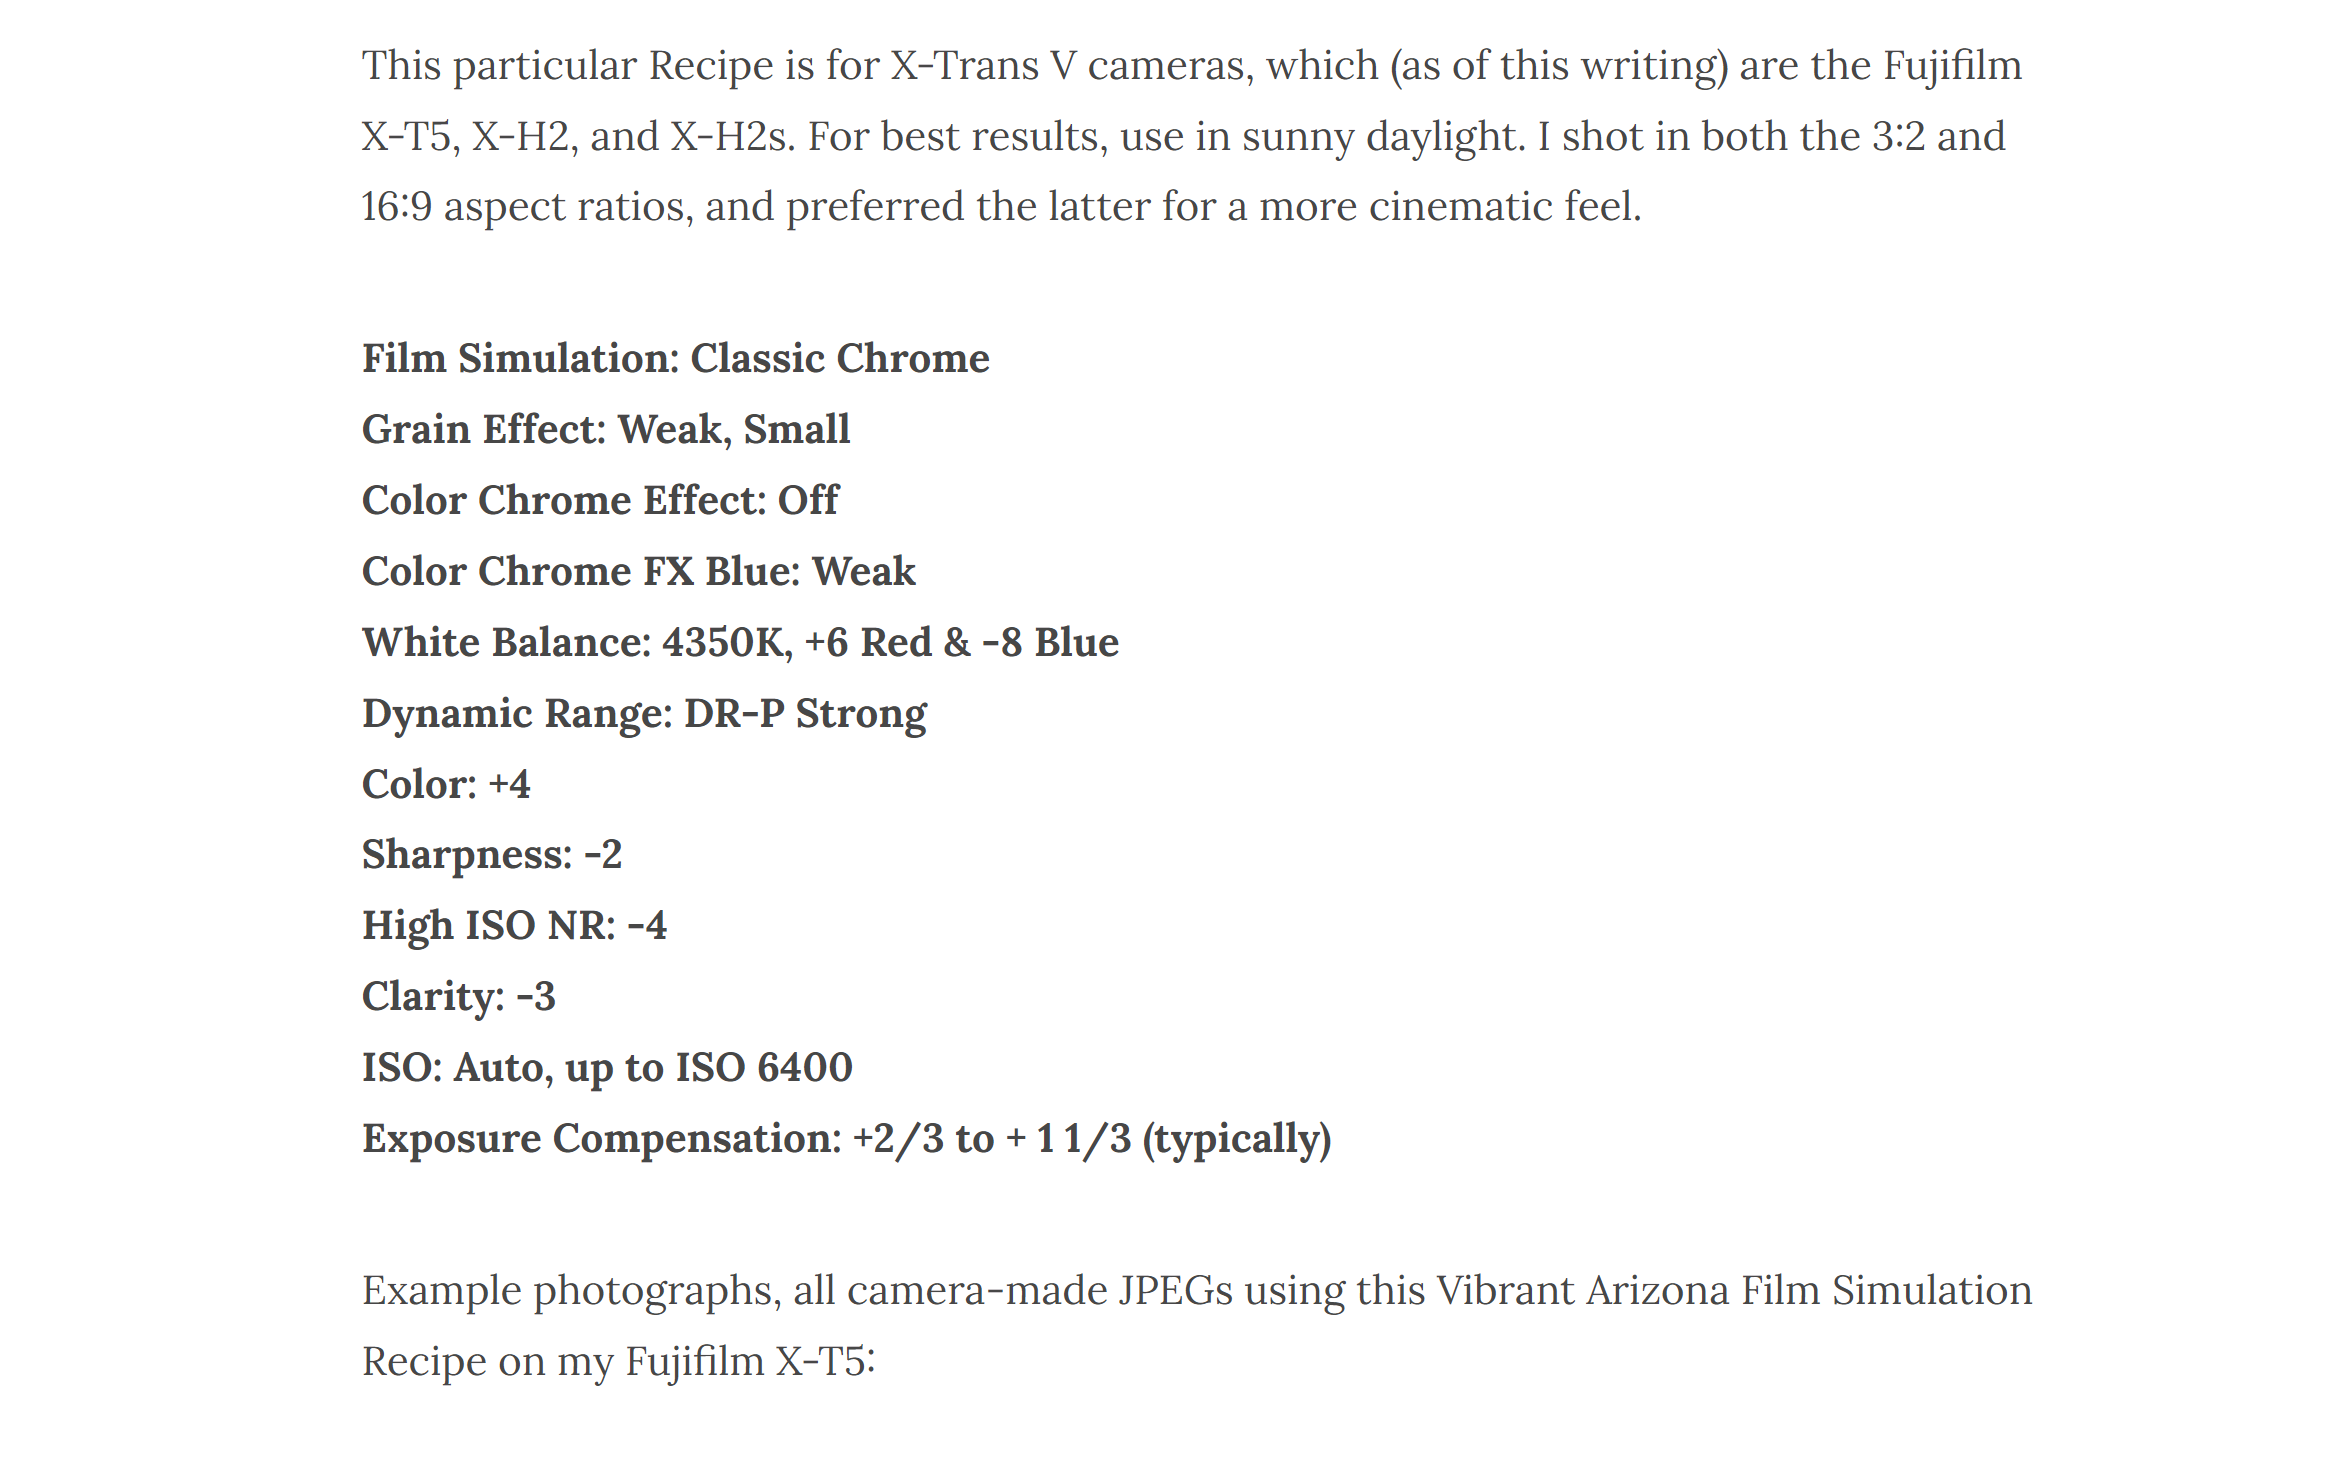
Once you have chosen a recipe, scroll down until you see a section like this in bold: these are the settings you will need to recreate the look in your own camera.
Step 3 - Save it to your camera
Make sure your camera is in "Single Image" mode, then press the Menu button and go to the "IQ" section. As you scroll down, you should see the exact same list of settings that you can see in the recipe, such as "Grain Effect" and "Clarity". Click into each one and set it as per the recipe, then keep scrolling down until you see "Edit/Save Custom Setting". This is where you can save it to your camera, so that you can select it at any time. It is worth noting that most Fuji cameras will not save your White Balance as part of the recipe, so you may need to quickly dial that back in when shooting with it in future.
Create your own recipe

As you play around with the different settings, you will start to learn what you like or don't like for your own photos: you may decide that you love heavy film grain, so you dial it up, or that removing the clarity looks nicer on skin tones. If you change enough settings, guess what, you've made your own recipe! Hop on one of the many Facebook groups or Reddit threads dedicated to sharing recipes and let others give your creation a go.
If you really want to get geeky with it and create your own recipes from the ground up, you can download Fujifilm's X RAW Studio for free and fine-tune the looks on your computer. The software has a Lightroom-esque interface with all of the familiar sliders and curve adjustments: for full instructions on how to use it, I suggest you check out Pal2Tech's excellent video walkthrough.
There you have it, a gorgeous vintage camera, and the ability to create whatever looks you like without ever opening Lightroom. Now get out there and take some photos!
You might also like

Josh is an award-winning professional photographer and visual storyteller who has spent over 20 years in stunning parts of Africa.