How to shoot a photo project

Once you’ve grown confident in your skills as a photographer it’s not uncommon to want to push your creativity as far as you can. While individual images may look great in your portfolio or on social media, the way to create a truly coherent body of work, and to exhibit your photography skills, is to embark on a photo project that has a central theme running through it.
Find a subject you love and fully explore it visually. Sounds easy when it’s put like this, and the reality of creating a photo project is that it’s, well, really easy. All you have to do is come up with an idea you like – one that interests you – but quite often it’s a single image you shoot that sparks an idea, and the best projects are often started organically.
Coming up with an idea can be difficult if you think about it too much. Keep things simple and select a subject, such as portraits, and a treatment such as dramatic studio lighting, and there you have your basic approach. Now all you have to do is decide on the group of people to photograph and you have a full project idea. And for the group of people it could be members of a team, people who share a hobby, people who work for the same company or something gender-based – it really doesn’t need to be any more complicated than this.
How to shoot a project for consistency
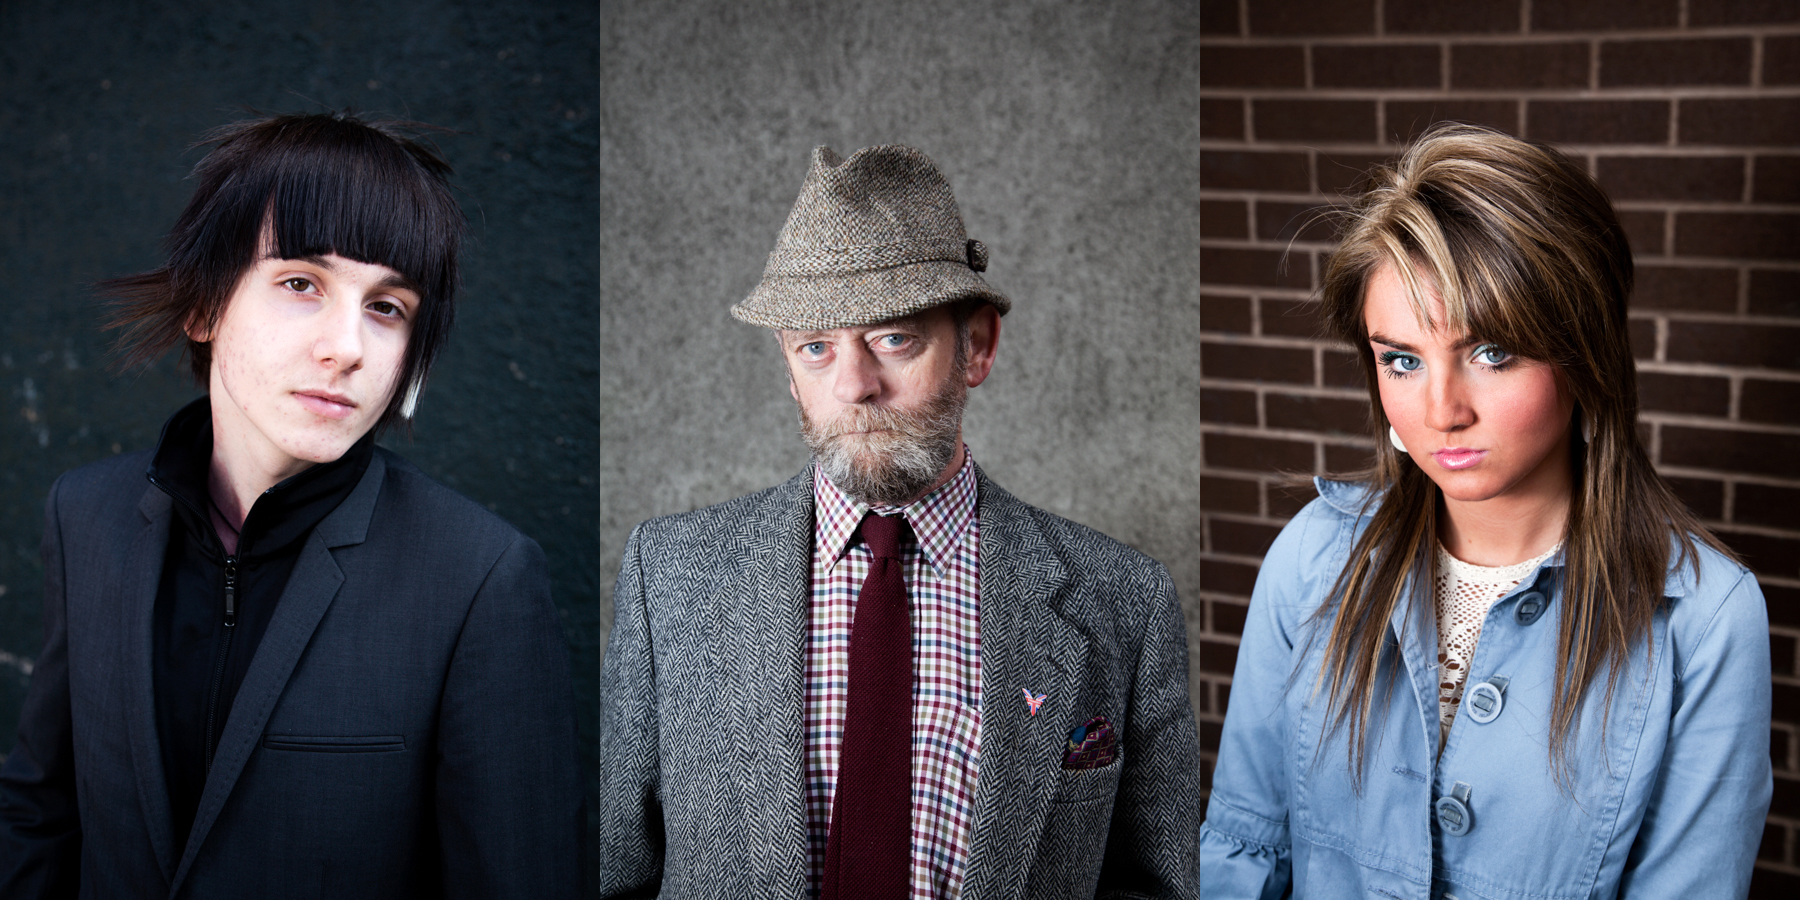
Let’s assume you’ve come up with an idea that interests you and you’re ready to begin shooting. The simple way to achieve visual consistency is to shoot your images in a similar, if not identical way. So, if you’re shooting portraits, for instance, decide whether these will be lit using flash or natural light. If using flash, consider using the same lighting style for each image because even with different models the images will have the same look and feel to them. You could even go one step further and use the same or similar backgrounds.
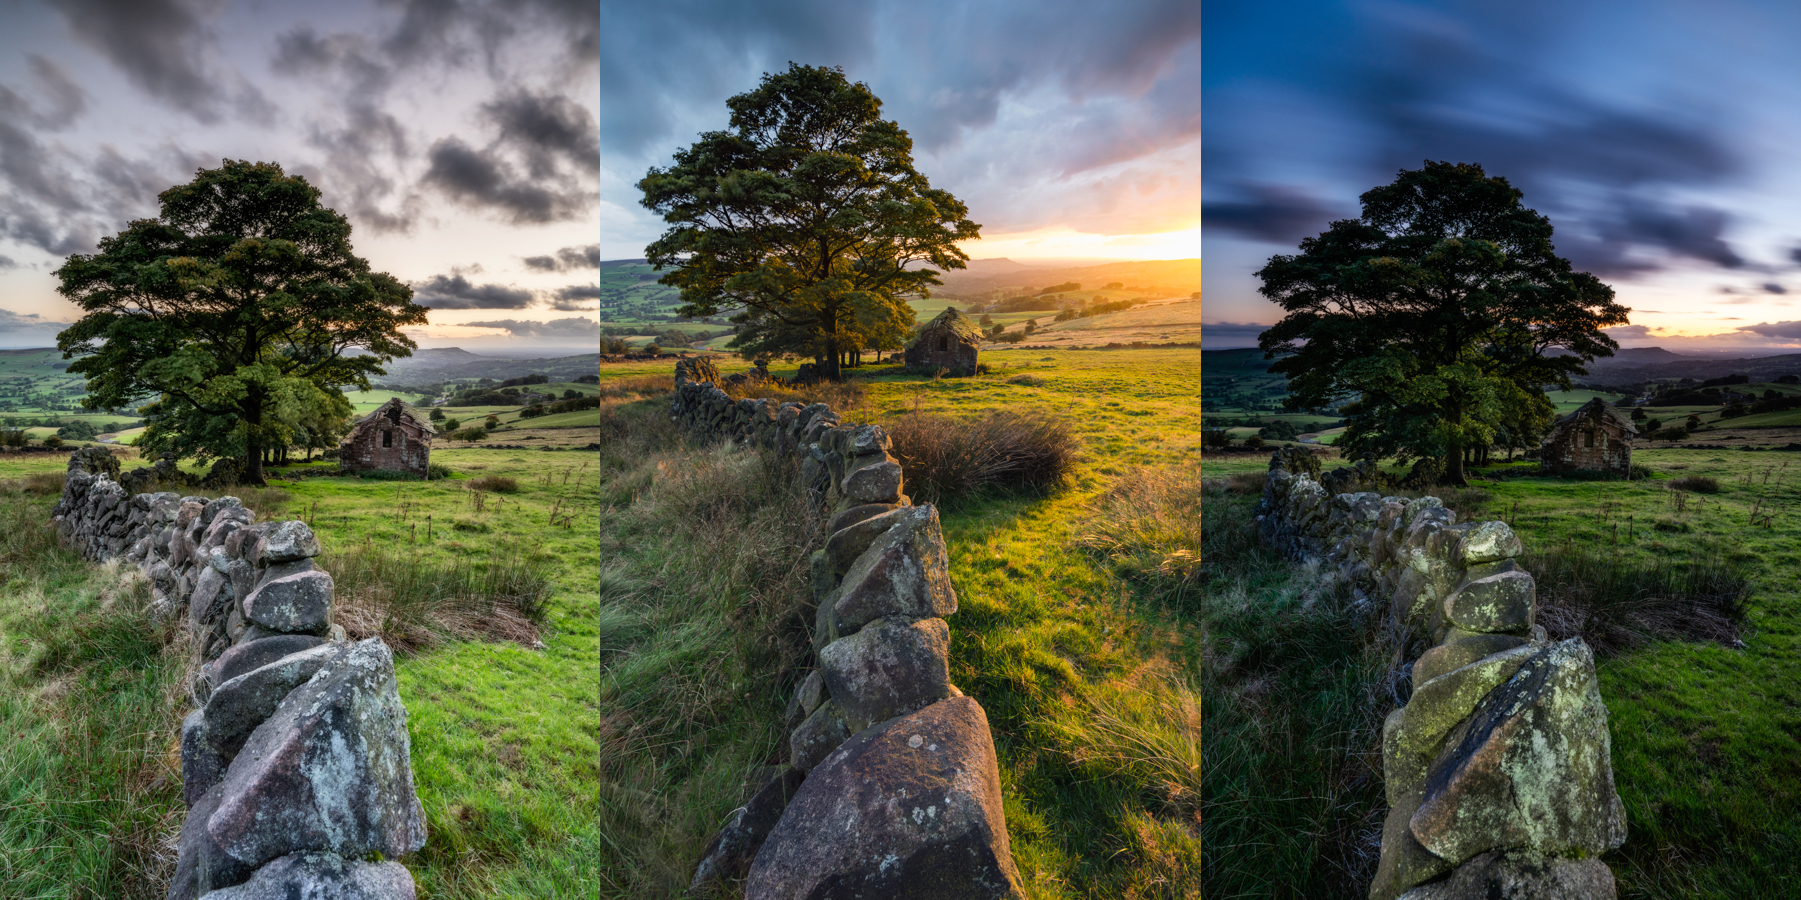
With landscape photography, you’ll most likely be using natural light so that aspect of the project has been chosen for you already. But that doesn’t mean that you can’t choose the time of day or night, or even season to shoot. With the latter idea, you could choose to shoot a single location throughout the year using different techniques and/or capture the changing seasons. The more you think about what at first appears to be a restrictive idea, can become incredibly creative and interesting.
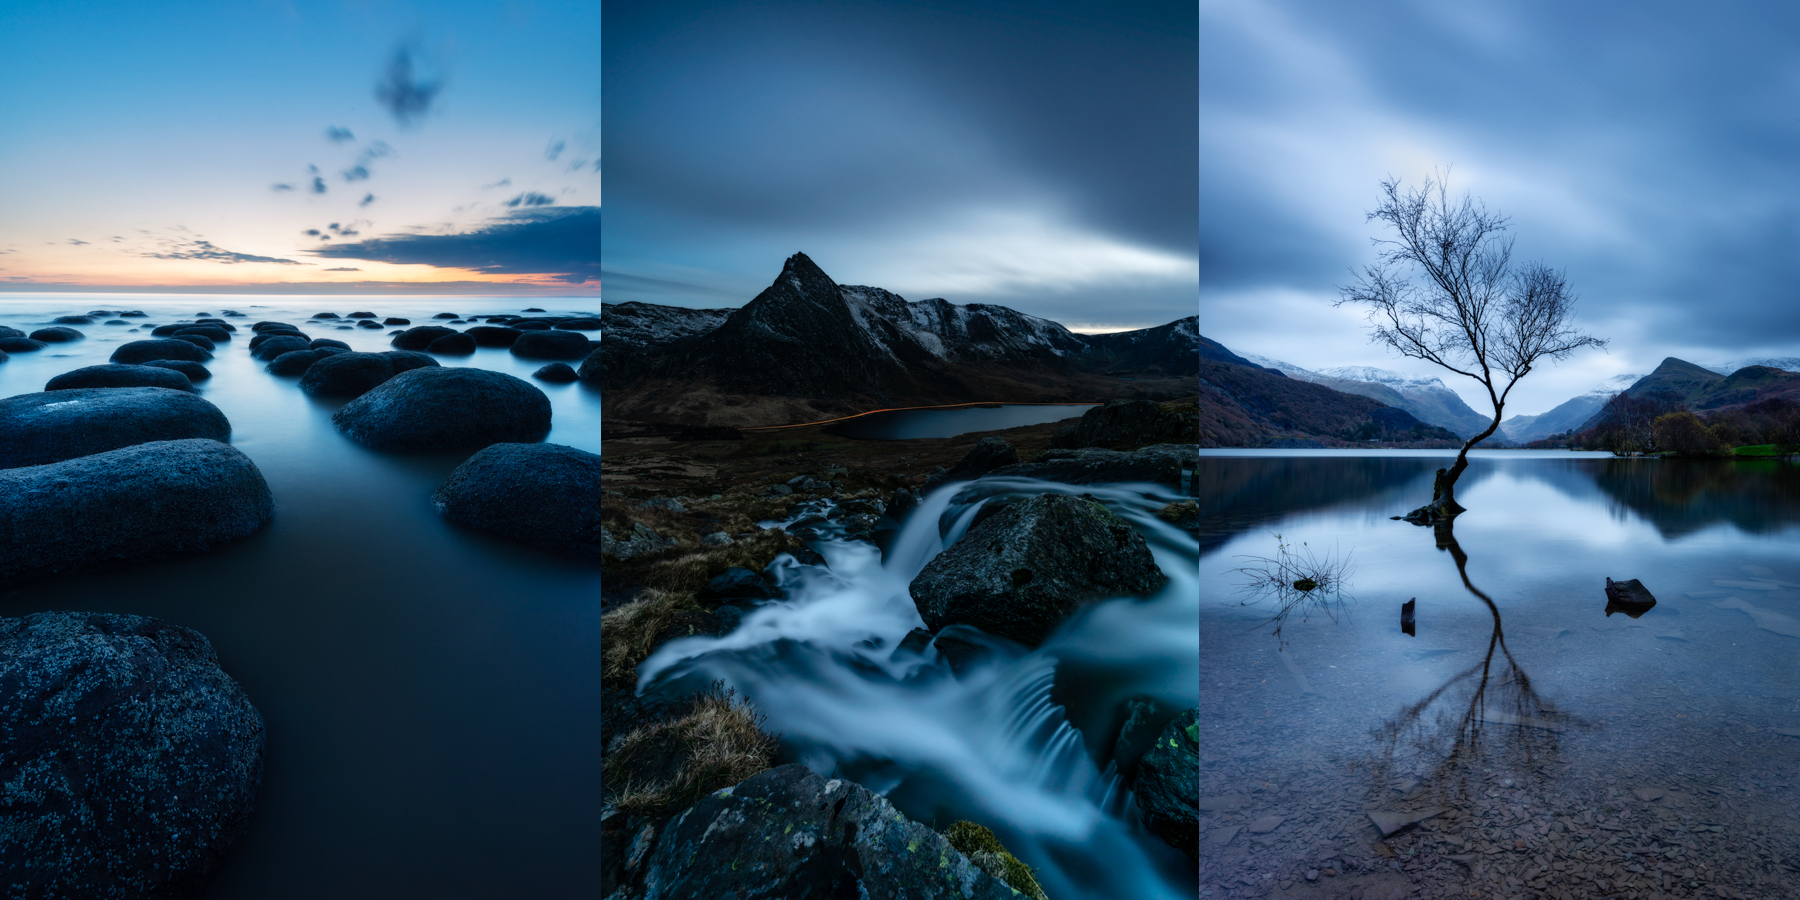
Regardless of the subject or stylistic approach, another simple way of finding consistency is to shoot all of your images in either landscape or portrait format. This is a subtle way of creating uniformity and will give each image equal weighting when viewed as a series. Of course, rules are meant to be broken so if you can take a better image by changing the shooting format don’t be afraid to do so. The main thing to try to avoid is for instance, is nine images in portrait format and one in landscape format. This may suggest that the odd image has some special significance, so use your judgement in either sticking rigidly to a single format or mixing between the two more freely.
How to process a project for consistency
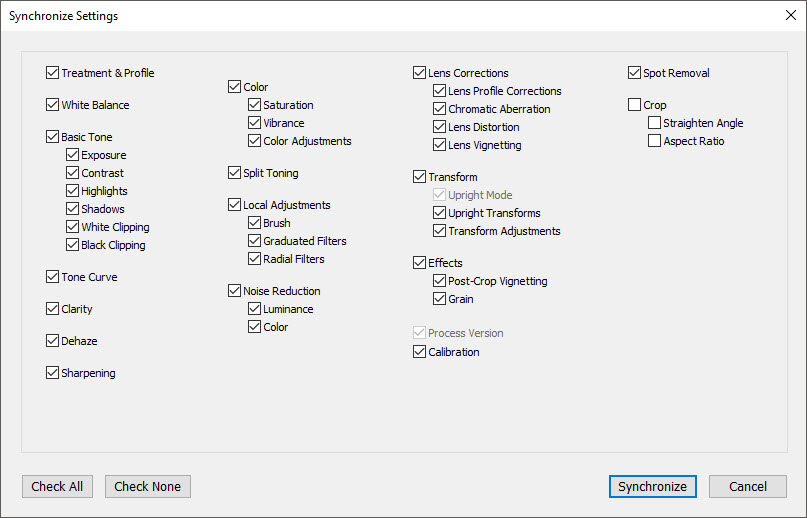
Processing becomes more important than ever because you’ll create a stronger project if the images are processed in a similar way. Make a decision as to whether you’ll present your images in colour or black and white and try to avoid mixing the two. When processing your Raw files, bulk process the images before going through each image individually to apply any necessary tweaks to get the best out of the image.
Sign up for breaking news, reviews, opinion, top tech deals, and more.
It’s most often the Photoshop stage of processing where you’ll want to keep processing techniques, whether colour grading or using desaturation techniques, identical for each image. This approach will provide a consistent look that will be much stronger than if you were to randomly apply different colour techniques and other effects to each image. To save time, you could also record Photoshop Actions so the same effects can be applied to your images at the click of a button.
Tips for a smooth project
1. Find a common theme that runs throughout the series of images. This could be subject or topic-based, but make sure it’s something that interests you.
2. Choose an idea that’s realistically possible to complete. For instance, capturing the seasons of Antarctica is out of the reach of the majority of people.
3. A photo project can be shot over the course of minutes, hours, days, months or even years. There’s no set time period, so don’t worry if there’s no immediate end to the project in sight
4. Embark on a project that you have all the kit you need to realise it. Don’t come up with an idea that relies on the purchase of expensive equipment that could take months to save for.
5. If you’re struggling to come up with an idea take a look at the list of project ideas below to get started. Once you’ve completed one project, subsequent projects will be easier.
How to display your project
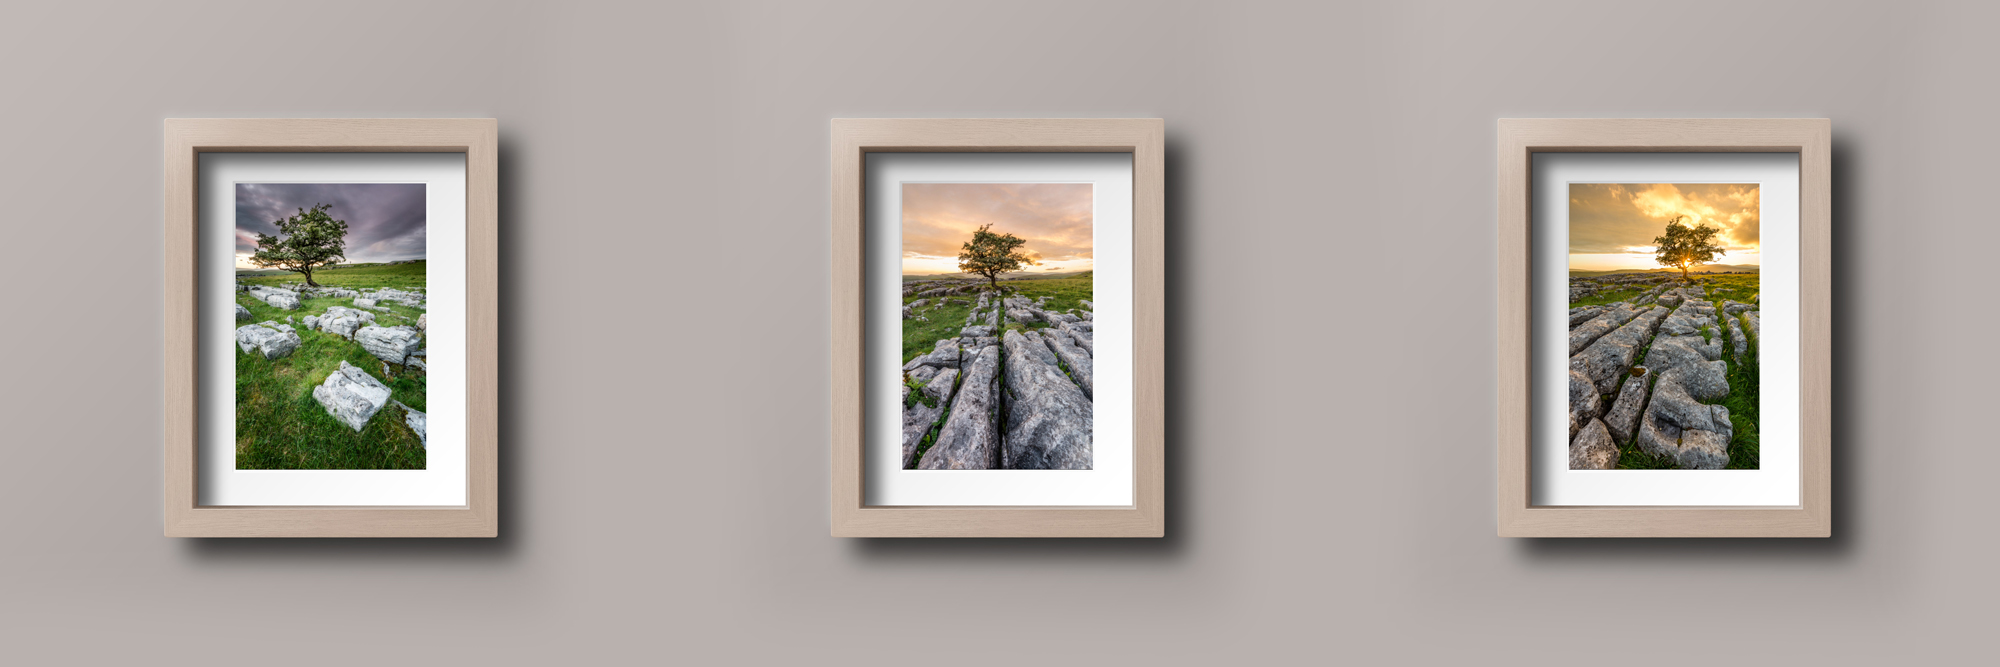
Once you’ve completed your project all your hard work and effort hasn’t come to an end just yet. So, what are the options for presentation? There are many ways you can present your work to a wider audience and these can focus on more traditional methods of display such as having an exhibition or creating a photobook, or they could focus on digital options such as sharing to social media, using websites like Behance where projects can be shared easily, or even creating your own website. But for the ultimate exposure, you could try all of these options as they all have their own merits and this will give you the maximum exposure possible.
10 ideas for photo projects you can try right now
1. 365 project – shooting one photo every day of the year
2. Documentary project – find someone you’re interested in and document a day of their life
3. Indoor still life – this could include kitchen macro, oil on water and cross polarisation
4. Photograph 50 strangers – take to the streets with your camera
5. Focus on a colour – go out and shoot all things red for instance
6. A-Z project – shoot things that begin with each letter of the alphabet
7. Lego – create scenes from movies or life using Lego figures
8. 50mm f/1.8 – go out with a 50mm and shoot everything wide open
9. Word project – choose a word and interpret it with photography
10. Seasons – shoot a single location throughout the seasons

James Abbott is a professional photographer and freelance photography journalist. He contributes articles about photography, cameras and drones to a wide range of magazines and websites where he applies a wealth of experience to testing the latest photographic tech. James is also the author of ‘The Digital Darkroom: The Definitive Guide to Photo Editing’.